robcat2075
-
Posts
28,261 -
Joined
-
Last visited
-
Days Won
404
Content Type
Profiles
Forums
Events
Everything posted by robcat2075
-
Good to see you back again, David! Don't miss the Fall Image Contest!
-
Hi Myron! You can enable/unenable "Workbook" tabs in the View menu
-

"360 degree" (or 4pi) camera for Animation:Master some day?
robcat2075 replied to williamgaylord's topic in Animation:Master
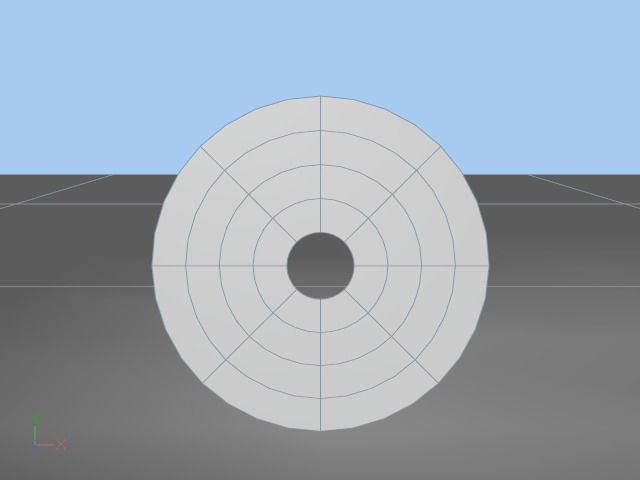
In Render to File Settings>Output>Resolution... Aspect will get you the squish or stretch of anamorphic lenses. Here are three renders of a disc with Aspect set to 0.5, 1.0 and 2.0 They all cover the same horizontal angle. The vertical coverage is what changes.
-
Hi Simon, Steve Shelton and Chris Daley and I took a look at this while we were meeting about a project we're doing and one thing we all noted was the cartwheel maneuver. There's something about it that seems too slow. I think he's in the air too long for the small amount of upward motion he gave himself at the start. If his jumping motion were stronger and his upward motion carried him higher he'd more plausibly have time in the air to do the cartwheel. I'm glad we got your render times down. I still need to write up the changes we made as I said I would.
-
"Paint fall" Image Contest WIPs
robcat2075 replied to robcat2075's topic in Work In Progress / Sweatbox
Here is the actual structure on which this scenario was based... -
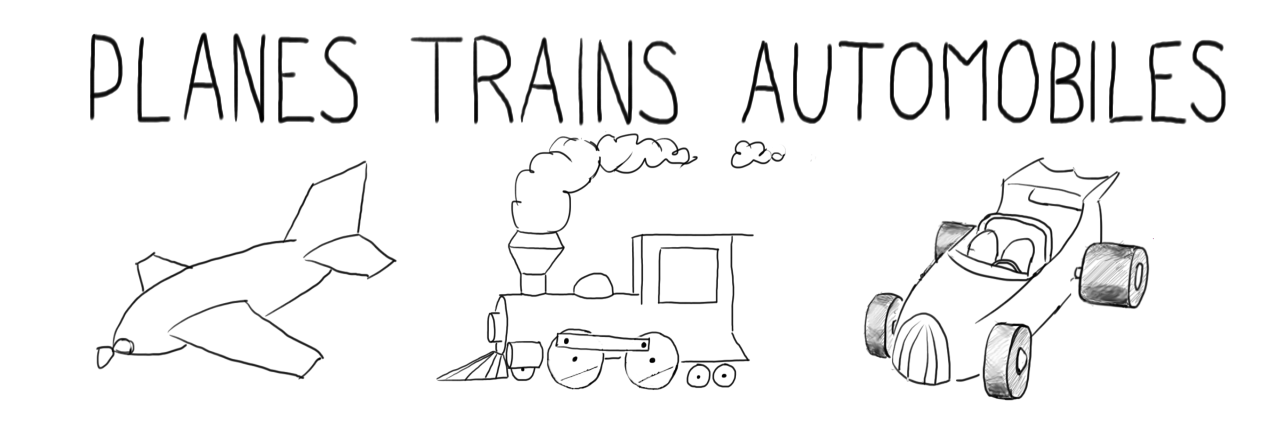
In this thread I will highlight some tutorials that are relevant to the "Planes Trains Automobiles" Image Contest. A great first stop for anyone who is mechanical modeling-curious with Animation:Master would be Rodger Reynolds' website, with numerous discussions and demonstrations of essential mechanical modeling strategies... Non-character Modeling in Animation:Master
-
I think they may be referencing it too closely.
-
The closest thing to an in-app solution I can think of is similar to Rodney's... Decal the image onto some flat patches, rotate the patches as needed, then render that view and import the resulting image to use as a rotoscope. Generally I've done my rotations and conforming in a paint program outside of A:M I don't know what would be involved in adding rotation to the Rotoscope properties so i don't know if it would be easy or if time-space wormholes would open up. I'll note that we can't rotate decals before applying either, we have to use Turn+CTRL to rotate the screen view under the decal first. That won't work for Rotos, regrettably.
-
If you hover over Jason's name in the previous post you will get an option to send him a message via the forum. You have a box for forum "Private messages" and I have sent you one now so you can see how it is flagged at the top of the page.
-
Current state of the design...
-
Windows 7 also works. I'm not sure if XP is still used or not.
-
The computer is on the internet, right?
-
If your old sub is expired and you have renewed and have a new access code, take the old master0.lic file out of your A:M program folder. Then when you run A:M it will ask for an access code and create a new master0.lic file in the program folder. You can copy this master0.lic file to other A:M program folders that have other version in them. Does this solve the problem?
-
I don't think any of the actors in "2001" developed substantial starring careers after that... except Leonard Rossiter. He was also in Kubrick's "Barry Lyndon" and seems to have been big on British TV in the 70s appearing in multiple series simultaneously even. He was the nosy Russian scientist on the space station. His series I'm familiar with is "The Fall and Rise of Reginald Perrin" about an intentionally incompetent business executive:
-
Welcome back to A:M! I don't know about the availability in South Carolina but we do have an online meeting every week at Live Answer Time. Check the link in my signature!
-
There was a limited release of "2001: A Space Odyssey" in film theaters last spring but not near me. However it was in IMAX theaters this weekend and may be thru Wednesday. If you've never seen it on the big screen or haven't in a long time, I certainly recommend it. There were many nuances and details I did not recall, especially in the ape performances. The whole thing is not nearly as dry and technical as I remembered it. I loved dry-and-technical when i was eight, none-the-less. Biggest surprise... "Reginald Perrin" is in it. But I have my own fleeting contact with this movie... I have touched a "2001" Oscar! My father's long-time employer, 3M, was awarded a special Oscar in 1969 for their reflective Scotchlite® material used for the front projection effects in the "Dawn of Man" section. My father's immediate supervisor, Phil Palmquist, was the 3Mer who went to Hollywood collect the Oscar, although my father thought that to be a rather cringe-worthy misattribution of credit. After a week of show-biz parties and dinners his wife, Ardel, said, "That was fun, Phil. You should win an Oscar every year!" The Oscar took up residence in Phil's office which is where I saw it, on a Family Day tour of 3M's "Reflective Products" division. My Space Pod movie...
-
The only Robin I know is Burt Ward.
-
I will note that Ken Citron's expert casting skills raised the level of everything. My original notion was to 3D print a simple plastic award that we could spray paint with gold or silver car paint and you'd get it in a little gift box. But then I saw some of Ken's work making cast pewter souvenir coins from 3D prints and realized this could be a real medal with classic detail. So the medal got better then. But then i thought, do they just look at it in the box and put it in the drawer? How about if it was on a ribbon? How about if it came with a plaque that would display it? I went to the hobby store looking for pre-cut plaques that I could stain and varnish but none of them were the right size or shape so that began a long process of designing a plaque that would A) fit the medal B ) hang the ribbon C) be practical to make D) collapse to fit inside a flat-rate international box if it had to. I also wanted to make the certs more than just something out of an inkjet printer. My first thought was a foil seal that we could 3D print an embosser for. I thought about a wax seal but I was afraid it would break in the mail. Then I found this stuff that you shoot out of a glue gun and stays flexible so it won't shatter. Of course a seal needs to seal over something, so I had to find ribbons in the right color and the right width...
-
that reminds me of a posable Batman figure we had in the 60s. It was rubber like a Gumby.
-
There's another A:M Image Contest flying your way. Which means I oughta' get back on track and get out the prizes for the last one! Here are some handsome, so-suitable-for-framing-you-get-a-dollar-to-buy-a-frame runner-up certificates waiting to hit the road.
-
The decal application crash is a reported bug in v19f. For now, I'm applying decals in v18 when i need to.
-
What happens if you unplug your internet connection?
-
It doesn't have to be. I think they do need to occupy the same space as closely as possible. For this demo I locked the hi-res mesh and then modeled a very lo-res approximation on top of that. Note that the head and hands are just place holders for the volume. If you wanted fingers to work... you'd have to have working fingers in the lo-res model. The more detailed and functional your lo-res version is, the better your hi-res result will be. Yes, if you stayed within reasonable human proportions. If you had a lo-res-model rigged with just the geometry bones, and the geometry bones all had basic parent-child-tree relationships (as TSM2 does, but as Squetch does not AFAIK) you could use CTRL scaling and Rotating in the model window to move the bones into position and move the mesh along with them. Thanks!
-
In the example PRJ, I just scrolled in values in the X and Y properties for the Material I can make it follow a Null that you move around by hand. Would that be useful?
-
that looks Super!