NancyGormezano
-
Posts
7,863 -
Joined
-
Last visited
-
Days Won
15
Content Type
Profiles
Forums
Events
Everything posted by NancyGormezano
-
Fabulous imagery ! very much looking forward to seeing this
-
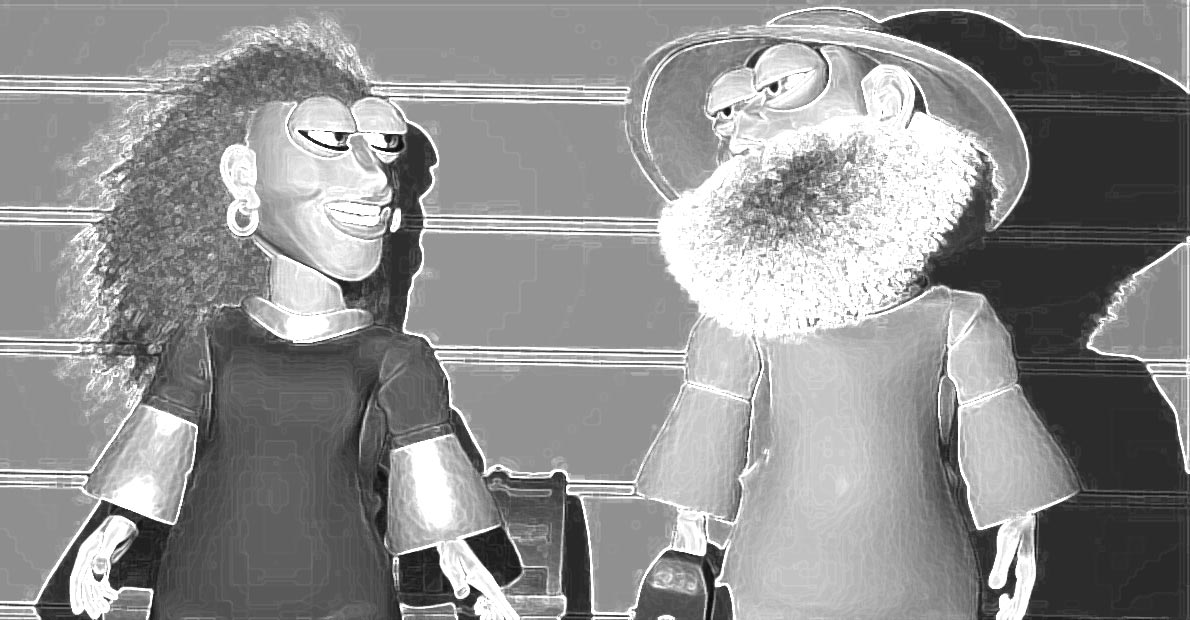
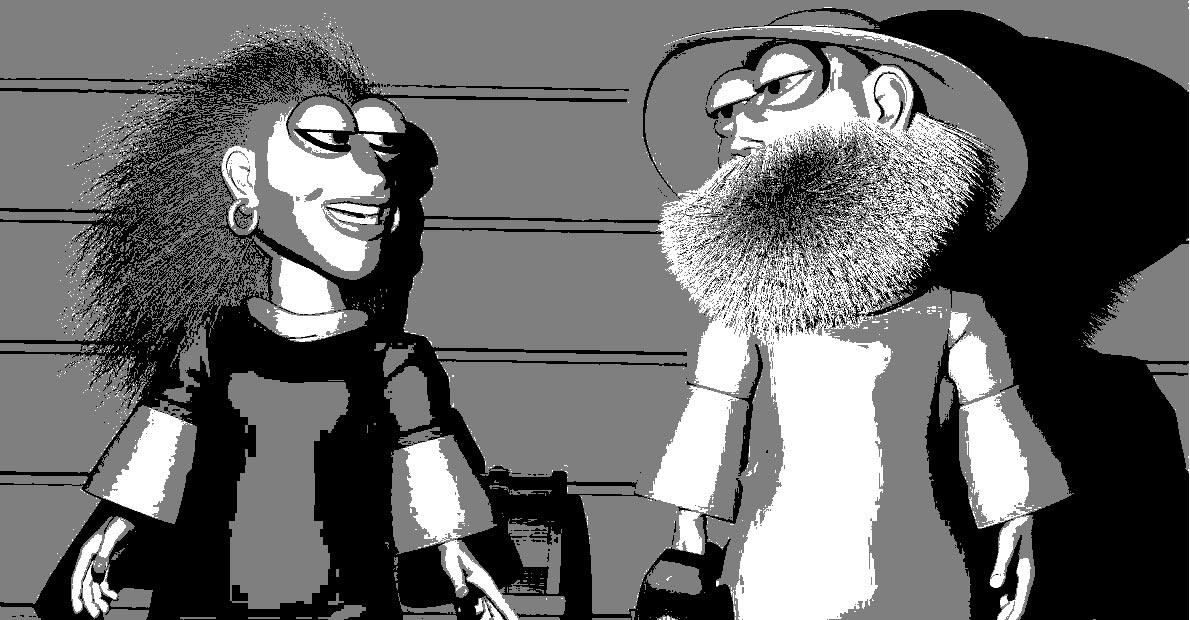
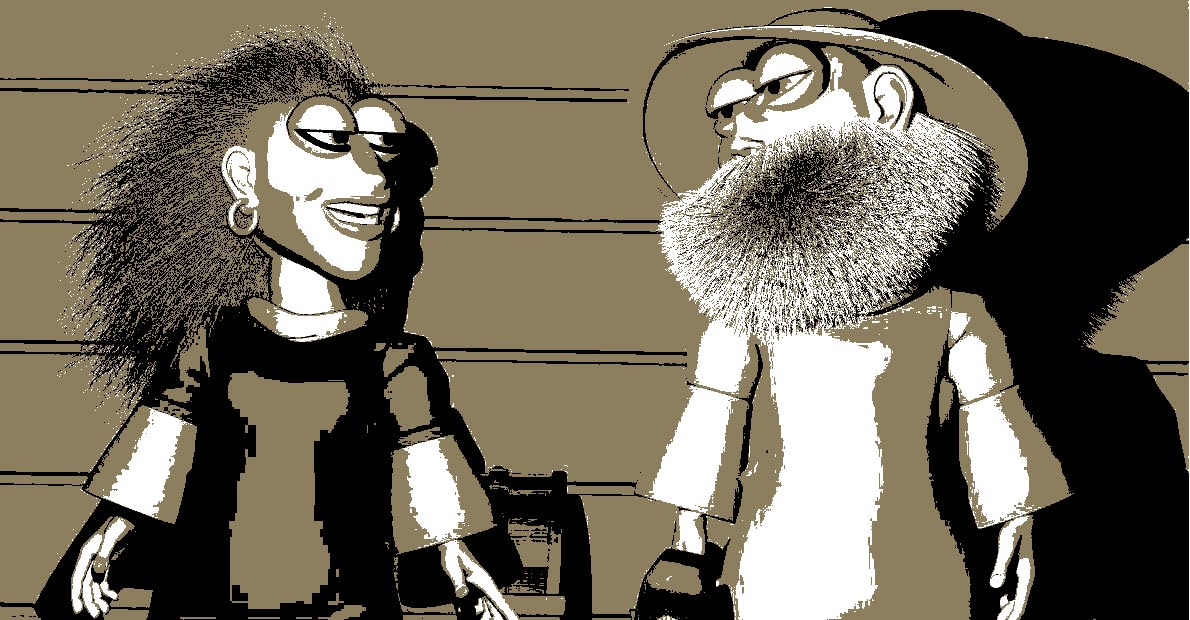
Congrats! - Looks like an incredible amount of work - love your characters! very interesting. IMO, the final rendering style (color, textures, lighting) detracts from your wonderful model style. It has an unfinished feel/look for me. But color is very subjective. For next one, if you don't want to bother on lighting, color balance, schemes, texturing, perhaps you might play with a semi-toonish rendering style, perhaps in black and white ? or a monochromatic scheme? Could do something in post processing. It would have a unique look, that might be more consistent with your stylized models, and be more forgiving with less polished animation style as well. You could always add splashes of color (eg rainbow, ruby slippers) for emphasis, surprise. Congrats again to both of you!

-
Looks good & muddy! The animals are very appealing
-
Looks terrific - very clever with the luminaires to get specular highlights without lights, & using soft reflections and AO. I must try this. Was it trial and error to determine the placement of the luminaires? or something else ? I notice on the first image (left iphone) I see a line. Is that from the edge of luminaire? It is a little confusing. Did you try a kleig that ONLY has spec ON and not find it satisfactory?
-
I like the glowing faeries ... and I really admire you for plugging away and having a story to tell Are the glowing faeries supposed to loose their glow so abruptly? That was a little confusing. That looked like a blip in rendering, rather than on purpose? Maybe gradually decrease/increase glow, if on purpose First (2nd, 3rd) time thru, I didn't realize, despite the dialog, that the branch grew into a log because of poor contrast in the log and mucky water. Pehaps change color a little on branch so it is more obvious? When the other guys came in, they walked on the water. Should they be walking on the log? Keep on keepin on!
-
Trust us - it will! Make sure after you have the decal on your model - that you render with AO = 0.
-
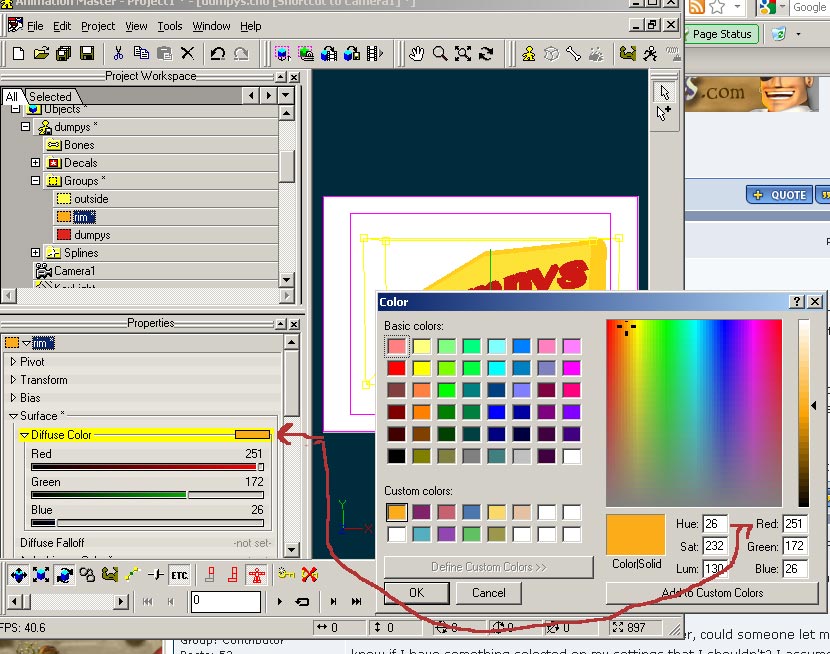
Nothing wrong with those settings. Looks good. I use: PC win xp pro - core2duo 3.2ghz with 4 gb ram - A:M 15j+ I've never used a Mac - I believe those with Macs do have slower render times. But that seems excessively slow. 2 mins versus 20? especially for such a simple model. If your scene also has other elements - it will only get worse. I believe others report faster renders if they run A:M using a windows OS on the mac. Then they go on to mumbo jumbo something about bootcamp, parallels, tiger, leopard, Himalayan spotted Lynx...Also seems related to mac OS, and which version. Someone more knowledgeable will chime in, I'm sure... If you can't get more reasonable render times for yourself using AO - then you may have to resort to a scheme with z buffered shadows, and/or other trickery. EDIT: here is where to input RGB values - either expand diffuse color, use sliders - or click on color square and input values directly in dialog box
-
YES you are right - in 15j+ there seems to be a change from previous versions where the processing gets distributed differently - it use to be that it did add more time - I'm doing a 5 pass now - and it looks like it will take approximately the same amount of time as a 1 pass - woo hooooo! just done - 2 mins 8 secs - 5 pass
-
Definitely for testing: render at smaller sizes - I just edited my previous post because I just noticed that you were rendering at 1280 x 720
-
Make the outer edge a different group - and tweak the surface ambiant property of that by itself. Isolate everything into groups - background, letters, etc and you can go nutso tweaking. As for render time - I did a 640 x 480 - 1 pass - and it took less than 2 minutes. How many passes are you doing? Do the minimum # (2-3?) just to get an approximation - then up the number of passes to get what you like. (I don't typically go beyond 5, maybe 9) Make sure occlusion sampling is 30% (the default, in the occlusion settings for render). A higher number will make it take more time. The Ambiant Occlusion (AO) setting (in chor) should still be set to 100%, however. A lower number will take less time, and will have less occlusion as well. EDIT- and oh yeah - I just took a look at your render size - do a smaller resolution for testing - 1280 x 720 will take a long long time - try 640 x 360, or 320 x 180 for testing - much faster.
-
I'm not exactly sure what you are going for - but I rendered this with AI= 100%, AO = 100%, Occlusion sampling = 30% = default, no other lights, no ground plane, only 1 pass (you would do more). AND I set ambiant intensity for the surface of the model to 20% - you would have to play with these settings to get the color/intensity you want for the background, letters. EDIT: the second image is with the surface ambiance = 50%
-
Looks good ! One minor thing - when witch says Ha ha ha around 1:19ish, perhaps there should be some body, shoulder shaking, indication? Overall very good. I find that A:M Films plays slowly, haltingly - probably a compression, bandwidth issue. It happens on other films as well, but not all.
-

How can you not render the x,y,z indicator on a "shaded" render
NancyGormezano replied to detbear's topic in New Users
AFAIK it is not possible to turn off the xyz. However you might try doing a 1 pass final with no shadows. That should be quick. -
Yep. All she needs is some sparkly spandex leopard print tights, with 6 inch heels.
-
Try adding a simple background "plane/dome" to check that out. And as a solution as well, perhaps. Also - look at it in shaded/wireframe - might be easier to see what's moving - obviously the critter is moving. In shaded/wireframe or just wireframe you'll be able to see how the emitter, against background, water is moving. As for channel data, here's a very very WAG: Sometimes channels get "messed". Don't ask me how. I wonder if you might have a duplicate channel somewhere that you are not aware, that became a child of the wrong bone in the chor ? I have seen this in 14c, and beyond. But it usually happened with a more complicated Squetch rigged character. I have learned that this problem is less likely to occur if I have "show property triangle" OFF in Tools/Options/Global. Ie have the properties show up in separate window, rather than inline. Less chance of messing up in the chor.
-
Have you tried deleting/inactivating things from the chor to see what might be influencing this? It's pretty hard to guess without a chor? Something is changing. What's changing when it starts? EG - Is there a ground plane (or rotoscope or something) under the water changing in altitude? and we're seeing the background or something else perhaps? Not sure how you are creating the waves (which look terrific, as well as the critter and his bubbles) Try to create the simplest chor where it's still happening by eliminating stuff.
-
select the patch(es) - right click - flip normals
-
That is good news - looks great! (it's probably toon lines that don't change thickness?)
-
It will be under the surface properties of the group
-
You've been lucky. But we may be talking about different situations. It's happened to me on TWO with the Goose, Scarebear and the rabbit. On SO - it happened with Capt Bill. In all those situations, the models had to be hand edited with a text editor in order to be fixed. The common thread was that in all those situations I was working with a chor that contained multiple instances of the same model and at the same time I was ONLY changing the images used for decals in the model. And then saved the model (probably while the chor was open) In all those cases the model file ended up with screwy code for some bone target that referenced some other instance of the model in the chor. I was not modifying the rig, Just modifying textures. eg: taken from an A:M report I submitted: the code in the corrupted model was: BoneTarget=..|..|..|redbear2|Bones|key Groups when it should really have been: BoneTarget=..|key Groups redbear2 was the name of one of the instances in a chor. It should not have been in the model file. I also remember responding to David (itsjustme) at one time when he experienced something similar (can't find the post). And I don't remember what he was doing at the time to cause it. I've learned not to edit models when I am working with multiple instances in a chor. No one had ever been able to find out why this was happening. I think we have some new info now.
-
This has been around for awhile. This is how I setup the truck suspension rig. Also, I believe Vern used it in setting up his newton ragdoll rig. And now I'm beginning to suspect why models can get corrupted (has happened to me tooooo many times) when there are multiple instances of the same model in a chor, and one makes a change to the model (texture, etc), save it, and then can't use the model anymore in any other chor because data in the model now references the 2nd instance of the model in the original chor.
-
IIRC, I don't believe they do - but it should be easy enough to check
-
Had a chance to try your technique out - wonderful! But who knew that one could switch the constraint targets in a model's relaionship/pose to a bone from another model in a chor??? and have it stored with the model - Works terrifically - but sure hope that's not a "feature" that might get fixed? Was that implemented on purpose? Pretty tricky good. And finally figured out that the "aiming target bone" for surface constraint was in the tree model (aiming at the base of the tree model) - I was thinking it was in the terrain model - yet another "dim bulb" goes duh! I can see using this for better movement control for of course "marching armies", or "flocks" flying over invisible surfaces that form patterns (I found did not have to delete that temporary surface target bone - could leave it, so that can easily add more elements to the group) Thanks for sharing this.
-
"Something old, something new, something borrowed, something purple"...Can't beat them old fashioned weddings! Flemm makes a truly lovely bride.
-
Looks terrific ! Works wonderfully. Terrific render times. Reminds me of typical east bay hills (San Francisco bay area) in late spring/summer. It has similar density of trees, and the hills are starting to turn brown....Or early winter when hills are starting to green up. Not sure which set this is for ? So density, type of trees, coloring might be dependant on that...Or not. (Thanks for explanation - still not grokking it totally - probably because I don't understand surface constraints enough)