-
Posts
7,863 -
Joined
-
Last visited
-
Days Won
15
Content Type
Profiles
Forums
Events
Everything posted by NancyGormezano
-
Thanks Ken for posting this. Very interesting. I was wondering if you might post a QT mov so that one could step slowly thru the buildup? I really would love to understand your approach to modeling for animation, and I would love to understand why you make certain choices. In other words, I would love to turn this thread into more detail about "Ken's methodology to modeling stylized human characters for animation" I have the book Stop Staring, and other modeling references, tutorials..I've studied the TWO models (spline densities, layout topologies are all over the place). They seem to favor dense models. I want to know how you approach it...I like your economic style. It seems to me that you now know instinctively all the answers, as witnessed by your super speed modeling skills, as well as understanding which choices are good for animating. I'm also studying your new models. I want to go with the least amount patches. I find it easier to modify. And I'm lazy. But I always worry that my skimpy approach is too sparse for good rigging, animating. I will try and formulate more specific questions in a more structured way ...so as to better pick your bones completely dry... Here's the first questions: (I have zillions more - but don't want to freak you out) 1) How do you usually approach a head/face from scratch (given a rotoscope): ie in what order do YOU usually go in order to model the head/face. 2) I also would like to know your preferred techniques (eg Ken's way of using mirror mode, cfa, magnet mode, etc) to modifying existing face topologies into a new character and still maintain smoothness Thanks again for posting this.
-
Rendering Overhead: an assumption...
NancyGormezano replied to Kelley's topic in Work In Progress / Sweatbox
If the model is out of the field of view I'm guessing it won't matter (significantly) in the render times, as I believe there is some quick preliminary culling (visibility testing) that is done before computing the frame's imagery. I would guess this based on the fact that frame computation times change based on what's in view. But if models are Active it will affect the real-time response. Rather than animate the Active status - you will probably want to change the real-time draw mode to not visible (red line thru circle) for the model. (I haven't actually tested the first statement) -
Great concept ! love the character. Will be fun to see it animated
-
No slam at all. ..I LOVE LOOPY. It feels familiar. Now as for Vern...it's almost like looking in a mirror.
-
Nice. What appears a bit funny to me is the depth of field. I don't think the chalk (foreground) should be so out of focus, I would expect a closer/greater range for depth of field, given how crispy looking the balls are - the background out of focus looks good. What would add more interest for me would be a reflection of pool player(s) in the balls - current reflection image is ok - but something that has subject matter would create a story for the image. Something like a player's face (eg a loopy John Pool-Hall-Afficionado Bigboote type) leaning over to inspect the precise racking alignment of the balls. I agree about adding grunge. Perhaps some pool hall smoke? for atmosphere. And maybe some beer hall smells. A realism artist's work is never done. But you're close.
-
Complicated materials will take much longer to render than decals. But with the new bake materials (which I haven't tried) - it may not be an issue anymore - I believe it would then make a decal of the material
-
This problem is looking familiar, and sorry, no I don't remember the solution - Have you tried a simpler emitter image ? and are you rendering with multipass? ie does same problem happen without multipass or no jitter and multipass? AND Very cute lamb and nice animation
-
looks very very good - Your animations are always in my list to be studied. I love how the birds are animated, great choices and execution in acting. Lots of life, comedy, smoothedy. One thing that disturbs me is the "illusion" that the birds penetrate the woman's hair/head at the end. They may not in reality, but the first time thru my attention was drawn to it. I had to play the clip over and over to see if it was an illusion or not - and I'm still not sure. And yes I know you haven't animated the woman yet, but given the current relative sizes, it may be hard to combat that illusion.
-
Cute project - but I am curious: What was the assignment ? and What grade did you get ?
-
What Yves said. The chosen sound track didn't work well with the animation, as it conflicted with Michel's beats. It's like watching someone dance or clap to music who has no sense of rhythm. My feeling is it could benefit from some well placed comical or otherwise foley type stuff. Doesn't need music. But sound is not necessary for me to enjoy what Michel has done. Yes. That works better.
-
ummm...I liked it better without the music - I think it might not be the best choice of a soundtrack - it seems to distract from your timing. My guess is that ambient comical sounds might/could work better ? - unless you can find music that fits better (personal opinion).
-
nope - doesn't work for me - I'm using firefox - don't know if that makes a difference
-
it doesn't play for me - I just get the first frame
-
I like it very much. I think it's wonderful how you communicated exactly what was going on without language, or facial expressions - except for eyes of course - very well done. A tweak for me might be in the very last action when she grabs the guy - would like to see more of the guy's body have a jerking re-action in response to her pulling him down for the smooch - he goes from standing to lying down without any in-between action. Like I said - very well done. (yes I too am curious as to what rig you are using)
-

My First Attempt at Simcloth = Crazy Splineage
NancyGormezano replied to Dale_The_Bold's topic in New Users
Have you seen this tutorial - perhaps this might help (not sure)? http://www.hash.com/forums/index.php?s=&am...st&p=248996 -

I don't think I ever showed this...
NancyGormezano replied to Paul Forwood's topic in Work In Progress / Sweatbox
I agree with Robcat. I really like the 2nd one. I also like the sketches that indicate he was going to have a numbered jersey track outfit, as well as speed goggles - very cute(in a good way) I also wonder what does it matter if the texture stretches if you were going to enter him as a mascot ? -

A:M Sprites used as SNOW
NancyGormezano replied to John Bigboote's topic in Work In Progress / Sweatbox
looks absolutely terrific - the sprites look great in combination with the blowing "clouds" - I can hear the wind blowing. I love that it's blowing in from an angle. Were the blowing clouds an after effects filter or was that an A:M layers with animation? or ???. I especially like that the densities/transparencies of the effects were varied - makes it really really interesting visually. -
Depending on what you want - you can apply all of these constraints to the camera (using compensate mode with each): translate to (character model) orient like (character model) aim at (character model) then when the character's model bone moves, the camera will always follow. Unfortunately the model will always be in the relatively same position in the camera view and it might look a little obvious. try a simple case just to get the feel. Then you might try instead, constraining the camera to a null that is in the vicinity of your model and use that as your focal point (rather than the model). Then you would also have to animate the null. But could have more interesting variation in how things looked thru the camera.
-
Fabulous characters - terrific style - Best Wishes to You and all the Bugbrains in 2008
-

Scene Lighting and shadows
NancyGormezano replied to jakerupert's topic in Work In Progress / Sweatbox
perhaps using the glow property would be better? (and not use volumetric for the brake lights - looks strange - given that it's a daylight scene) If you do want to use volumetric - you might shorten the focal distance so that it doesn't extend so far. -
cute
-

A couple of characters I finished
NancyGormezano replied to jirard's topic in Work In Progress / Sweatbox
all very cute characters - nice, consistent style -
ok .... I'm hooked ....me me me.... I want in, please
-
Wow. I needed that - especially today. I sincerely thank you for posting that.
-
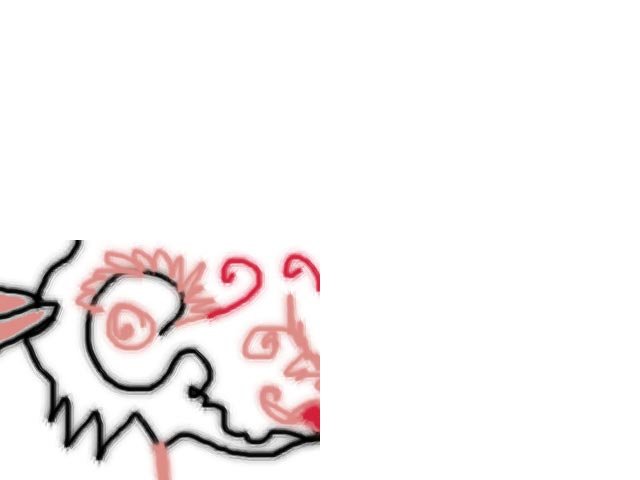
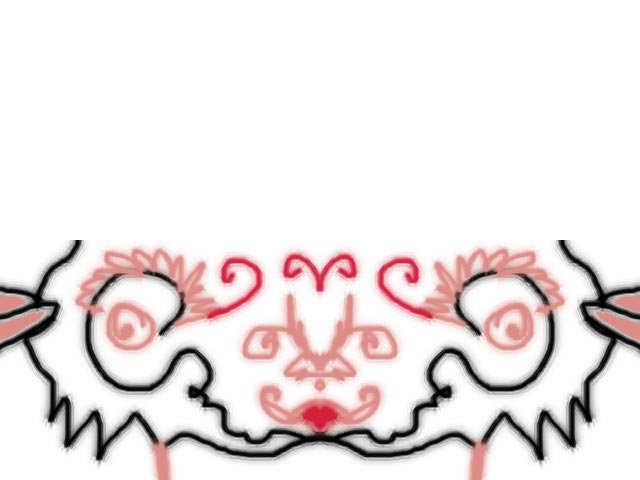
I just use photoshop to mirror and flip images horizontally and vertically. Not sure how easy it is in other image editing programs. 1) start with any image eg 320 x 240 2) double canvas size to 640 x 480 3) duplicate the layer, flip horizontal, move flipped image to opposite side, link layers, merge linked layers 4) duplicate this merged layer, flip vertically, move layer to top


