robcat2075
-
Posts
28,275 -
Joined
-
Last visited
-
Days Won
406
Content Type
Profiles
Forums
Events
Everything posted by robcat2075
-
As soon as you can! It's just one TGA. Why wait? Just post it here. In a TGA there is no such thing as a transparent background. There will always be some value in the RGB channels (probably 0,0,0). The alpha channel will male it transparent in the video editing/compositing program you are using. Why bring it into Photoshop at all? If you bring this to Live Answer Time tomorrow we could make sure we are talking about the same thing and solve this in five minutes.
-
Could you send me one of the unedited TGAs? Transparency in PNG and TGA appear differently in Photoshop.
-
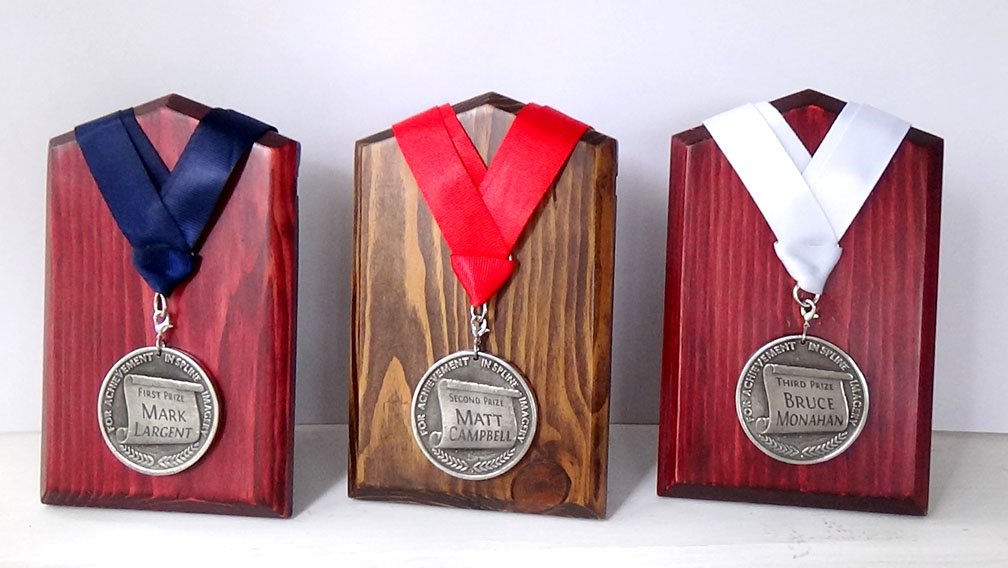
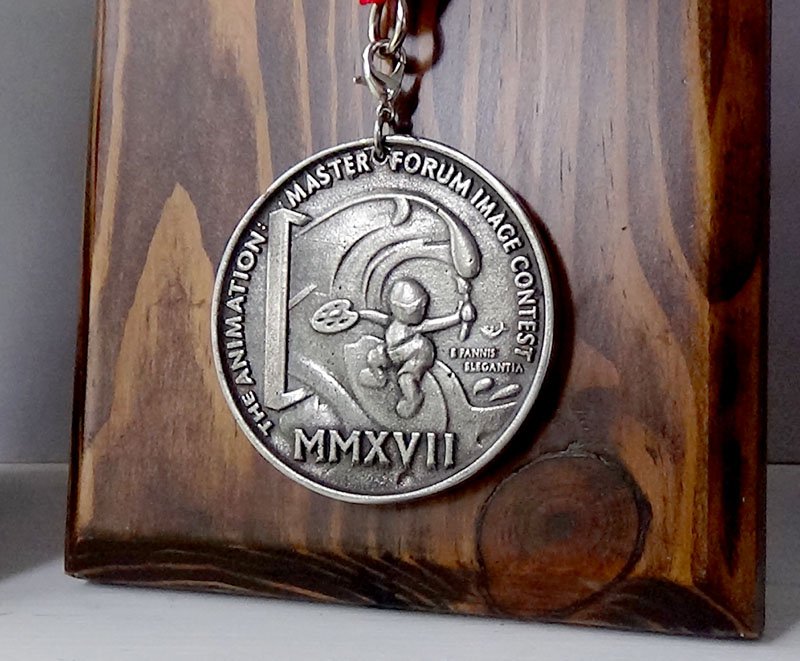
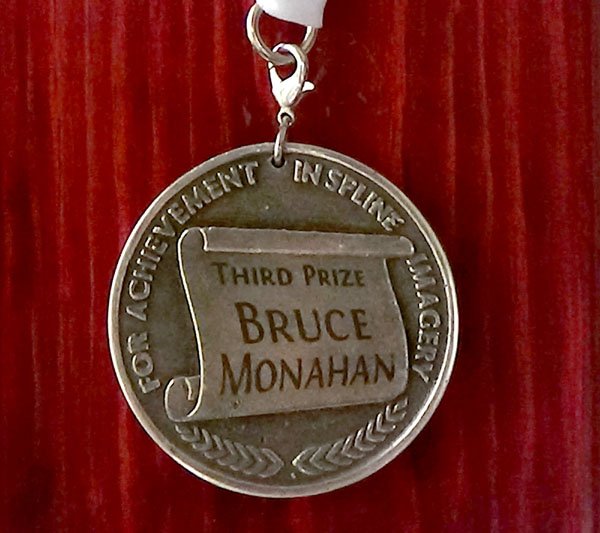
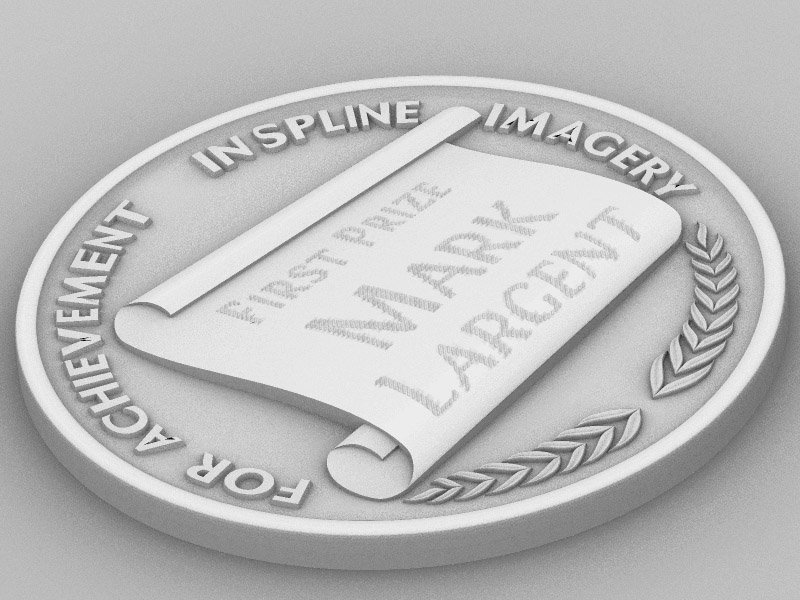
The medals for the 2017 "Summer Memories" Image Contest are finally done! Designed and modeled by me in A:M, 3D printed and cast in solid pewter by Ken Citron. They're in the mail! Genuine pine display plaques... E PANNIS ELEGANTIA... From Patches, Elegance. Reverse is personalized with the winner's name on the scroll of honor next... "Planes Trains Automobiles"

-
That's a lot of great looking stuff! Welcome back!
-
I'm impressed. That also has an Atom CPU Which I wasn't sure would even work.
-
See how it does with things like rotoscopes and image sequences. Do you know what Intel graphics chip you have?
-
First look at medal on genuine pine plaque...
-

A character I started working on yesterday
robcat2075 replied to jirard's topic in Work In Progress / Sweatbox
Great faces. I like imaginative faces. -
Amplitude new trial getting back into tinkering with it
robcat2075 replied to johnl3d's topic in Tinkering Gnome's Workshop
I bet you could make a character dance with that. -
I can almost hear her telling us to get our reading book out.
-
Not to worry, I'm sure the cigarettes got them first.
-
You were already in a subscription period, right? Wait for that to expire, then as Dan says, delete the master0.lic file. Other wise you are shorting yourself a few days of subscription, I think. If the above doesn't work, ask here again.
-
It was new in v16
-
If you are not using A:M's automatic back up feature you are missing out on a huge convenience. There have been many times when I've made a mistake that was too many steps and too many window changes to back out of with Undo. Having the last hour of of my work archived in five minute increments and being able to go back and find the last version before I made the mistake has saved a lot of rework.
-
Welcome to the A:M Forum! Introduce / Reintroduce Yourself
robcat2075 replied to Rodney's topic in New Users
Welcome back Michael! You can cycle through all the cameras by pressing 1 on the number pad. The camera you have currently chose in the viewport is the one that renders. -
If you dont' already have it installed, remember to copy the master0.lic file from your v19 folder to your v18 folder to activate it.
-
If you install v18 does it behave the same way?
-
Apropos of our recent "Plane Trains Automobiles" contest, here is a great industrial film made by GM in 1959 to give a sense of the process by which a new car is brought from the drawing board to the production line. Full-size clay model at 3:10 The drawing room at 5:25 ! All splines made with "french curves" I particularly like the robotic butt machine that tests the upholstery at 8:20
-
Famous Disney Nine-Old-Man Ward Kimball made this objet d'art for... Mother's Day?... his mother?... mothers in general?... I dont' know. I thought it was a pipe organ when i first saw it.
-
Steffen has been fixing Mac-specific bugs for years so i'm sure he's had it a long time. I presume there is. Try it... https://www.hash.com/get-it-now-15-en
-
Sorry, all I have on hand is a can of "Natural Light"
-
I haven't forgotten about this. I have noticed that there is a bug in v18 and v19 the make "Opacity over life" percentage not work properly.
-
Hi Gerald! Yes Steffen has a Mac. It is a mac that can only be updated to OSX 10.13.6 so that is why that is the last that will can supported.
-
Wow. I'm sorry you've had so much mac trouble. I may still have some of the files you sent me when we were talking about lighting and things. An activation code is only good for one machine. It is meant to be used on the machine it was installed on and not transferred. The release notes for v19 say that "latest supported version is OSX 10.13.6". I'm not sure if that is before or after 10.9
-
Imagining what "diamond etching" might look like...