robcat2075
-
Posts
28,241 -
Joined
-
Last visited
-
Days Won
399
Content Type
Profiles
Forums
Events
Everything posted by robcat2075
-
If you dont' already have it installed, remember to copy the master0.lic file from your v19 folder to your v18 folder to activate it.
-
If you install v18 does it behave the same way?
-
Apropos of our recent "Plane Trains Automobiles" contest, here is a great industrial film made by GM in 1959 to give a sense of the process by which a new car is brought from the drawing board to the production line. Full-size clay model at 3:10 The drawing room at 5:25 ! All splines made with "french curves" I particularly like the robotic butt machine that tests the upholstery at 8:20
-
Famous Disney Nine-Old-Man Ward Kimball made this objet d'art for... Mother's Day?... his mother?... mothers in general?... I dont' know. I thought it was a pipe organ when i first saw it.
-
Steffen has been fixing Mac-specific bugs for years so i'm sure he's had it a long time. I presume there is. Try it... https://www.hash.com/get-it-now-15-en
-
Sorry, all I have on hand is a can of "Natural Light"
-
I haven't forgotten about this. I have noticed that there is a bug in v18 and v19 the make "Opacity over life" percentage not work properly.
-
Hi Gerald! Yes Steffen has a Mac. It is a mac that can only be updated to OSX 10.13.6 so that is why that is the last that will can supported.
-
Wow. I'm sorry you've had so much mac trouble. I may still have some of the files you sent me when we were talking about lighting and things. An activation code is only good for one machine. It is meant to be used on the machine it was installed on and not transferred. The release notes for v19 say that "latest supported version is OSX 10.13.6". I'm not sure if that is before or after 10.9
-
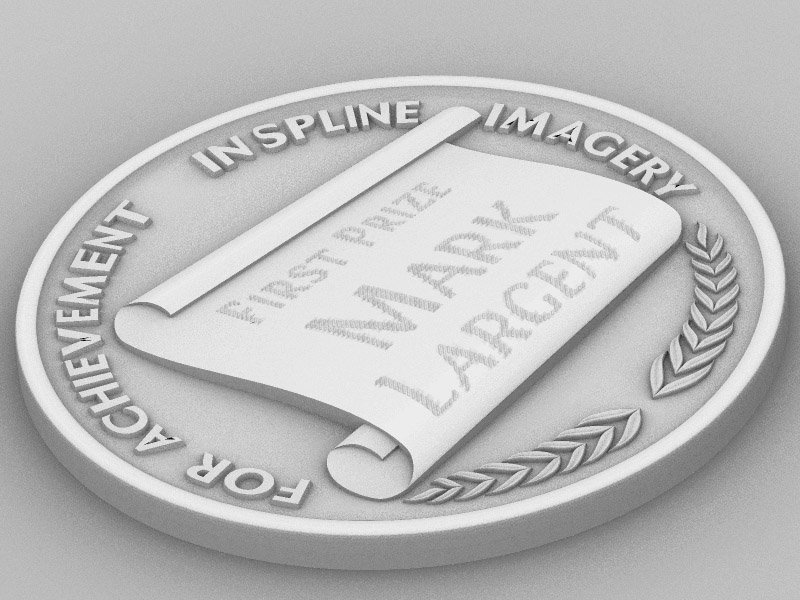
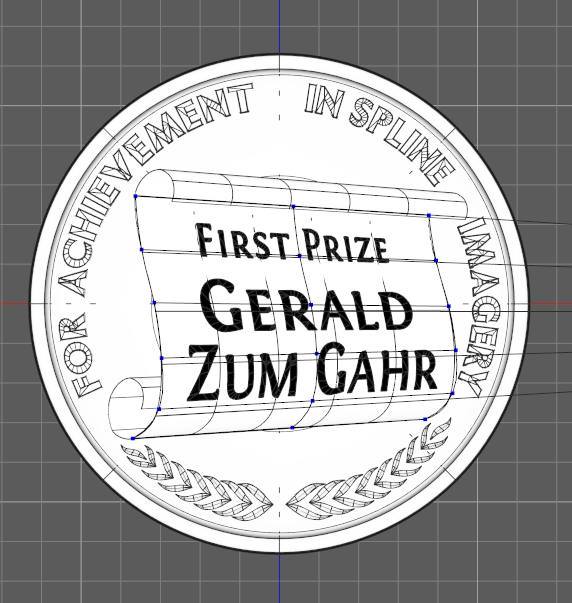
Imagining what "diamond etching" might look like...

-
Here is a quick look at using the Distortion Box to transform text in perspective without having to plan the placement and curvature in advance.
-
It's my fault. The personalization on the back was done with a laser ink process that could image any b/w bitmap onto the metal. It was easy to warp spline fonts with a D box in A:M to match the curvature of the "scroll" it appeared on and then render that to get the bitmap. The concept was good but in practice the laser ink was kind of blurry and unreliable so this time we will try "diamond etching" to put the text on. the diamond etcher can't take a bitmap as input, it requires a vector file and I haven't figured out a way to accurately get from the warped font bitmap to a .eps or .ai vector representation of that without manually tracing it nor have I found a way to export the warped spline fonts directly to a vector art format.
-
That's an old "Get Smart" joke. Before your time. 😀
-
Those are the second biggest icons I've seen today.
-
Here is a potential scenario that might work for baked animation. Model and smartskin your Character A. Use the Group constraint to attach a small bone to every CP that is in the Smart Skin Animate Character A and bake the bone motion including the bones following the Smart Skin Create a copy (B) of your Character A that has Group Constraints deleted Every Character B CP that was in the Smart Skins is attached to the bone that was Grouped Constrained to it in the Character A version. In a Chor, drop the baked Action that was made from Character A onto Character B. The bone motion that was created by bones following Smartskin in Character A will now move CPs in Character B. This would be tedious to do manually but a wizard could be made to do step 2 and step 5 would be done with Auto-Assign bones. If one of us knew C++ and could write wizard like that... hmmm... if only one of us knew...
-

Planes Trains Automobiles Image Contest Results!
robcat2075 replied to robcat2075's topic in Contests/Challenges
Note to all the Hash Store gift certificate winners... there is some problem with the Hash Store site. I will PM you when i am able to try sending them again. -
I'm surprised that the constraints work. i presumed that everything was getting baked onto a set of FK bones. Or maybe that is what happens? If you had a character who was constrained to point their hand at some object that a game player could move, would that work, or is all animation something that is baked?
-
Getting a convincing smoke look will be 99% of this. Getting it to move in some direction...1%
-
first pass mean first pass
-
Here's a first pass...
-
Is that the case for everything? It also can not handle "morph targets," as they are known in the polygon world?
-
playing with character free to use
robcat2075 replied to johnl3d's topic in Tinkering Gnome's Workshop
That monster is ready for the prom! -
No, i meant some video of an actual rocket doing this so we could study the motion. We need some reference for what we are trying to emulate.
-
Is this not something we can just see on the web if we had a link?
-
Can't see either one. I think "mpeg-4" compression doesn't work well and doesn't seem to play here. .mp4 will work if it contains h.264 compression