NancyGormezano
-
Posts
7,863 -
Joined
-
Last visited
-
Days Won
15
Content Type
Profiles
Forums
Events
Everything posted by NancyGormezano
-
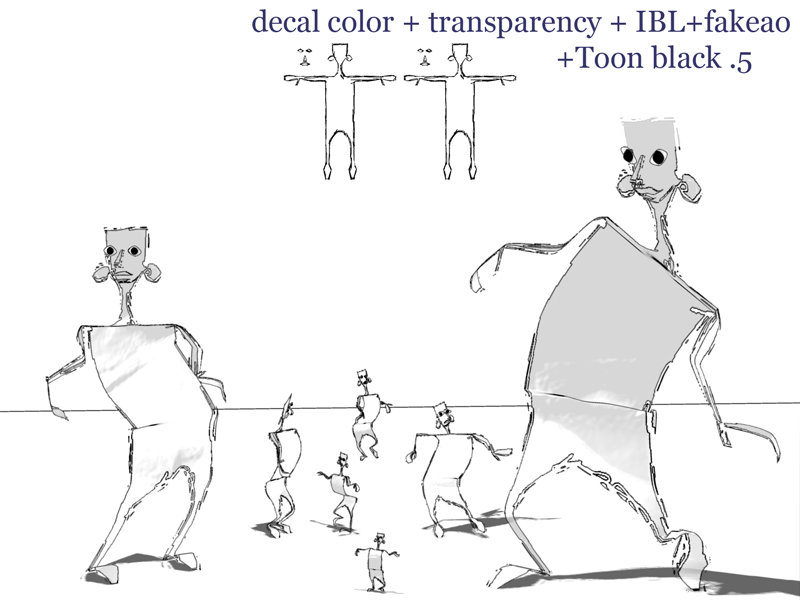
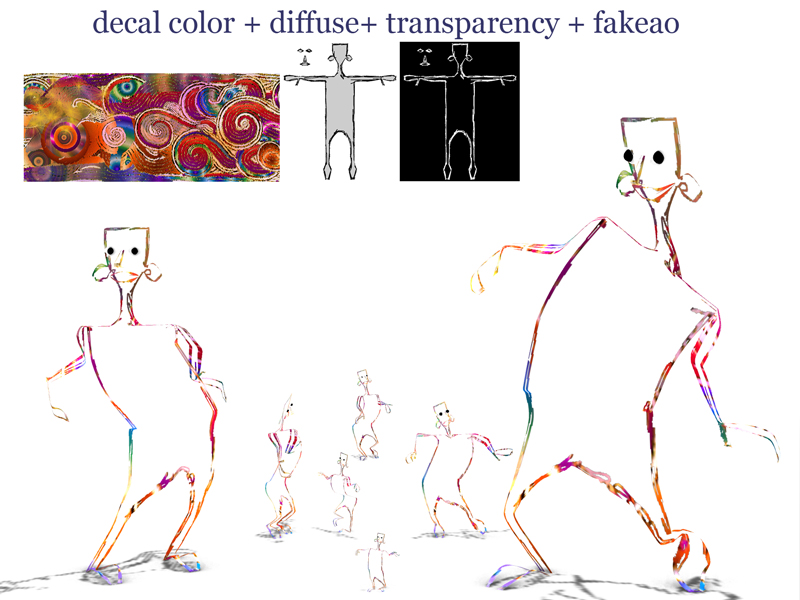
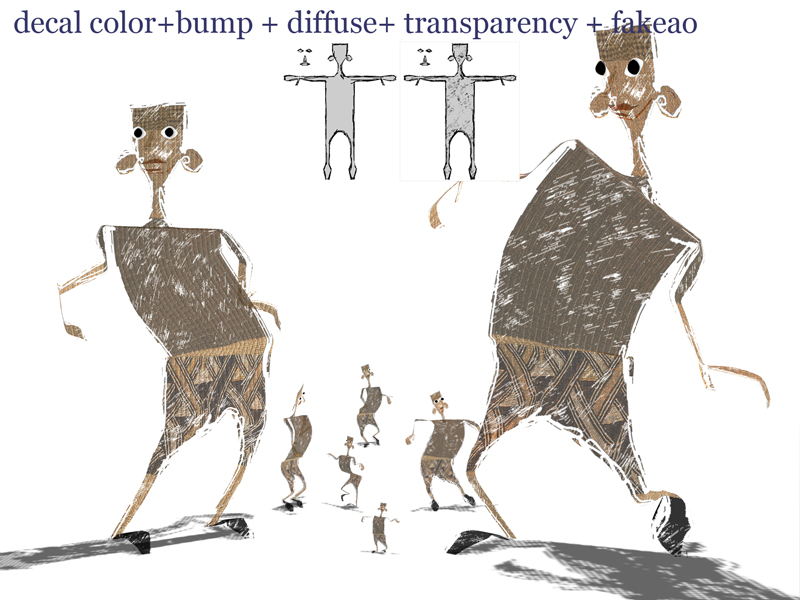
Here are some variations. All with 1 klieg (sometimes white, or orange), zbuffered shadows 60% dark, 1% soft, and global Ambiance - either color or IBL. Ground is front projected, flatshaded.

-
I've been doodling again with "paper dolls" and experimenting with a variety of ways to render "flat" characters, to sorta get a "scribbly" look. To document for myself (and hopefully others will find some seed to use), here are some of the variations on my Paper Man character - seen in this first image. I think I still like this render style best for these characters - but it was worth it to experiment for possible variations some other time
-
the other option is to generate a black & white sequence from your already existing pngs, and use that new sequence as transparency type in the same decal container as your original sequence (now changed to color type). For transparency type, Black = totally transparent, and white = totally opaque. Acts essentially the same as an alpha channel. Important: Your original sequence would now be a color type, NOT a cookie cut. However, not sure how well A:M reliably handles when there are 2 sequences to retrieve simultaneously (color and transparency) - but theoretically it should be able to.
-
definitely use alpha channels - and perhaps to be safe - it probably would work better generating a tga sequence, rather than a png sequence Pngs are handled funny (something flakey with PS and A:M), and using key colors where white is not always pure white, is not as trusty as alphas.
-
 terrific!
 -
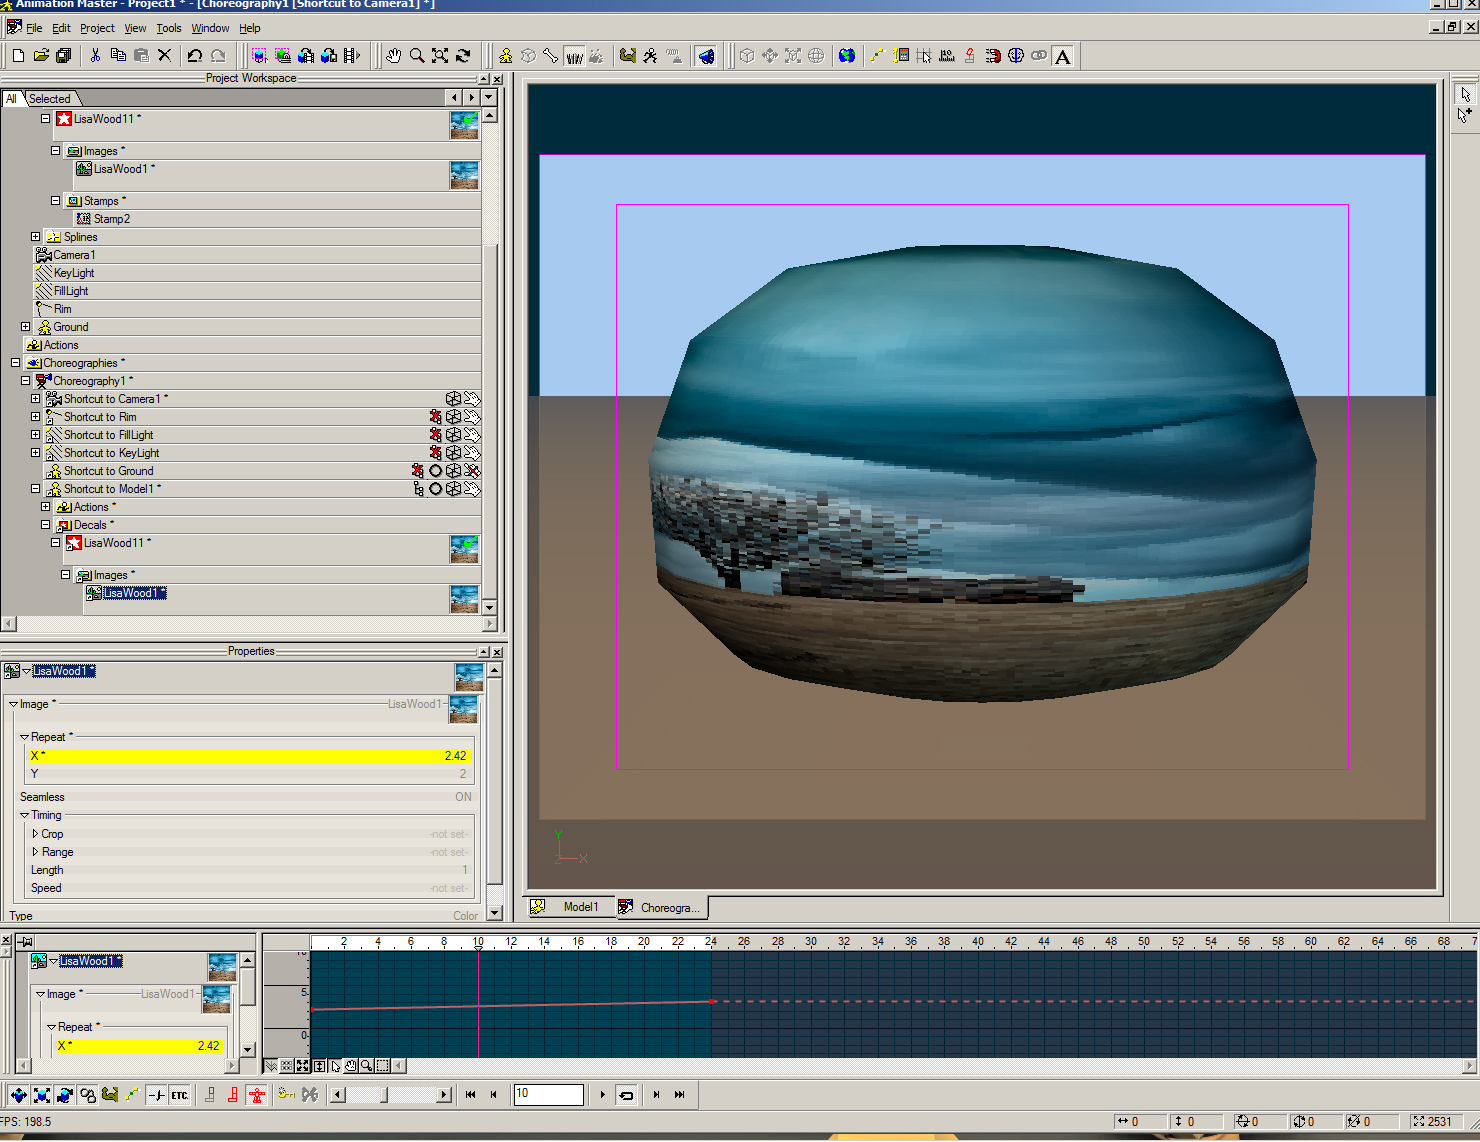
In this example - I animated a PLANAR map applied decal's repeat count from 1 x 1, to 3 x 1 with seamless turned on 1to3repeaPlanar0.mov
-
You can animate the image for the decal with the repeat count decal was applied with cylindrical map, the repeat count was 2 x 2 to start, and 3 x 2 at end EDIT: I had seamless turned ON, which is why screen cap looks different than rendered movie. "Seamless" prop can also be animated - but is just ON/OFF 2to3repeat0.mov
-
Thanks...but....Mahtt...Mahtttt....Mahhhhtttttt....you should know by now...me...I have RETIREDitis ...for 19 years...I don't think there is a cure.
-
Wonderful! Thanks Mr. Zundel. Fascinating to watch.
-
Thanks for the peeps!
-
I've been doodling & playing with my paper dolls. Rerigged the 2 legged man with TSM2, created new characters: woman and cat, retextured hippo, elephant, giraffe, man. Not sure where this is going (Need some hiking backgrounds). It was good to get back into doing something with A:M
-
oh that is very INTERESTING - a brief skimming of the images shows 5 pt patches ! I did not read the document for comprehension, so I am not sure of the details they are proposing. But I like a sketch based concept! (Seems to me some past Hash programmers went to Disney 6? years ago...hmmmm...wondering if Disney has been/is reading some of Martins papers and expanding? EDIT: nope, no references to Hash, but they do reference Catmull-Clark subdiv alg., btw, Ed Catmull was Martin's PHD advisor)
-
After you've turned on "show more drivers" in the chor for the model, and have expanded the decal container, you should be seeing a percentage setting - make that 0 I see you found a method - but not sure about switching FRAMES? - just need to manipulate the percentage of the "damage" decal and "NOT damaged" decal
-
Cute! Blobbies! change color, and toon render
-
I'm impressed. (I like my nerds sounding geeky!) And now, ever more easier, addictive toys, helping humanity to not have to interact with the people sitting next to you...iphones...pffft...take those holograms to dinner, and out for a date!
-
I have tried your project - I notice that with toon render ON (which was NOT set in the project) - the problem occurs (with z-buff shadows, and ray trace, and shadow dark = 100%). With Toon render OFF (shadows = zbuff) there is not the same problem All frame 12 (17g PC) - Final, no MP 1st image: Toon ON, ray trace shadows 2nd: Toon ON, z buff shadows (darkness = 100%) 3rd: Toon OFF, z buff shadows (darkness = 100%) EDIT: 4th: Toon ON, z buff (darkness = 30%)
-
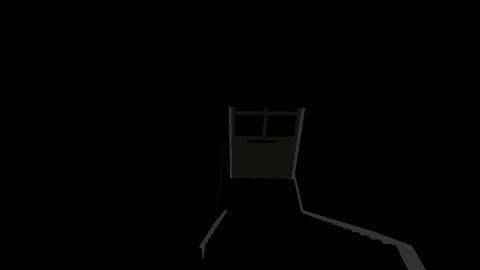
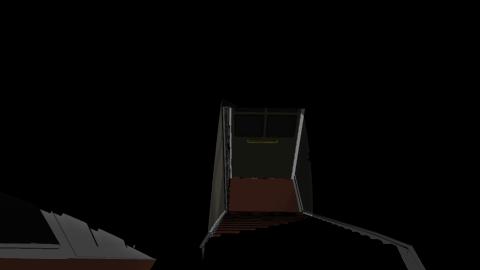
would need more info to help - would need to know where the lights are relative to models, and how they move. A top view might help. not sure where you think the light leak is (would help if you posted image of one frame showing where the light leak is) However, IF you mean the door & along the side of the stairs (when there is not any light moving ie, first frame), then it looks like the surface properties of those groups might have some ambiance percentage set.
-
If you are using 2008 rig: do for both Left & Right set Hands/Show Finger Controller =OFF and Hands/FingerThumb Options/Show Finger Controls=ON
-
It Can't Be Decaled! Face Painting
NancyGormezano replied to robcat2075's topic in A:M Tutorials & Demos
I tend NOT to use flatten. I find there is more control with which, and how patches get "flattened" by using scaling on z axis (set z-pivot =0, set scale = 0%) 1) hide all cps NOT to be decaled 2) In a pose, move cps so that patches usually obscured by other patches get spread out 3) From front view (with show manipulator properties ON): Select all the patches (cps) - select scale tool, set z pivot = 0, set z scale = 0% 4) If necessary, move cps more in pose, to reveal and space the flattened patches 5) from PWS, rt click on model's name, select new, decal, (position image), select apply, stop positioning
-
I have a feeling that in Malo's expert hands, he could use his method to create ANY type of character - realistic or cartooney (same with Will's method or anyone's else's) For me the beauty of Malo's method is that I don't have to rethink about how to attach parts, nor how many spline rings, etc. It is a matter of building up detail by adding splines to an already existing shape, insuring probably a less dense model, which is best for rigging and animating. One comes to realize that the same spline topography/topology can create any character.
-
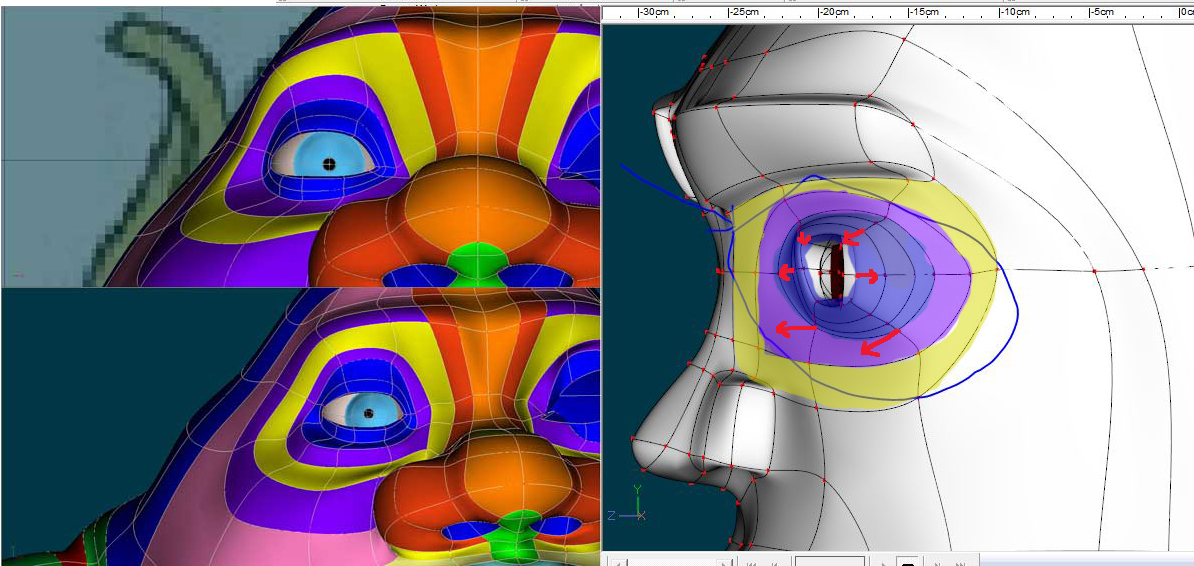
Not sure if this will help you - but if you take a look at what Malo did with his character and how he shaped the eyelids, and eye hole around his characters eyeball, it might give you an idea as to how to shape those cps, spline rings for your character. Hard to tell without seeing your roto, as to the shape required for your character. Malo was giving his character bags under the eyes (you don't have to be that extreme of course) Also I am thinking that the eyeball you are using might need to be scaled larger ? (And yes eyelids, eyehole shape also tend to confuse me at first as well).
-
excellent and very useful new feature!
-
It will never be perfect. I think perhaps your weighting shows that the lower hip is not influencing the joint movement. It is hard to tell without seeing where the pivots/bones are, and what you have set up for the weighting.. I typically do not use smartskins (too confusing for me) - I just go with cp weighting but Joints for me are usually modeled with 3 spline rings, and I just do simple weighting - easy for me to remember, so I don't have to reinvent a new scheme for each new model.
-
It Can't Be Done! Heart of Glass
NancyGormezano replied to robcat2075's topic in A:M Tutorials & Demos
nice! (well done, as usual). I look forward to part 2 -
Oooooo...nice user interface for the face rig !