R Reynolds
-
Posts
176 -
Joined
-
Last visited
-
Days Won
47
Content Type
Profiles
Forums
Events
Everything posted by R Reynolds
-
I've never been happy with the recorded sound of my own voice, too nasally with no resonance...but I'll take it any day over sounding like Dick "I am not a crook" Nixon.
-
Glad you enjoyed it Matt. You started this with your suggestion, now I'm hooked on tweaking camera moves...will have a refined shot sometime next week. It disappeared last month for reasons unknown. At that time I let Hash Support know about both the missing thread and the fact that the links to my tutorials are broken but Support (I assume Jason) hasn't got around to them yet. No big deal, the fact that nobody has complained to me about the broken links since the server change-over means demand is low.
-
I can't wait to find out why you did the copy-flip-attach before getting the correct shape. Oh the suspense!
-
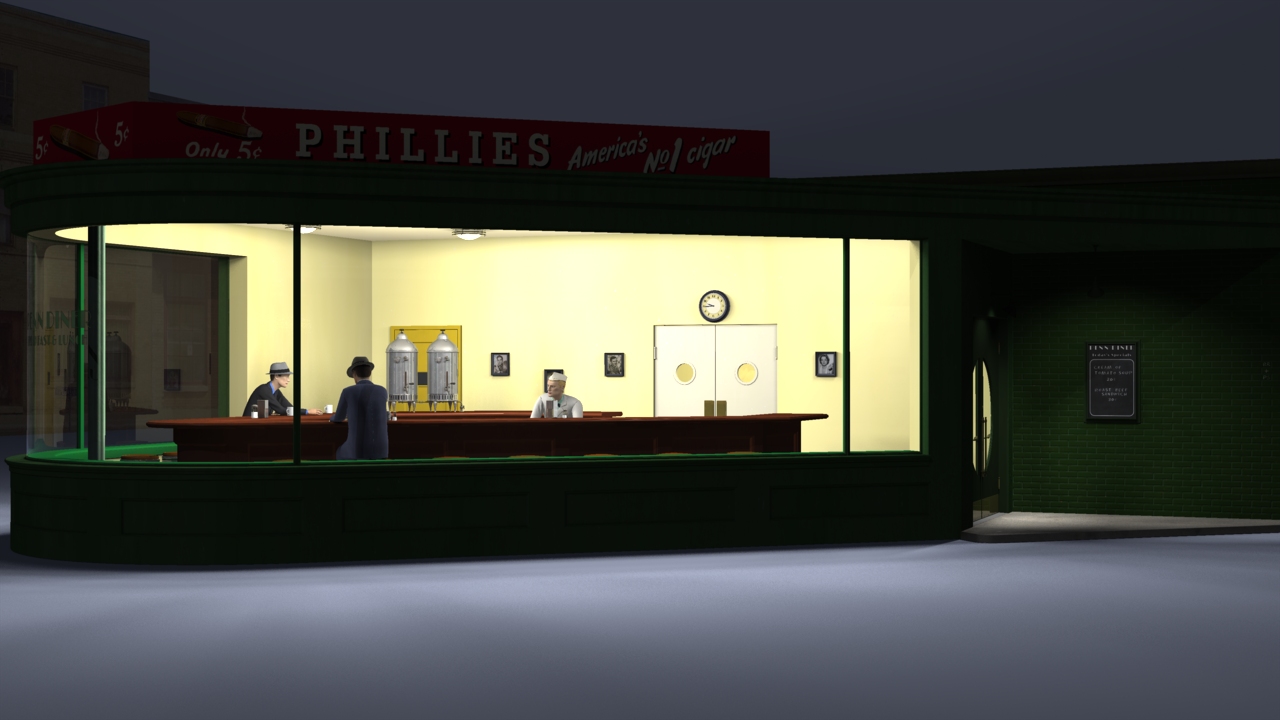
Here's a 10 sec pull-back shot. I need to play with the ease so the camera dwells a bit at the start and finish. I was really worried that the ray-traced shadows on the ground would scintillate but I seem to have enough rays, lights and frame passes.Phillies_shot_A.mpg
-
I agree Matt, I'd like to see that too. Currently at frame 155 (427 x 240) of a 300 frame shot. Should be finished sometime on Sunday. While I may agree with you in principle Matt, she's going to be in the powder room for the foreseeable future. I've been constructing Phillies since Nov. 2013. I've been focused purely on the male actors since Nov. 2014 and I shortcutted them by using the head and hands of Jim Sherwood's barbarian since that was the only male model I could find that had what I consider acceptable realism. At this point, I'd only include the "dame" if Sherwood had left behind a "long haired, red-headed female in a sleeveless red dress contemplating her cigarette while sitting on a bar stool". You may think the shot needs the dame but I really need to move on to the rest of the set. Which is my plan once I've finished a red clutch and ash tray with a cigarette to imply the lady in red will return shortly.
-
Even though my previous thread for this model is gone, the model itself still progresses. I've added all the male actors and tweaked the light levels. The only thing that's left is charcoal suited guy's red-headed companion. For the sake of finishing and moving on, I may just have her off-camera while leaving behind some props to imply she'll soon return.

-
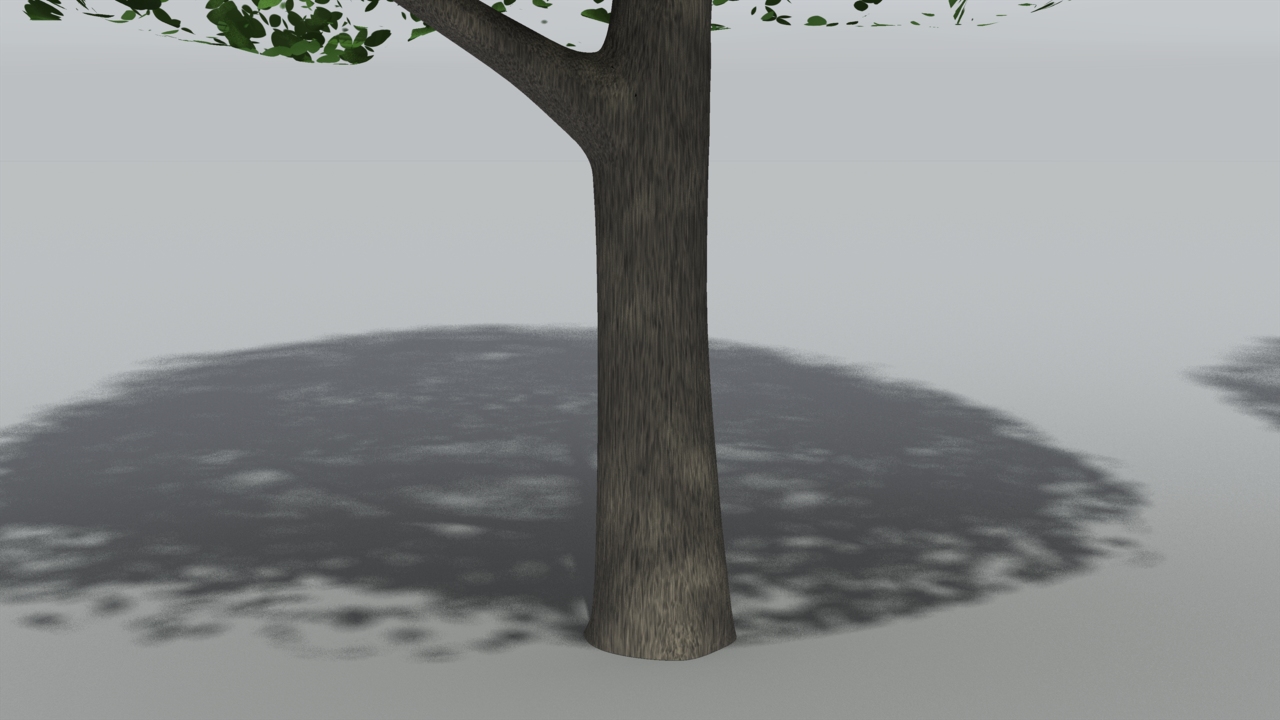
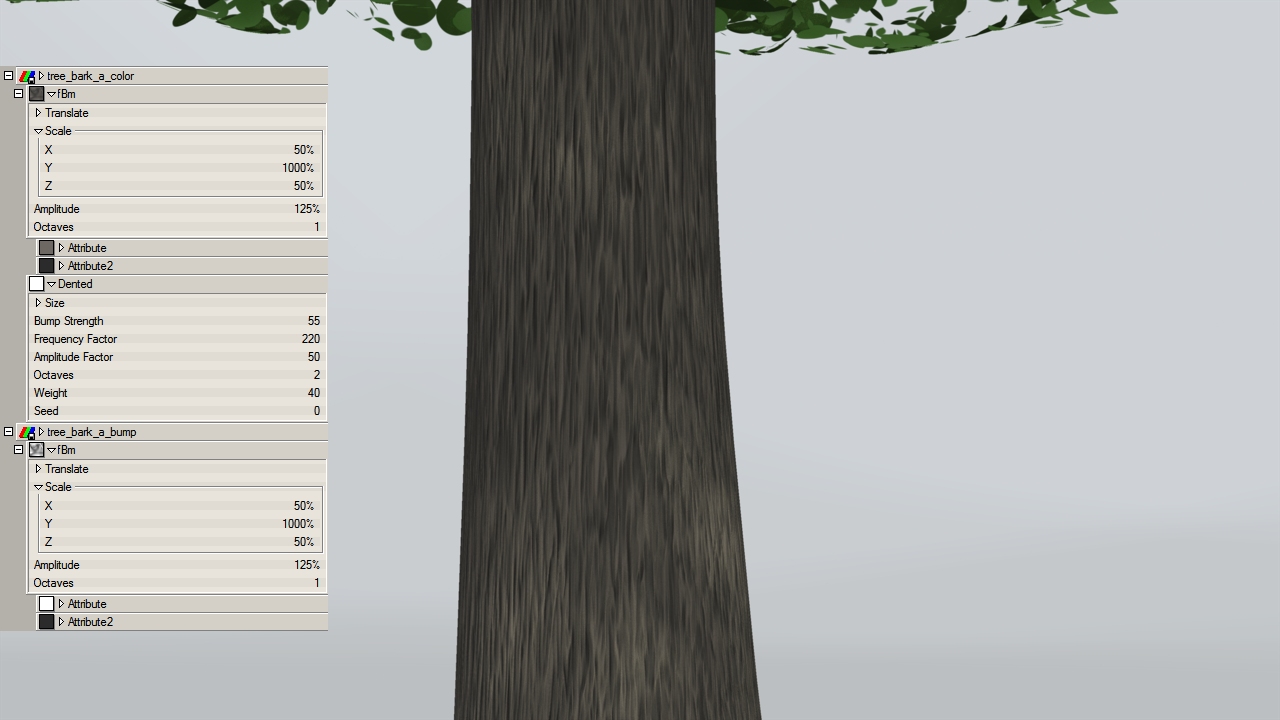
Although I had no intention of it being convincing in a close-up, my bark material is a combination of two simple materials, one for colour and the other for texture...although I also add some more texture by adding a Dented attribute to the colour. There are also some interesting bark materials in Darkling Simulations' "Wood" Repository. Of course, the big problem with procedural bark is it doesn't follow the flow of the branches. It only works along a linear axis.
-
When I click on the link in the previous post I get a "You do not have permission to view this forum" error.
-
These days, this is pretty much a standard manufacturing procedure for casting quick metal prototypes. They 3D print a "master" in a plastic that can be melted like wax and then run a standard investment casting process; not cheap but way faster than machining a block of aluminum.
-
Robert, In your Christmas greeting you said you bought the tube "accidentally". I'm curious how one buys a tuba accidentally ... you bought a new spit valve and they threw the attached tuba in for free?...you didn't realize it was the gift with purchase of a bottle of the cologne "L'air de brass"?
-
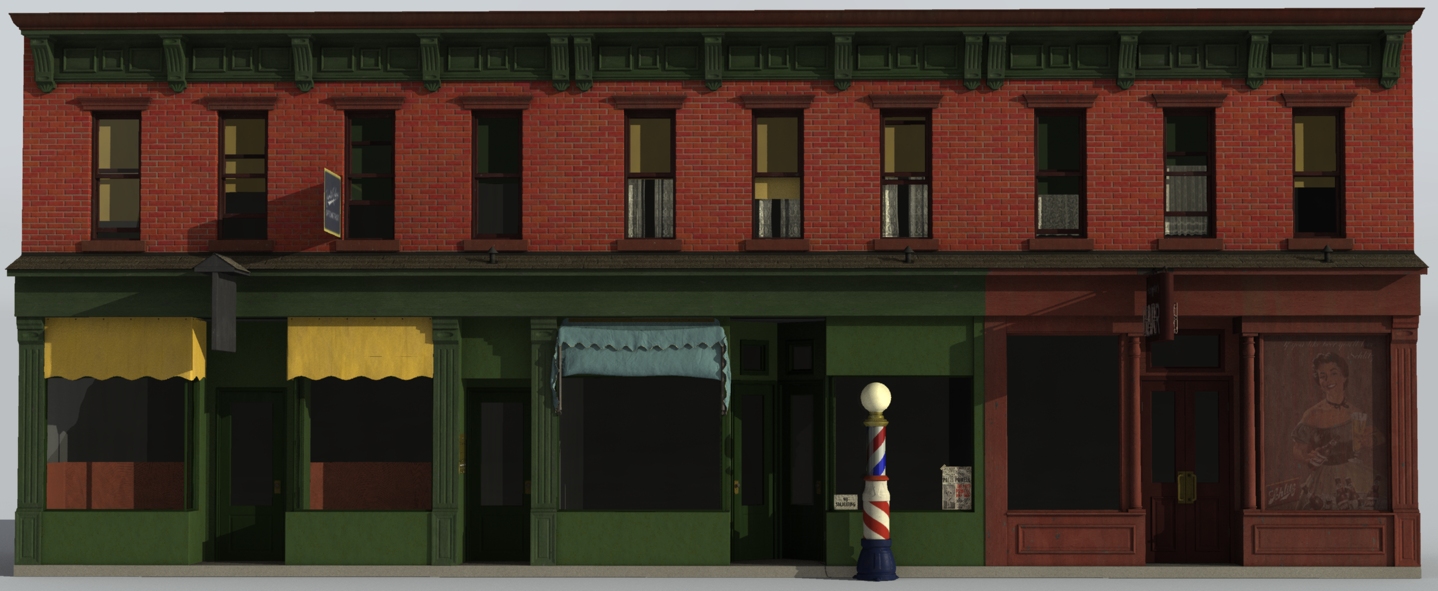
Early Sunday Morning Building
R Reynolds replied to R Reynolds's topic in Work In Progress / Sweatbox
You mean like these?
-
Early Sunday Morning Building
R Reynolds replied to R Reynolds's topic in Work In Progress / Sweatbox
Although there's more detail I could add, I think I'm going to declare the Hopper Building complete and move on to Phillie's Coffee Shop.
-
I think you need to look up adding a stride length to the action. Once the rotation has stride length you can lay down a path spline in the chor, attach the truck to the path and as the truck moves along the path, the wheels rotate as though they are touching the ground. For wheel rotational actions; the stride length is half the circumference of the wheel IN CENTIMETERS ONLY and the stride range is half the length of the action IN FRAMES ONLY e.g. if you have a 72 in. diam. wheel rotating 360 deg. in a 360 frame action, the stride length is 72 x 2.54 x PI / 2 = 287.27 and the stride range = 180 if the action is only 90 frames then the stride length still = 287.27 but the stride range = 45
-
You may find something useful in my brief automotive bones tutorial.
-
Early Sunday Morning Building
R Reynolds replied to R Reynolds's topic in Work In Progress / Sweatbox
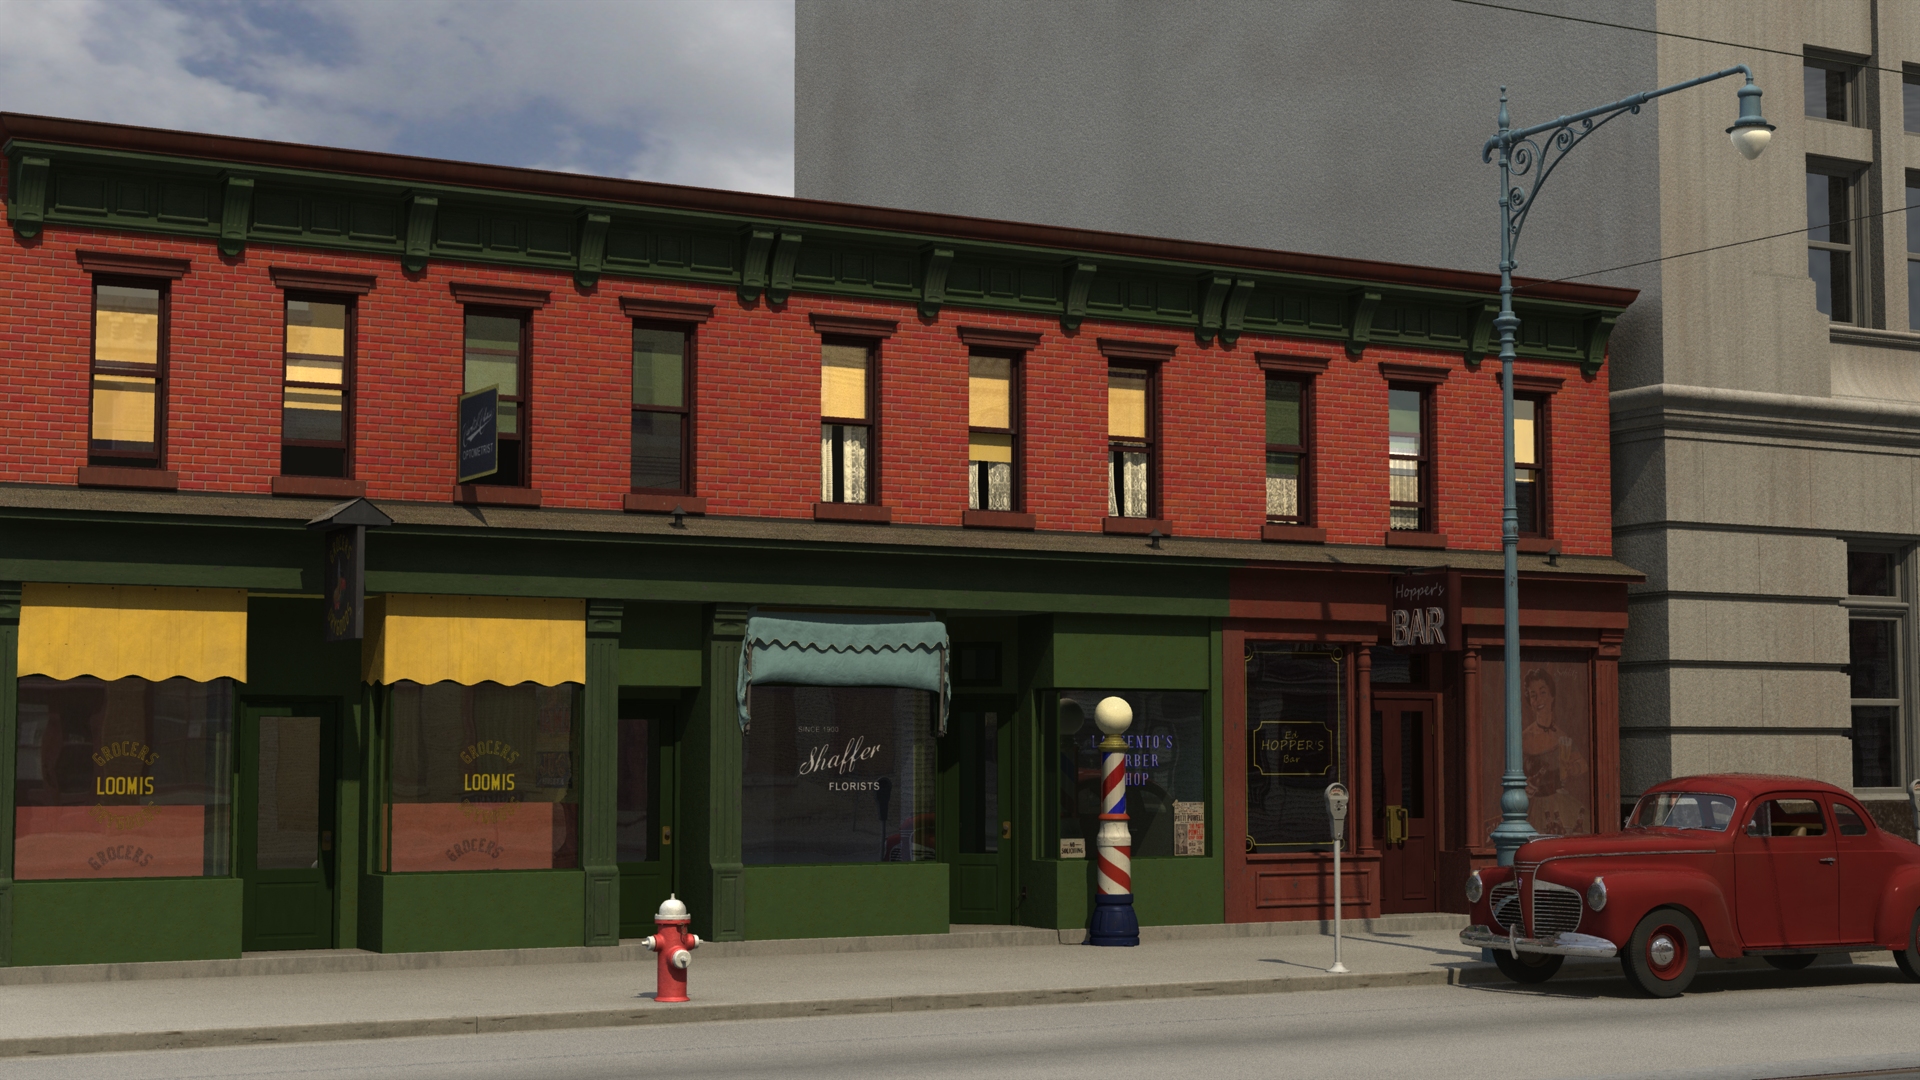
Signage for the grocers, florist and barber are complete.
-
Early Sunday Morning Building
R Reynolds replied to R Reynolds's topic in Work In Progress / Sweatbox
Back from vacation. I get a bit antsy not being able to get my daily A:M fix especially since the Hopper Building is almost finished. All exterior details and textures are applied; 2nd story is complete; 1st floor signage is next.
-
Early Sunday Morning Building
R Reynolds replied to R Reynolds's topic in Work In Progress / Sweatbox
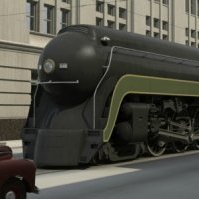
Textures and decals for the bar's hanging sign are more or less done. There's a dry goods store at the end opposite the bar, so no meat or dairy. However there will be a diner across the street. I have a vague concept of making a railroad based "music video" not unlike although not necessarily with that background instrumental (as great as it is). But at this stage in the process, it's more about the trip, not the destination.
-
Early Sunday Morning Building
R Reynolds replied to R Reynolds's topic in Work In Progress / Sweatbox
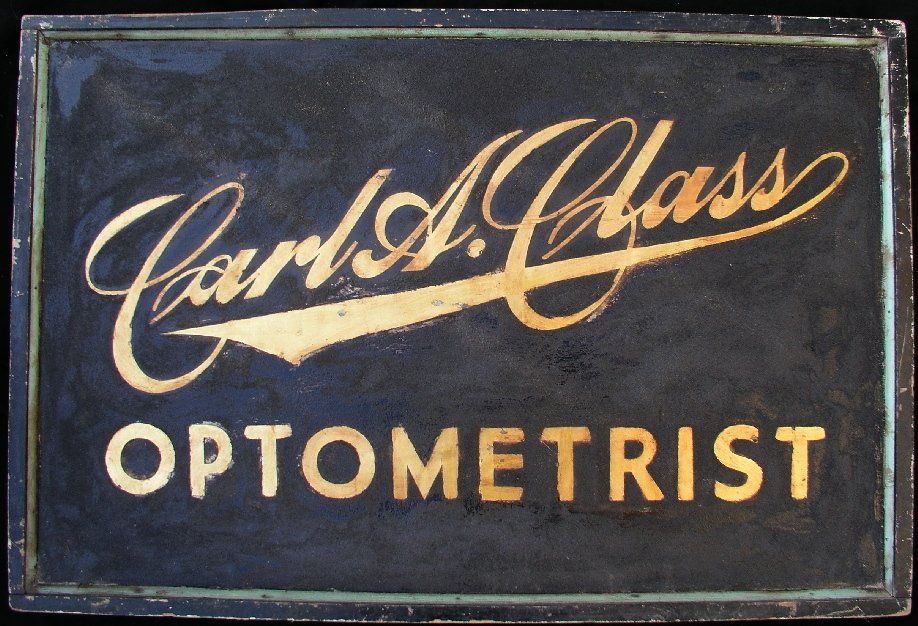
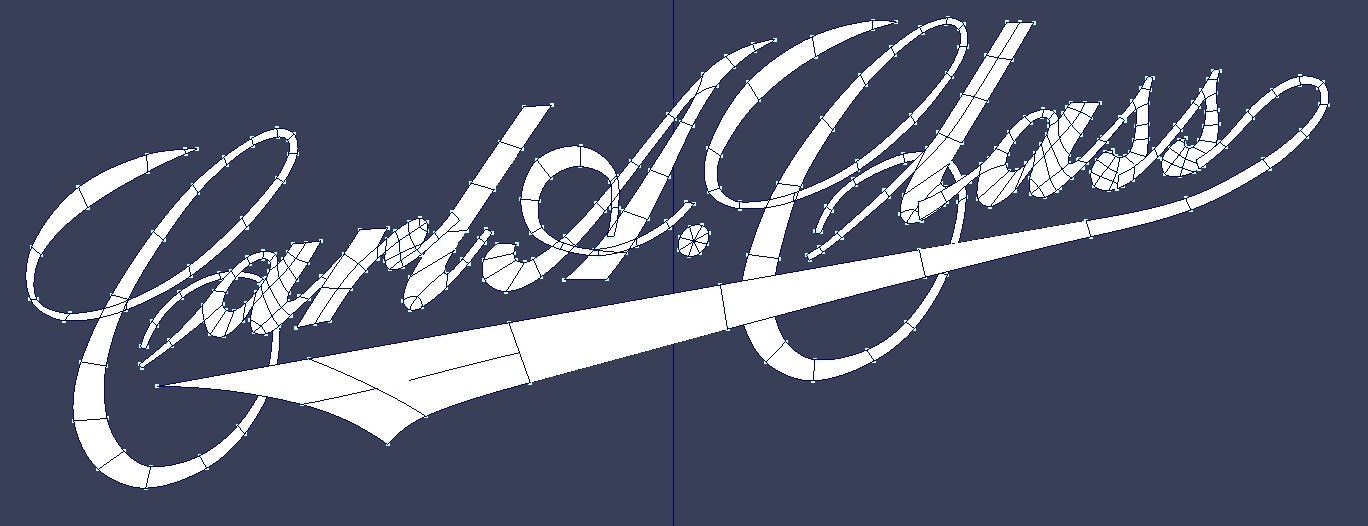
Image 1: I found this picture on the web while looking for prototype signs. I really like look of the proper name which seems hand painted by a commercial artist from another era. To make a matching decal, I was confident I could find a font that matched the "OPTOMETRIST". But since I preferred more resolution and didn't want my sign to look this beat up, "Carl A. Class" would have to be a retouched version of this original. However, after spending an entire evening in PSPro trying to improve "Car" and not being close to satisfied with the result, I knew it was time for a re-think. Image 2: My solution was to bring the name into A:M as a rotoscope and re-create the lettering with splinage. They're all flat planes so I didn't have to worry much about patch arrangement. Each letter is a separate mesh with the transitions being handled by careful placement at the overlaps. (This process convinced me the sign was hand painted because the models for the upper case C's and lower case a's and l' s are very similar but not identical.) A simple screen render gave me more than enough resolution. Image 3: This is just the bare decal. The final sign texture will need some more dirt, rust and weathering.
-
Early Sunday Morning Building
R Reynolds replied to R Reynolds's topic in Work In Progress / Sweatbox
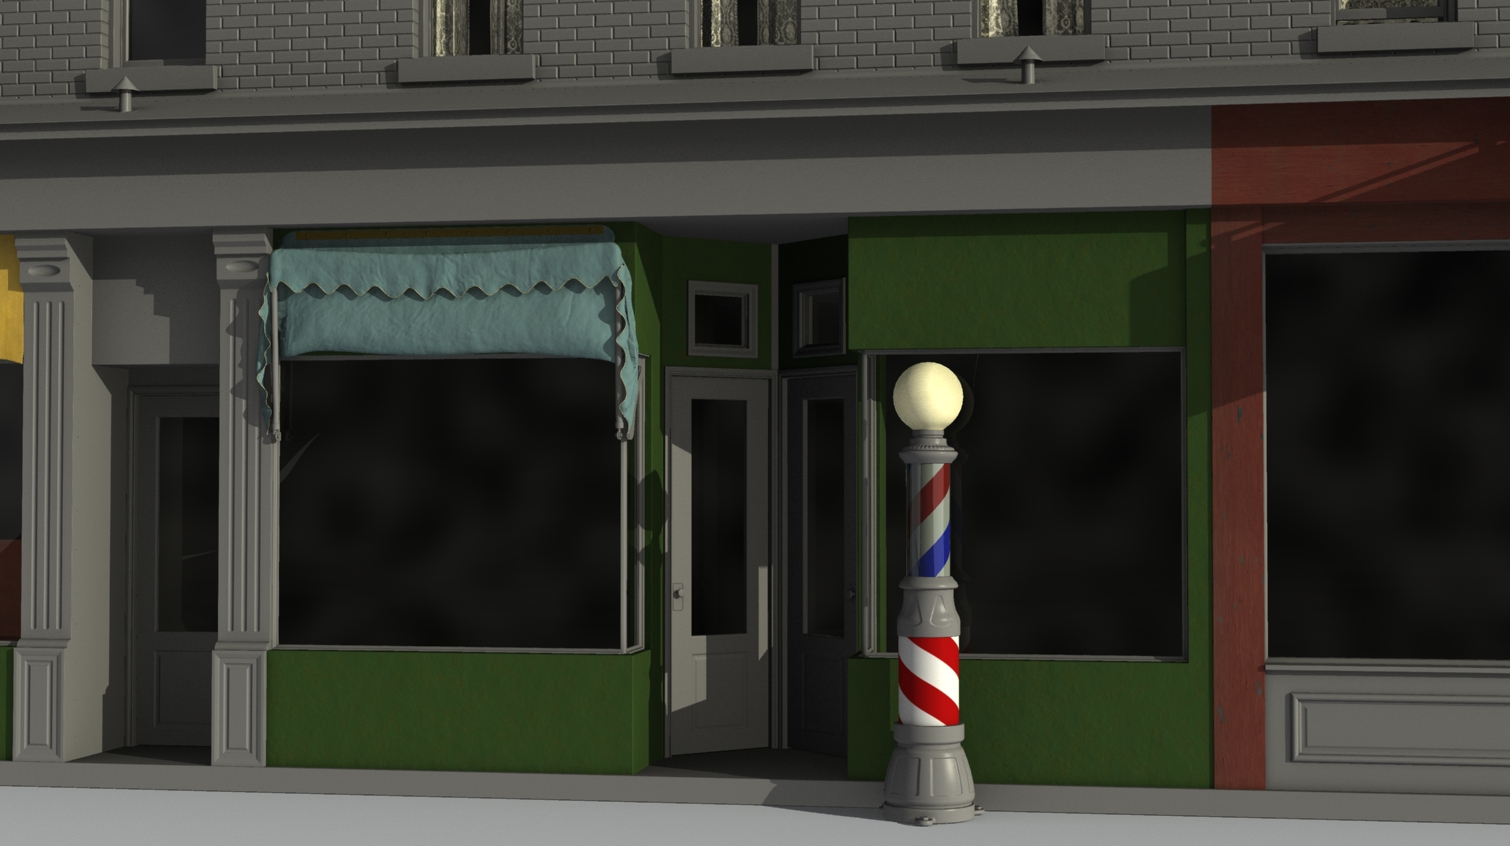
Image 1: Installed the mailbox insert in the alcove wall outside the door to the 2nd floor apartments; likely the last significant modeling addition for this building. From here on it's all tweaking textures ("tweaxturing"?). Image 2: Close-up of the more or less complete mailboxes. Most of it is splinage except for the piano hinge joints which are multiple instances of a single bump map, the "vent" holes which are a combination of color, bump, specular and reflectivity decals and the similarly decaled key slots. Image 3: More texturing especially the shingles over the 1st floor entrances. Image 4: Close-up of the more or less complete barber pole. Genius!. I never thought of that Yves, but you're absolutely correct. (I don't think Hopper wanted to deal with such highly foreshortened lettering so he "bent" the sign). However, it's my back lot, so it stays orthogonal.
-
Early Sunday Morning Building
R Reynolds replied to R Reynolds's topic in Work In Progress / Sweatbox
It's been sometime since my last update but I got distracted with taking a first stab at a new model after getting clearance to use someone else's design for Phillies. At any rate, the barber pole is in place. Its "graphics" are final but need to be dirtied up with underlying textures. The glass covering the red/white/blue helix is a bit too dark and I need to install an electrical outlet and cord to power the pole.
-
Thanks for the salutations, gents. And if you want to see my progress in one continuous page you can go here. This page is my first attempt at using images that scale to the window. It works fine on my desktop monitor but I'm wondering how it works on a much smaller screen. Is it useful on a tablet? Is it pointless on a smartphone?
-
Well done. A model this believable deserves a back light beyond her left shoulder, camera right.
-
Early Sunday Morning Building
R Reynolds replied to R Reynolds's topic in Work In Progress / Sweatbox
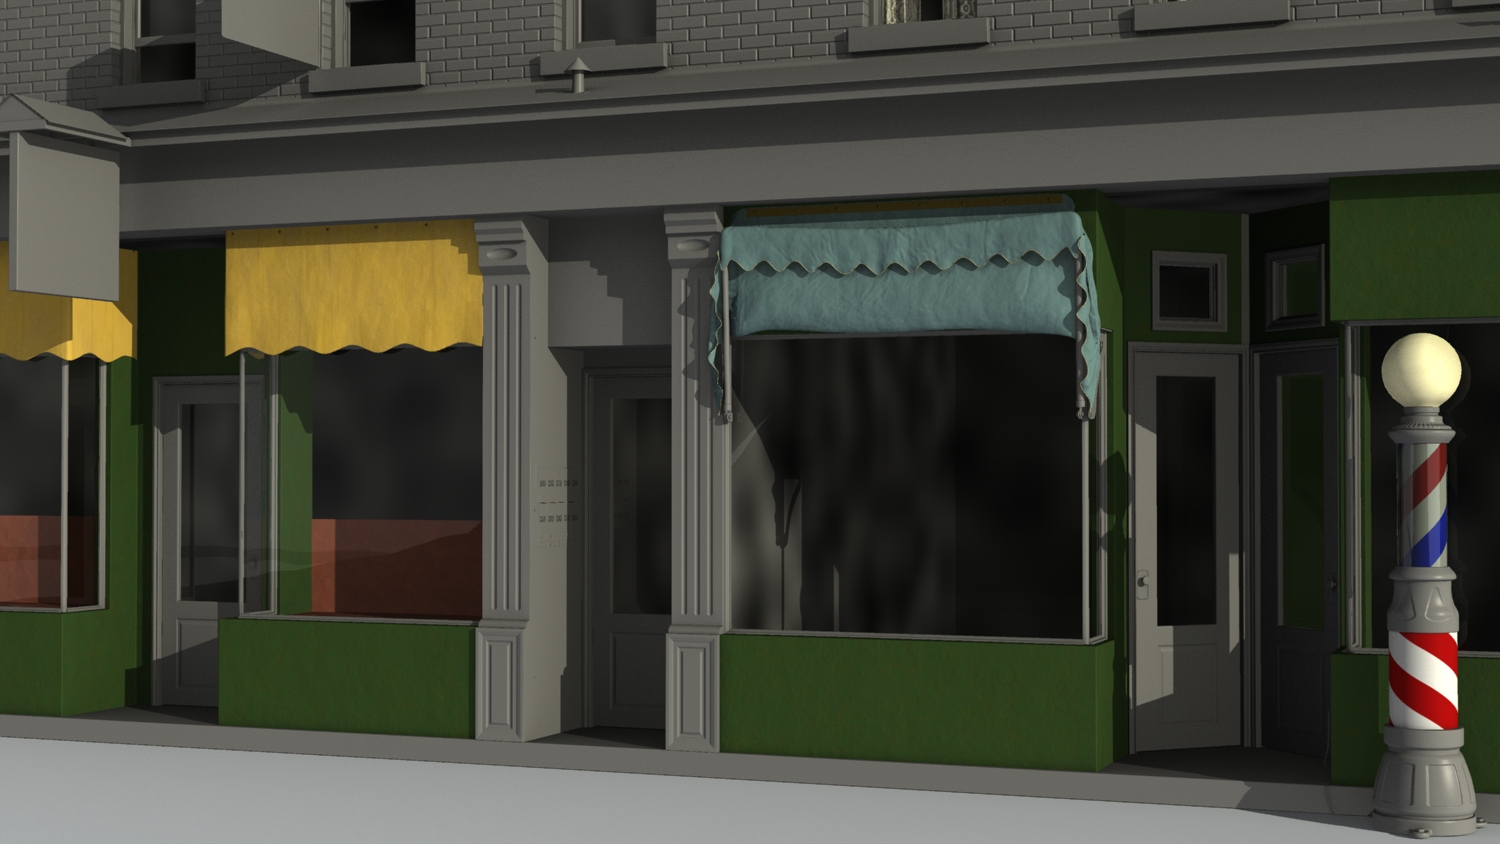
Windows treatments are done on the second floor and I finally finished the blue awning on the florist shop. Posing draped and wrinkled cloth is hard. I don't think I've ever had to re-spline a model so many times.
-
Yikes! The obsessive nit-picker in my head just had a minor coronary. You may find this rotoscope tutorial useful.
-
I'm not sure it's a rule but I've always felt that if the Hash programmer's gave us the grid and ruler tools to make models fit nicely into their math why not use them. So far the only thing I've modeled that isn't full size is my sky dome which is 3 miles (4.8 km) in diameter. I'm curious as to what causes a scale other than full to feel more comfortable to you.