Zaryin
-
Posts
2,728 -
Joined
-
Last visited
-
Days Won
4
Content Type
Profiles
Forums
Events
Everything posted by Zaryin
-
To help with the render hit I would use the 8-light skyrig by Yves. It should help enough with the floating thing and won't be as big a render hit as the other lightrigs.
-
Since everyone else in the entire world is in...
-
Hey John, he's looking awesome so far. Love the armor.
-

First Animated Short Film Complete
Zaryin replied to flashawd's topic in Work In Progress / Sweatbox
THat must have taken awhile. That's one flippin' kung-fuin' piece of gum. -
I loved that. Very creative.
-
Except for the poel (which you mentioned), it looks fantastic! I love the lighting, textures, perspective, etc... Great job on this room.
-
To a guy who is not too good at mechanical modeling (me:)) it looks great.
-
Haha, great character.
-
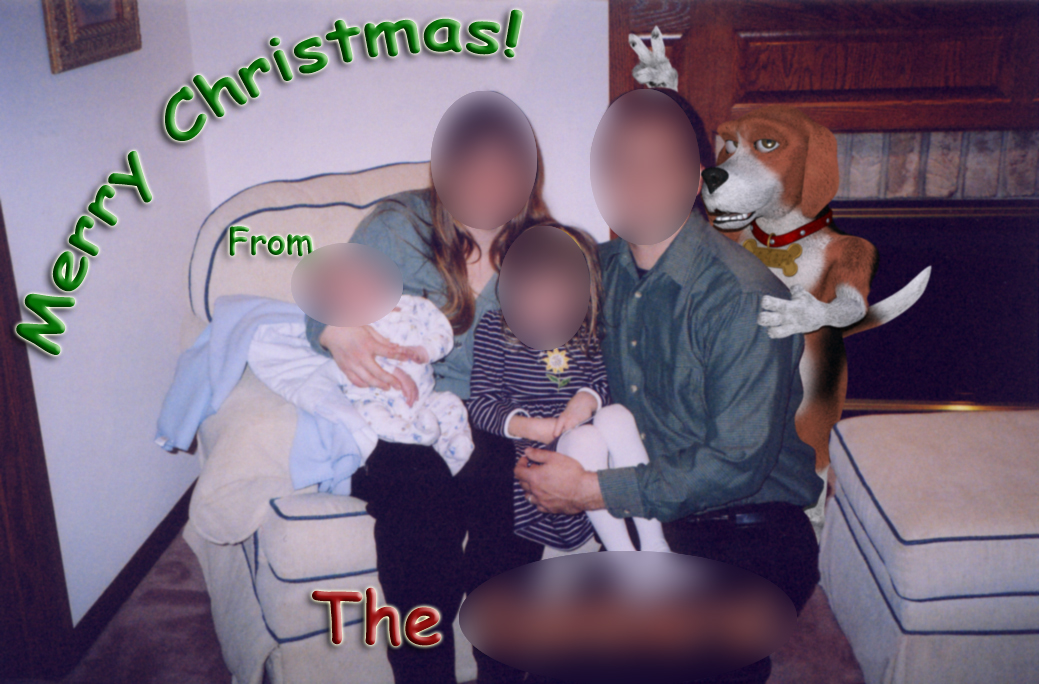
Thanks for the comments, guys. Ken: Yeah, it is wierd, haha. I think it's just the angle of the head. Both eyes are looking at the camera. I decided not to do anything about it, because I made this as a joke to my friend. Dhar &gsellis: All of the picture (except for the words) was done in A:M. 1: Take a Picture, any Picture. Here I used a friend's since it was handy. 2: Bring Pic into A:M as a Camera Rotoscope in the Chor. 3: Create a simple Wall and Floor Model and bring it into the Chor. 4: In the Chor line up the picture's wall and floor with the model you made as good as possible. Move only the camera, not the model. 5: Set the model for Front Projection and Flat Shaded and Cast and Receive Shadows (shadows depends on exectly what you are making). 6: Set the Chor Mode to Muscle Mode (Muscular arm icon at the top of the program). And tweak the model's control points until they match the Picture's wall and floor exactly. 7: Switch the Model Mode inside the Chor (Thom icon on top of the program). Using the Picture as reference (remember that this in done in the Chor) add cps around the area that you will want the picture to be Projected on. (In my case the Guy and the Footstool are what I am interested in.) These extra cps will be added to your Wall and Floor Model. 8: Go to your Wall and Floor Model. Connect your outlines to form a solid surface. Since it's part of the Floor and Wall Model it will automatically take the Projected Picture. 9: Bring in your character and place it in the chor behind the objects you just made (Not behind the wall ). (For reference on what it looks like check out the second picture in the top post.) 10: Pose character in Chor or a seperate Action File. 11: Screw around with lighting until you get a match close to the picture. ( I used a bulb for the flash right above the camera. For ambient lighting I used the 8-Light Skylight Rig of Yves') 12: Render with Blur and Film Grain Post Effects placed on the the Camera in the Chor to help match your model with the Pic better. If I really wanted to do it well I would have made the models for the Guy and the Footstool in 3D intstead of flat planes. I think that covers everything.
-
Odd render anomaly with multi-pass skylights
Zaryin replied to R Reynolds's topic in Work In Progress / Sweatbox
This happens with me too. I just render small sections to see what my lighting will look like after 16 passes. I don't know why it does this. -
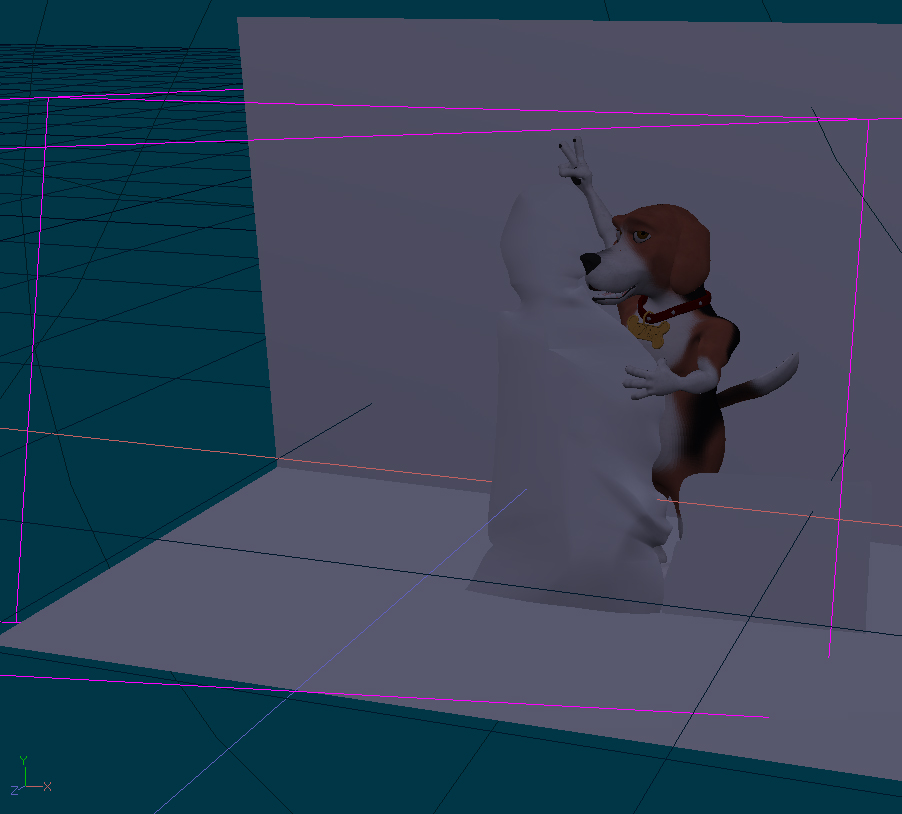
I made this card just for the hell of it. I wanted to try some front projection so I grabbed an older character of mine and used a family friends' picture and added the "Christmas" part. The funny thing is they liked it so much they are going to send it as an E-card, haha. I blurred out their face because I didn't really think they'd want everyone seeing them. Thanks for looking. Here's a 3-4th view in the chor too.

-
Wow, that was really nice. I wish you rendered the finished tree a little more so it's on the screen longer. Other than that, I thought it was great.
-
Nice render. How'd you get such small people to fit in your pipe?
-
I can't believe I missed this post. Great job so far.
-
I really can't believe you didn't enter either. YOu would have had one of my votes easily with this one. Very creative and beautifully done.
-
Yeah, I added my knee wrinkles with bump maps.
-
That was cool.
-
Love the game and love your dagger.
-
Haha that's funny as hell. Thanks for the inspiration .
-
Ha, that's great. Reminds me of an old one of mine I made a looong time ago.
-
Holy crap, what 3d package did you use foir that -- Polaroid? Just kidding . That's awesome looking.
-
Wow, your car is realling coming along. It's looking great.
-
Excellent Lego man, but I agree about the bricks. Can't wait to see more.
-
I love that ship. How long did it take to model and what did you use as reference?
-
I can't help with the RPM thing, but I had to comment on that sweet model! Nice decaling work there too.