-
Posts
28,222 -
Joined
-
Last visited
-
Days Won
398
Content Type
Profiles
Forums
Events
Everything posted by robcat2075
-
Try setting the volume in the chor to 99% instead of 100%
-
@mulls When do you need this done? This would be a great Live Answer Time topic.
-
Red indicates the Pose slider you are working on in a window NOW. You can freely move that to see the effects of your Pose. Moving it or leaving it set to a certain value doesn't create any permanent record. If you want a default setting for the Pose, set it in the User Properties. Pink flags other Sliders that have had settings altered while this current Red Pose was being edited. If you move the Red slider you will see the Pink sliders move also. If you have inadvertently created a key frame on a Pose slider while editing another, the easiest way to get rid of it is to go to the PWS folder for your current Relationship and delete the channel named for that other, unwanted Pose. I did a search on "red" and found the relevant passage on p. 74 of the TechRef. It is in the paragraph that begins... "For those familiar with previous versions of the software, the frame number, in a pose or smartskin window, no longer represents the value of the controlling property. Since the controlling property can be a multi-valued quantity like a rotation..." Hash has limited support resources these days. Come to the forum and someone can usually answer a question.
-
Sort of. Normally, any change or keyframe you make while working on a Pose gets incorporated into that Pose, even a setting to another Pose. Normally, when you make a change you want that change to get noticed. But sometimes, you want that change to get ignored. "Define Relationship" OFF is for that. The case in your PRJ is a classic example of the need to be able set a previously made Pose without that getting burned into another Pose. It's a very elite need and it is notable that A:M accommodates it.
-
When you need to have a Pose at a certain setting while working on a second Pose, Turn OFF the "Define Relationship" button while you set the first Pose, then turn it back on before you resume work on the second Pose. Turning that button OFF allows you to change settings without those changes getting keyframed into the current relationship. Forgetting to turn it back ON to do the real work is a frequent... D'OH! (It's a pair of handcuffs)
-
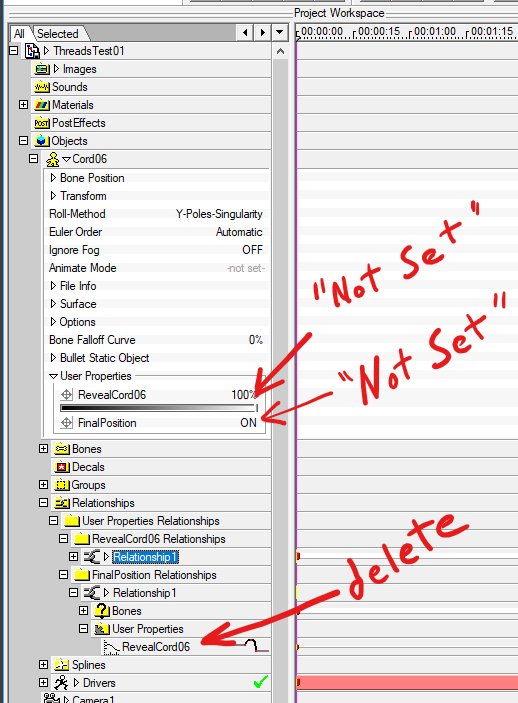
There are keyframes for "RevealCord06" in the "FinalPosition" Pose. There is a way to avoid that but for now... Set the two User Props to RMB>Not Set Delete the "RevealCord06" channel under FinalPosition Relationship then resave your PRJ.
-
I think it is the default setting for the Pose in the model In the properties in the original Model, set RevealCord06 to either 0% or RMB>"Not Set" Since you are making setting for that in the Chor, you don't want it to have a default greater than 0% in the Model.
-
You can find a discussion of the bias handle aimer in the v19o features list...
-
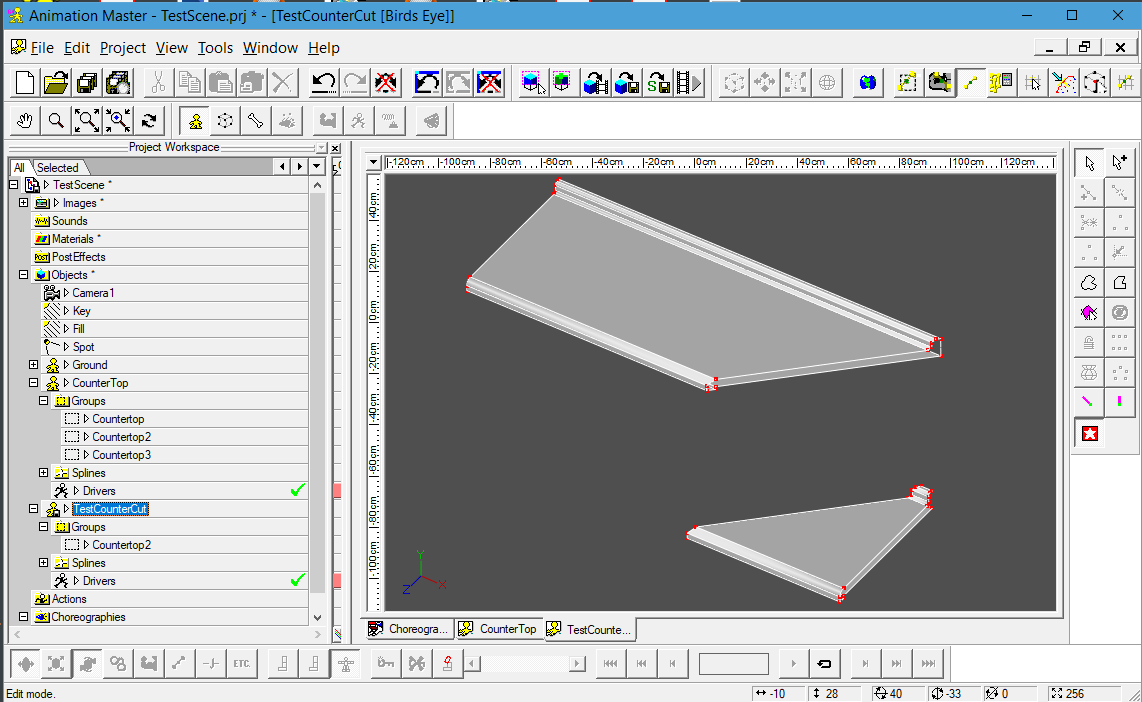
I was able to use Cut Plane on your shape without crashing... TestCounterCut.mdl There is an easier way to get a 45° angle on an extruded shape such as yours... clip5034RotateToAngle.mp4
-
I was able to use it in a simple case. Can you send me the model in a PM and a screencapture of how you have the Cut Plane positioned?
-
The archive video replay is up now. I think we could incorporate that into Pose settings so we could still use one model for each atom. You could make an ON/OFF Pose for each element that sets the size and color... or you could put them all on the continuum of one Pose slider.
-
Here is the result of today's efforts. Thanks for posing the question, Tom! PRJ: MoleculeGrowing006 GrowingStick.prj Render Preset: MoleGrow.pre Animation: MoleGrow.mp4
-
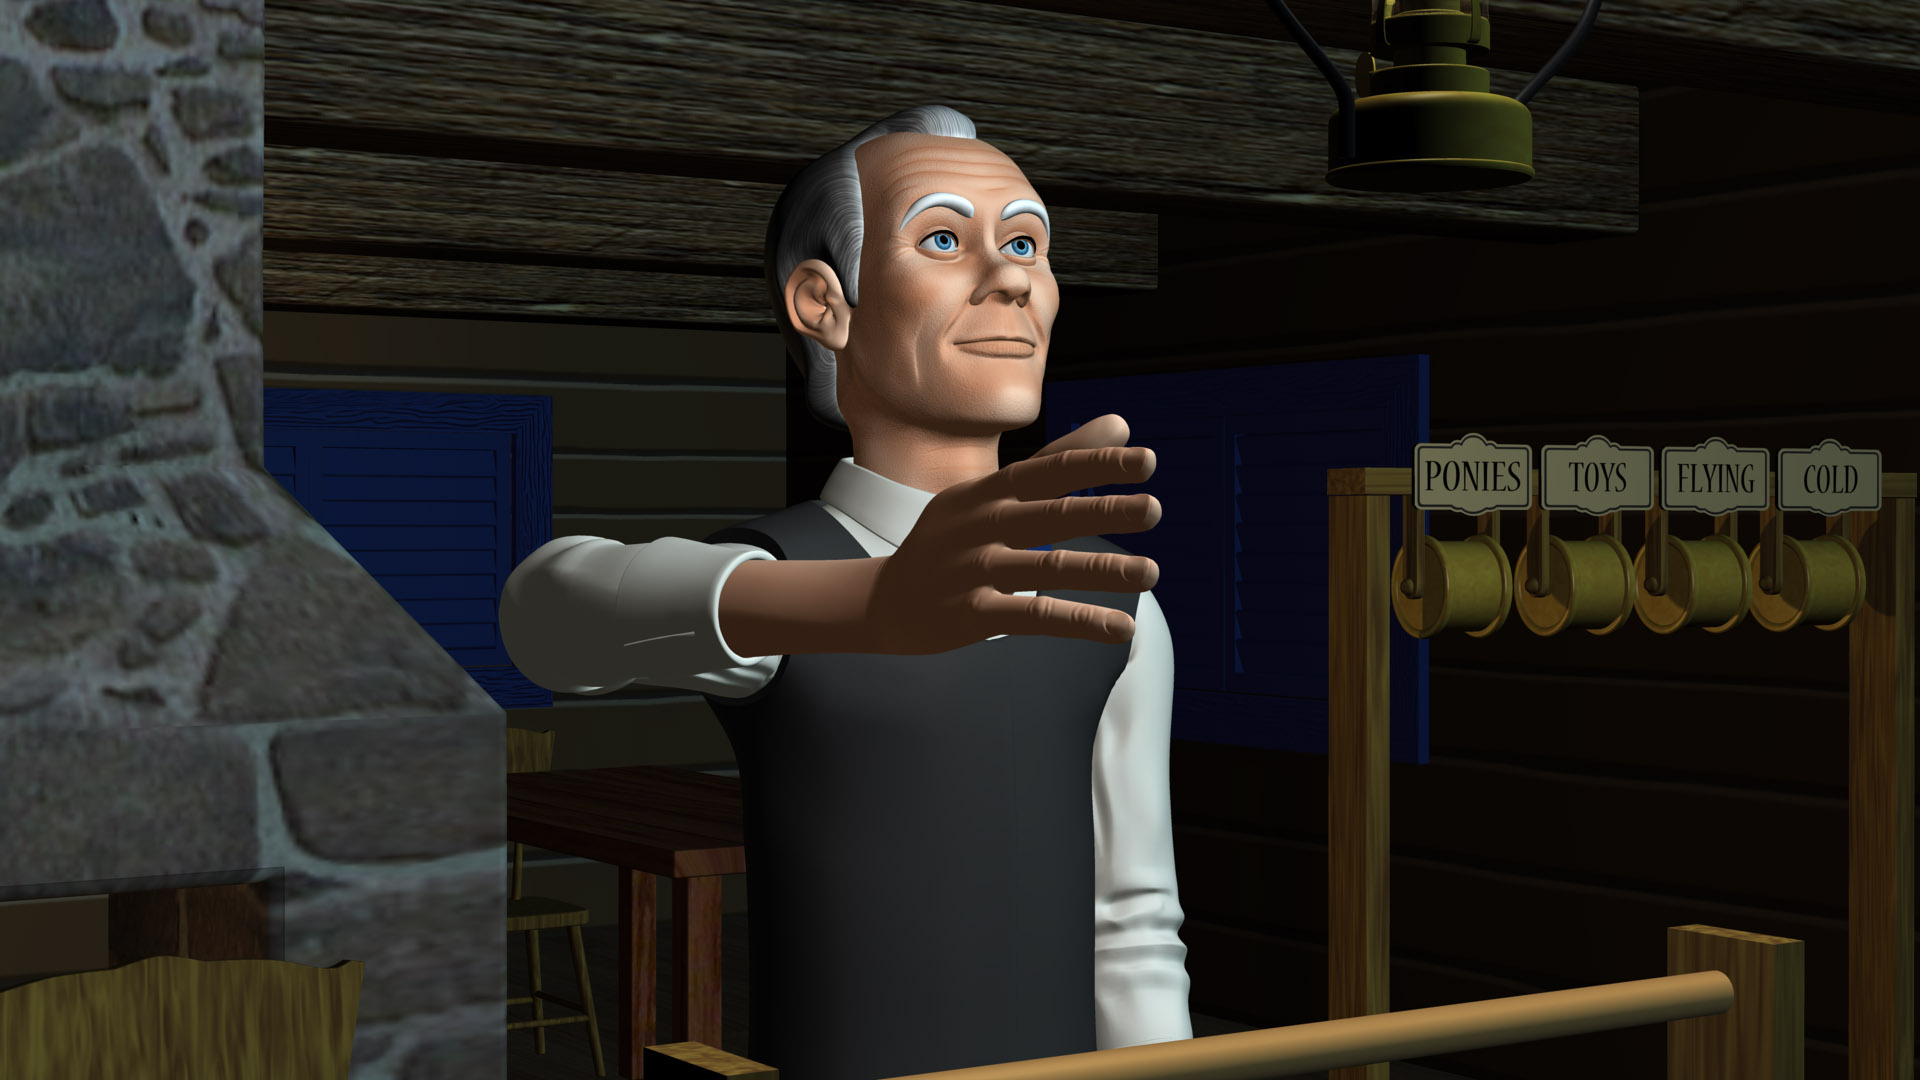
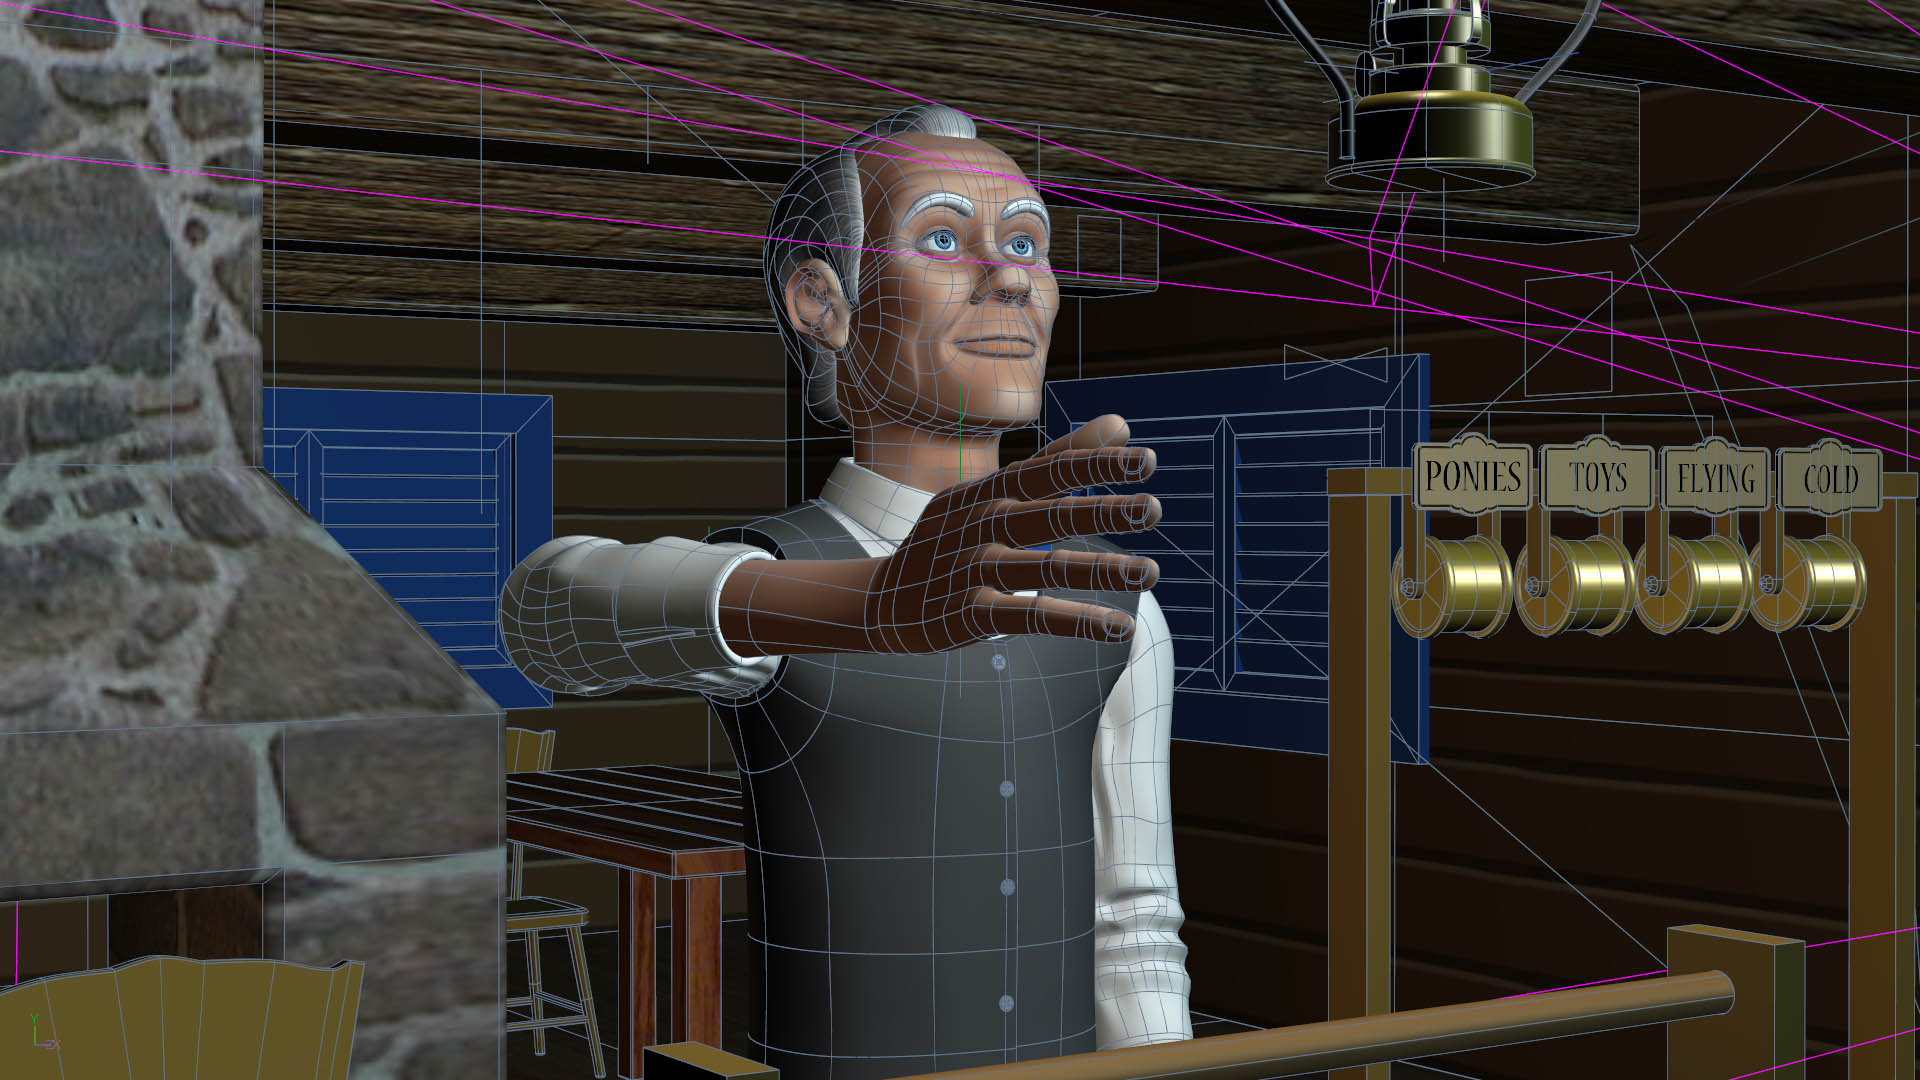
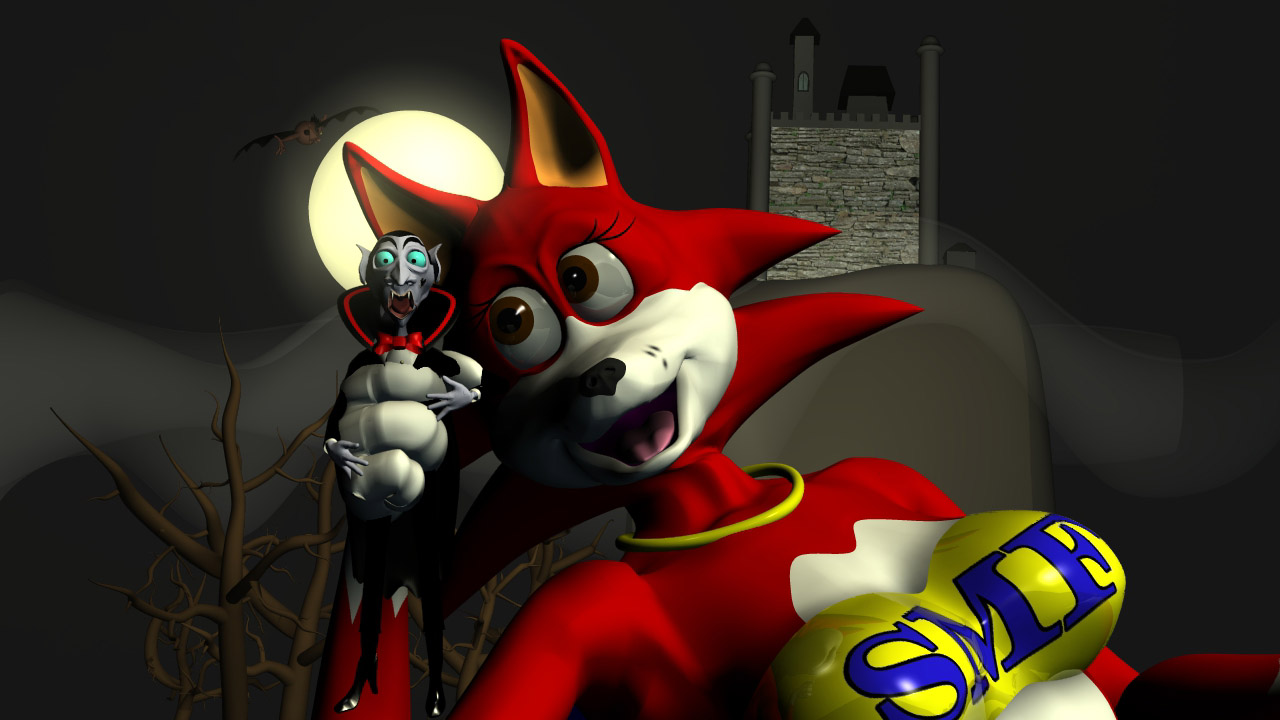
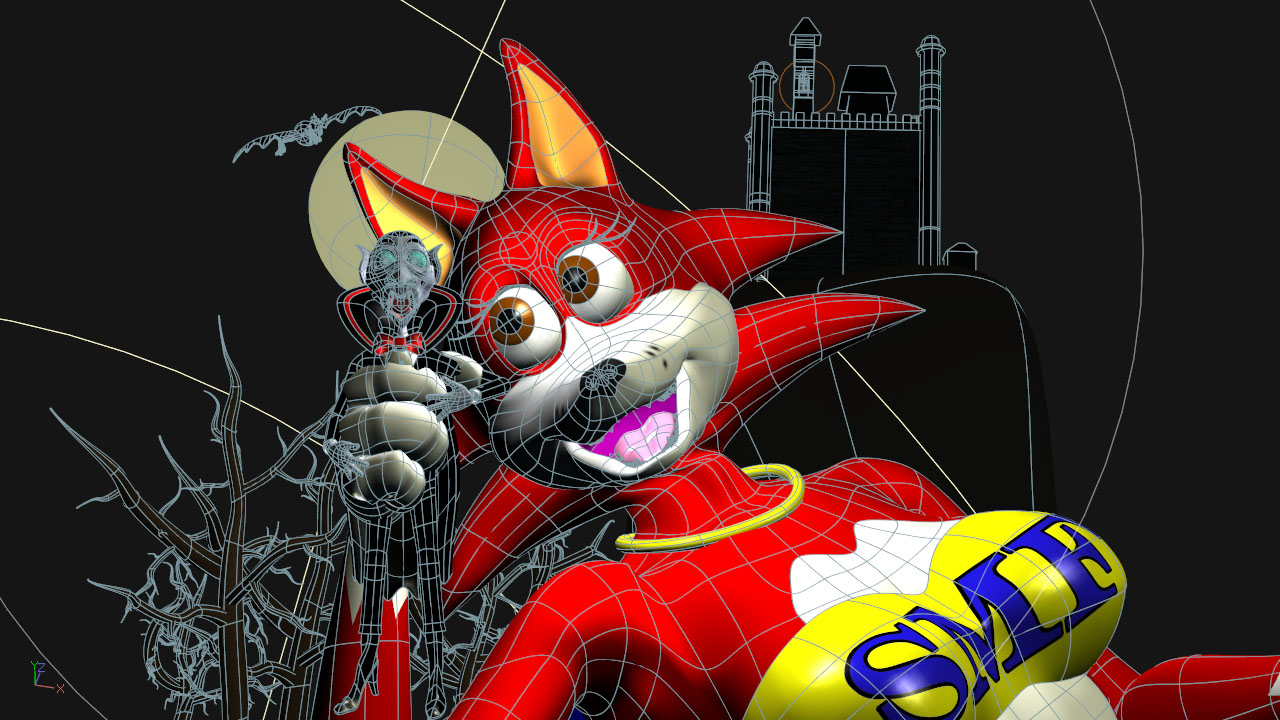
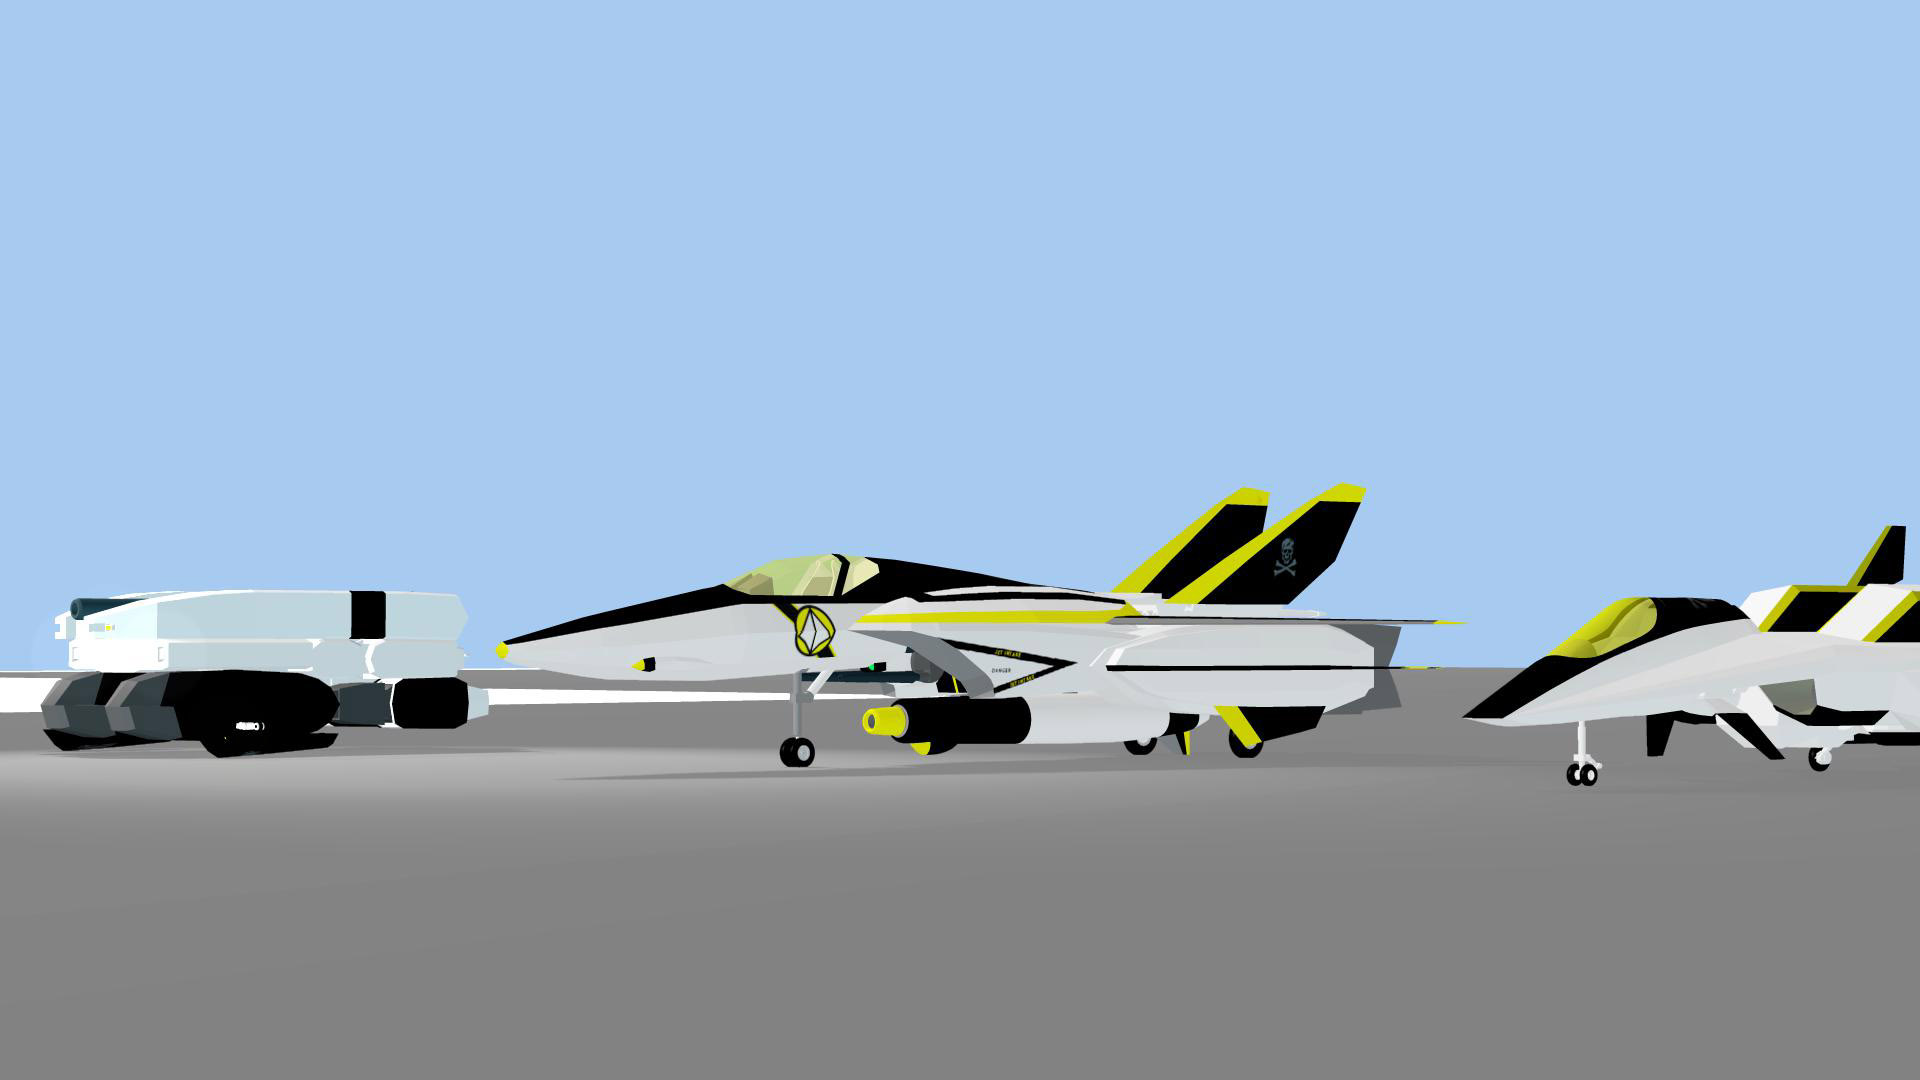
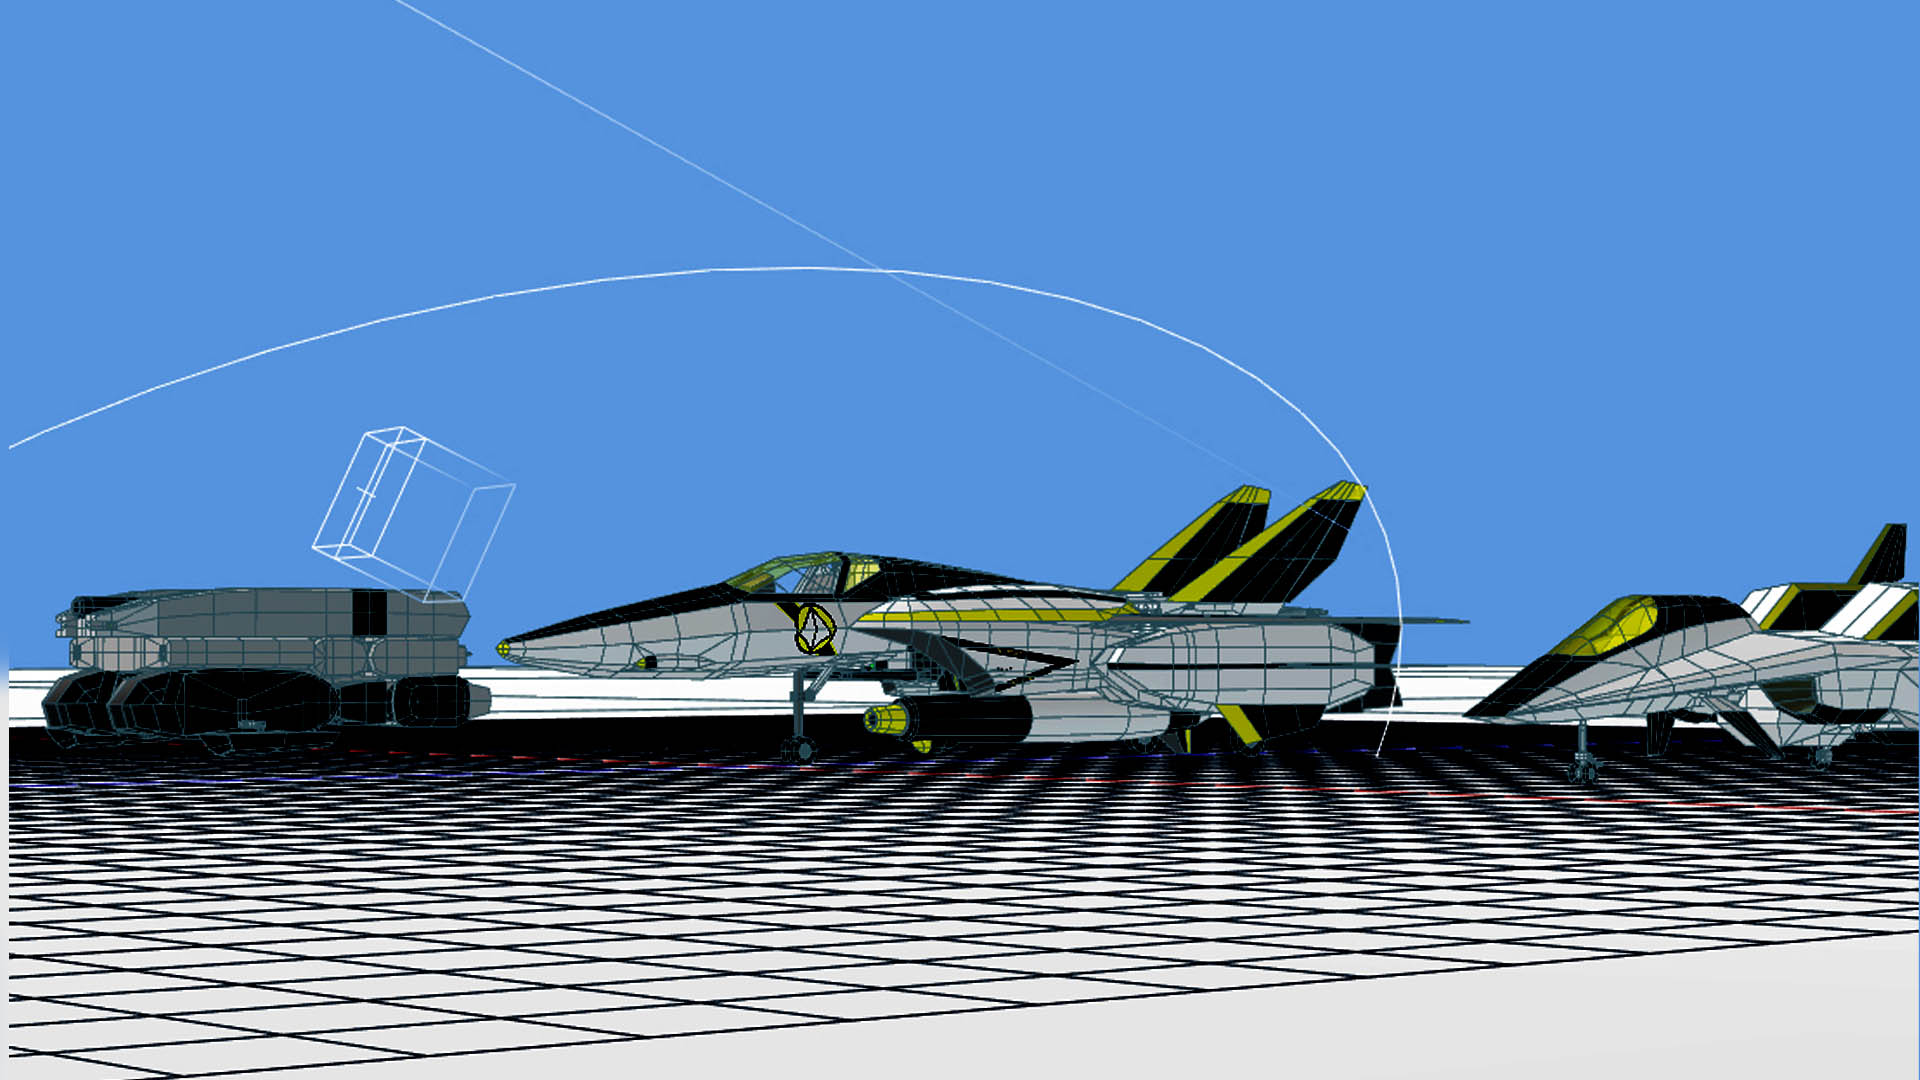
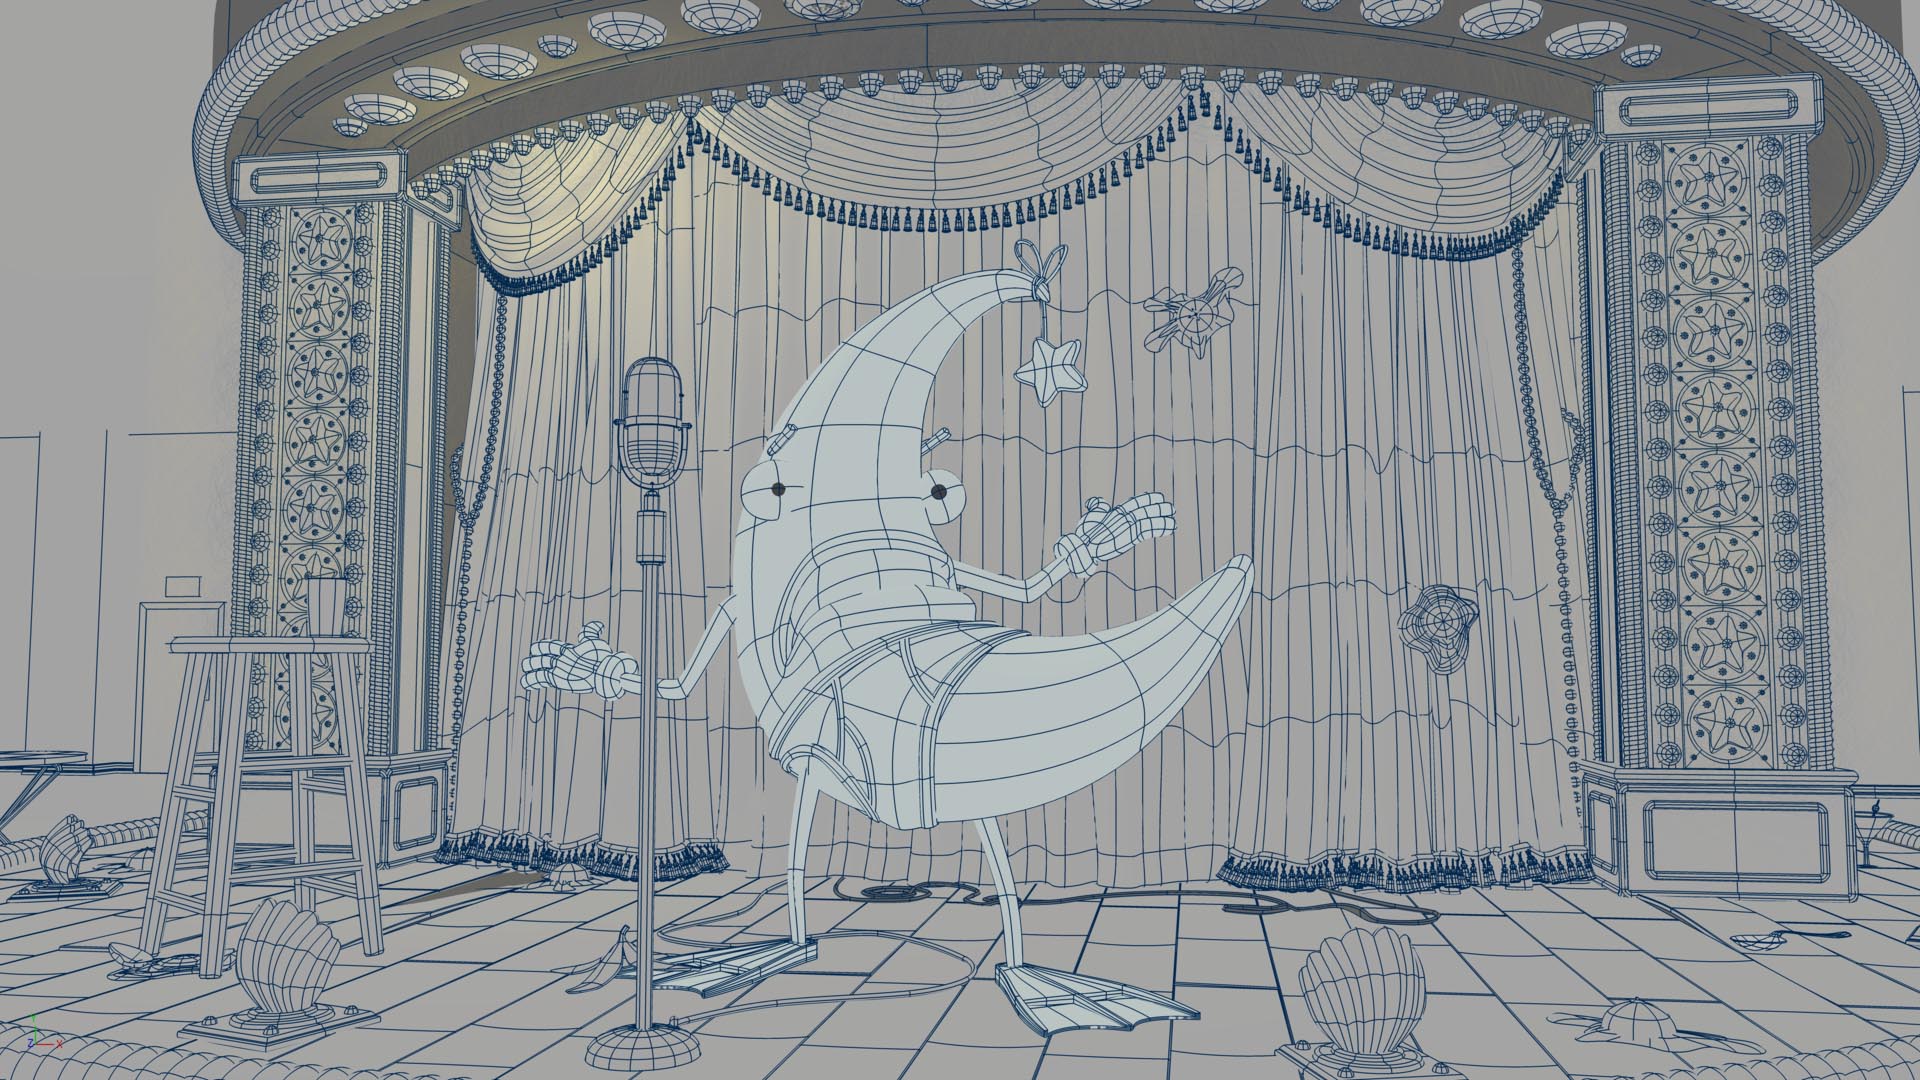
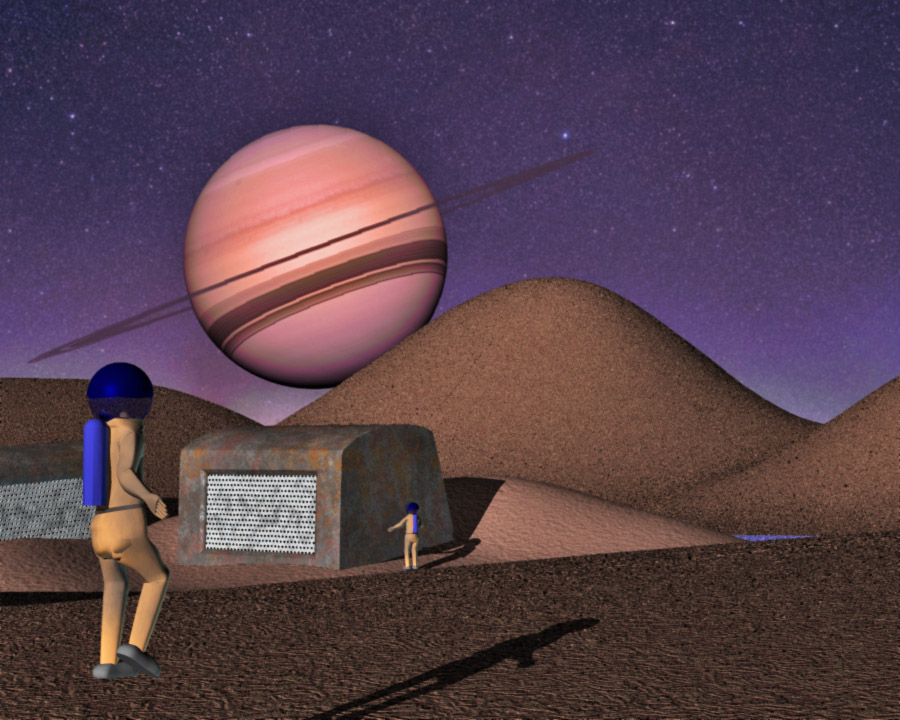
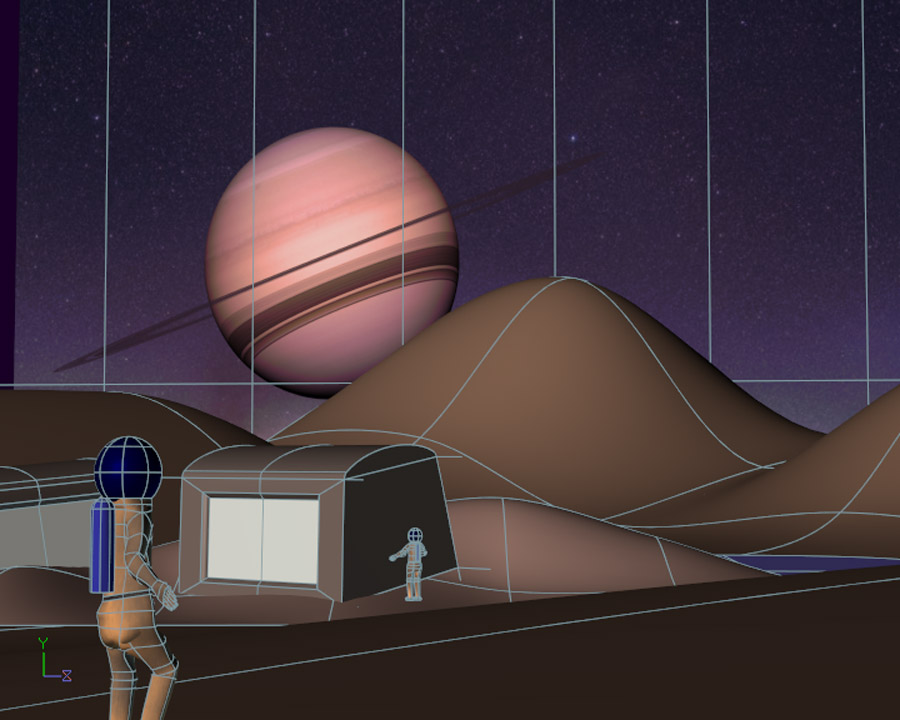
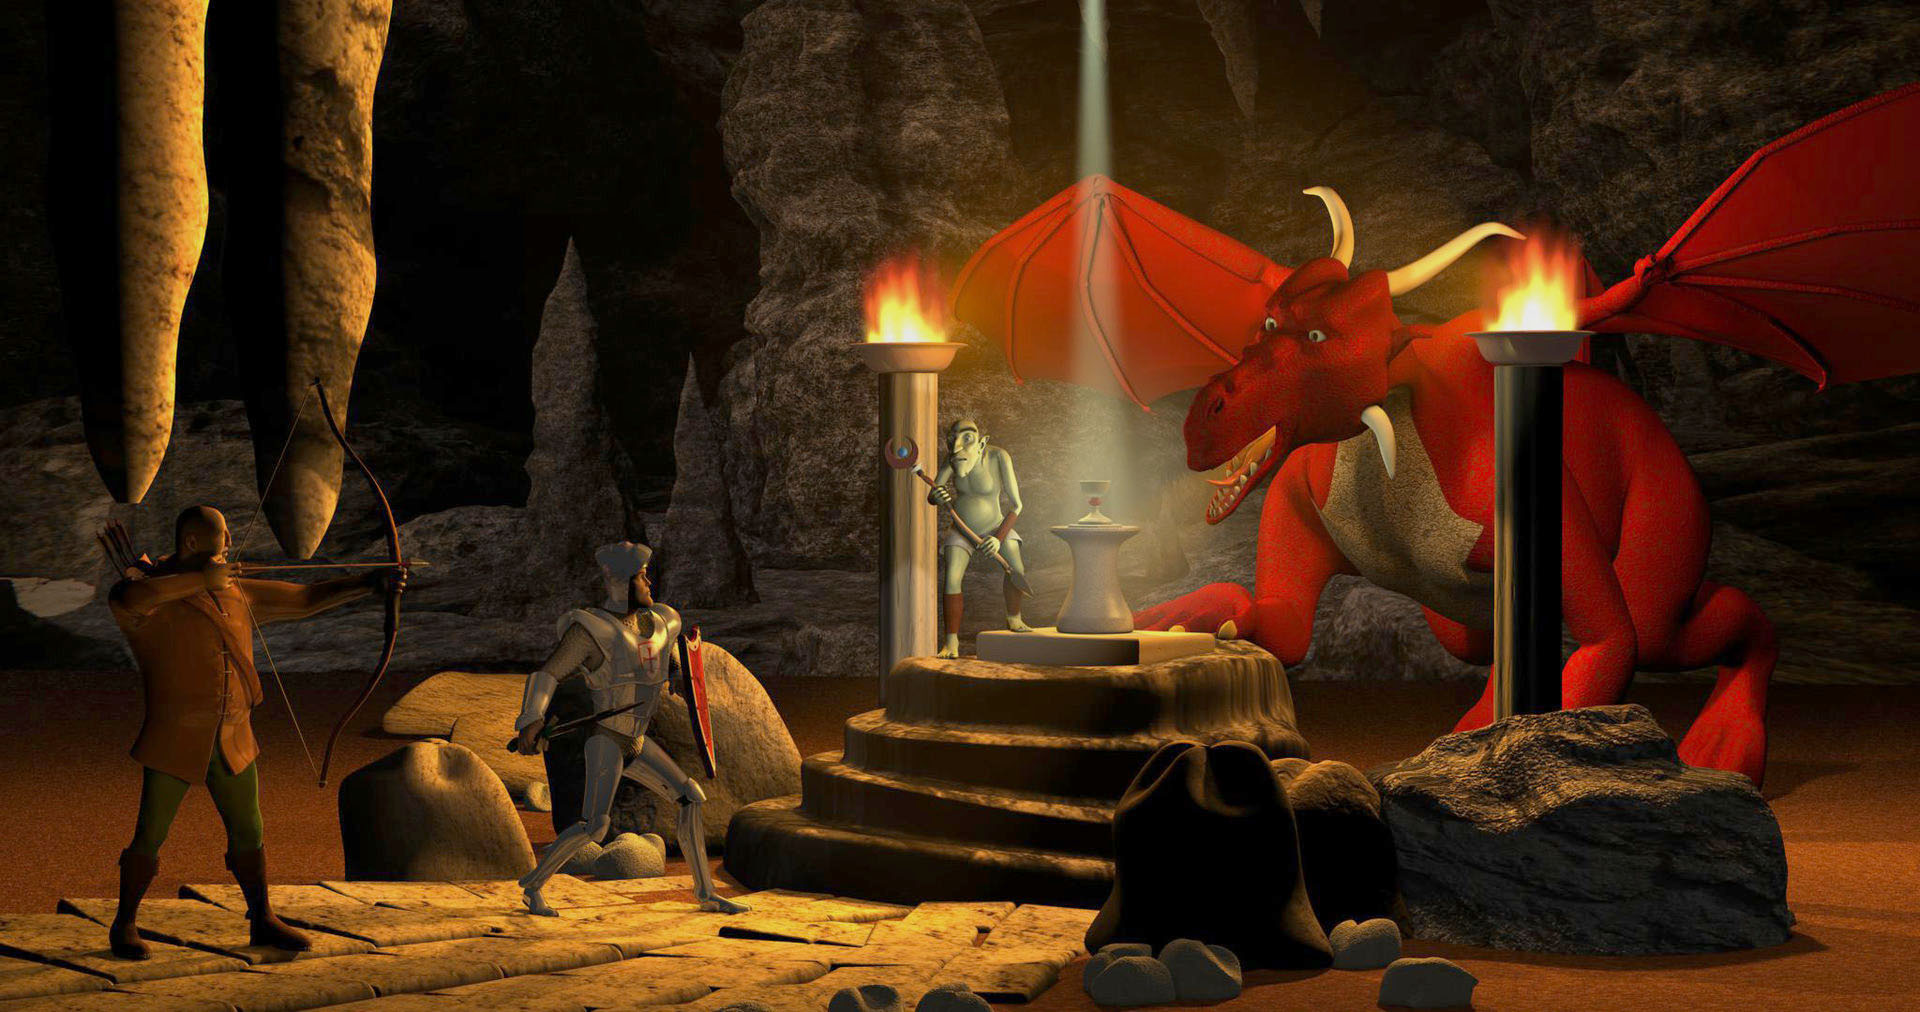
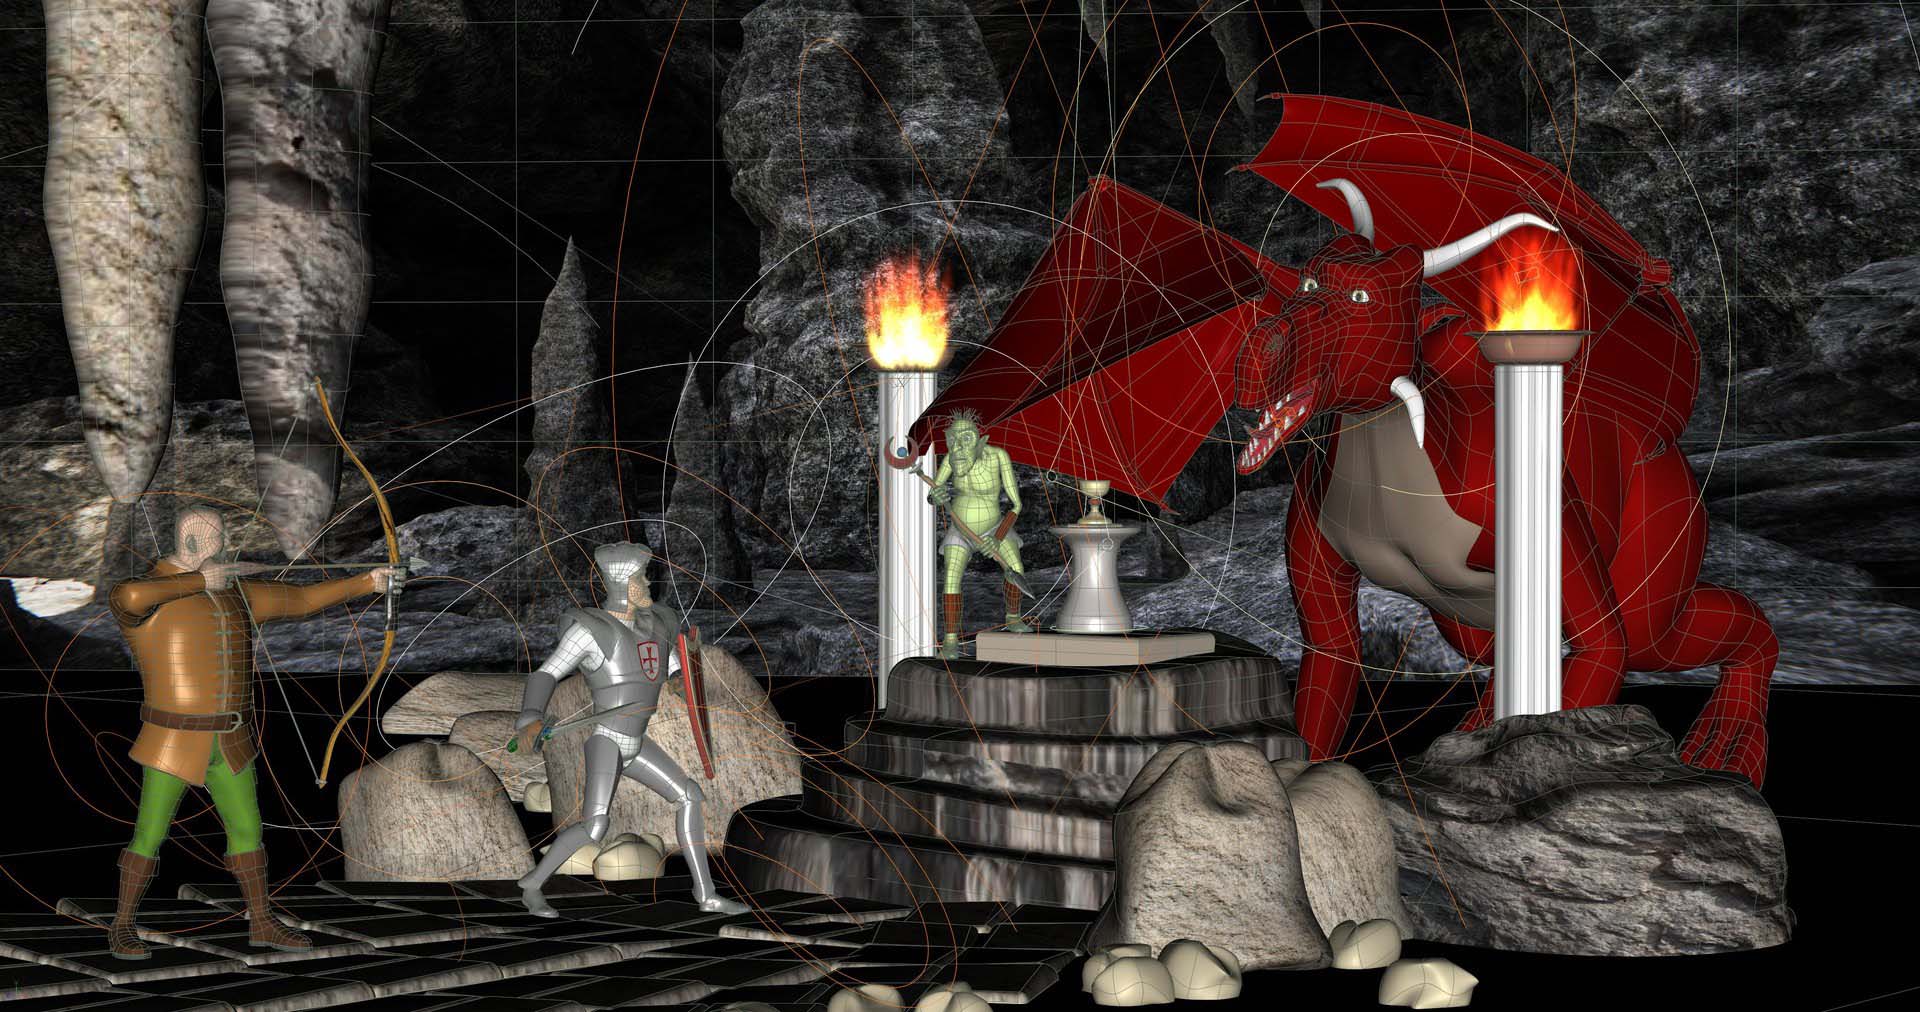
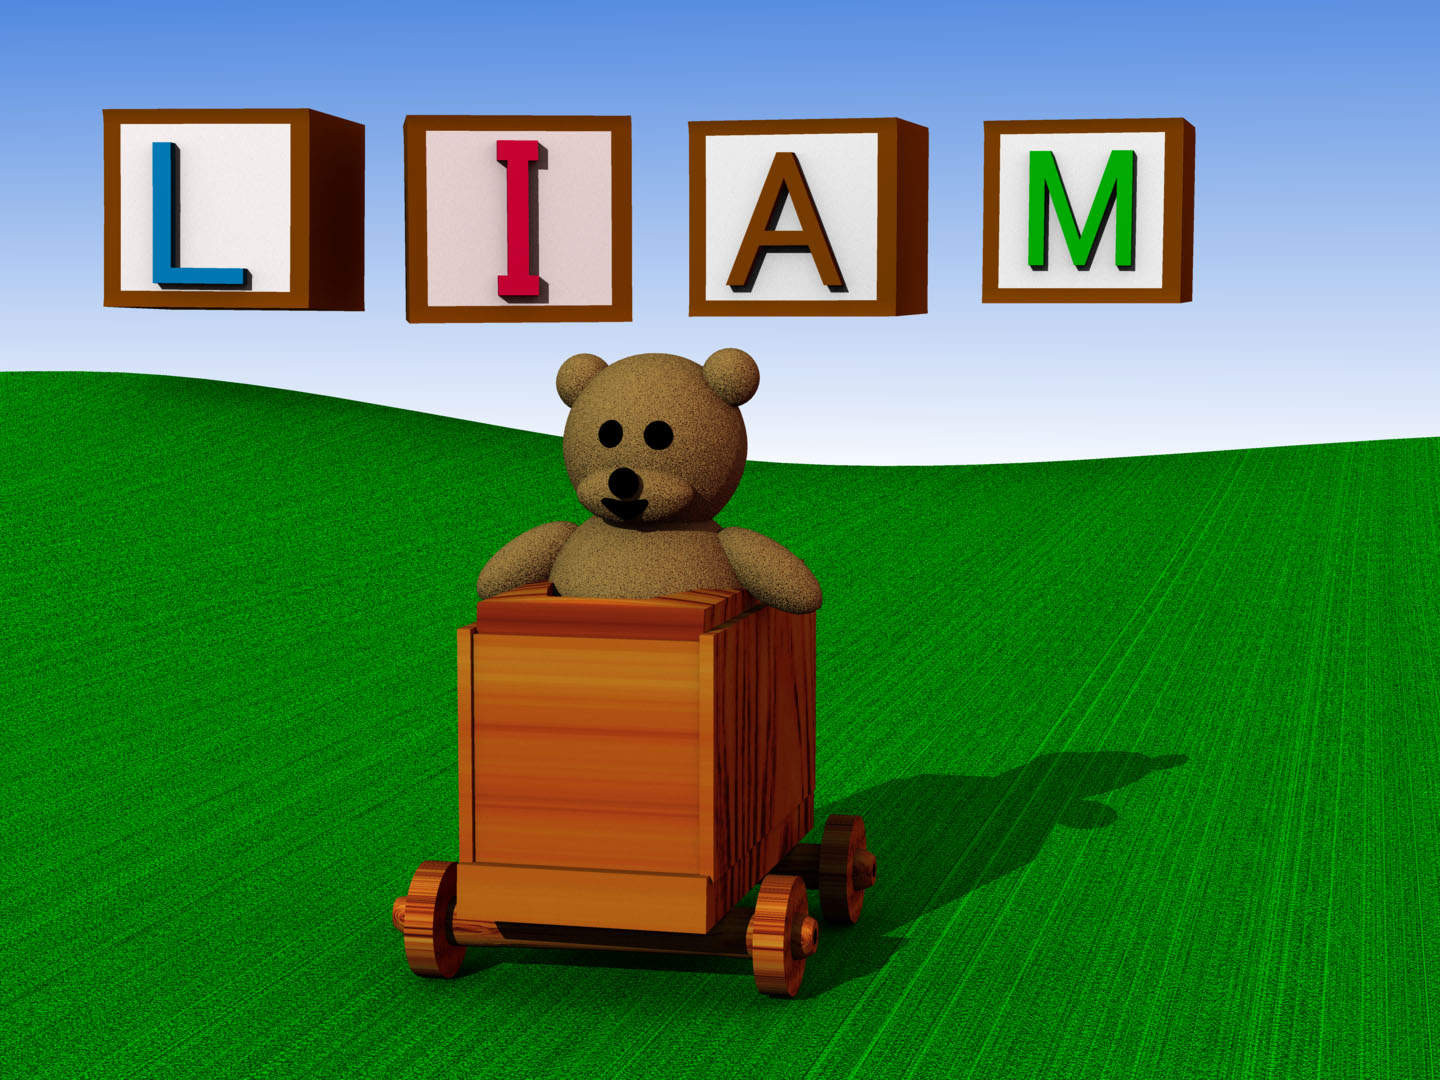
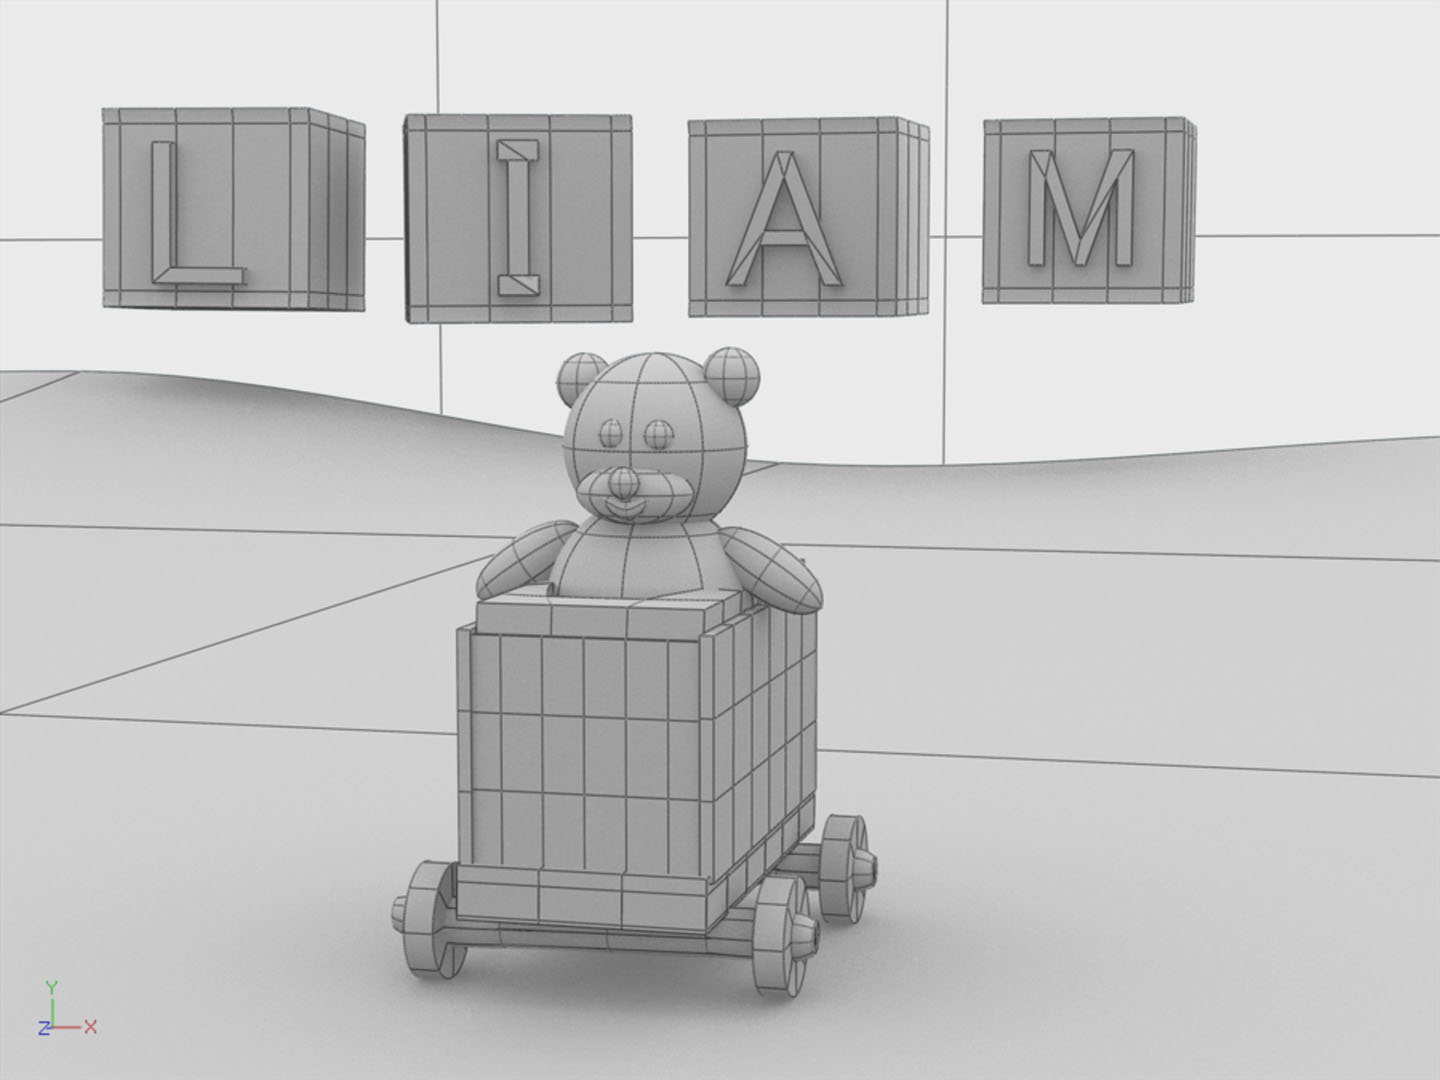
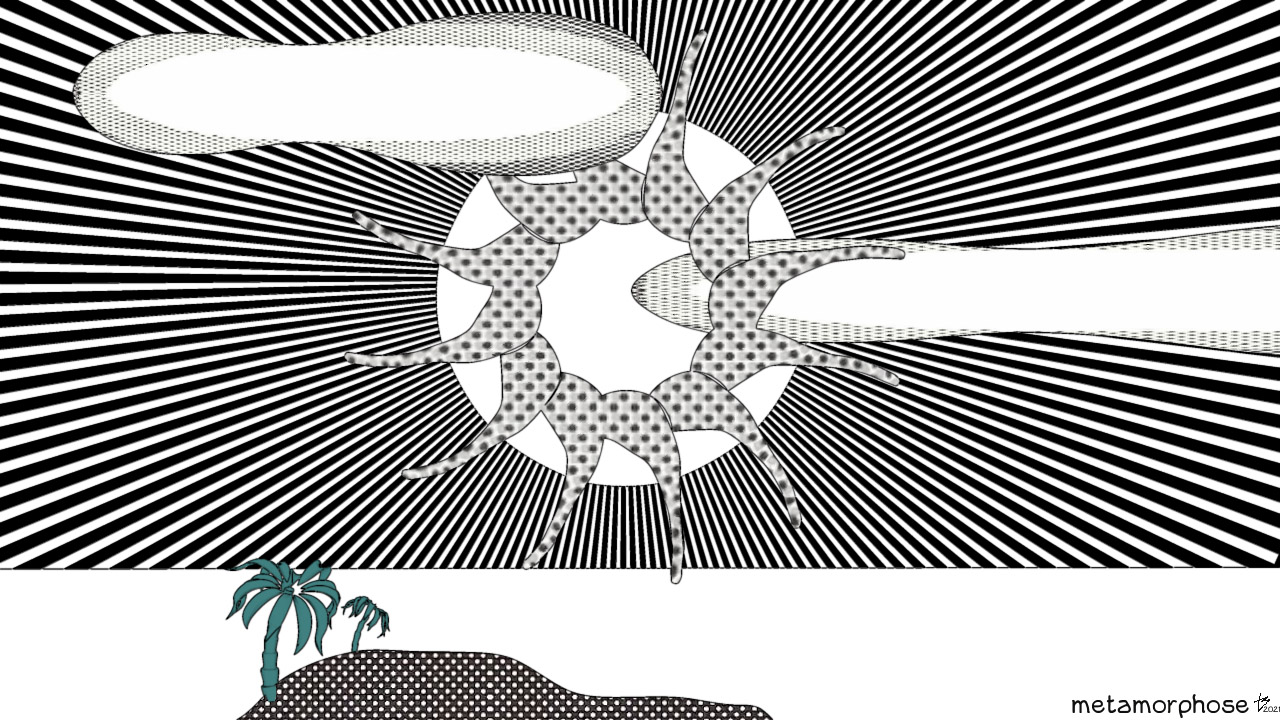
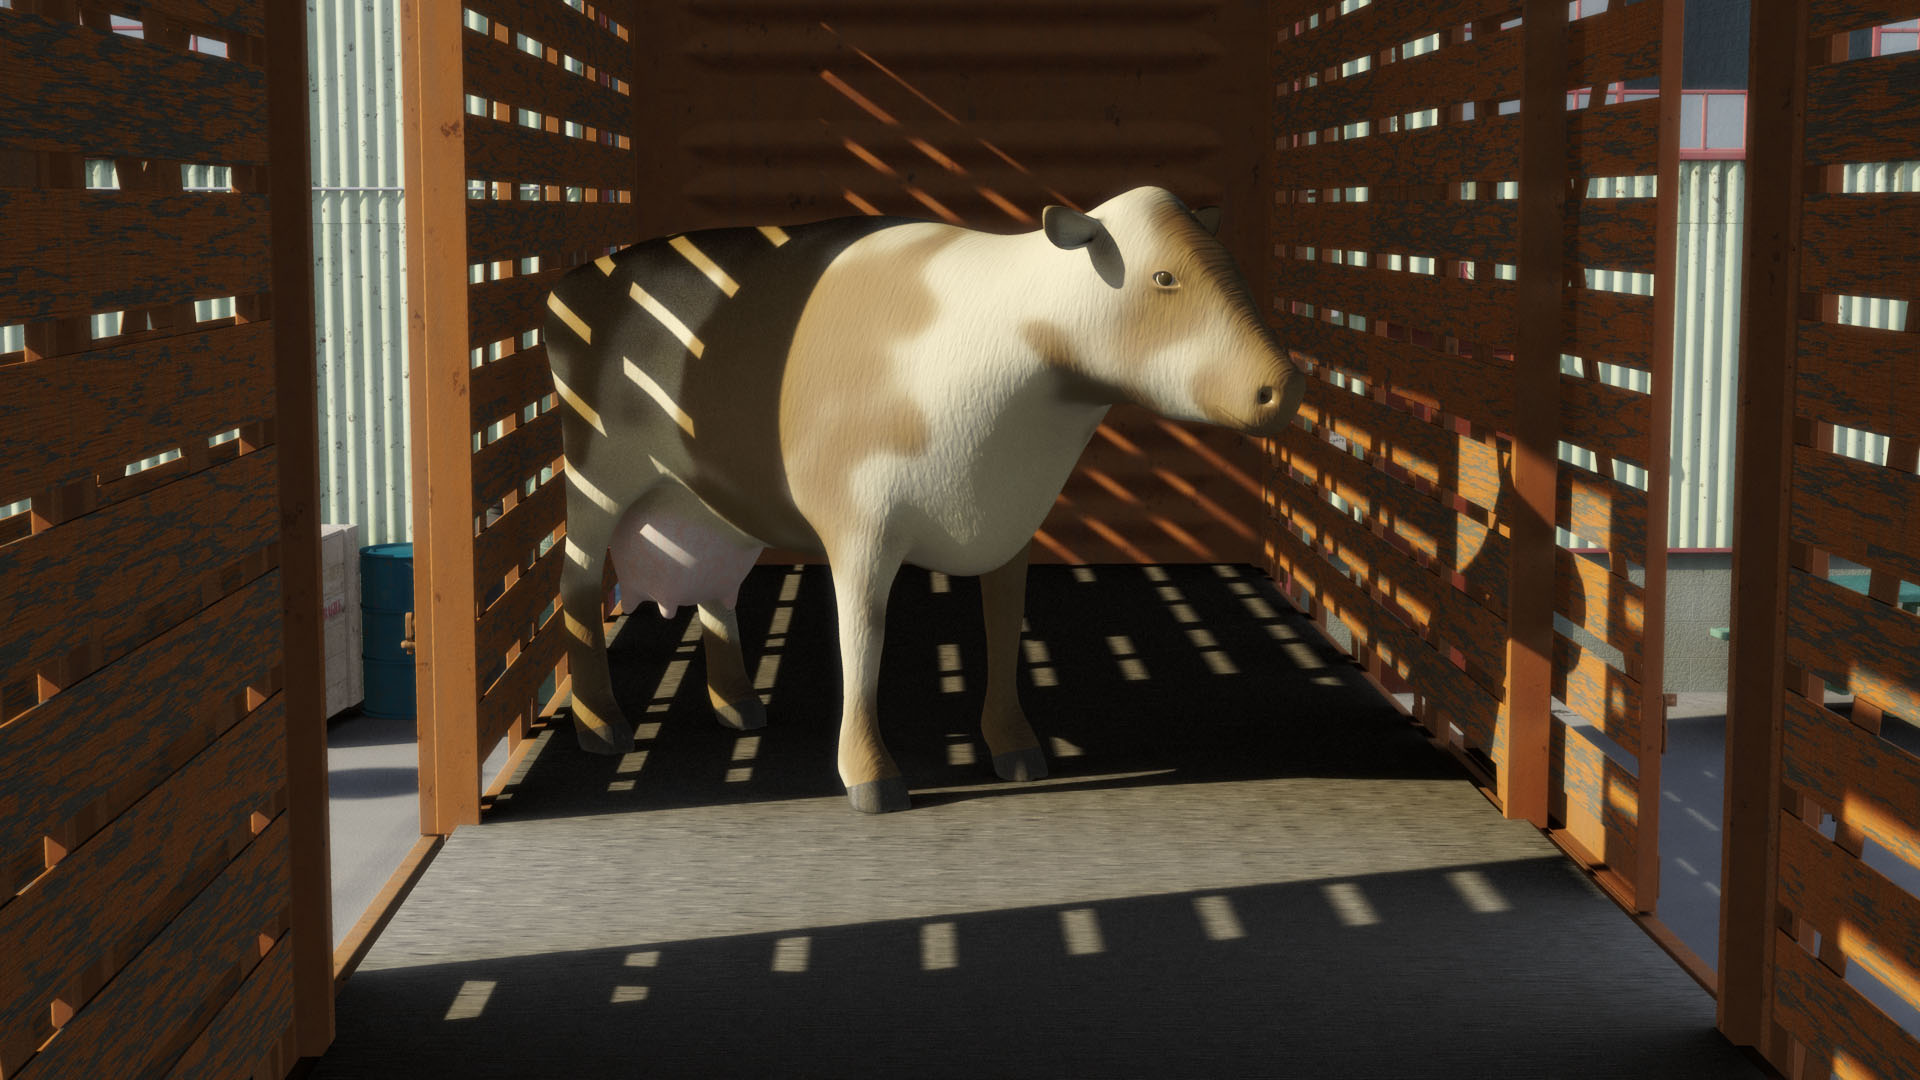
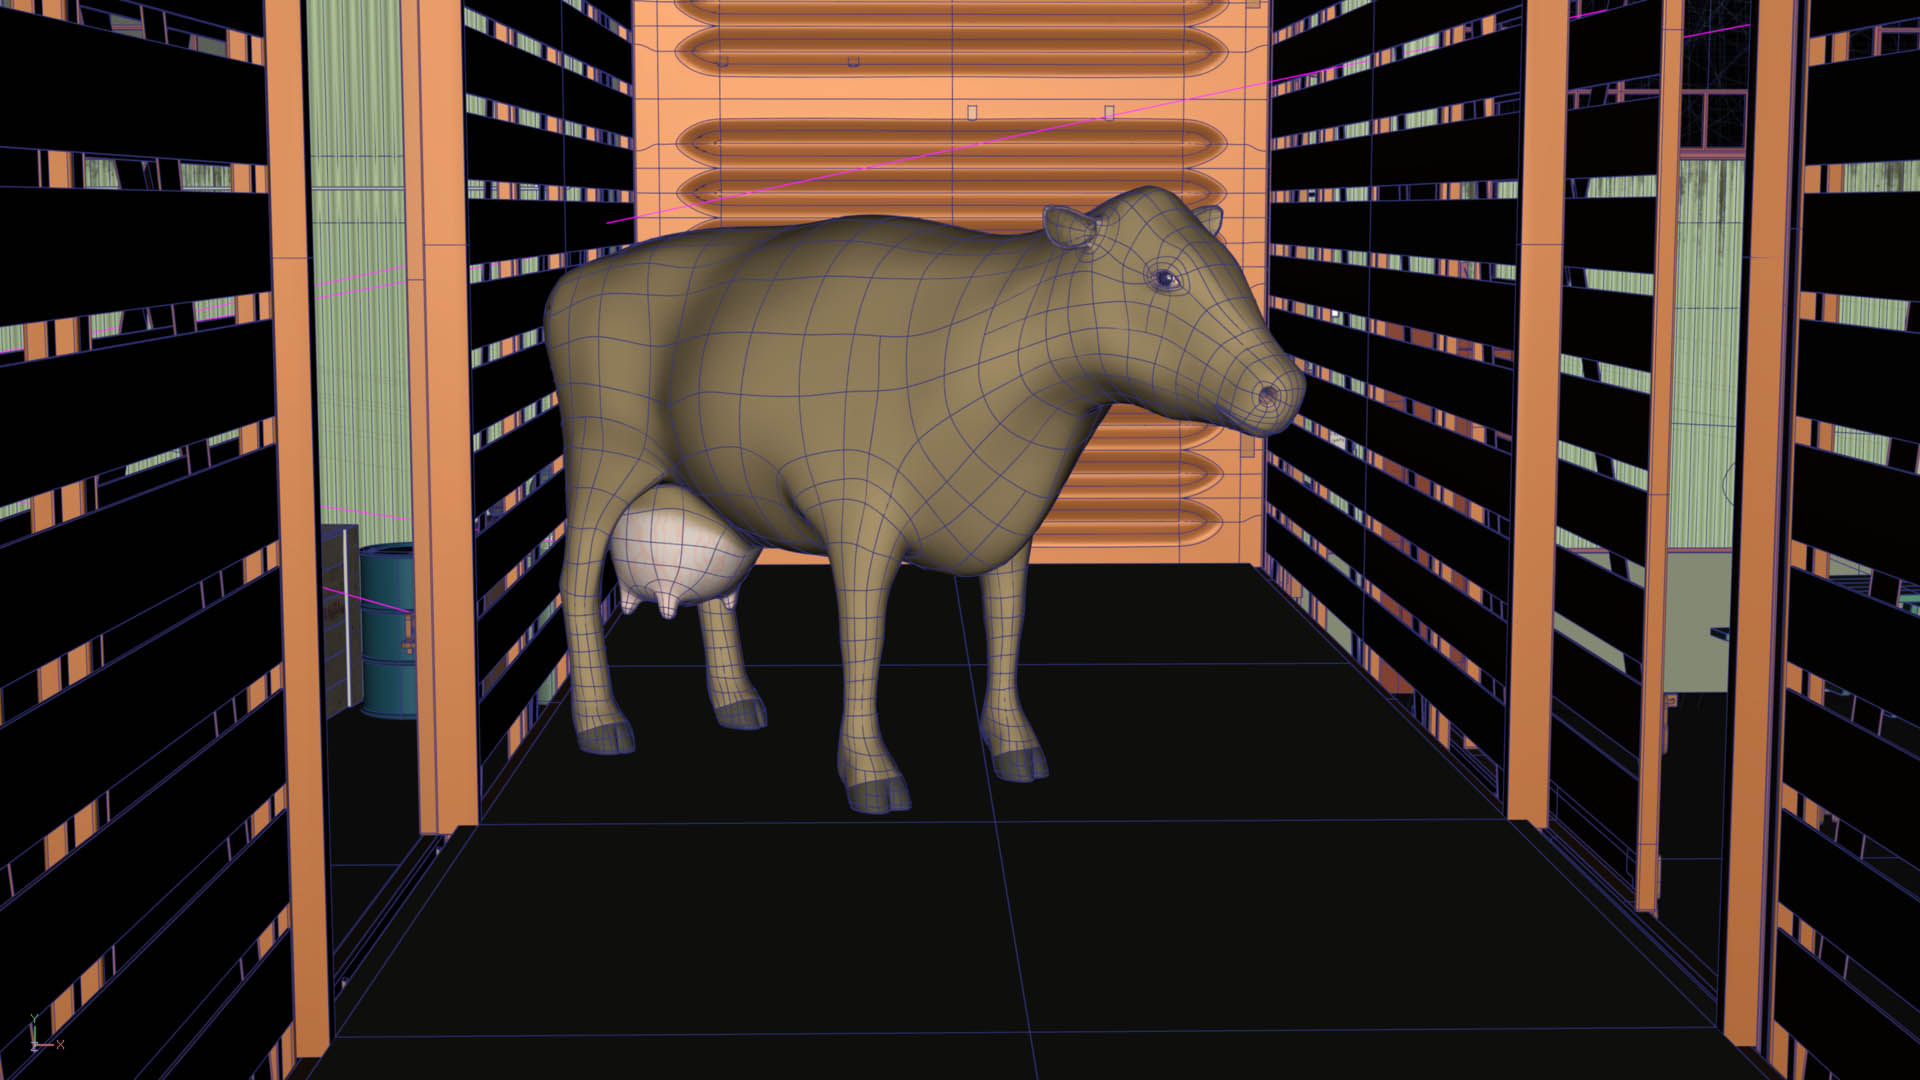
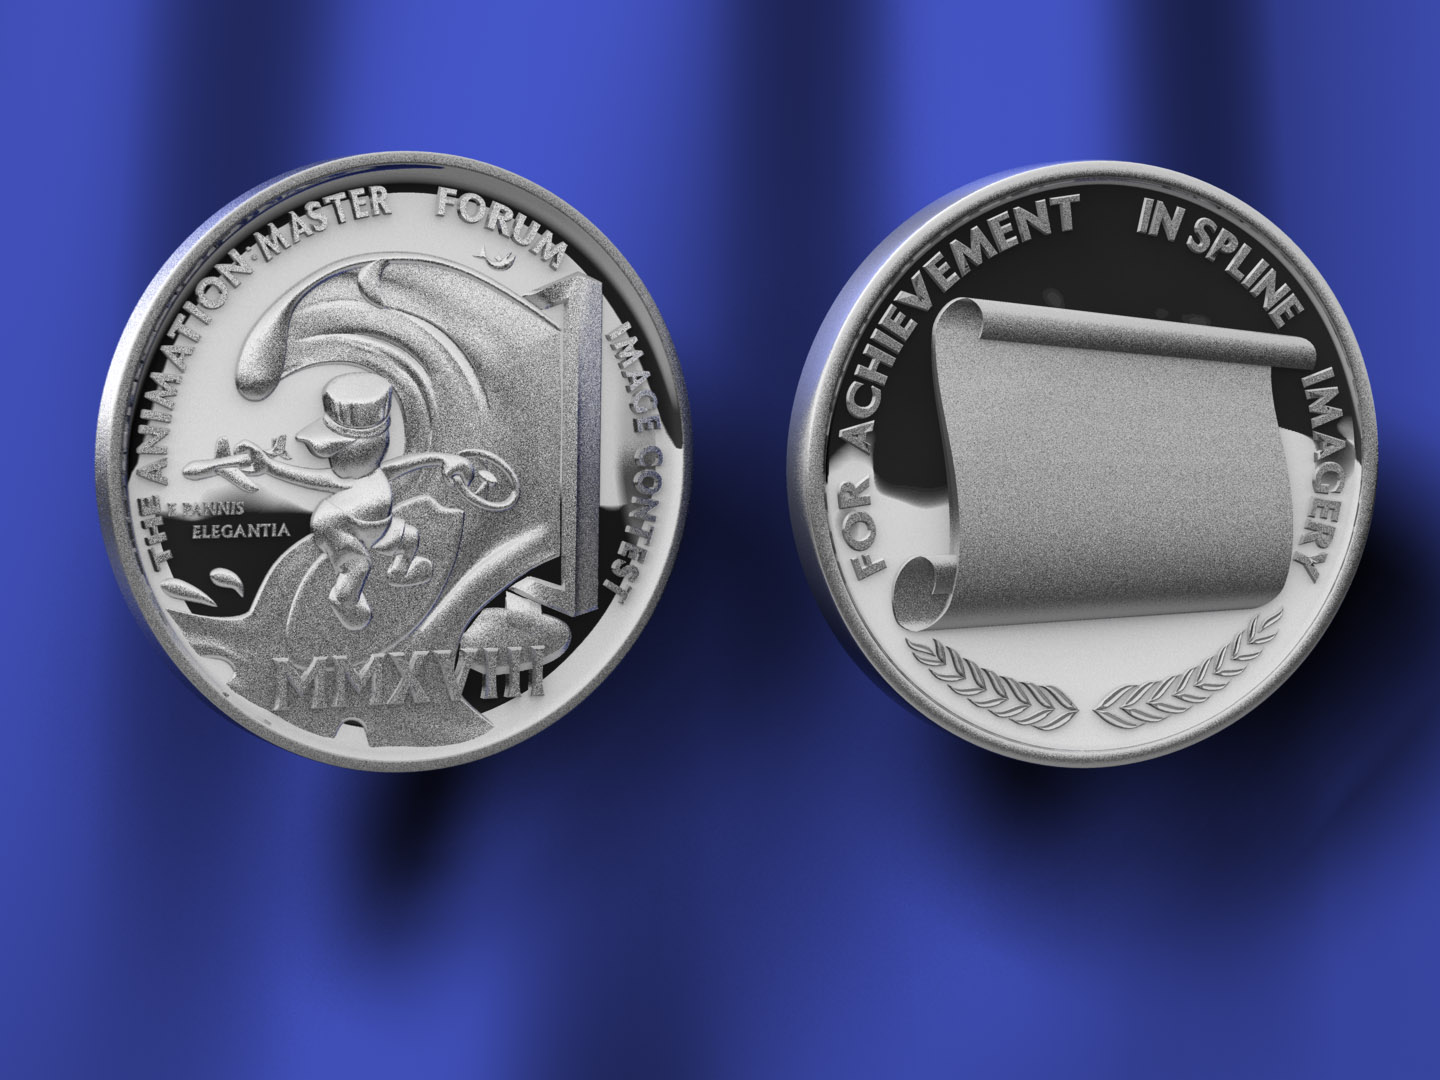
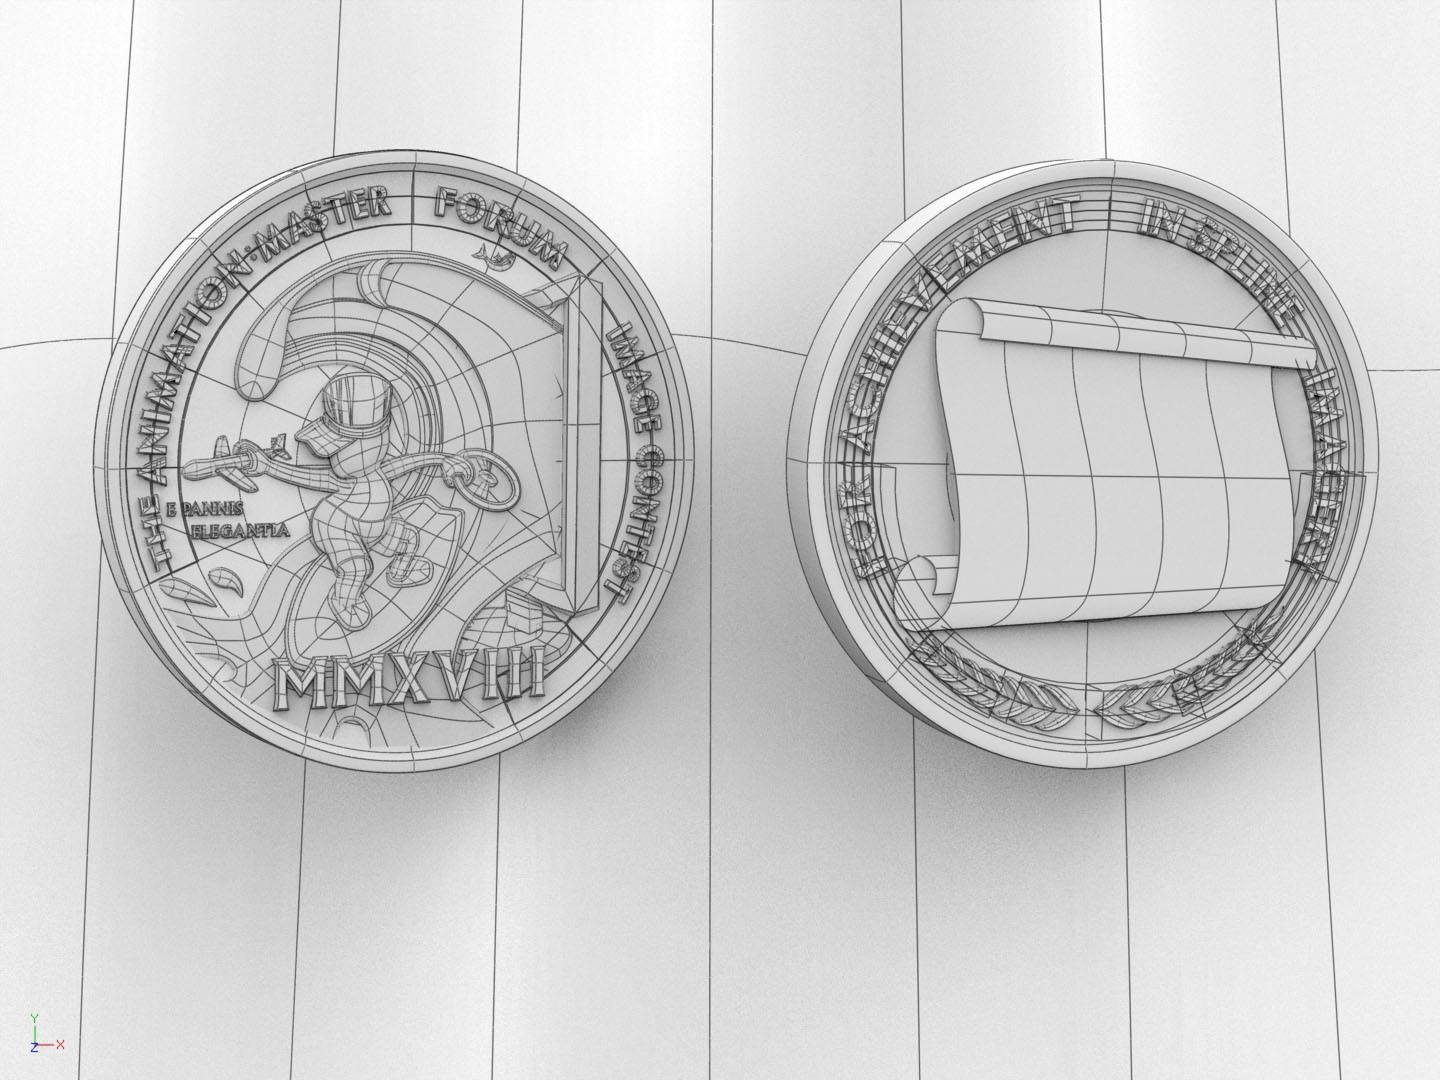
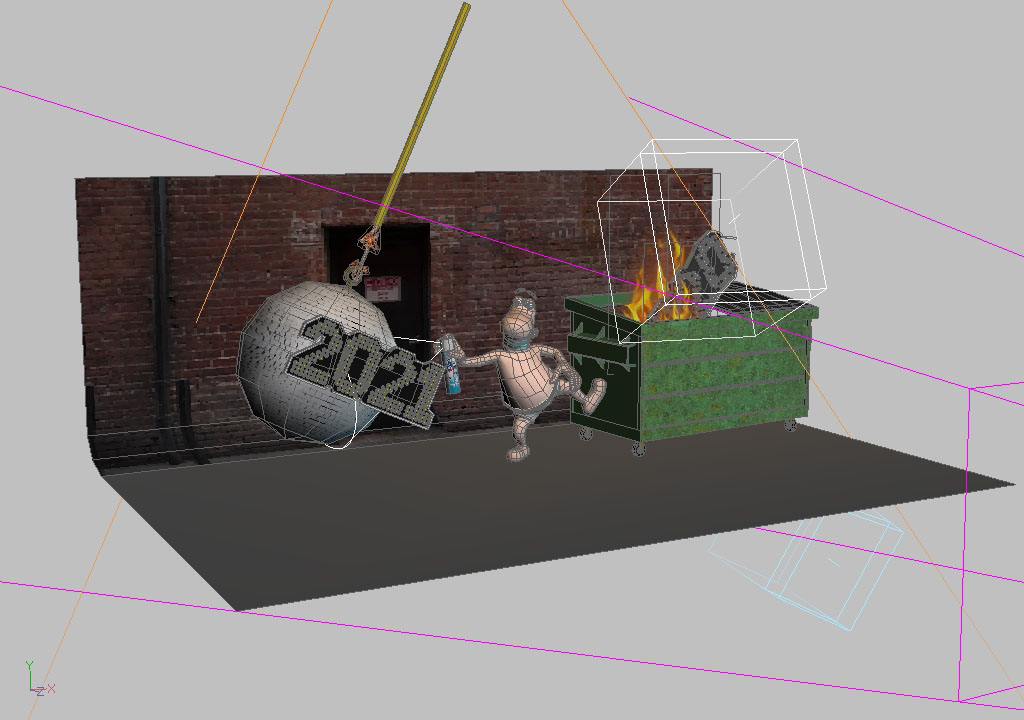
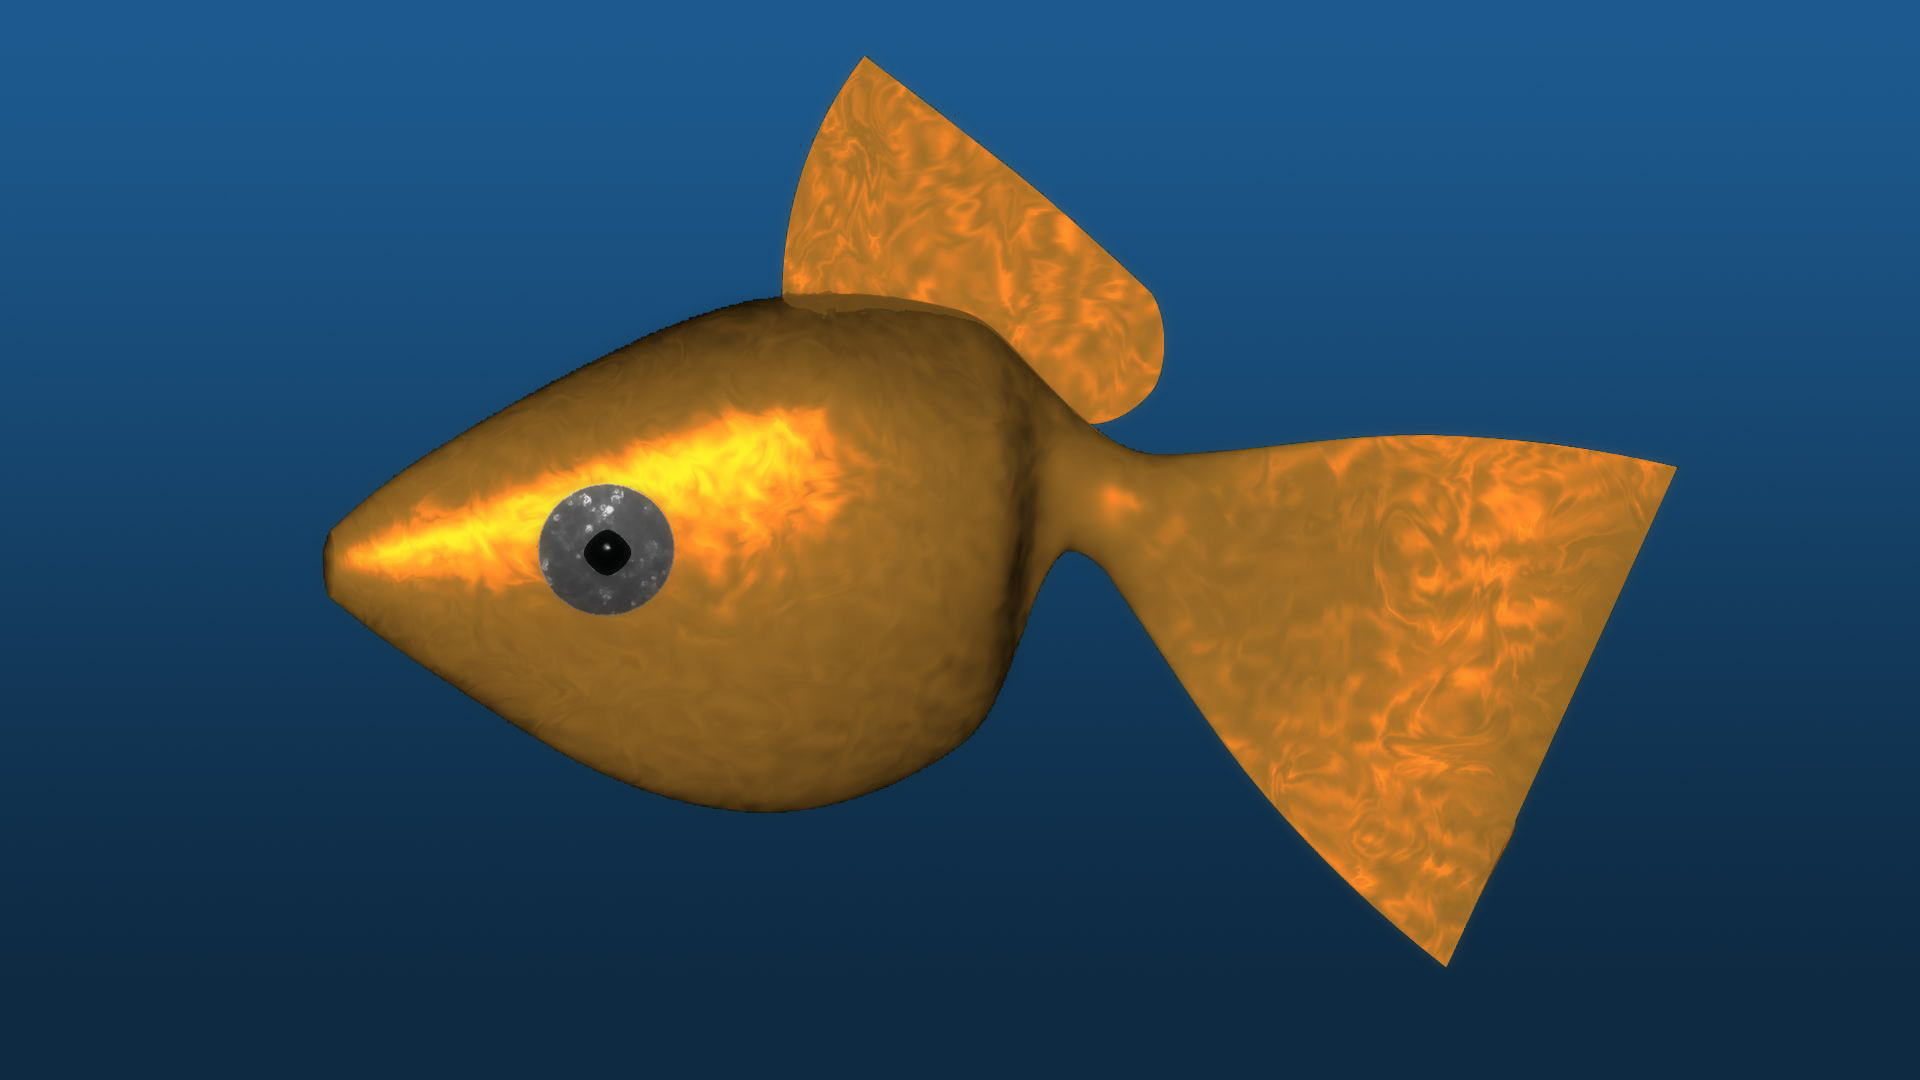
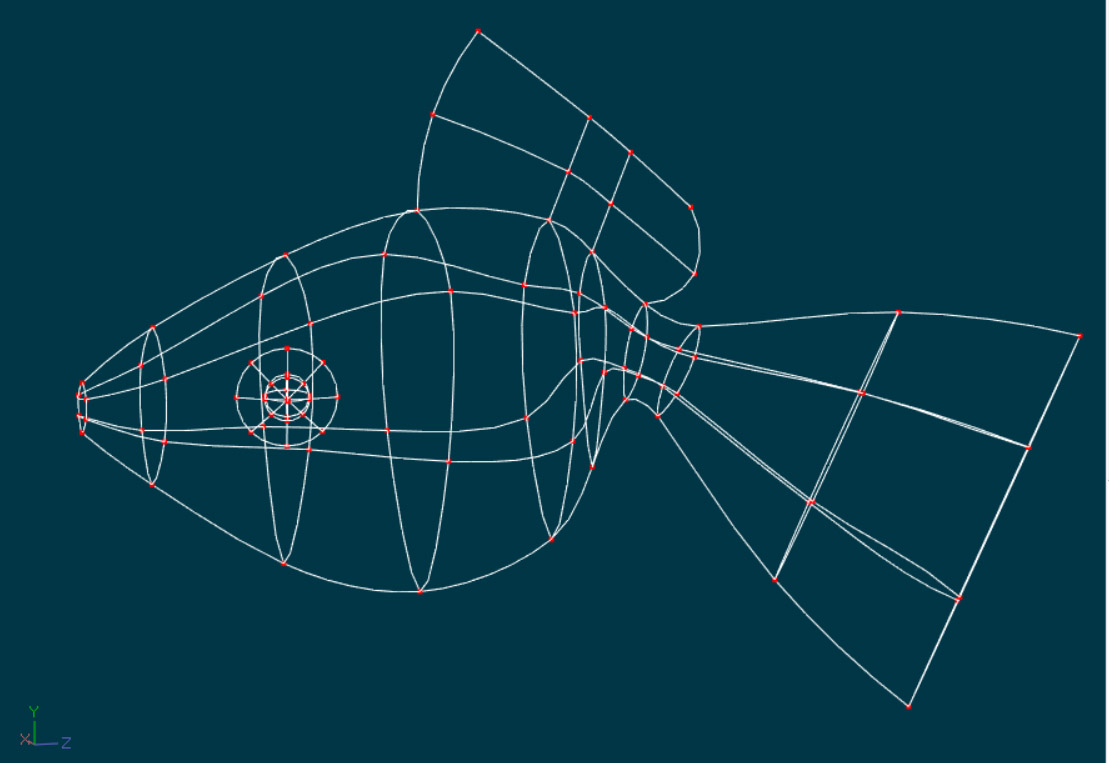
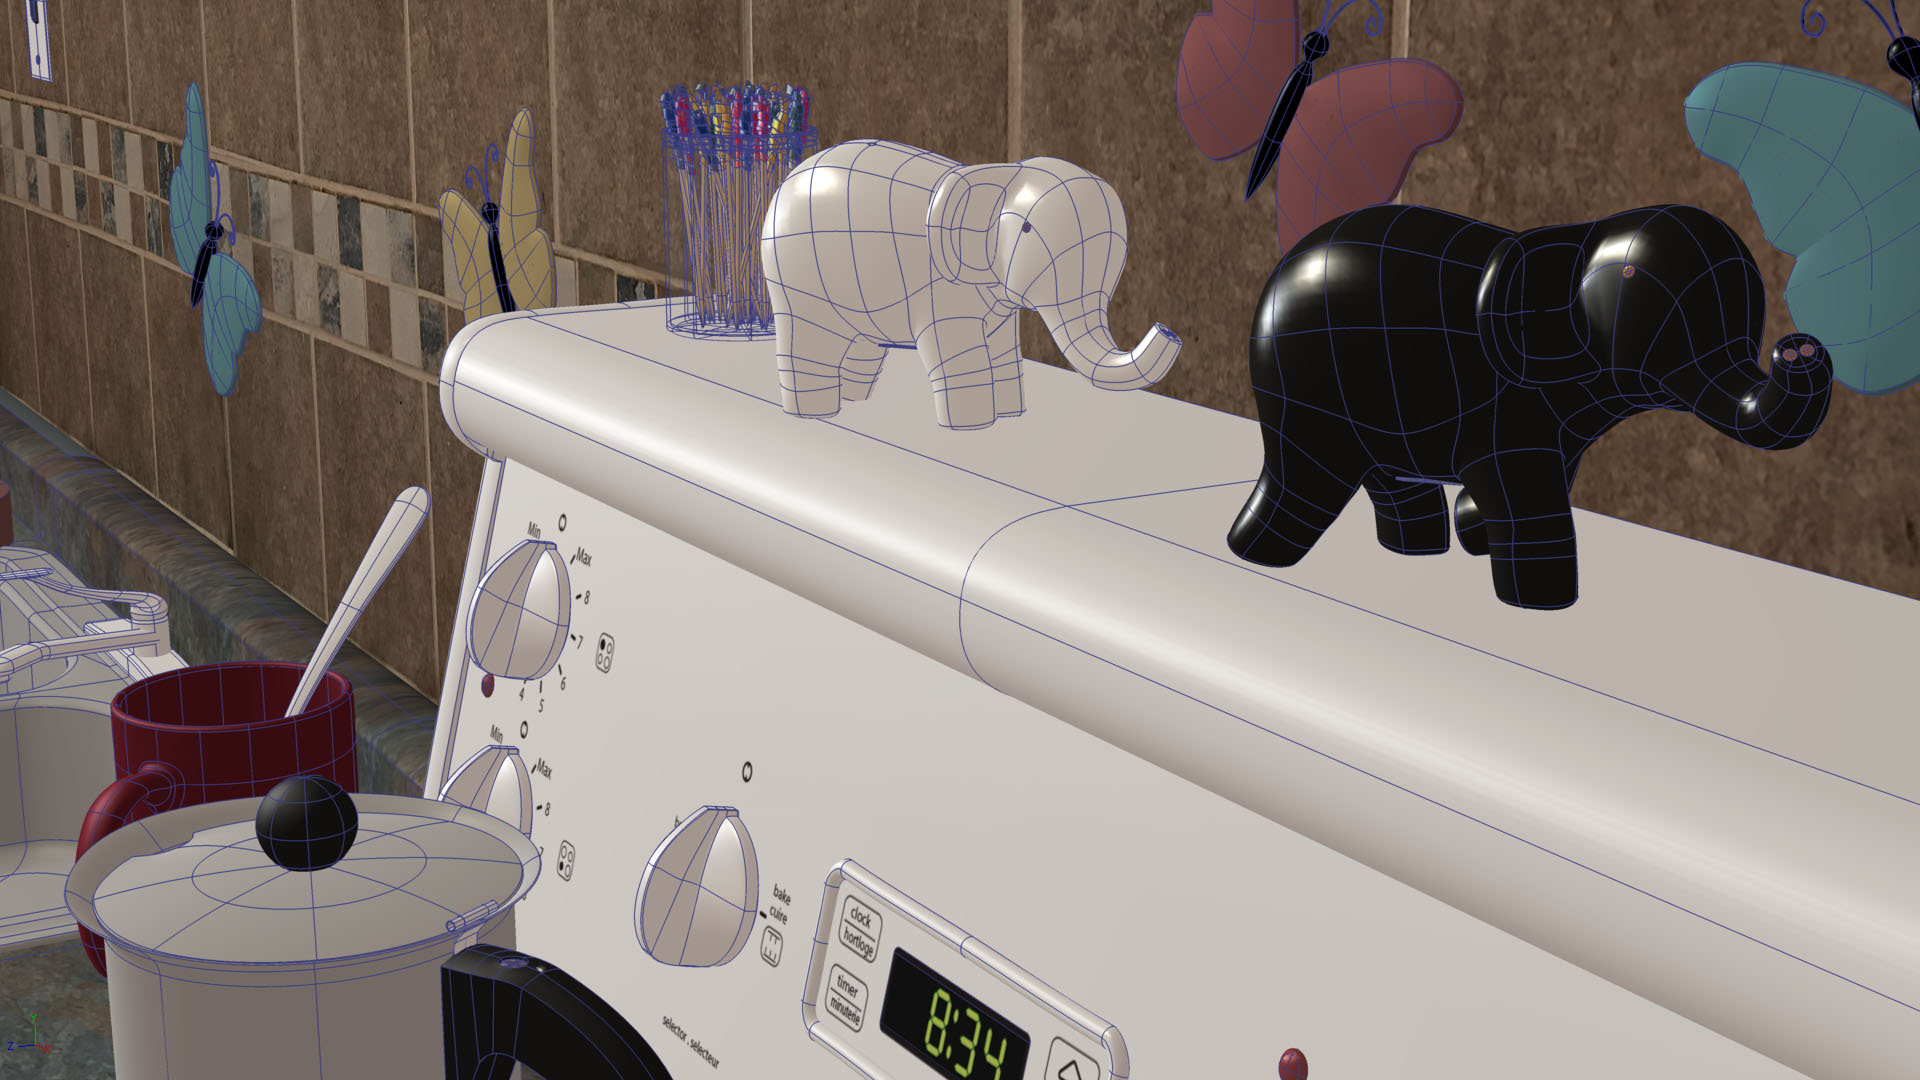
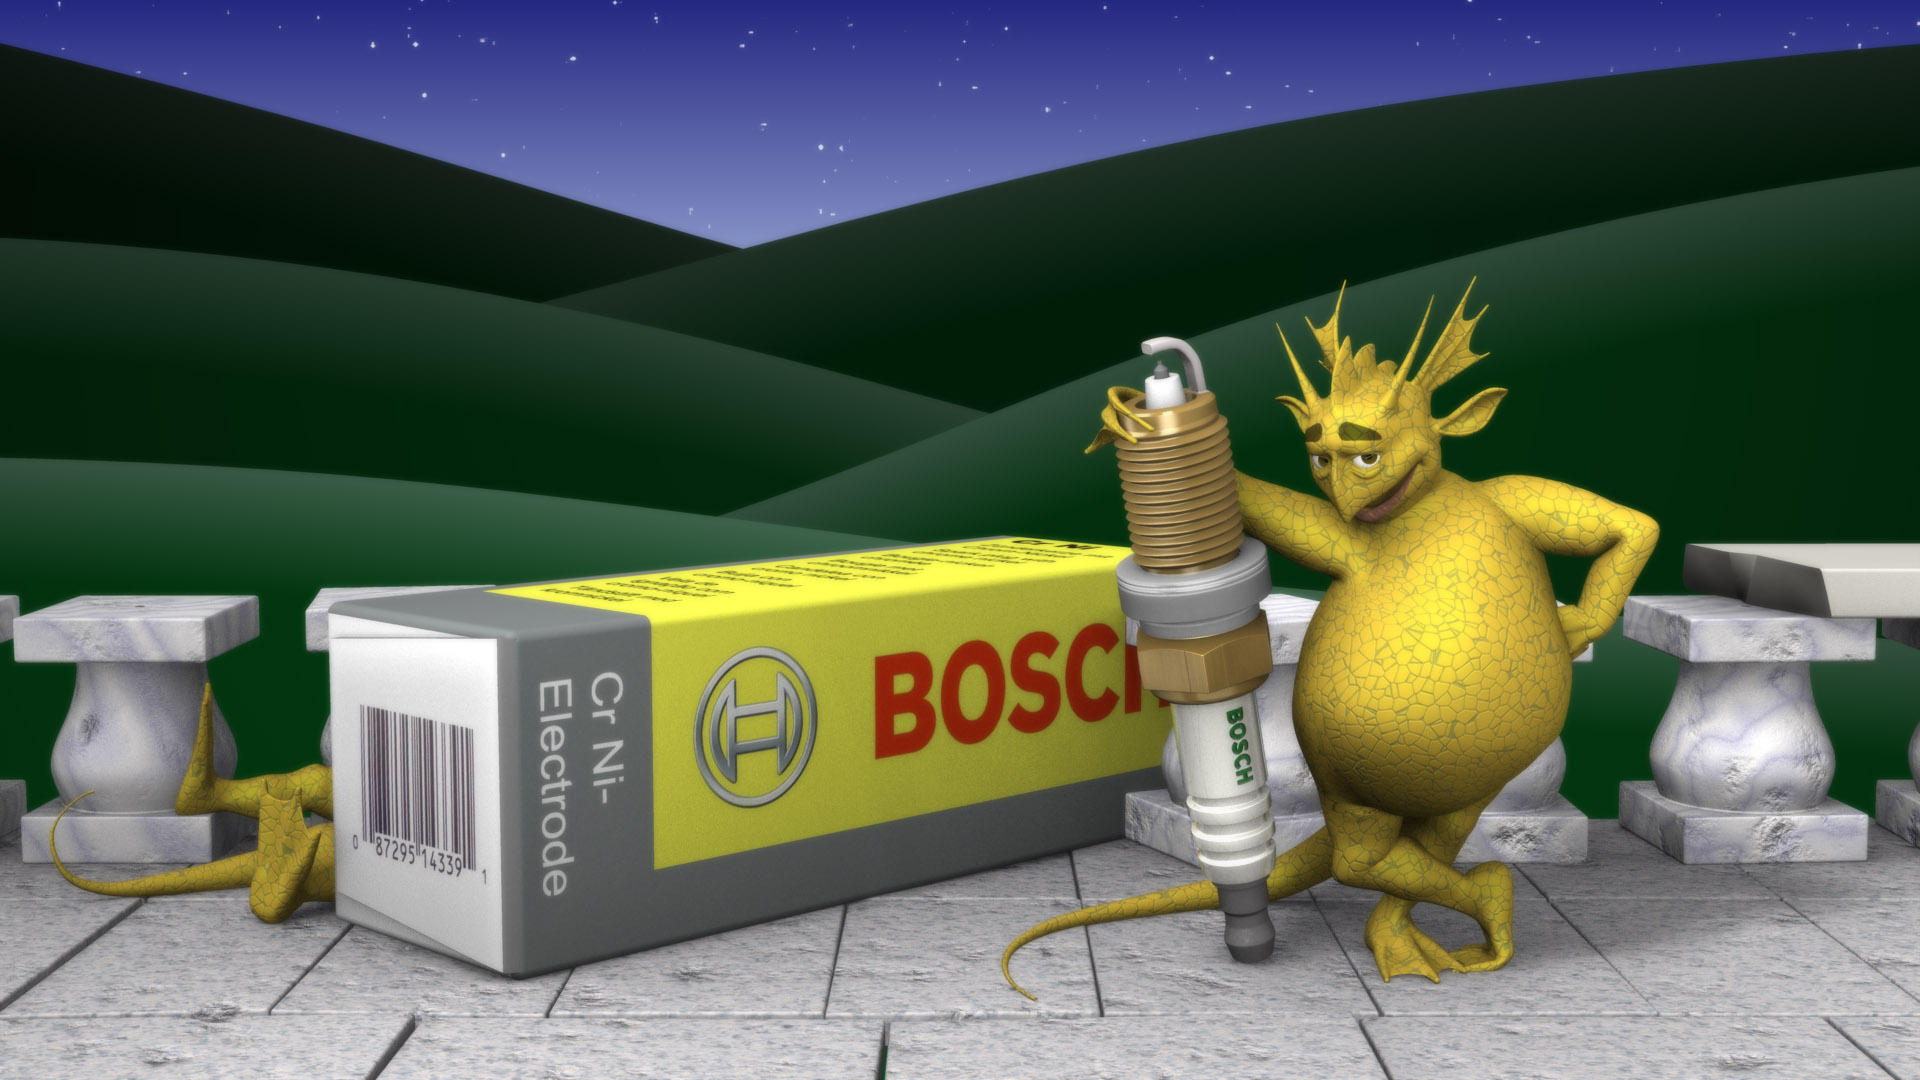
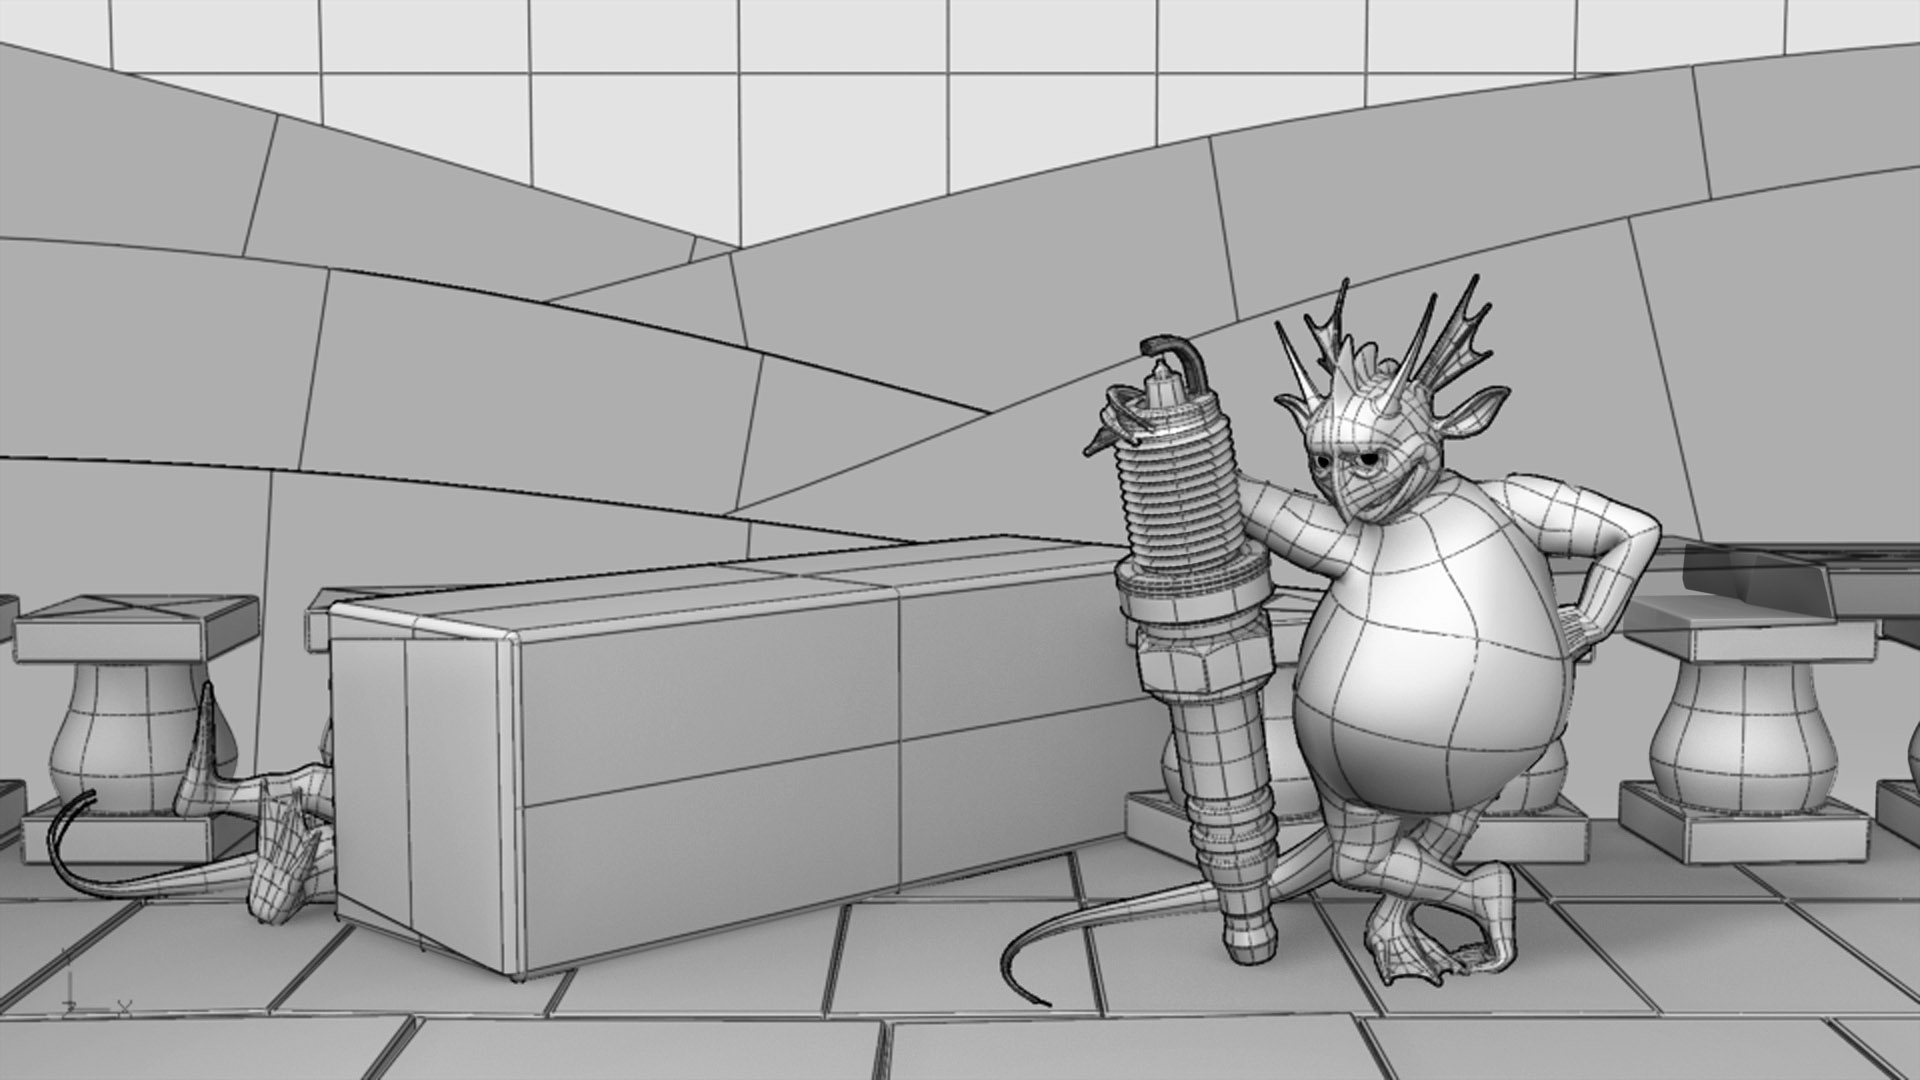
The voting is closed. Now we await the results video! While you are waiting, consider... A compelling collection of creative computer compositions commendably completed for... Finish the Unfinished! You may still peruse the contest entries below You may still click on any image to see it full screen. You may still see the entire collection as a slide show by clicking on the first image and using the arrow tool at the right side of the screen to advance through the images. (I'm not sure if this works on a phone but, of course, you're not looking at these wonderful images on a tiny phone anyway!) Wireframes are still included with each image for your splinesmanship edification! Competition Images Dream Weaver: Wireframe: Dragula in Peril: Wireframe: Evolutions: Wireframe: Awkward Moon: Wireframe: Super Pfleu: Wireframe: Titan Surface: Wireframe: Quest for the Cup: Wireframe: LIAM: Wireframe: Metamorphose: Wireframe: Cow at Rest: Wireframe: Exhibition Images These images are not in competition but are submitted for your enjoyment, none-the-less! Planes Trains Automobiles Medal: Wireframe: New Year: Wireframe: Goldfish: Wireframe: Salt & Pepper: Wireframe: Bosch!: Wireframe: Thanks to everyone for all the fine and creative entries!
-
When you say "inside" do you mean like this text is inside?
-
Possible with Actions but not very convenient. When you drop an Action on a model in a Chor, the Red bar that appears next to it in the timeline indicates when it is active and when it is not. The length of that bar can be adjusted to alter when the active/inactive happens.
-
Sorry you're having trouble, I'll send a note to Jason
-
The classic use for an Action was for animation that you wanted to loop, like a "walk cycle". The TAoA:M tut #5 "Take a Walk" does this. (A Pose wont' work well for that.) However, that Action technique is rarely used today for most character animation. It is still useful for repetitive motions that machines might make. Actions are still useful for managing "Action Objects". Distortion boxes on models are handled as "Action Objects"
-
It is not compulsory. However, I have often found that the last constraint I made is not immediately recognized in the Actions or Chors I have the character in. Forcing a Save on the PRJ will make it work, or it is often convenient to start a new Action if i am just testing something. I could test it in a new Chor but the Action is more convenient. Poses, Actions and Chors all store key frames but Poses don't cause these keyframes to happen at a time. ON/OFF Poses store settings you make, to be active when the Pose is ON and not active when the Pose is OFF. (The Pose Slider gives you a variable amount of ON/OFF, from 0% to 100%.) Also, Poses are stored with the model. Actions and Chors are not. Many years ago it was thought that we would animate by making various walks and talks and hand gestures in separate Actions and then glue them together in the Chor to create a performance, much as 2D animators put pieces of animation on "cels" that they can cycle or re-use. That has turned out not to be useful in CG. Almost all character animation today is done in the Chor. This is true of other animation programs that have something like our Chor. // Do the Barry Zundel Tuts have you make your rig constraints in an Action or a Pose?
-

All most there updated panel tinker
robcat2075 replied to johnl3d's topic in Tinkering Gnome's Workshop
Psychedelic! -
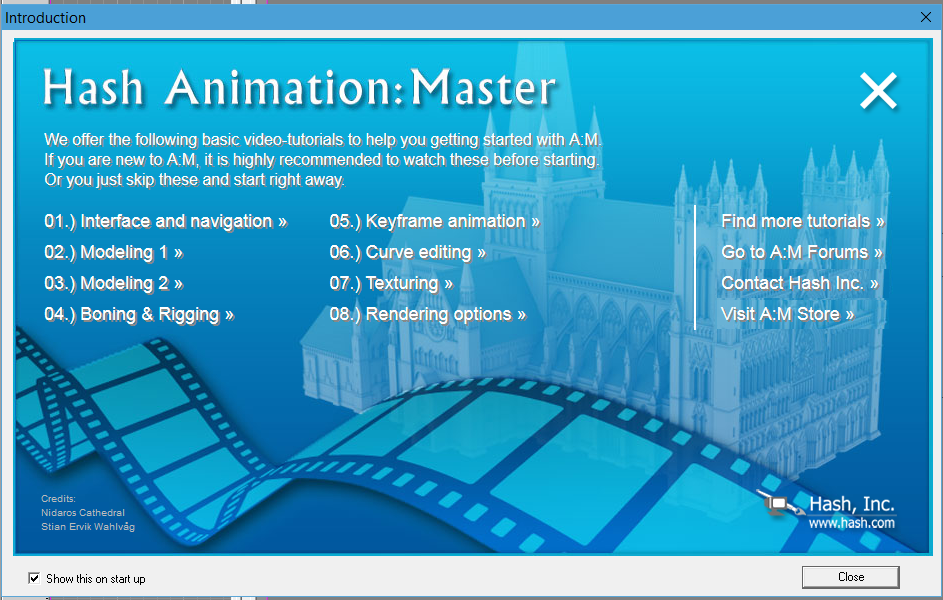
I'm glad it's helpful. Other people looked at it and said, "It only show how to rig a leg!" They have similar uses but compare the shape of the knee spline ring at 14:02 and 22:20 . The first one is squishier, the second one is more rigid. SmartSkin, which is not covered in this video, was the first solution to this problem. Fan bones came next. CP weighting came later. Each has a circumstance in which they are the best solution. Hurray! I just say the other software is terrible. Yes, the splash screen that shows when you run A:M has links to others. I'm afraid they are not all done, however.
-
If you want to bring this problem to Live Answer Time there are other solutions we could look into.
-
I think a bump map is the way to go. If you have paint program at all that can blur an image, draw that shape in white on a 50% gray background, blur it slightly, then save it out and use it as a bump map. Save to TGA or PNG if you can, but JPG will work.
-
Welcome back! Just the other day I was wondering if you had disappeared! Have you watched the new-user video for Rigging? If your goal is to make a simple IK-only rig on a character, that tutorial leads you through all the concepts including... why we need rigs making bones bone hierarchy attaching mesh why/how to use CP weighting and/or fan bones why/how to add constraints why we need Inverse Kinematic (IK) examples of IK constraint, Orient Like constraint, Aim At constraint creating a basic IK Leg The concepts explained for the IK Leg can also be used to create IK arms. Those are the core concepts at work in every rig. Fully-developed characters will need more bones than the simple Thom example. However, animators will want to have as few controls as possible to pose the character. Barry Zundel's rig, the AM2001 rig, and (my preference) TSM2 all create advanced structures so that the animator only needs to use a few controls to manipulate many bones. It's a trade-off: Simple rigs make animation complicated... Complicated rigs make animation simpler. If you have more questions...do ask!
-

A:M Bench 2017 – Benchmark for Hash Animation:Master
robcat2075 replied to Fuchur's topic in Animation:Master
By "throttling" I really meant the CPU speed. My 3.5GHz CPU can sit around at 2.2 or even 1.6 unless I turn on a "power plan" that sets the minimum processor state to 100% However... When I'm just running A:M and rendering on my 4-core machine the usage of the cores can go as high as 49% and is always above 25%. I wonder what is happening during render that uses more than one core.- 42 replies
-
- Benchmark
- Benchmark for A:M
-
(and 2 more)
Tagged with:
-

A:M Bench 2017 – Benchmark for Hash Animation:Master
robcat2075 replied to Fuchur's topic in Animation:Master
If you set Render to "Use Camera Settings" that should retain all the proper settings. And I presume you have your computer set to a power management setting that doesn't let the CPU throttle below 100%. Windows 10 does this well but i could never get Windows 7 up to 100% unless i was running multiple instances of A:M simultaneously.- 42 replies
-
- Benchmark
- Benchmark for A:M
-
(and 2 more)
Tagged with:


