robcat2075
-
Posts
28,276 -
Joined
-
Last visited
-
Days Won
406
Content Type
Profiles
Forums
Events
Everything posted by robcat2075
-
That's like something in the background of mad scientist lab.
-
I'll give it a look but it may not be very soon. If any of our other sleuths want to look, that will be super, of course.
-
I think un-nested could work if they are in the right order in the PWS. I haven't tested that however.
-
A decal stamp can not be altered to change position A projection map material can look like a decal and its position can be animated. See my post in this thread. I don't recall if a projection map can be be used as a transparency map.
-
Use another gradient inside the first one to control the end transparency.. Here is an example... Thread Reveal07 ReVealUnVeal.prj RevealUveal000.mp4
-
I'm confused. That is what it looks like now. You do want sharp or you don't want sharp? This looks like a sharp end... It's not clear from your description why the animated gradient wasn't working. Animating decal placement is not possible. I need to understand what it is you want before I can know what to tell you to try instead.

-
Cool scene! Is the end of the thread intended to be a fade out rather than a hard stop?
-
Glad to see you're back at it! Restarting something isn't always bad, it's a chance to not make old mistakes.
-
Well, I think Robert should stop being lazy and get the Image Contest video done! He really doesn't have any good reasons to not have that out yet. (but, thanks guys!)
-

Mathematically predicting mag & bias values?
robcat2075 replied to R Reynolds's topic in Animation:Master
I know there must be a formula because Stitch with "Maintain curvature" works automatically. Lathe out your perfect four-point circle, go to Add Mode, then hold down SHIFT while you Add a new CP anywhere on the circle. The circle will remain a circle. The new CP has its biases automatically set and its neighboring CPS have had their biases adjusted for the new situation. It is probably a pretty hairy formula since it has to correctly handle not just circles and ovals but ANY spline curvature. This spline-inserting technique would eliminate manual bias fiddling for all of your new CPs except the one that are part of the sharp corners. While there is this Maintain Curvature ability for adding CPs, I regret there is no similar power for deleting CPs. -
Must be feeding time.
-
Don't miss out. Anyone can play!
-
I don't know much about the code in A:M but OpenMP seems to help quite a bit with non-rendering tasks like the "finding patches" thing when editing dense models and cloth simulations. Maybe particles too? But the "Final Render" is single threaded, AFAIK.
-
I don't think enabling Open MP will bring much to net render if you are already maxing out your core usage. My understanding is that A:M currently only uses GPU processing SSAO and for certain post effect filters, so general rendering is not sped up by the GPU. I can't find where those filters are selected at the moment. But if you are using SSAO you may want to enable it. When "Use GPU" is off or if the card does not have the features necessary for GPU SSAO, A:M uses a slower CPU version. However, I would encourage anyone shopping for a new graphics card to get one that supports real-time ray tracing under DirectX 12, in case that can be somehow incorporated in a future A:M. Graphics cards prices are currently insane due to bitcoin miners and pandemic production problems, so waiting a bit before spending money might be wise.
-
That looks like a perilous journey has begun!
-
I've used a negative light before but what is the negative blue doing?
-
Just tinkering and got this result
robcat2075 replied to johnl3d's topic in Tinkering Gnome's Workshop
Yeah, something didn't work right there. -
-
That's a great looking scene you've got going there. Is that all conventional CG lighting or is there radiosity in that?
-
I can not bought A:M in Hash inc store, please suggest
robcat2075 replied to Bobby's topic in Open Forum
Did you REALLY want the $299 version? -
Happy Fourth of July! WaveTheVeryLongFlag.prj
-
-
But you have the key code now, and you've got the installer from here, right? https://forums.hash.com/topic/50439-v190p/
-
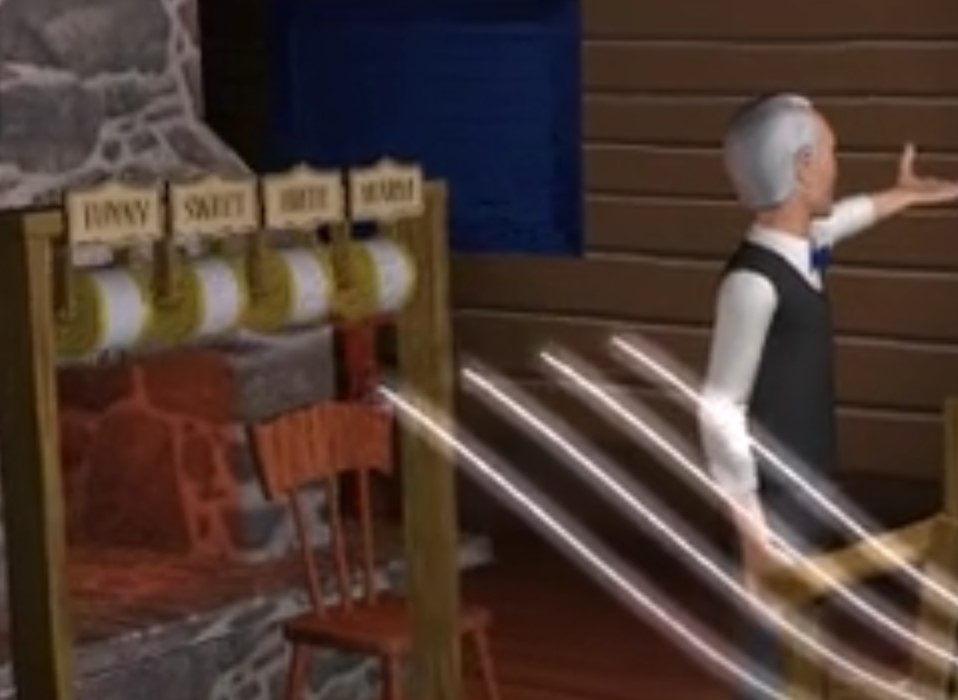
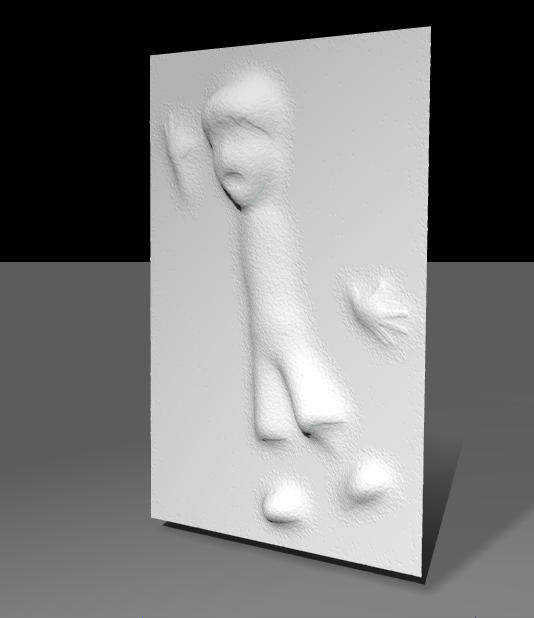
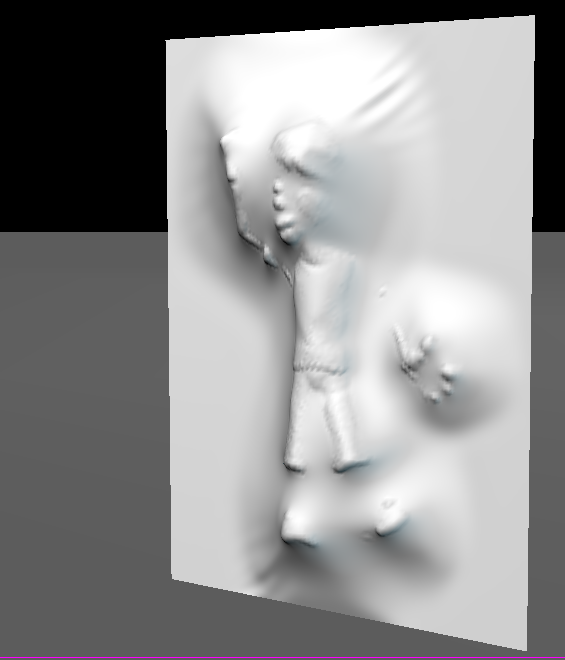
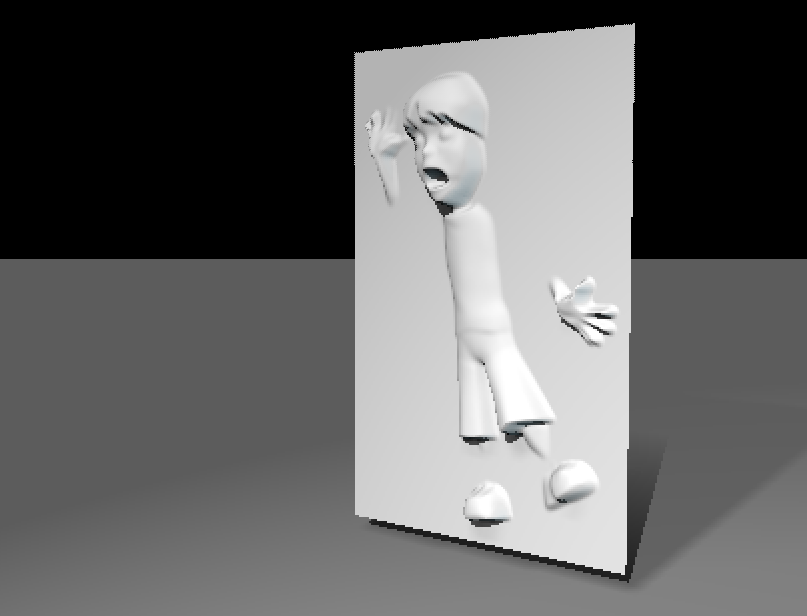
Future topic... Eddie Comin' thru your bedroom wall...
-
Sorry about the frustrating experience, Kenneth! I've asked Jason about the lack of a download link in emails to purchasers. There is a problem with the emailer software that is causing that. I'll note that if you've bought a new sub and still have A:M installed from the last one you don't need to reinstall... delete the master0.lic file from your AM folder and then run A:M to get it to ask for your new key.