-
Posts
28,389 -
Joined
-
Last visited
-
Days Won
422
Content Type
Profiles
Forums
Events
Everything posted by robcat2075
-
Thank you. It's a lot of path constraints. I'm working on a better way to control lips. There's still more to figure out.
-
Would you believe... I've been trying to figure that out for more than 10 years.
-
-
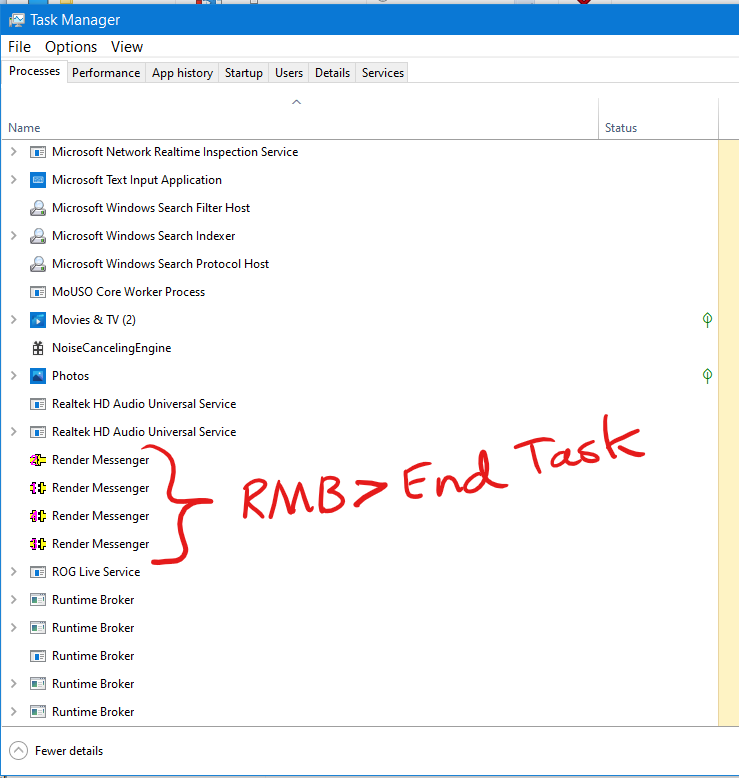
I have seen that message. It has something to do with NetRender having been run more than once in a session. I fix it with a complete power off to the computer. Pull the plug even.
-
A peculiarity of my cases is that it only happens in the Chor camera view. It doesn't happen in a Bird's Eye view and if the animation was made in an Action it doesn't happen in the Action.
-
Ultimately, to solve the spline thing we'll need a case that always does it and that you are able to let Steffen and/or me see. I have cases that can make it happen on the screen but they still Final render correctly. Netrender... again, I need to see what you are doing. I REALLY wish you would bring this to Live Answer Time.
-
I've never ever responded to a forum post by email. I didn't even know that was a thing. 30 minutes to power down and restart? Something is wrong.
-
Try shutting your computer down. Not just reboot but complete power OFF. Then restart.
-
Try rendering the image sequence in NetRender
-
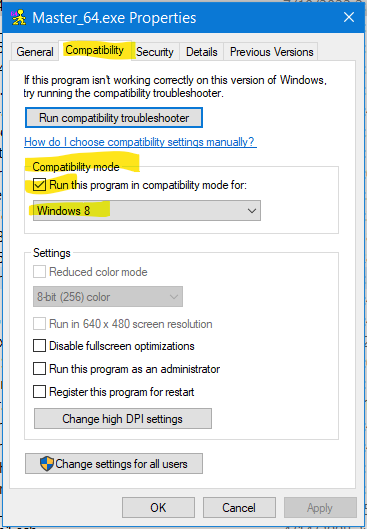
Short version: Use Windows 8 compatibility settings. Longer version: Sometime after I upgraded to a Windows 10 computer a few years ago I noticed that A:M would often freeze during on-screen preview renders. Other A:M users have mentioned this to me also. I could start an on-screen render, either a regular or progressive render, and if it took more than 5 seconds to complete the time counter in the corner would freeze, the progress bar would stop moving and A:M might even gray out and become "not responding" . If I waited as long as the render would have taken to finish, A:M might return, maybe with a finished render, maybe not, but ESC-aping out of the long render wouldn't work. If you are on Windows 10 you can make this happen yourself by loading a long-rendering scene, such as the Teapots Benchmark, then clicking outside of A:M, then returning to do an on-screen preview render. A curious clue is that the red Close gadget at the upper right corner of A:M would turn red at the start of these freezes. It is as if some unseen event is causing the freeze. Since then I have found that I can avoid these freezes by setting A:M to use Windows 8 "compatibility" settings. On your C Drive got to your Program Files>Hash Inc>v19.0 folder and on Master_64.exe and choose Properties. Make this setting... Steffen is aware of this bug and is working on it. Until a fix is found... compatibility settings!
-
Here is a mesh with many splines but I can curve any portion of it, large or small with just three controllers. CurveController2.mov
-
Hmmm... 2022-07-11-11-11-35-1208x694.mp4
-
Browsers don't do ftp any more You need an ftp program like Filezilla
-
Try installing v18 and running your PRJ in that. See what happens.
-
In the Chor, Show More Than Drivers to expose the model's Decals folder. There you can keyframe values for "frame". The curve for a decal that plays twice will look something like this...
-
I have an old project that does this sometimes in v19.5 but not always I recall the work-around way back when was to save, restart A:M and reload
-
I would really need to see this working to know more. For now, ignore the wrinkles, and bring it by next week.
-
Long-time A:M user Matt Campbell (AKA John Bigboote on the forum) has just had serious heart surgery. He'll be laid-up for a while but I bet he'd appreciate a good old-fashioned card with well-wishes from his A:M friends. You may send it to... Matt Campbell 561 Lakeside Dr. White Lake MI 48386 One of Matt's many contributions here...
-
And you did them without CP weighting? Are they on a fan bone? This would have been a good topic to bring to Live Answer Time!.
-
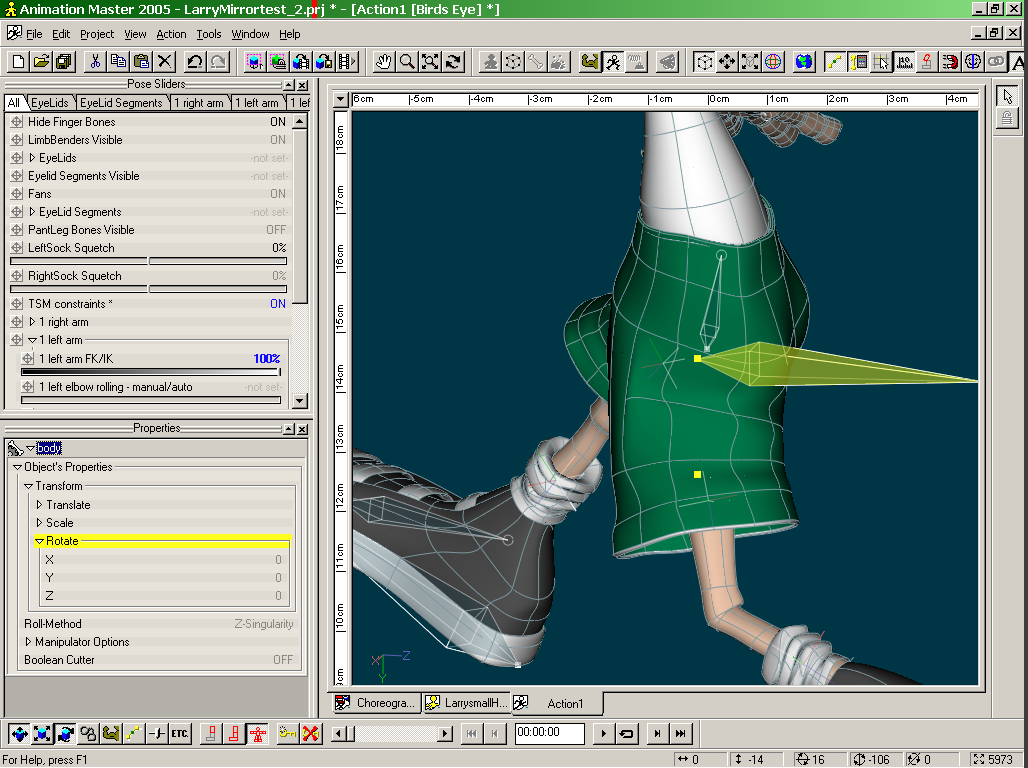
Hey that looks pretty sharp. Normally i'd suggest not leaning a character back like that in a walk but for him it kinda works.
-
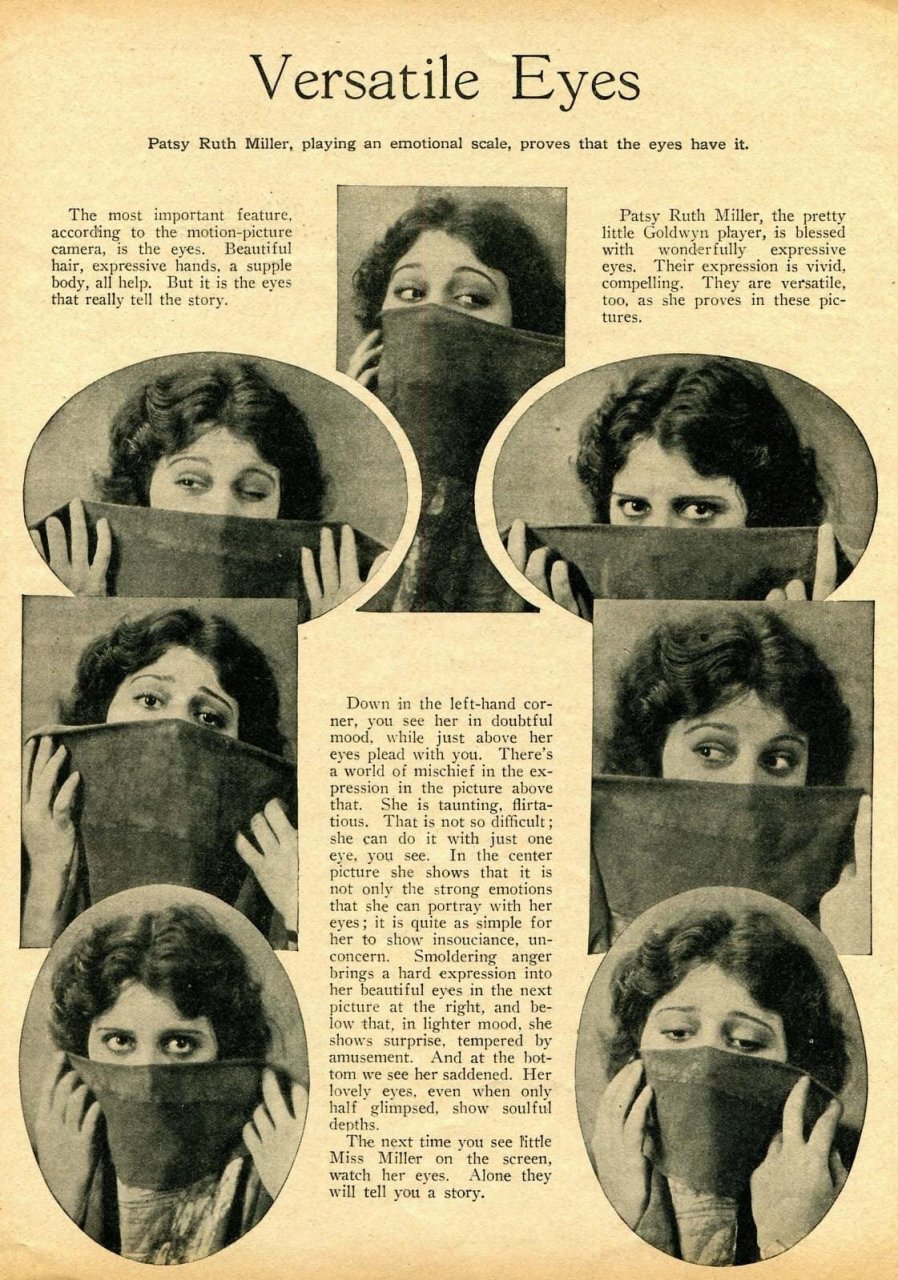
Here's a great 1923 Hollywood fan magazine feature on the power of the eyes to convey mood. We often think "happy " and "sad" are about the mouth making a smile or frown, but the eyes are really the big players on the face. Eye direction, eyebrows, eyelids and the tilt of the head are doing the work here. Your A:M characters can do this too.
-

Cap Your Mo! Join the Summer Mo-Cap Challenge
robcat2075 replied to robcat2075's topic in Animation:Master
Example of a Basic Entry This sample entry incorporates the three things we are looking for in the "Cap your Mo, Summer Mo-Cap Challenge" 1. I show the video I shot for the motion capture\. Putting the video after the animation is an option. 2. The motion capture was used on an original character. 3. The animation was put in a little scene to give it a premise. (If the embedded video doesn't play, click on the "Watch on YouTube") Extra things I did: -I clipped out the starting T-pose since that wasn't part of my "story" -I manually key-framed eye direction and finger poses since those are not represented in the mo-cap data. Your entry can have more than one shot. Use several to tell a small story! All the how-to's in the top post. If you are having trouble with any part of the process... PM me! -

Cap Your Mo! Join the Summer Mo-Cap Challenge
robcat2075 replied to robcat2075's topic in Animation:Master
I bet a Yoga enthusiast like yourself will have some interesting motion to capture! Looking forward to your entry! -
v19.5 is being beta tested now and should come out soon but it is mostly about internal code changes rather than new features. However, I presume Steffen would not be doing these if he did not intend to make use of them so perhaps in some possible future v20 there will be things to herald. If you haven't seen the list of things added in recent versions check that out. If you've been away for a while there is quite a bit there... https://forums.hash.com/topic/50199-v19-v18-v17-new-features-and-enhancements/


