robcat2075
-
Posts
28,276 -
Joined
-
Last visited
-
Days Won
406
Content Type
Profiles
Forums
Events
Everything posted by robcat2075
-
I'm afraid i don't understand that diagram.
-

Having trouble connecting with proper splinage
robcat2075 replied to jason1025's topic in Animation:Master
Congratulations on the new arrival! -
OK, who makes Troer? Could we just get them the right MDL code?
-
I'm not sure I understand you... is the importer in v17 working properly or not? If it is working properly, then the importer is not Tore's problem. I don't know if that is going to happen or not.
-
Sprite reflection is effect good or bad
robcat2075 replied to johnl3d's topic in Tinkering Gnome's Workshop
It's an interesting look but it looks like the reflection images aren't smoothly scaled as the direct images are. -
Have you made a bug report for this?
-
Sprite reflection is effect good or bad
robcat2075 replied to johnl3d's topic in Tinkering Gnome's Workshop
Nice sprite! I'd suggest reporting that as a bug, unless that is something that happens only in 1 pass ? -
Hold down the shift-key and you get the option for other resolutions
-
One could lobby the 3DCoat people to modify their product to properly import and export meshes made in A:M MDL format.
-
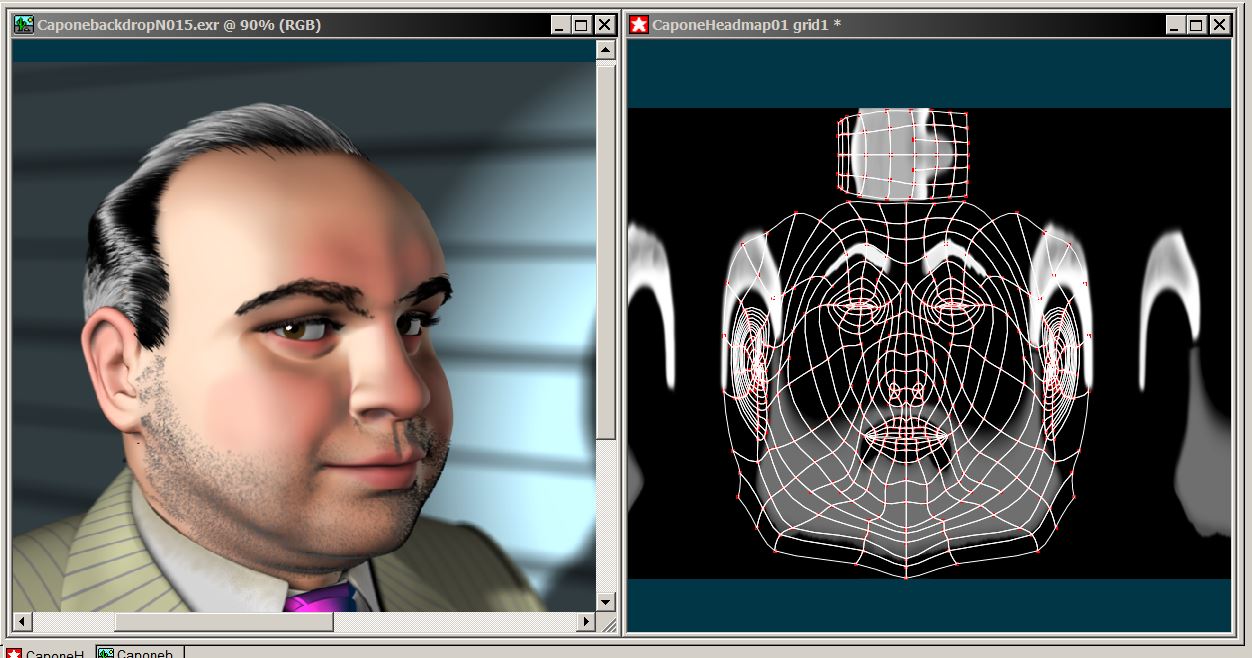
It's not hard to make a pose that corrects overlapping splines, then do the cylinder map. That's how I did my Al Capone head which has many overlapping parts. Because I didn't want to devote a lot of map to the top and back of the head, I made one pose for the face and sides of the head and another for top and back of the head. I hid the top/back and stamped most of the cyl wrap on the face pose, then I hid the face/sides and stamped a little part of the map on the top/back pose. That got me this UV layout on the model which i can paint in 3Dpaint or in Photoshop and never have to convert to an OBJ. (the map shown is the hair density map) It's not "automatic" or instant, but in the time you spend trying to make 3Dcoat work you could do this and be done already.

-
Maybe you need a language police like the French have. They would probably say they were using "Yiddish" although that seems to be pretty much slightly misspelled German. It's hard to think of many German words that have made it straight, unaltered into standard non-comedy English even though most of English originates as German. dachshund Kindergarten gesundheit I'm sure there are a few more.
-
Here's what I don't understand... why is this fragmented layout preferable to having one continuous map that covers the whole surface? With a cylindrical wrap you can have coverage in one unbroken map and not have to convert to a non-A:M format either.
-
I would ascribe the difference to the fact that 3DCoat is a polygon tool that doesn't understand the smooth spline interpolation between CPs in A:M models. It presumes the edges of the patches were straight lines but they really weren't.
-
voted last night
-
I always find it unsettling to hear modern English words in foreign movies.
-
Congrats on the gig! Is "gig" common parlance in German?
-
Is there some frill that is sticking up from the panties? (American term) That might be casting the AO shadow. Otherwise it might just be the distance of the edge of the panties from her skin. If there were a separate object they could be set to not cast AO, but that's a bit complicated.
-
I think it works better in wireframe because we have a visible chin spline and no shadow line wandering around. If you really want the chin to be so motionless maybe the simplest thing would be to move the light so that the shadow line is always below his chin and not on the front of it. As the mouth moves around that seems to be shifting the shadow and the moving shadow implies a contour that is moving when really there isn't one there. Or... also... he could have a tiny hipster goatee on his chin to make it obvious that the chin isn't moving even though the mouth is.
-
Cat looks great! Can you show a wireframe render of that same chewing animation?
-
I wonder how many times someone had to get bonked on the head before they fixed that?
-
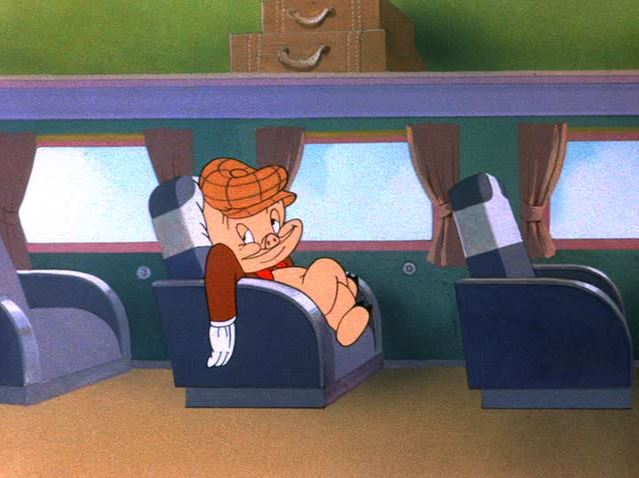
the overhead luggage compartment on this old plane looks unsafe to me. I wonder if there was really a plane like this or if the artists just figured it must be like on a train. ("Yankee Doodle Daffy" 1943)
-
The viewmaster thing would be an interesting give-away for very high dollar contributors to your next kickstarter.
-
There's something about the way the chin is shaped and the shading that is making it appear to be not moving the way the mouth is moving.
-
It might be funny if his jaw had a visible circular movement to it as he chewed, like how a cow chews.
-
There's something odd about the shadowing on his chin... it makes it look like his jaw is going down while his mouth goes up.