Tralfaz
-
Posts
899 -
Joined
-
Last visited
-
Days Won
1
Content Type
Profiles
Forums
Events
Everything posted by Tralfaz
-
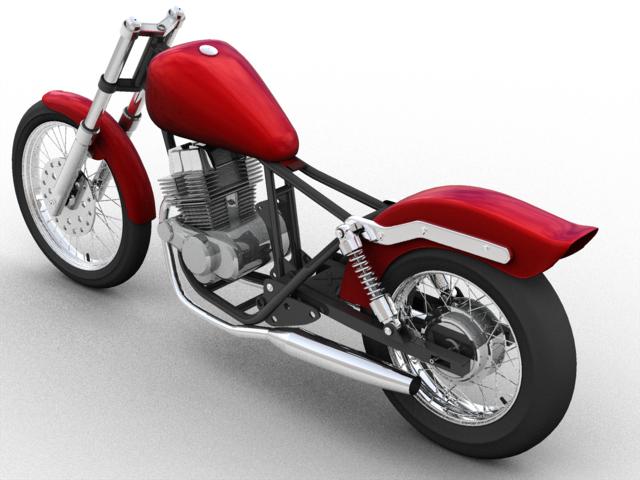
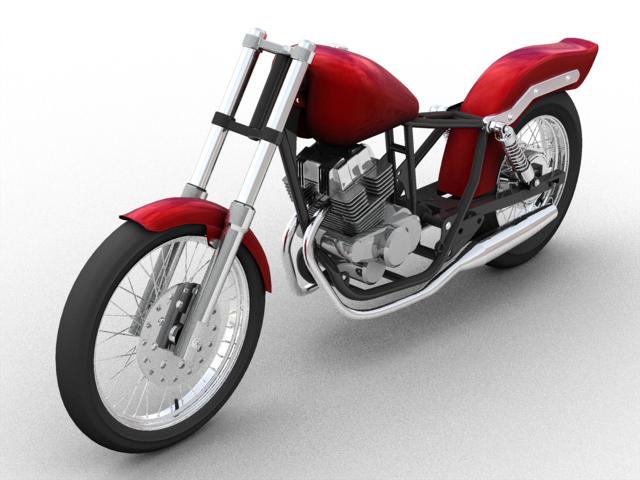
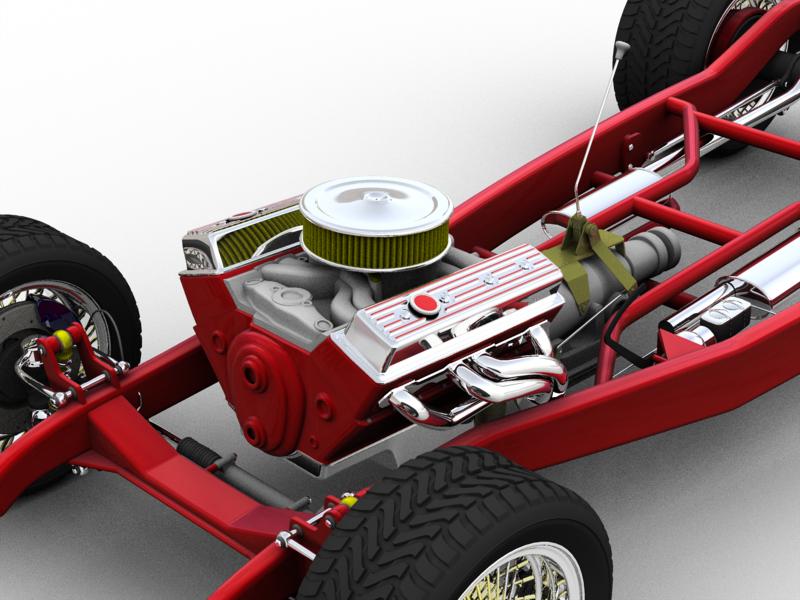
Latest update: Started working on the engine and exhaust. Really helps to have the real thing sitting out in the driveway. I keep running out and taking measurements and photos to use as reference. Still have lots to do on this model like lights, seats, handle bars, foot pegs, and more and more..... C&C always welcome... Al

-
I did this test when I was just learning Animation Master. http://www.hash.com/forums/index.php?showt...42&hl=track Al
-
As always, your modelling and texturing is excellent Stian. That whole test scene reminded me of the TV show Dinosaurs from a while back. "Not the mama!" It would be pretty funny to see these two raptors standing around the water cooler having a conversation about their weekend. And what is kind of bizarre is that I am watching Jurassic Park on TV as I type this. Right now the T-Rex is trying to chew his way into the car holding the two kids. Oops, there goes one of the tires! Al
-
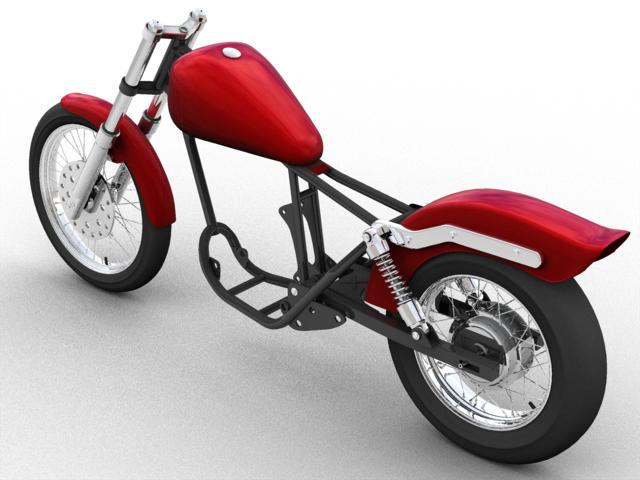
Thanks everyone. One of these days, I should really learn how to use booleans. Another update. Added fenders, gas tank and shocks. After seeing how the rear fender is attached, I am glad that I decided not to carry passengers! Doesn't seem to be too much supporting where the passenger would sit. Thanks... Al
-
Quick update: Added rear tire, still no tread on them though. Add disc rotor to front wheel. Dang that was hard to model. Spent most of the day on the rotor (still too cold outside to ride). C&C always welcome... Al
-
I totally agree about being out riding Luuk. It's just the weather this weekend has been cold and rainy, so today is modelling and laundry day! And before anyone makes the obvious comment, no I do not model the laundry around the house.... Quick update. Started working on the front wheel, no tread on the tire yet, will do that later. Al
-
Thanks everyone. I sold my 2005 Yahama Vino 125 scooter for $2,000 CAD certified. Didn't require anything to certify it either. Bought the Rebel for $3,000 CAD. My Rebel also came with around $400 of extra options on it (windshield, soft saddle bags and backrest/sissybar). I am around 5'11" tall and weigh around 230 lbs. The Rebel 250 is comfortable to ride and will easily do over 70 mph. I am also getting 76 mpg in the city and 103 mpg on the highway! As for paint schemes, I have read about people painting their bikes to look like Police bikes. Apparently, drivers can spot a Police vehicle from miles away! Al
-
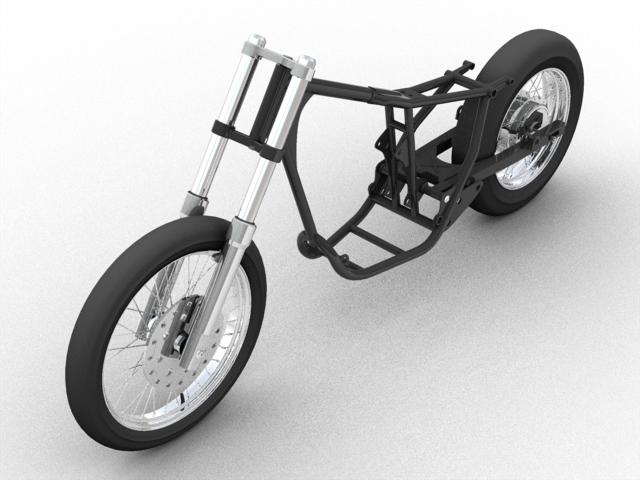
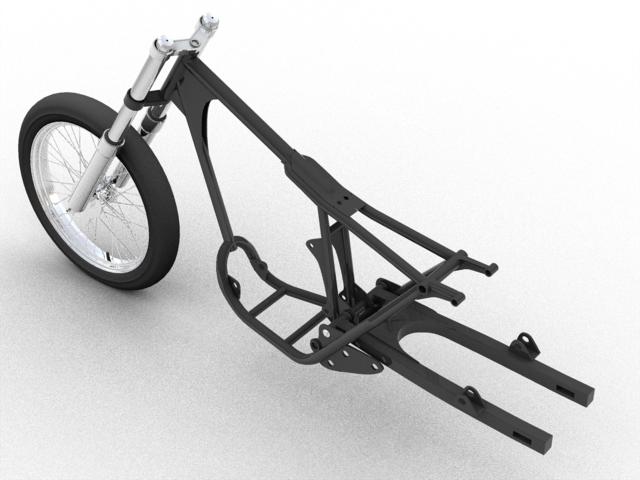
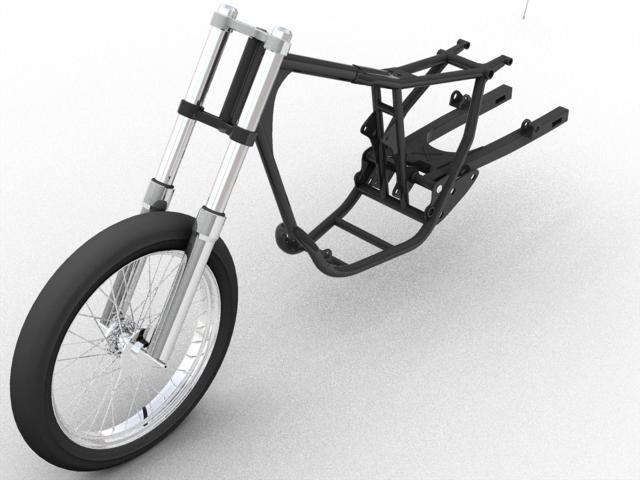
I just recently bought a 2004 Honda Rebel 250 motorcycle. Sold my Yamaha Vino 125 scooter and am now riding the Rebel. I started modelling the bike for three reasons. The first, is that I am learning how the darned thing is actually put together. The second is that come the winter months, I want to repaint it to make it more visible and distinctive. I also want to try any modifications to the bike first on a 3D model before implementing it on the real thing. So, I am modelling it from the ground up, which is satisfying the first reason for modelling the bike. The 34 Ford I was working on is going to have to wait a while until this project is done. C&C always welcome. Thanks... Al The real bike... WIPs... Wireframes...
-
So, if you can add a material and an image, can you add a video or series of images for an animated light? Hmmmmm....... Al
-
Good grief Eric. It's been a while since I looked in on this project, and it absolutely amazing! Al.
-
Oh? Are you dropping a hint? How cool would THAT be...are we all going to need to paint a room in our house black? If so, I already have one. (I shouldn't be asking this, he thinks...) Why do you have a room in your house painted black, Mr. BigBOOte? Doesn't everyone have a black room in their house with all the windows blacked out and a 2 x 6 x 2 foot box in the center with dirt from your homeland lining the bottom of it?
-
Thanks everyone. Those were the days (sigh)... I remember reading about how Hertz used to rent Shelby Mustangs in the 1960's. Some guy would rent one for the weekend and when it came back on Monday, there were holes in the floor from where he bolted in a roll cage so he could race it at the track! Loved those old Aurora kits with Frankenstein, Wolfman and the Mummy all driving custom drag cars. And of course (here I go dating myself again), I had the Munsters car, Monkees car, the TV Batmobile, A-Team van and a host of other goodies. Wasn't very good at building them in my younger days. Gobs of glue and clear plastic don't play well together! Wasn't until I was in my fourties that I seriously got back into building model cars and competing with them. I have several Best In Show awards for specific categories (e.g. Best Chevy, Best Historic, etc.). If it weren't for problems with my eyes, I would still be building them. Yeah, gas prices are getting pretty bad. They are predicting that gas will hit $1.40 - $1.50 a litre in Ontario this summer (that would be around $6.00 a Canadian gallon). This is my 5th year now for riding a scooter when the snow disappears. Started with a 50cc Suzuki. Rode that for a couple of years. Now I have a Yamaha Vino 125cc scooter. I laugh to myself each time I fill it up (around $3.00) and go in and pay for it with the change in my pocket! Anyway, here is another update... C&C always welcome... Al
-
Looking good Eric. Funny how an experiment can lead into a full project.... Really nice use of splines. Al
-
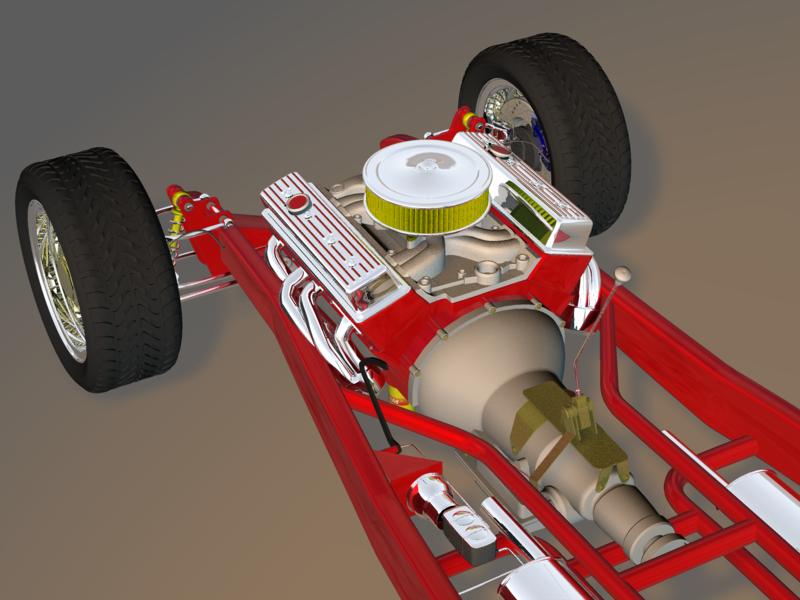
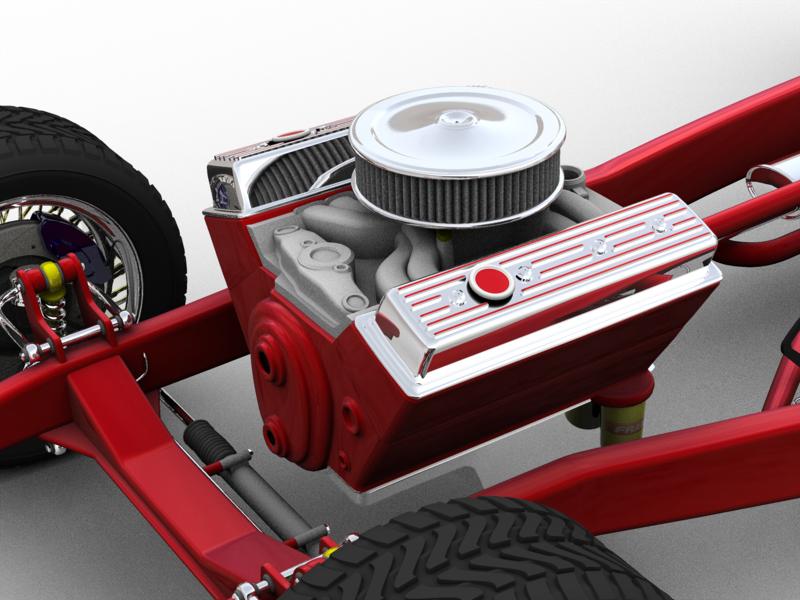
Thanks everyone. Here is another update. Started roughing in the 350 Engine. Just going for size and placement right now and will refine it and add details later. I have had a hard time finding any blueprints for a 350 engine, so I am relying on photos and a 1/24 scale engine from a model I built a while ago (used to build car models and enter them into contests). I am measuring the parts with a micrometer and then scaling the measurements up to full size. C&C always welcome... Al
-
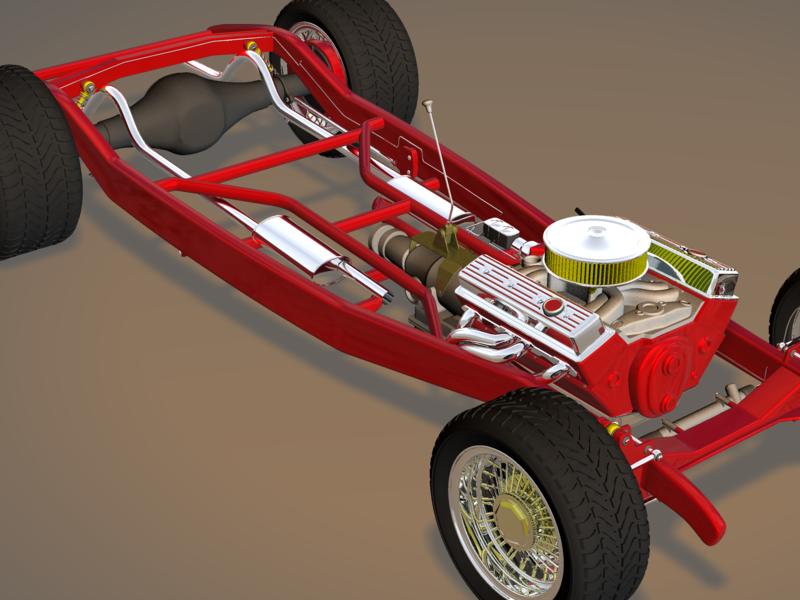
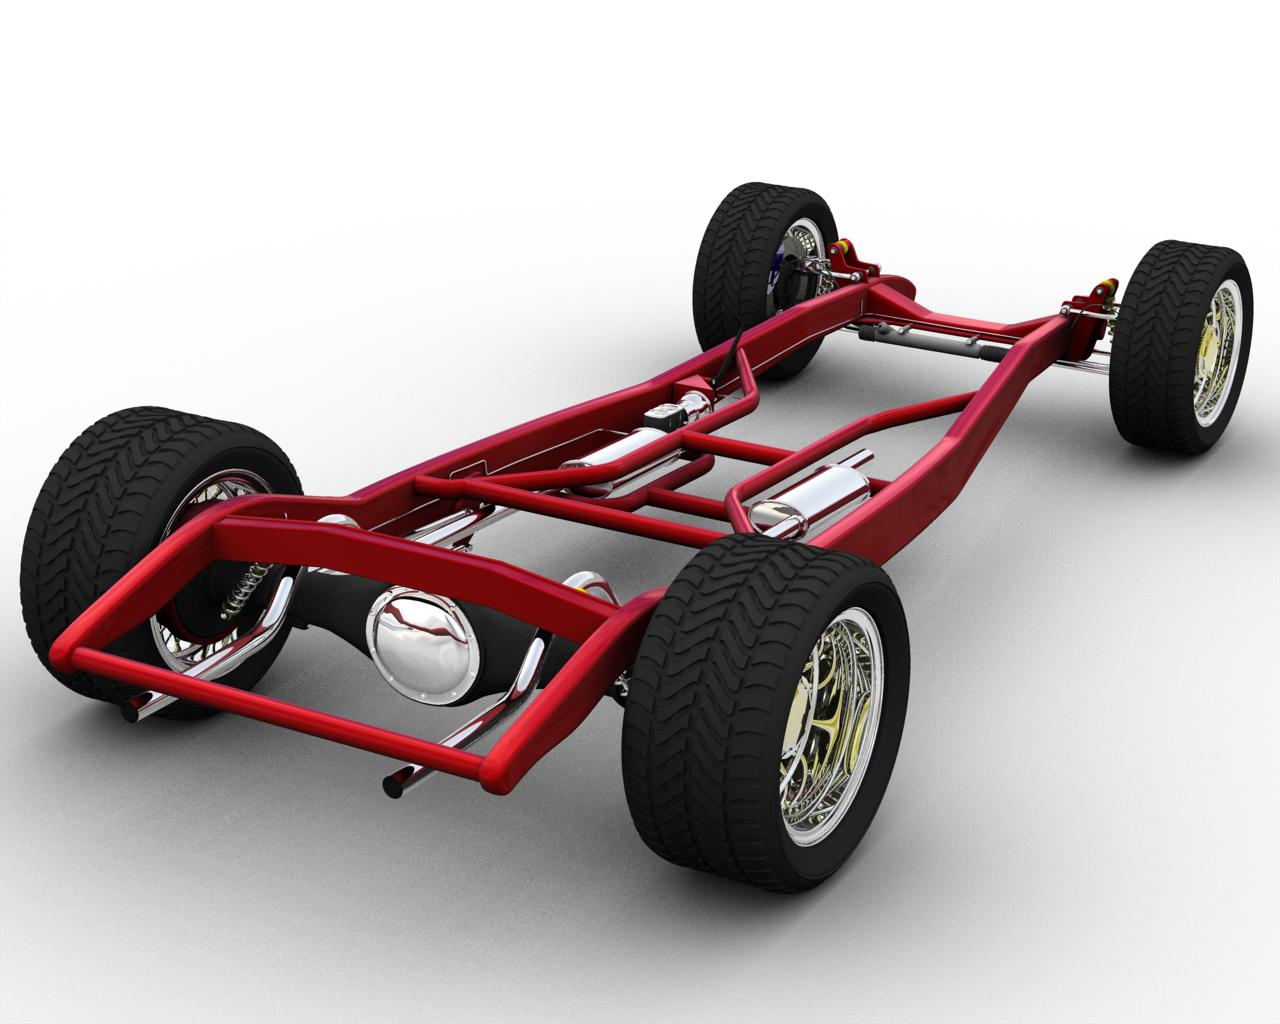
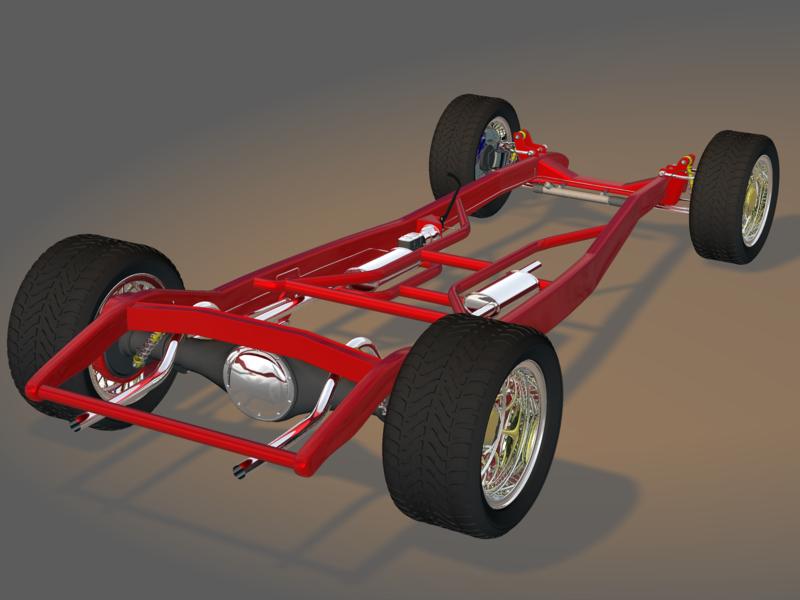
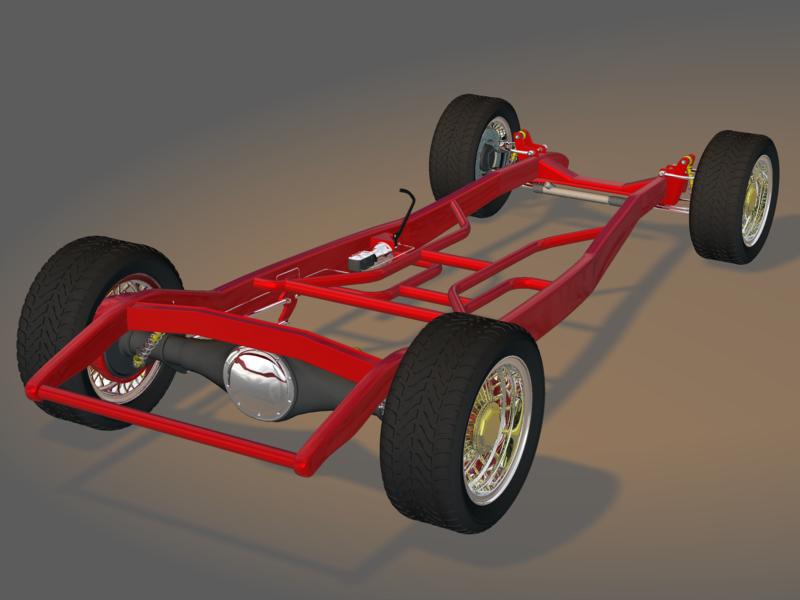
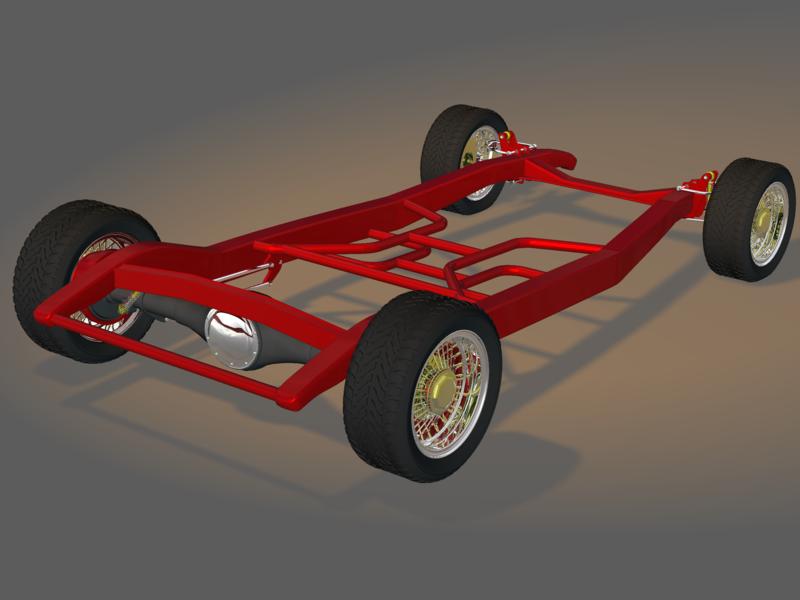
I went to the image gallery and did a search for 'vette' and found your Dream Garage. I had seen it before, but didn't realize you had done it. I took a long look at it and really didn't see what you could refine! So, then I looked for any images with the key word 'car'. Came back with 4 pages worth of images. There are some pretty serious car modellers here. I can only hope to raise my own modelling skills to your levels. Anyway, here is a larger view of the rolling chassis. Details show up a bit better in it... Thanks... Al
-
Thanks Eric. My son is saying the same thing, that it is wasted detail. Depending on how the body is built, a lot of the detail will be visible. For instance, if the fenders are left off, then the suspension parts will be visible. If the engine cowling is open or left off, then engine detail will be visible. This way, I will be able to have different versions of the car simply by turning on or off parts. So far, not including rims and tires, the model is sitting at 9,223 patches. The rims and tires sit at 15,280 patches. The majority of those patches are in the tread detail. Started working on the exhaust. I think the rolling chassis portion is complete now, and will start work on either the engine and transmission or body next. C&C always welcome... Al
-
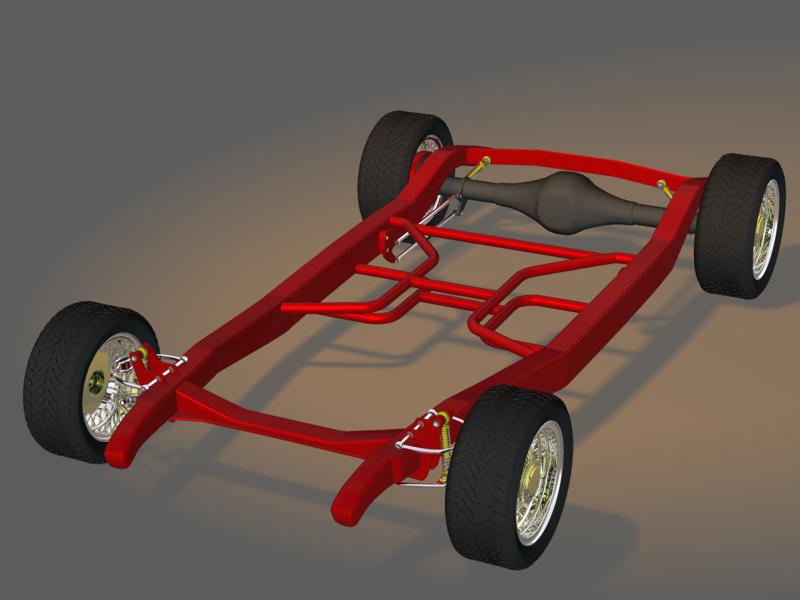
Thanks. The tires are entirely modelled, no decals as shown in an older wire frame below. ... and a quick update, completed brake lines, flex hoses, front brake rotors and calipers, front suspension, mounted the rack and pinion steering. C&C always welcome... Al
-
Thank you. Doing this type of render is very easy to do. I am at work right now, and doing this from memory, but it is pretty straight forward. This is all based on the default chor that is created by A:M. In your chor, select the Chor (e.g. Choreogarphy 1) itself in the Project Work Space. Find the option for Global Ambiance Type in the Properties and change it to 'Global Color'. Once you have set the Type to Global Color, expand the Global Ambiance Type selection. You will find three more options, Ambiance Color, Ambiance Intensity and Ambiance Occlusion. Set both Intensity and Occlusion to 100%. Leave the Color to White. Now, make sure you turn off all lights in the chor. (e.g. Rim, Fill Light and Key Light). When you go to render your chor, go to the Options tab of the 'Render to File Settings'. Make sure you have Ambiance Occlusion turned On. I set Quality to Final, Multi-Pass to '16 Pass (4 x 4)', Motion Blur Off, Shadows On and Reflections On. Render away. Depending on how complex your chor is and the computer you have it may take a while to render. For instance, on my laptop (see specs in my signature), the 34 Ford Frame scene takes around 2 hours to render at 1280 x 1024. I am rendering the progression of the model and using it on my desktop at work. I have the 34 Ford on 1 monitor and the Lamborghini Gallardo on the 2nd monitor. If you leave all your model a matte gray, you can get really nice clay style renders. That is all there is to it. Hope this helps and would be interested in seeing how your render turns out. Al
-
Time for another update. I've been working on correcting the front end and suspension components. Started adding the brake lines, master cylinder, brake pedal and rack and pinion steering. C&C always welcome... Al
-
All AM, tgas are 32 bit targas with an alpha channel. lol! I was thinking of t - gas, like it was a plug-in or something like that. Thought 't' was for Tree and 'gas' was for... well that is where my sick corrupted mind came into play. Al
-
Looks really good and is that all in A:M. What is tgas? (my sick corrupted mind can thing of several things, but probably not the right one) Al
-
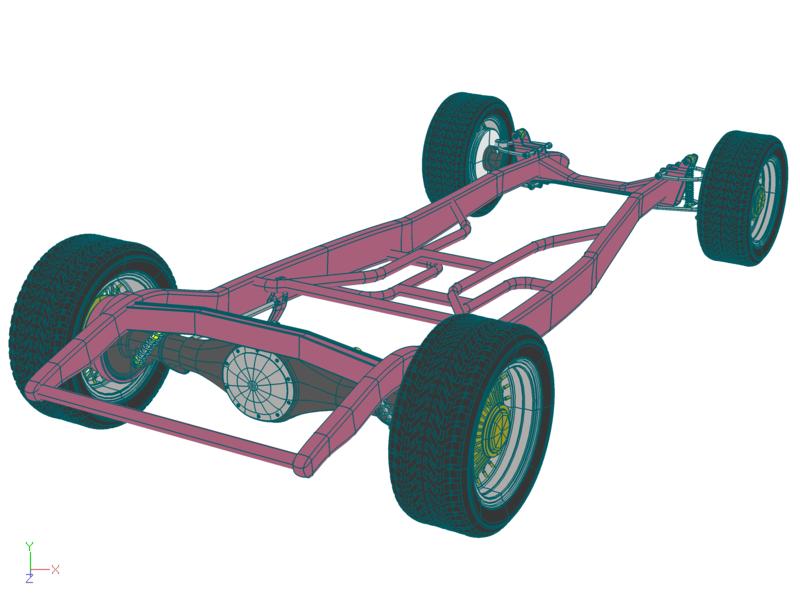
It is amazing how accurate references can help! Found a great blueprint for a 1934 Ford frame with measurements and top and side views. I had the side profile okay, but from the top, I had the frame rails way too wide and the shape was not accurate at all. Using the new blueprint as a rotoscope, things are looking much much better now. It is actually looking like it should. I am going to keep looking for more front, side and rear references for the body before I dig into that part of the model. C&C always welcome... Al
-
I've downloaded all of the free shaders and materials from Dark Tree and found a great metallic paint shader. The shaders are very easy to use and work great! I am using the metallic paint shader on the frame of the 1934 Ford I am working on. Al
-
Another update. Started working on the front suspension components. Also wanted to see what it will look like with rims and tires... C&C always welcome... Al
-
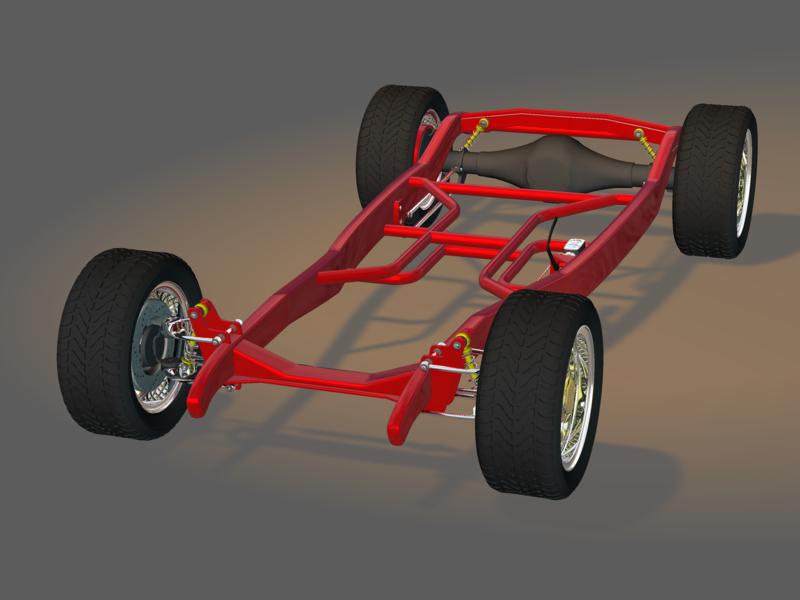
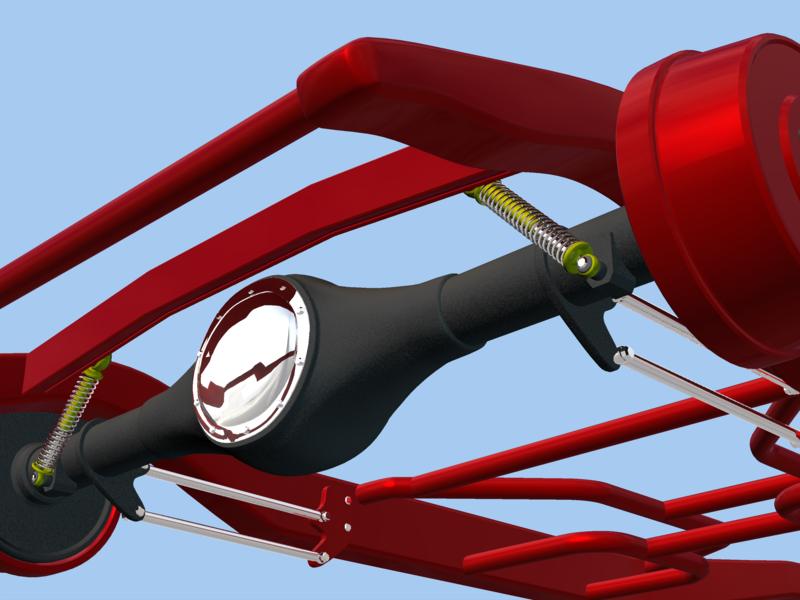
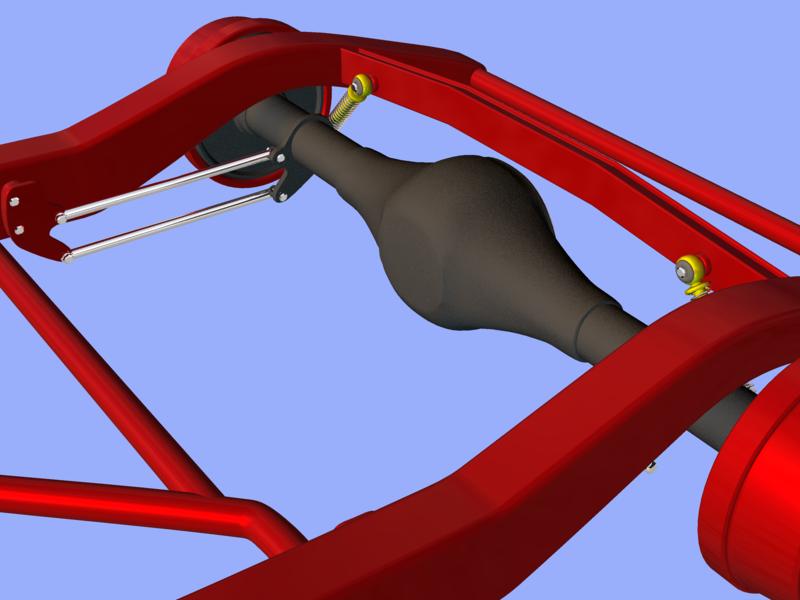
Thanks folks. The main suspension parts are done for the rear end. Added the four link bars and tweaked the materials again. Still need to add small details like emergency cables, brake lines, flex hoses and things like that. But that will come later after I get a complete rolling chassis done. Plan to move on to the front end next. Currently, the model is sitting at 4,202 patches. C&C always welcome... Al