-
Posts
28,260 -
Joined
-
Last visited
-
Days Won
404
Content Type
Profiles
Forums
Events
Everything posted by robcat2075
-
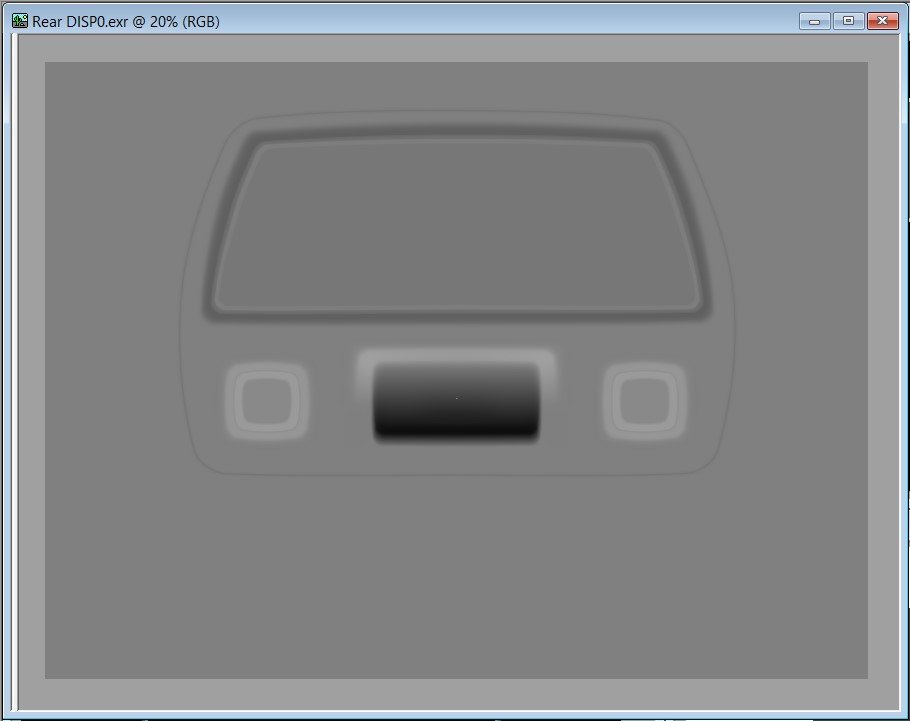
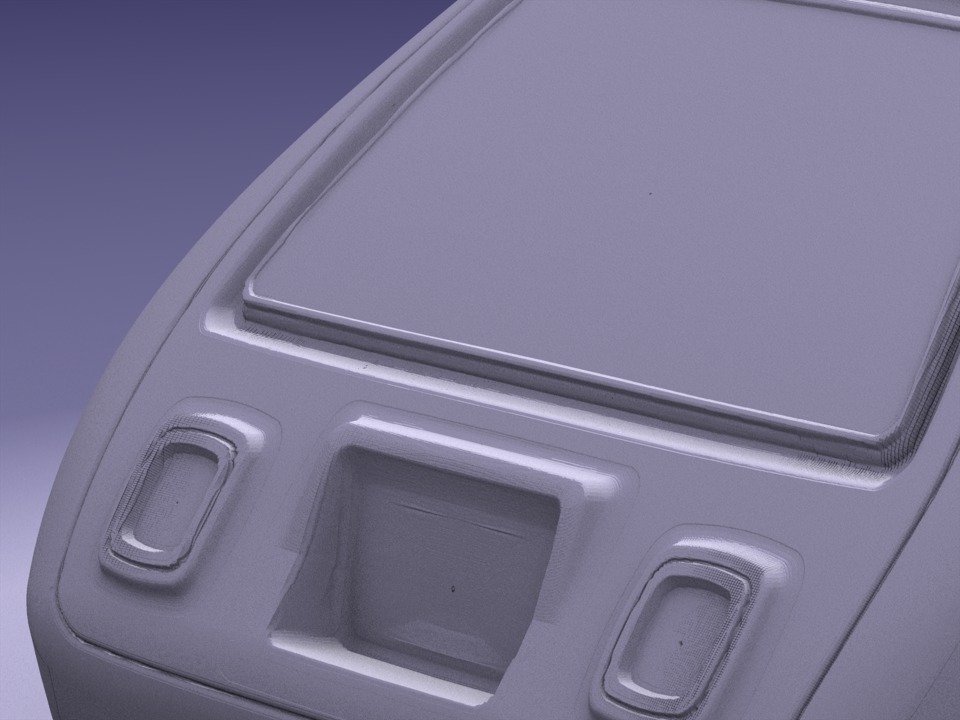
Thanks, @Michael Brennan, thanks @R Reynolds! Here is what the map looks like... It helps that it was rendered to OpenEXR. Here is a clsose-up of the rear of the car with a TGA version of the map. The stair-stepping is pretty severe... With OpenEXR the displacement effect is smoother but there is still some funny business going on in places that I can't quite explain...
-
Try restarting and after you load the render preset edit the frame range to start at frame 59. I have that problem with each core only getting 2 or 3 frames done and then getting stuck. Steffen is looking at that.
-
There wouldn't be much point in serial keys if it all worked on any computer anyway. However, You can ask to transfer your subscription with this process... https://www.hash.com/faq/index.php?action=artikel&cat=13&id=17&artlang=en The turn-around on this will not be instantaneous.
-
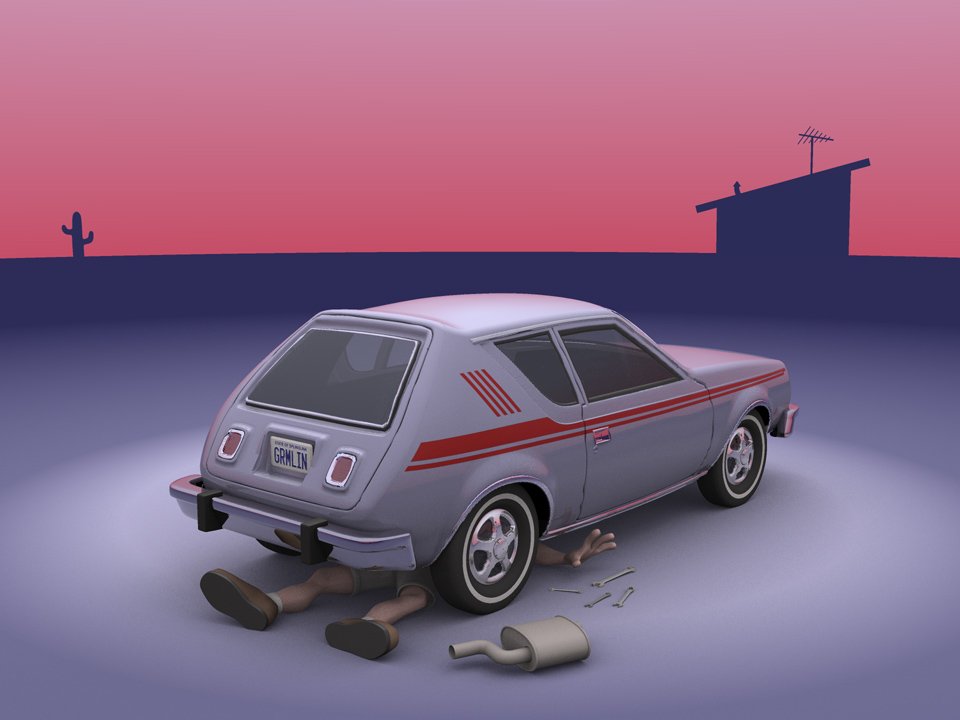
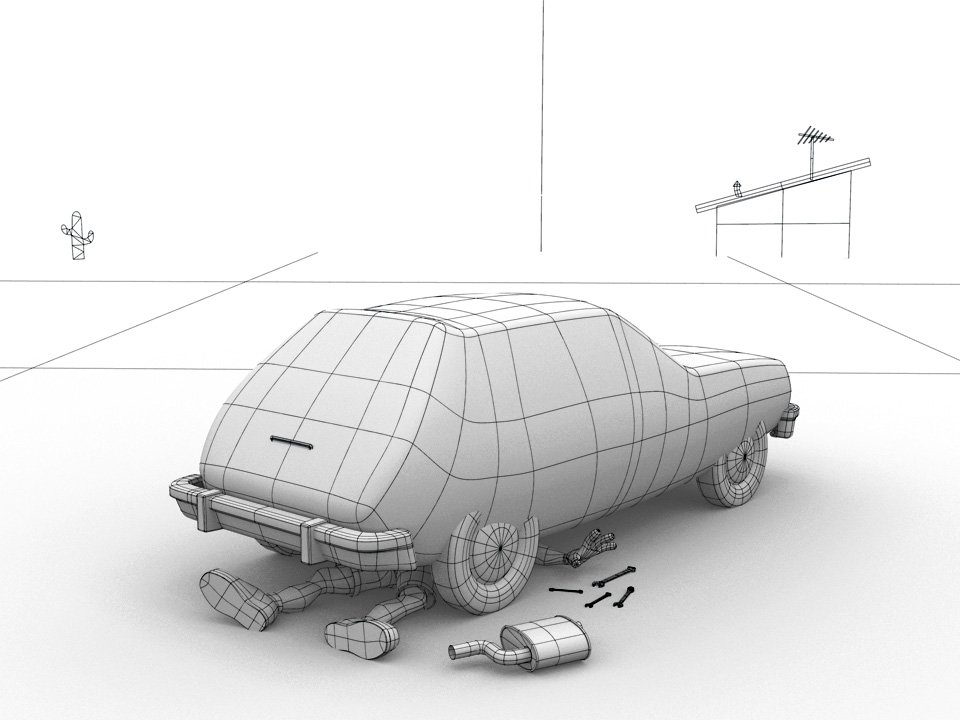
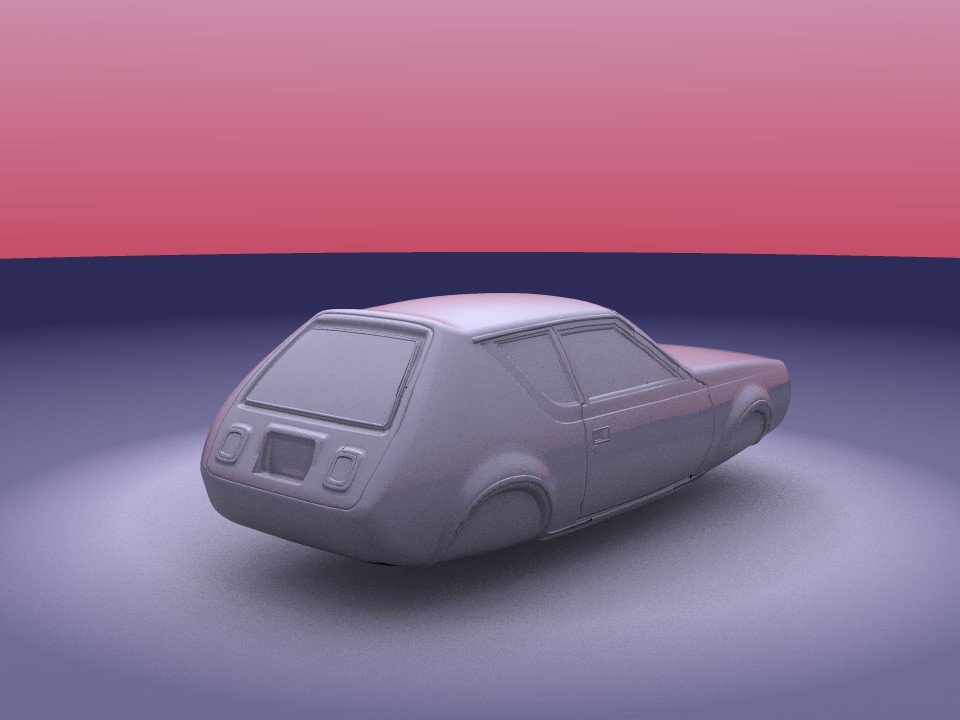
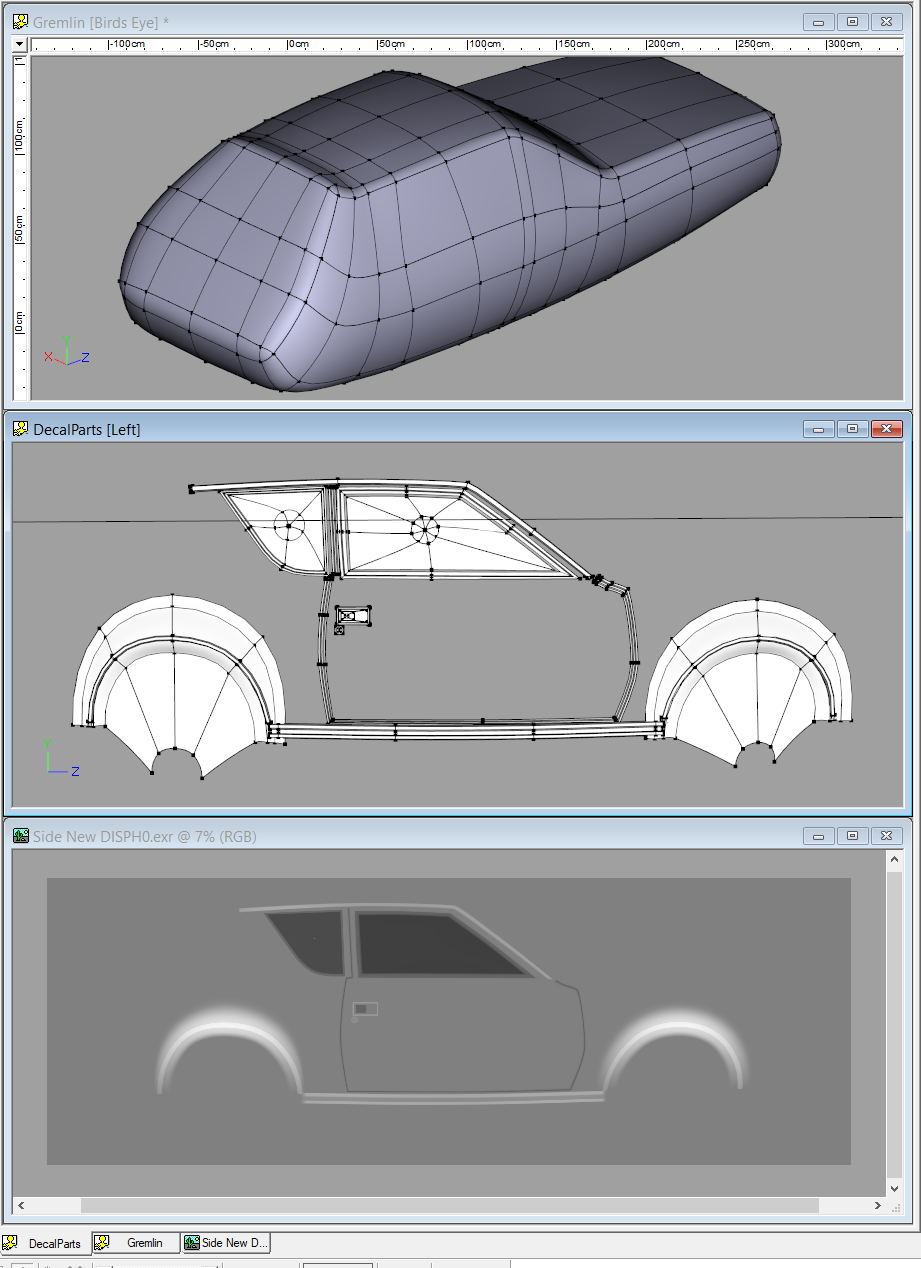
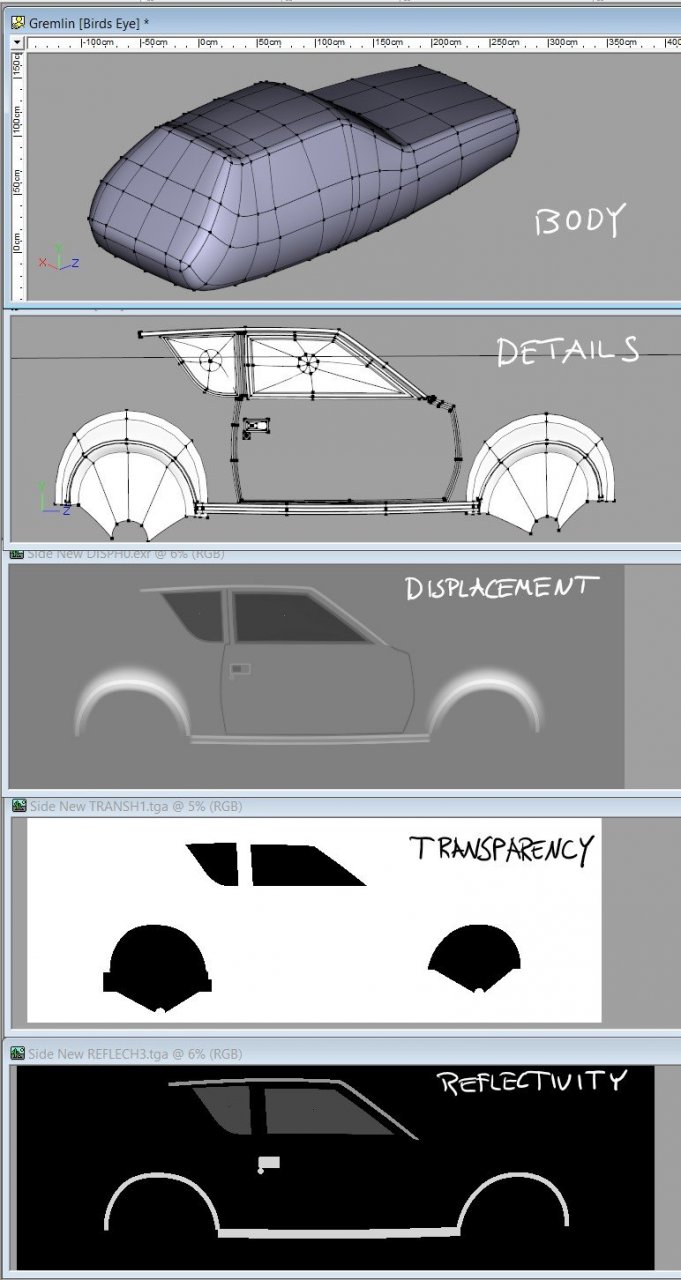
My "Planes Trains Automobiles" Contest entry was an experiment in displacement mapping... The body of the car is just a simple spline form... All the surface details... the doors, the handles, the windows, the rubber and chrome trim... that is all made with displacement maps. There isn't an easy way to manually paint such maps in a paint program but it was easy to model the shapes on a flat plane. I put a white-to-black gradient on them and shot the arrangement with an orthogonal camera. That render to OpenEXR format was applied to the body to be the displacement map. I made maps that way for the front and back details also... I recolored the patches of that details model with white, gray and black to render versions of the map for Transparency and Reflectivity... A turn-around of an earlier WIP version of the car... 155Lefts_3500.mp4
-
Interesting. I think you might retain at least one more ring in the forearms and the leg bones so the shape doesn't collapse when they twist.
-
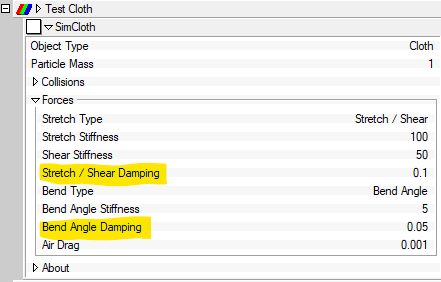
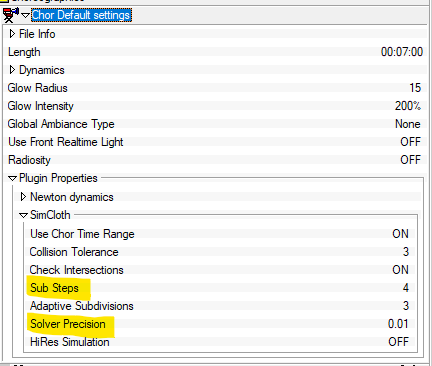
From our Live Answer Time discussion... There are several properties we can modify to reduce or eliminate the lively jitter that default cloth settings produce. Damping Precision Sub Steps Other possibilities are Patch Density Motion curve editing Attach groups Damping Your first gambit should be Damping. Damping is the internal resistance of the cloth to continued motion. There are two damping settings in the cloth properties. Stretch/Shear is the deformation of the cloth, both along the spine and diagonally across the square patches. A:M Help: Bend Angle is the curving of the splines along their length This video shows a test model with default cloth settings, Bend Angle set to 20x the default, Stretch/Shear set to 20x and then both set to 20x. (I suggest you view these videos fullscreen) The examples with increased damping come to rest more naturally. The Chor has SimCloth properties also, including Sub Steps and Solver Precision. Sub Steps is how many slices the time of the frame is initially divided into (Adaptive Subdivisions is how may times Sub Steps can be doubled if the process needs more divisions to solve the motion) A:M Help: This clip show the same model with the previous cloth material settings but Chor Sub Steps is set to 64 instead of 8: The Default cloth, with less damping, takes a bit longer than the others to stop moving but with 64 Sub steps the random bubbling motion is gone. Solver precision controls how finely the motion is calculated A:M Help: This clip again shows the models with the previous cloth material settings but Chor Solver Precision is set to 0.001 instead of 0.01: The Default cloth retains some minor bubbling. If the Precision were refined to 0.0001 it would probably become insignificant. Density Denser cloth meshes aren't less likely to jitter but because the patches are smaller the jitter appears less. Denser meshes are often preferred for realistically draping cloth effects anyway. This clip shows cloth with Chor defaults but with 3cm patches instead of 9cm patches Editing motion CPs In a post above Rien Brouwers ( @Madfox) suggests deleting the motion curve CPs after the cloth no longer needs to move. This is a technique I have often used and eliminates unneeded data in the saved PRJs. Attach Groups A Cloth Attach Group can be defined and turned ON to solidly immobilize any or all of a Cloth mesh for as long as the Group is ON. Attach Groups are discussed elsewhere on this forum and in a Hash Tech Talk I recall. Summary: Increased damping values in the Cloth Material properties makes for more realistic cloth settling and less random bubbling. Altering other parameters may be useful also. @Tom @Madfox @ChuckGram @Roger
-
Hmmm... I suppose my gambit would be to prepare it for a cylinder wrap but each of the hair spikes would be a separate cone.
-
Thanks, guys! I took the day off. Instead of doing nothing, i did less than nothing!
-

Serial Numbers and Activation keys are back
robcat2075 replied to Jason Simonds's topic in Hash, Inc. Status
Yes, I can now retrieve my serial numbers back to 2020, and I presume our other users will be able to see theirs also! Thanks for fixing that, Jason! -
Edward and I have conversed on the phone and have sent his hardware info to Jason so Jason can look into a solution.
-
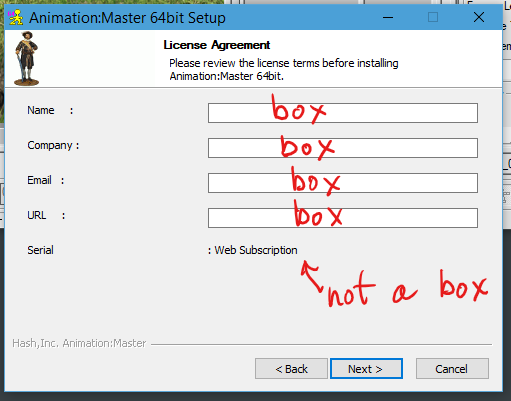
I don't know what you are typing a serial number into. There is no box to type a serial number into during the installer.
-
I just ran v19.0p installer again. There is no place to type in a serial or activation code number... during the installer. You get asked for the code the first time you run A:M itself.
-
I'm not sure what you mean by "in the beginning" Delete the master0.lic file from your AM folder and run A:M (the program, after it is installed and the installer has finished and exited)
-
You can use that code for anything. It doesn't care whether it is for a renewal or for a new installation. Get the v19 installer. Run it on your new machine. When your run that A:M for the first time it will ask for your code. COPY AND PASTE it from your email instead of trying to type it in.
-
I'm baffled. It works exactly right for me. I don't get multiple requests from Paypal for an ID.
-
I must say I'm baffled. Just a few days ago someone said they didn't get a serial number so I went to the store to buy a new sub I didn't even need yet to try it out and it worked exactly as it was supposed to. It is easy to overlook the serial number but it absolutely got sent to me like it was supposed to. Instantly! How is this not working? I screencammed it..
-
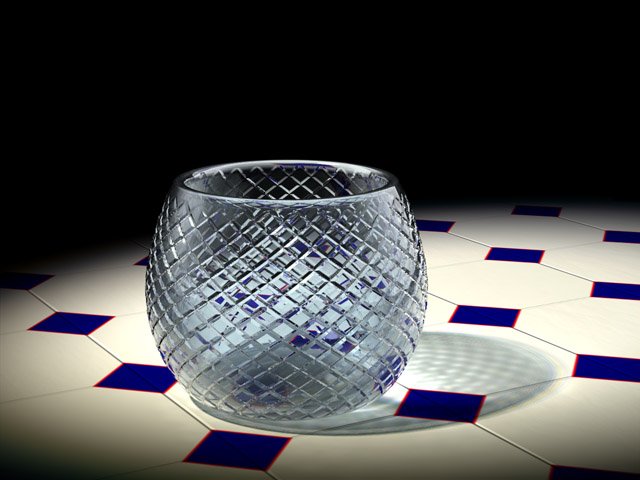
btw, the floor tiles are an algorithmic material I made to emulate the floor of the kitchen in Ratatouille...
-
Further development of our live Answer Time discussion Saturday... these use a displacement map to create the surface detail. Whoops!
-
I've not heard of anything yet. I'm still on Windows 10.
-
Here is a turn animated...
-
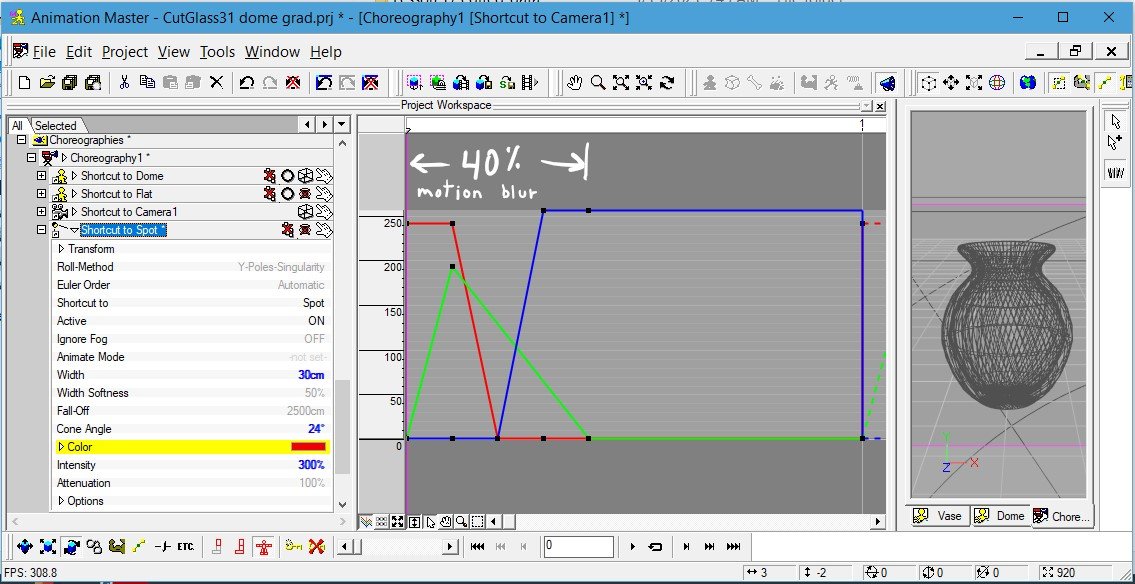
It took a fair amount of experimenting to get a mix of R G B that still summed to approximately white light. This is what I came up with...
-
-
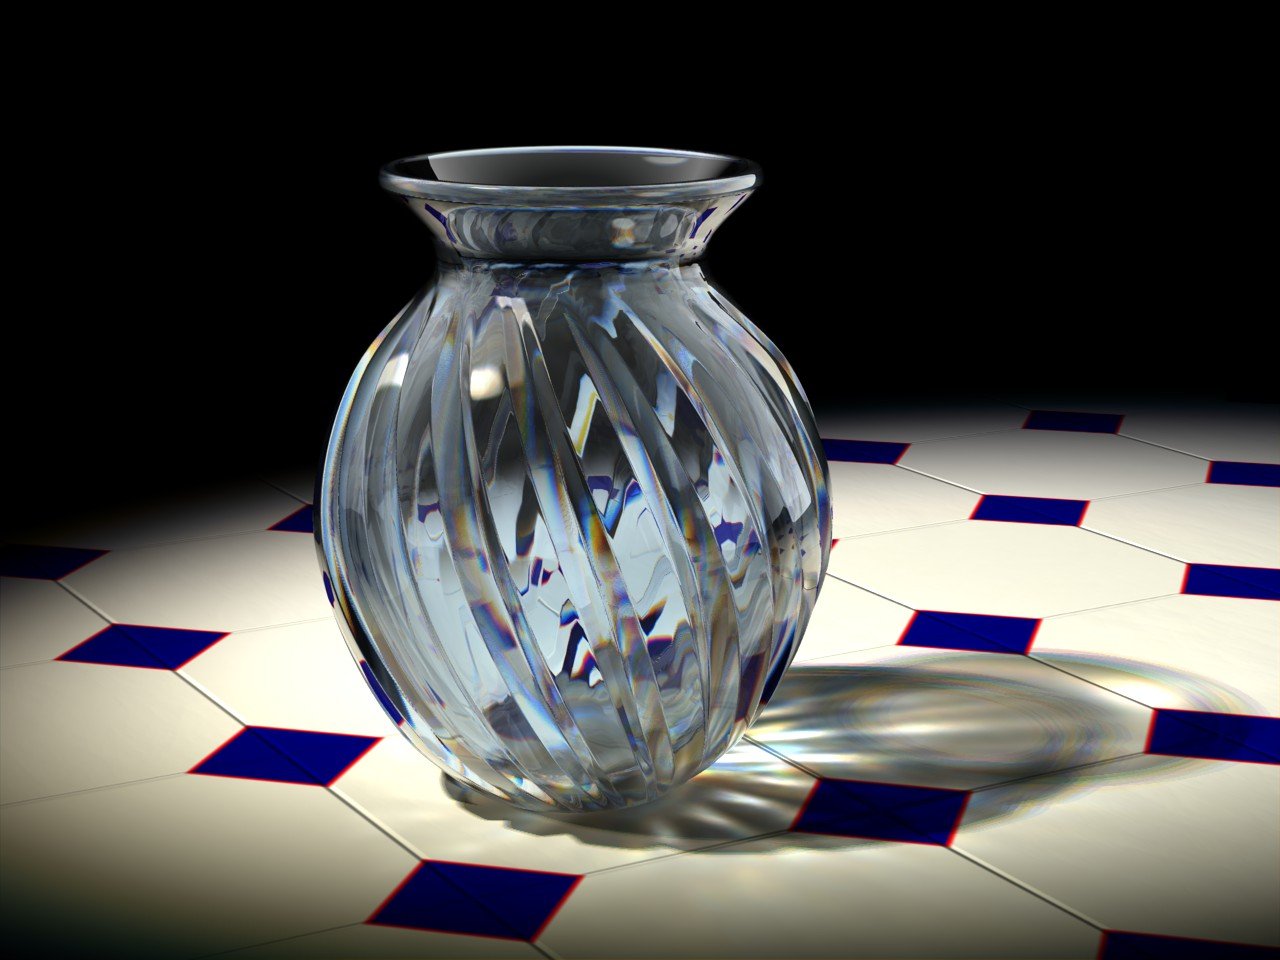
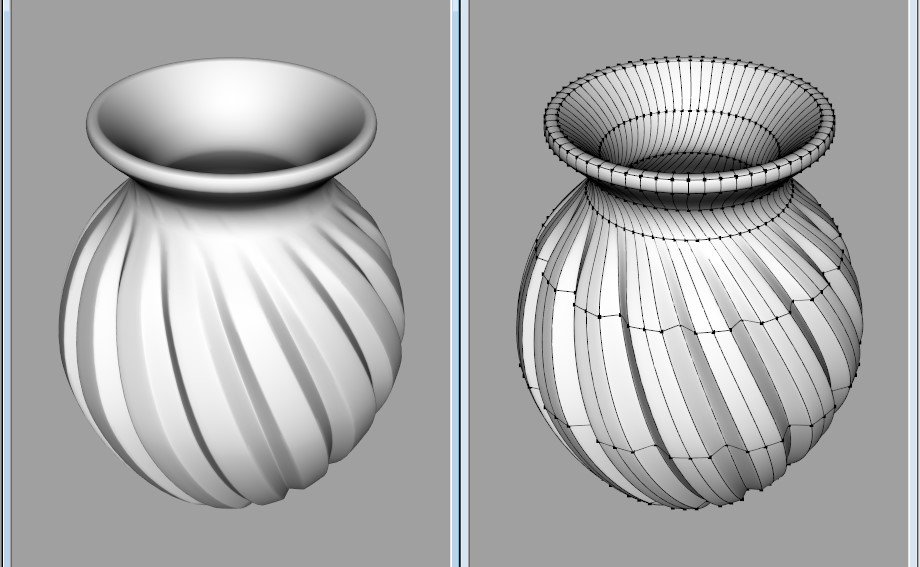
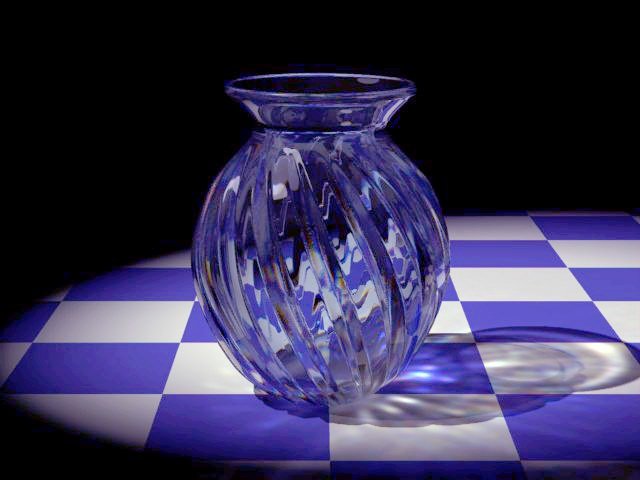
Thanks guys! It was just the quickest of quick vases... I've posted a PRJ in the first post if anyone wants to play with it.
-
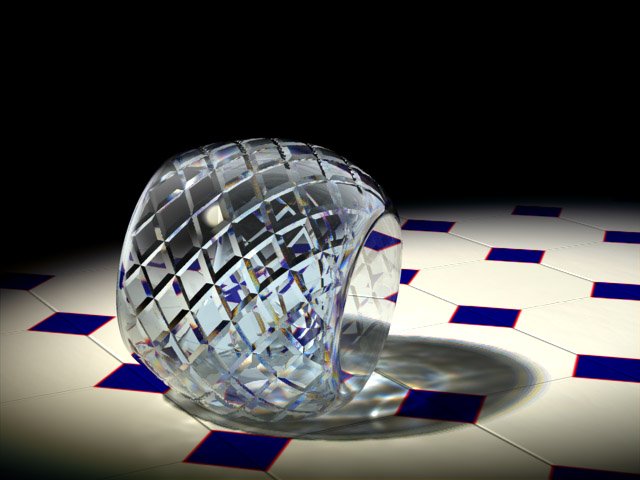
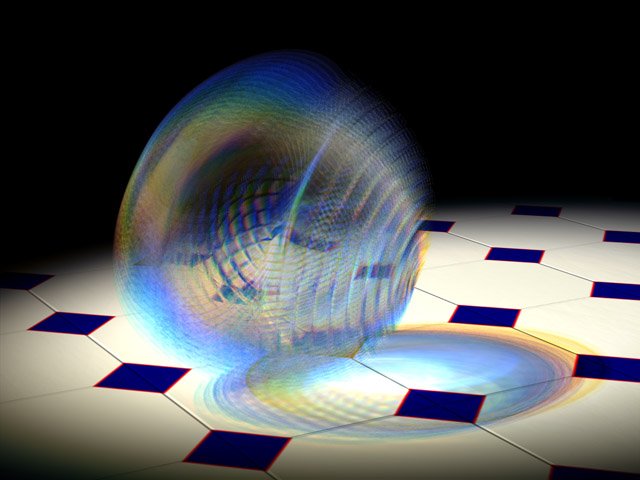
58 minutes! 23 minutes! (I had the computer on "power saving" before ) That can probably be refined by altering some settings. Here is a version that sweeps the color of the light and the index of refraction of the glass over the course of a multi-pass render to simulate the prismatic effect of the glass


