robcat2075
-
Posts
28,260 -
Joined
-
Last visited
-
Days Won
404
Content Type
Profiles
Forums
Events
Everything posted by robcat2075
-
nice update, now I'm wondering how connects to the elves i saw previously. I think you answered me this before, but I forgot... how long do you envision the whole show to be and what percentage do you have done so far?
-
Steffen has fixed it so test it out in the next beta
-
I tell ya, it's always been a bit of a mystery what you get for that higher price. Back in the 90's the place I worked at had a $30,000 license for "Alias Power Animator" which required a $50,000 SGI workstation to run on. I certainly gave it a serious look but it wasn't long before i was wondering what it did that I wasn't already doing easier with A:M. There are some greater powers in some of the higher priced programs but they tend to be things that you would need a team of people to make use of. For example, A:M doesn't directly support using Pixar Renderman. But one license of Pixar Renderman costs many times more than A:M itself does, and you will need to be an extremely devoted specialist in rendering minutia to use the extra... whatever... that Renderman offers. Besides that, A:M already has a great rendering engine built in that will do well for 99.99% of 3D CG needs and is still manageable by a typical user. And last I heard, Renderman couldn't do curved motion blur; A:M has been able to do that for quite a while. Sometimes A:M is ahead of the curve.
-
This tutorial introduces A:M's basic drag and drop functionality for putting a model on a path and adding a walk cycle Action to it. It also discusses the "ease" parameter of the Path Constraint, the "crop range" settings for an Action, and using the "Measure spline" tool to better match the time your walk takes to the distance it will travel. WalkCycleOnAPathH350.mov
-
Welcome to the club! May all your splines be continuous.
-

started am doodle and got a robot
robcat2075 replied to johnl3d's topic in Tinkering Gnome's Workshop
Zzzzzzzzzzap! -
Well, I've made an AMReport of it. Since Steffen did the Newton plugin he'll probably know if it's really a bug or if I'm just doing it wrong.
-
I'm not getting it. that one definitely has keyframes made at 25fps. If I set the PRJ to 30 fps the keyframes are not lining up with the timeline numbers.

-
Apparently you can select more than one.
-
the version number goes up about every year, but updates are posted throughout the year when needed to fix bugs and betas of the next version are put out to test new features. Once a version is in beta (like v17 is now) it probably has it's new features decided on and set. Any new features proposed and implemented would wait for the next version. After the beta period , the version is "released" and there may be a few updates to it after that to fix new-found bugs, but most of the programmer's activity will be on whatever the next version is gong to be.
-
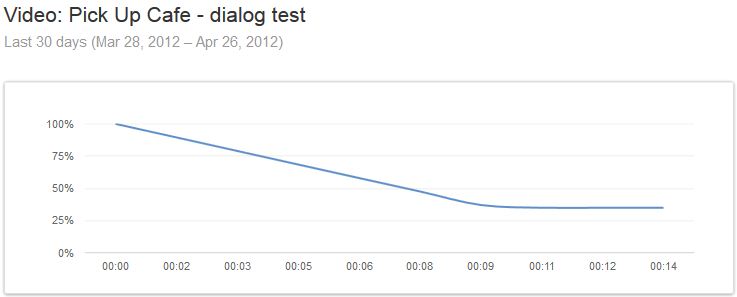
You're doing well! Compare my dialog test which is all of 14 seconds long...
-
There isn't really an "upgrade" price anymore. If you have the $299 version and the one-year window is over you can buy the $79 subscription to get access to any new updated versions that come out. When that $79's year is up then you go back to running whatever the last version was that arrived in your $299 one-year window or... get a new $79! Those are the options now.
-
Congratulations, Xtaz!
-
Hi Alvee! read here for explanation you download the installer off the Hash site. The license you pay for is what makes it work. it's going to v17 soon. Yes it does get upgraded. That's one of those "It depends" kind of things. When we made our "Tin Woodsman of Oz" some of those scenes with complicated sets were beginning to push the 3GB limit of old 32-bit windows, but you got to have a lot of stuff going on to get even past 1GB see above for the explanation of how the two licenses differ that way Of course it does! It's software made by humans that runs on computers When did that ever not cause trouble? But A:M is really quite stable and if you can descirbe how to make a bug happen it gets fixed fast. It turns out that places like Pixar use software they made themselves and for the most part you can't buy. The goal of A:M is not to replicate what Pixar has because one person would never be able to master all the parts of the pipeline. A:M's goal is to present you with similar powers but make it accessible for the individual user. Much fine television advertising and game work has been done with it. And we have made two animated features here on the forum as independent movie-making experiments There are people on this forum who can whip up a great looking character in a day. But that's not something a new user should expect. There are many skills involved. I'm not sure what you mean by that.
-
I just tried that but I still got 25fps from Newton.
-
How do you set it?
-
Wow, I keep waiting for him to get a magnet thru the skull.
-
He's lookin' real good. I like three fingers too.
-
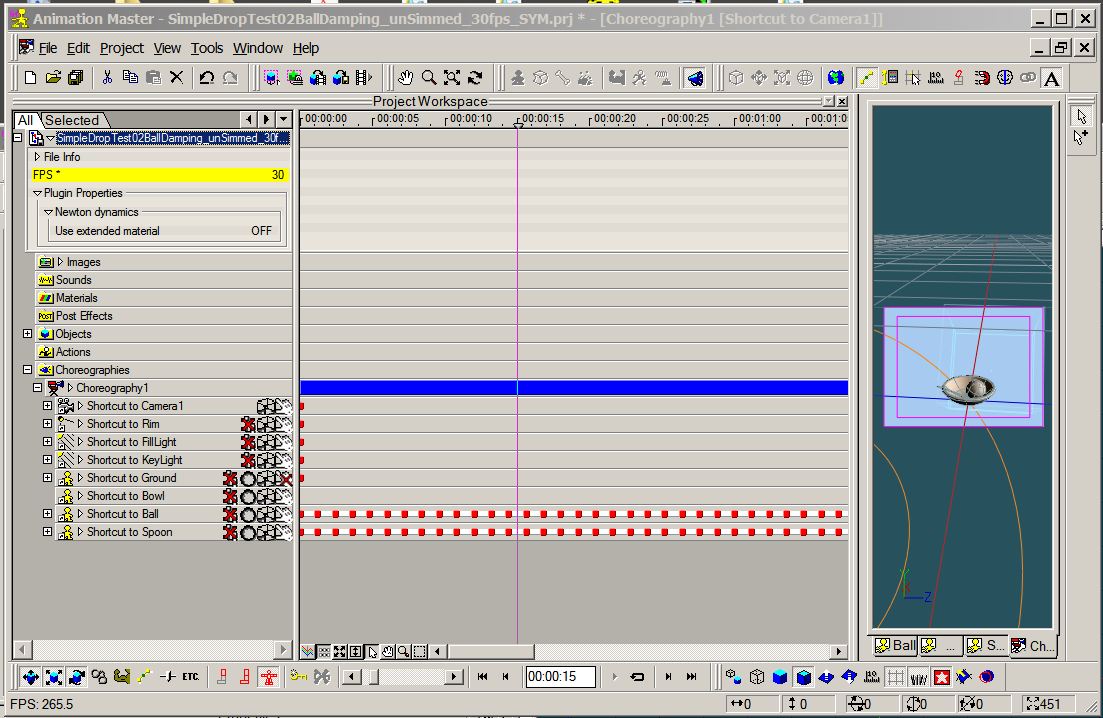
I'm starting to think this gap may be due to the mismatch between newton simulating at 25fps and A:M interpolating to 24 or 30 fps. If I simulate something and set my PRJ to 25fps the object contacts seem to be exact.
-
I just noticed that Newton is creating keyframes at 25fps even though my PRJ is 24fps. Is there a Property somewhere I need to set for that or is that a bug?
-
I noticed that vintagefilms.hash.com was down a few days ago and emailed jason about that. Perhaps the server problem is related. you've probably sent several emails already but you might try one to jason@hash.com if you haven't yet.
-
If there isn't a setting for that... I'd do the simulation, then swap in a slightly larger ball that closes the gap.
-
that makes a lot of sense! thanks!
-
Any Newton experts who can make this test setup work? All it needs to do for now is to settle on the rings and not fly off. Simple_Rotor01.prj
-
If i just simulate my axle with no arms off it it will behave. If I add one arm it will try to fly off and if i add both arms it does fly off.