Eric2575
-
Posts
2,615 -
Joined
-
Last visited
Content Type
Profiles
Forums
Events
Everything posted by Eric2575
-
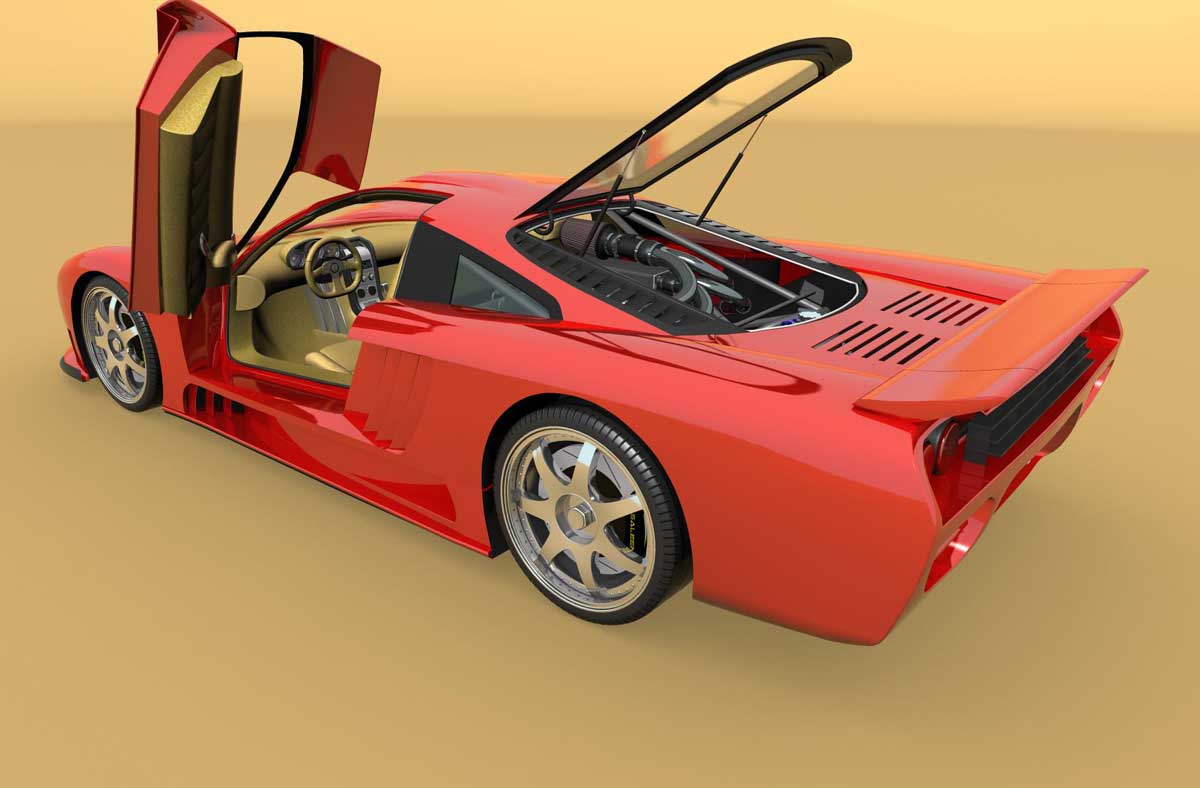
All right, I'm a renderin' fool. This render was done with 110 ambiance intensity set in the chor. There is only one keylight (sun) set at 95%. Since I am still getting these artifacts in random areas, maybe a reboot of the system will help. Although I want to use IBL, I'll do as you suggest and render the next one with white Global color.

-
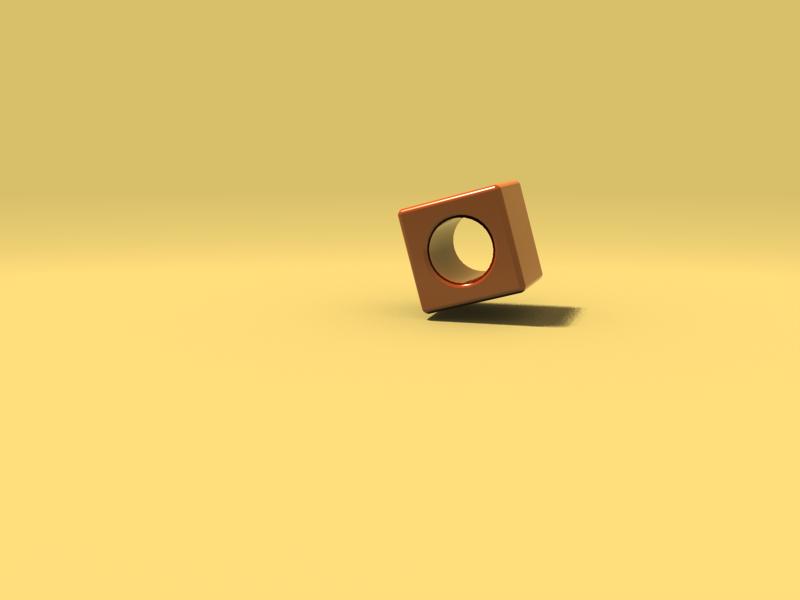
Here is the cube render: AO 100,100,25, fog on, one key light at 85%...not too bad
-
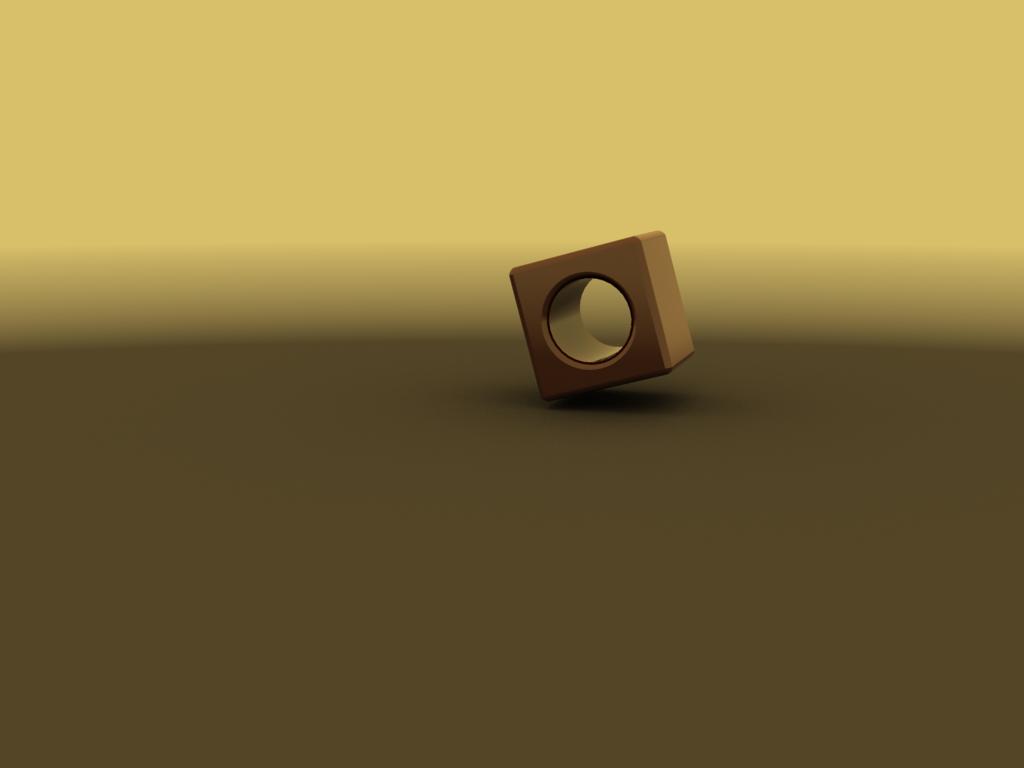
I'm rendering a cube in the same chor that is so dark with the S7. It is turning out dark too. So it can't be the model, but something in the chor settings. I'll try to render as tga, but I have gotten good results without artifacts on the Saleen rendered to jpg. I'll get to the bottom of this yet!! Here is the cube...dark...with AO only, fog, and no other lights Next I'll crank up the key light to 90%
-
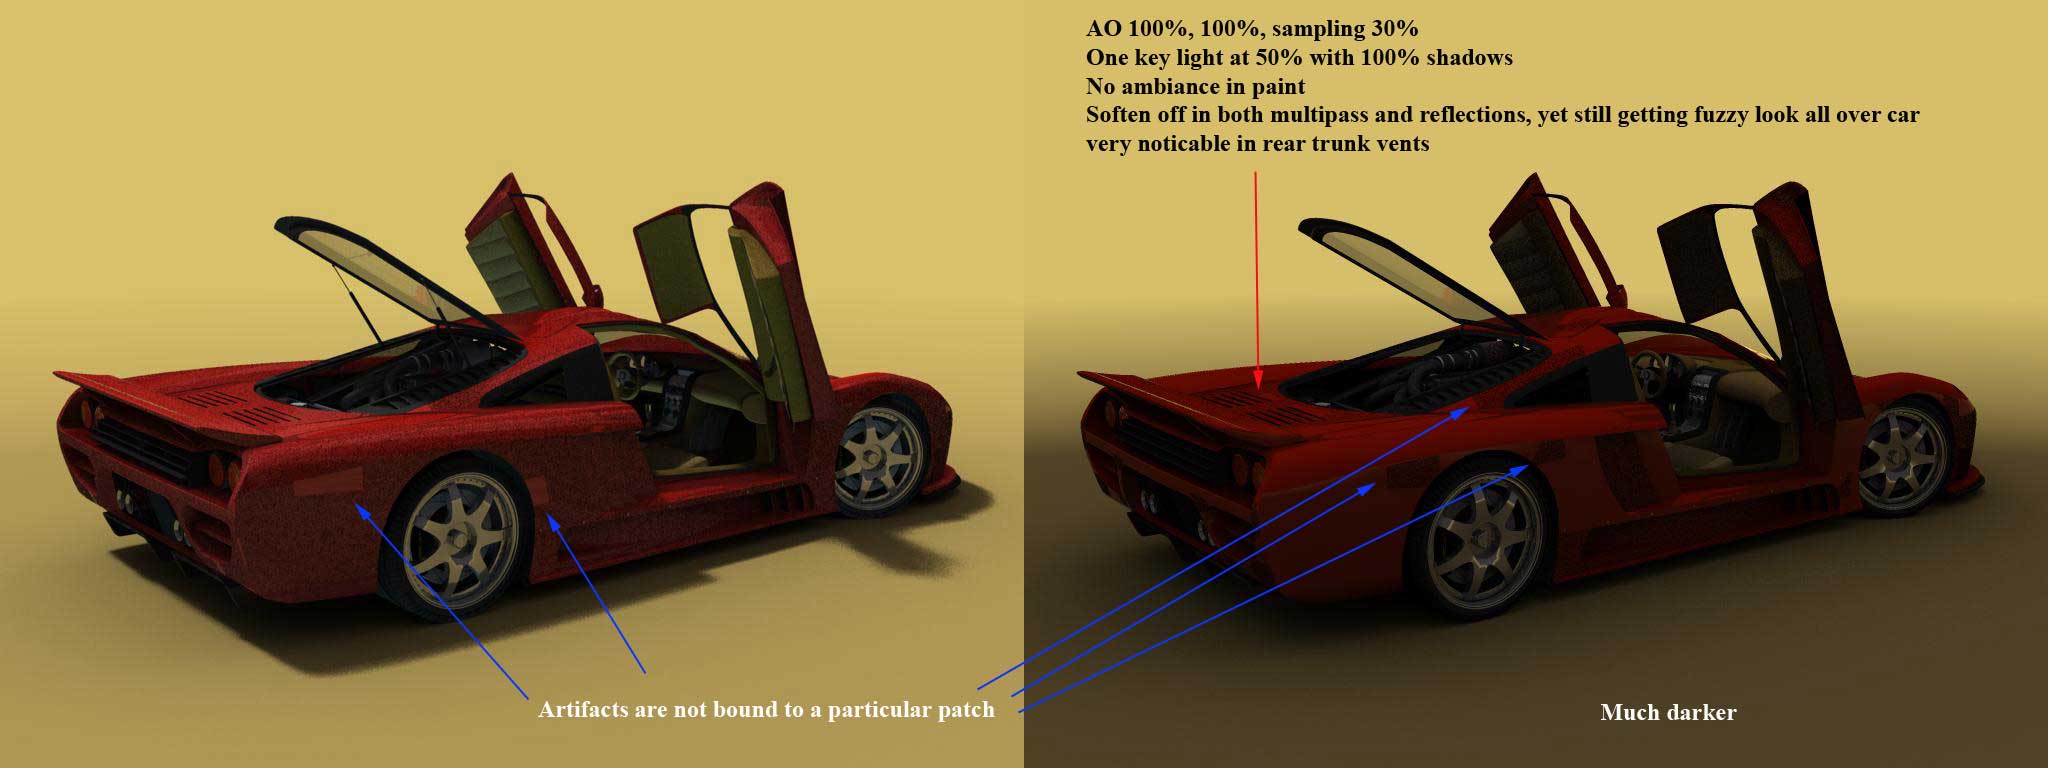
I've got the next test render cooking now, so I can't tell you with 100% accuracy if I am using white as the AO color, but I am relatively certain. This render has the ambiance turned off for the body color and it also has the fill light turned off. To get some more light into the interior, I made both the front and rear glass a separate model and reunited them with the body in the chor - occlusion turned off for the glass model. We'll see how that turns out. No idea on the curious artifacts? Holy crudmuffin, I just got a glimpse of the first pass. It's even darker than the first render. Gloom is setting in It also look like the artifacts have moved to a different patch now??? **************************************************************************** Ok, here it is. Fill light is now turned off, paint has no more ambiance, multipass "soften" has been turned off (still getting the fuzzy look), and reflections "soft" is turned off (also no effect on the soft render look). This render took 59 min 11 sec. The results of changes made: Fill turned off - results in even darker render although the unnatural glow under dash is gone. Ambiance in paint turned off - no difference noteworthy Multipass soften turned off - no difference noteworthy Reflections "soft" turned off - no difference noteworthy Overall difference between render 1 and render 2 - render 2 is notably darker
-
Well, the first horrible render is done! This is AO with 100%, 100%, 25% sampling. This render still has the fill and key lights but reduced to 50% intensity. As you just pointed out, the fill light cast some very unnatural light under the bottom of the dash. This is also the first render that has some noticeable artifacts in the panels. This has nothing to do with normals since I made sure several times that all are facing the right way. As you can see, the render is very very dark, that's why I added the fill and key in the first place. Btw, the multipass is only set to 9x for the sake of speeding up these test renders. Total time for this render was 1 hour 19 minutes at 1024x768. I noticed that just before the render finished, it did a softening on the whole render, giving a fuzzy look. I really don't like that and figure to disable that in the next render. For the next render, I will get rid of the ambiance in the paint and see what effect that will have on the render. Everything else will stay the same for the following test. If you have any ideas what may be causing the artifacts, I'd love to know. I read a post a while back dealing with a similar issue, but can't find it right now. Yes, please share your lighting setup for the trebuchet. Thanks Dan. Now for the next render.....
-
Matt, both ambiance and occlusion are set to 100%, I never change that. The reason I added fill and key lights was the fact that without them, the AO render looked too dark and did not cast any distinctive shadows. I wanted the render to turn out like it was shot on a sunny day. When you look at any car on a sunny day, the bottom of the doors are definitely not dark. I may have gotten something wrong, so I am currently rendering several different AO setups with all settings written down for comparison later. I'll post all images when done. The pose will stay the same for comparison purposes. Please keep visiting this thread, I really appreciate the input. Eric
-
Dan, Could you explain "light buffer exr file?"
-
Here are a few of the critical settings: Chor AO is always set @ 100% Render Panel AO sampling is usually 25 - 30% The paint material I made has 30% ambiance if that matters I tried rendering AO without any lights and found that the bottom of the open doors are way too dark. Then I added a keylight with 100% shadows and 2 rays cast for extra shadow on the ground and a fill light with no shadows from underneath for giving the doors something extra. I'm gonna render with these settings to see wgat I get. And NOOOOO, I don't want a toon look. I want to get as photorealistic as possible. Once the render is done, I'll post it.
-
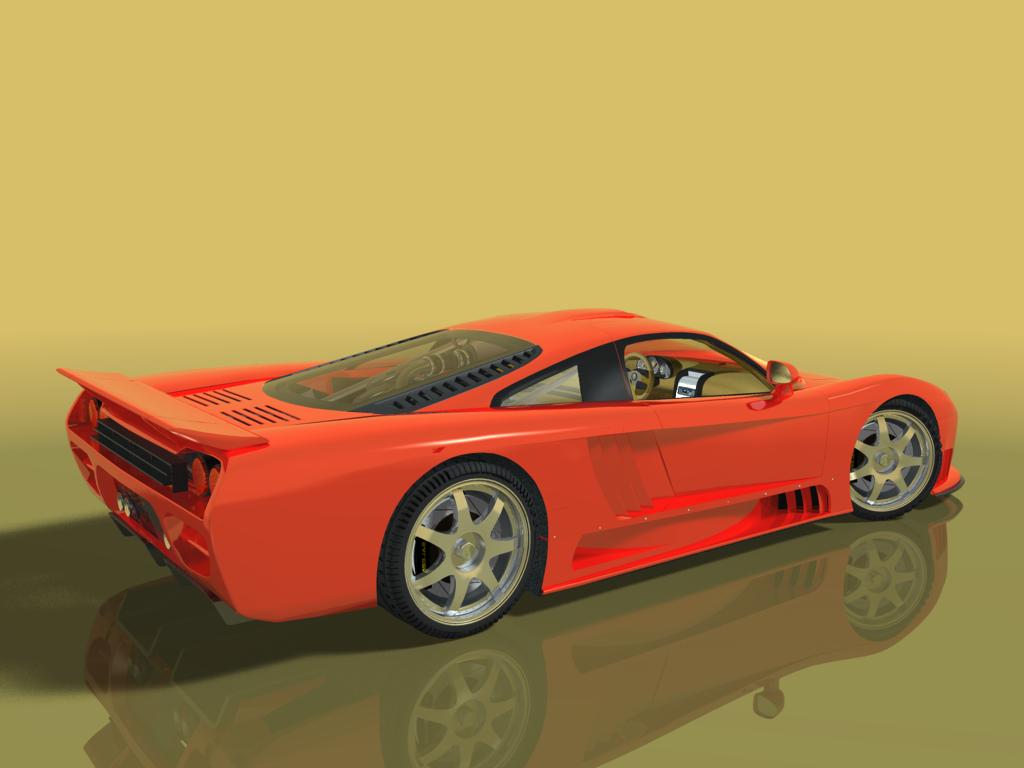
Matt, is it better to use a full sphere or a half dome for the Projection map model, or does it depend on the HDR I will be using? Also, is there a way to get the sphere or dome to project the HDR onto the model but not show the dome/sphere? I got some pretty good results on the car using a sphere per Xtaz, but I used the Uffizi HDR converted in HDRIShop and that map does not seem like it is mean for a full sphere - not sure? Also, the dome renders in the background and I don't want it to. The whole background looks wrong - see pic. If I use 100% transparent on the dome/sphere, it won't give a reflection on the car. Same goes if I use fog. See second pic. P.s. Don't look too closely at the interior or tail lights, I was just trying stuff out. Will get lighting down once I have the whole setup figured out.
-
Thank you for the kind words. Also a big thanks to Dan for giving us another insight into rendering and the prj file to examine. Rodger, yes, the tire has a displacement decal wrapped around it. I took the tire pattern off the Saleen and created my own dispalcement map from scratch. I used shades of gray to get the look. Did some more detail modeling on the car and hope to have an IBL render later tonight. Thanks for the interest
-
Nice, keep going!
-
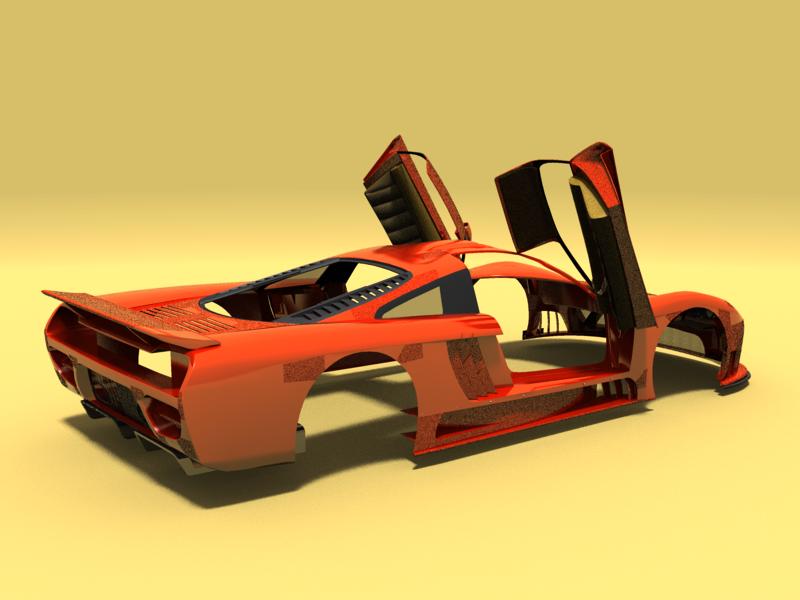
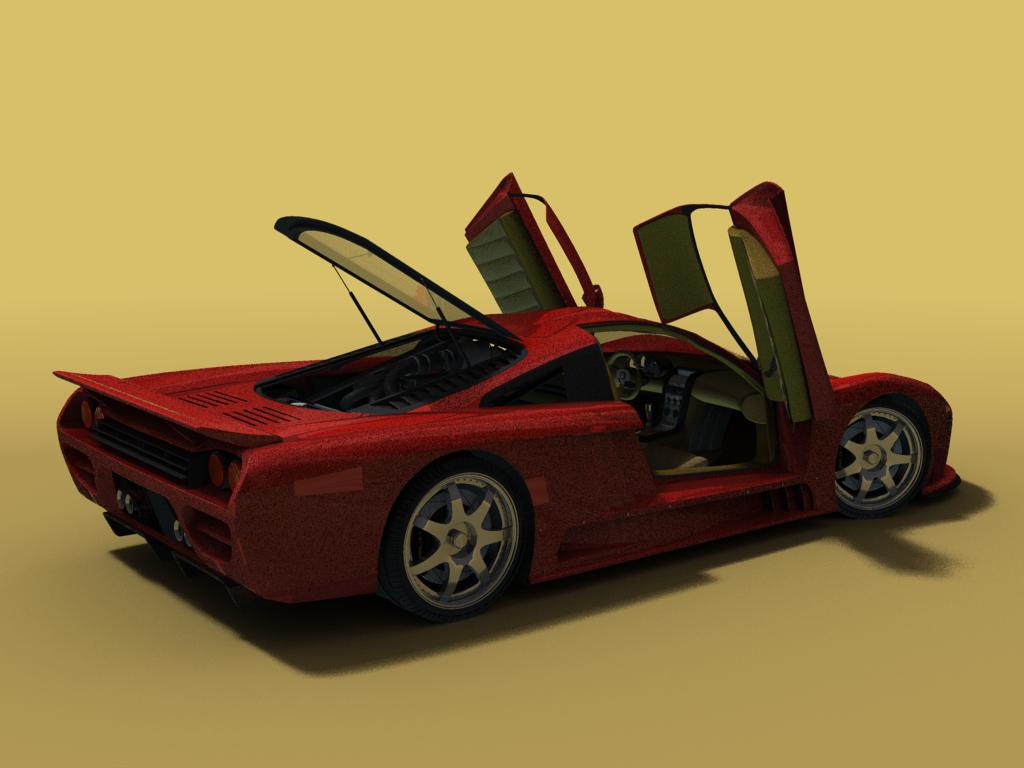
Still tinkering with it now and then. Did some more interior work, engine work, baffles in the back of the car, and more... I also experimented with AO and IBL, but the render times are killer. When you play around with render settings and it takes 10 hours to see the results, tweaking gets old really fast. This render is a simple old 3 light setup. I'm going to try a few more IBL renders and then I'm done with the S7. When you look at the render, you'll notice that it's not very sharp. I don't know if that's because I messed with the paint settings or if it's because I used "soften shadows?" Depth of field is not enabled.
-
Argh! I was hoping to see what you came up with. The fun thing about modeling is that there are so many different ways to solve a problem. Every challenge presents a new learning experience. Go get em, T-Dogg!
-
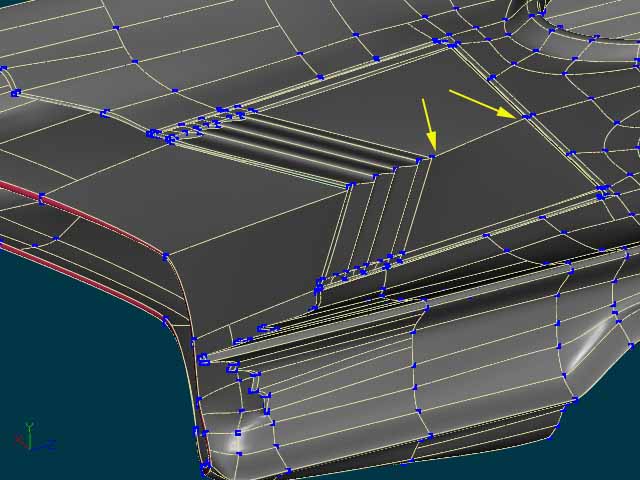
T-Dogg: The four point patch that my yellow arrows are in seem to have cps that are not planar. These areas are always tough and need more than just peaking or smoothing. Try adjusting the gamma settings of the two cps indicated by my arrow. When I adjust cps this way, I usually turn off wireframe and have the model's specular value turned up so I can see the changes on the model surface. Hope that helps
-
It has finally happened, the two warring factions have been uncovered through a simple slip on an innocent graphics art forum - Mechs vs. Organics!!!!!!!!! Run for your splines!!!! Ahem...Nice work on the Apache. Now for the obligatory wireframe. Where'd you hide all them patches?
-
T-Dogg: can you post a shaded wireframe of that area? Go in a little bit closer so that I can see it better.
-
You're really doing great, and that's what it's all about, learn as you go. Battles are won in the trenches, not in a boardroom. I was in your exact position, thinking that tweaking one area messes up another area. This can seem overwhelming, but as you get past this hump and gain a little bit more experience, you will begin to anticipate certain idiosyncracies and learn how to avoid others. Everything will get better and easier. When things get too much, just step away from it for a while and get a fresh start another day. I found that in doing that, I sometimes get an inspiration on how to get around a problem that has been eluding me. Now, as far as modeling goes... Cheers Eric
-
That's a rotoscope, right? Where is the model?
-
Cute
-
Great job, Ken! Then render looks very nice too. Did you use a light rig or AO? How long did you work on that model? Eric
-
Stian, what can I say that hasn't already been said. Amazing work! What sort of detailed rotoscopes do you have anyway, it must be the shipbuilder's own blueprints? Cheers Eric
-
Nicely done.
-
You did say that you've been working on it for weeks, right? So you have not been running your computer uninterrupted for all that time, right? So you have been saving your work as you shut down AM, right? Well, if you are on a PC, right click on the start button and click "explore." Right click on "My Computer" almost at the top of the pane and hit "Search" . Now click "All files and folders"and type in "*.mdl" without the quotes. This will bring up all AM model files on your hard drive - be sure to take out the AM cd, or it will list all those too. Now if you don't know or remember what you named your model, you may have left the default name of "model1", so I would look for that one first. Be sure your view is set to "details" so you can see what directory the model are under. Let us know what you find. This search takes only a few seconds.
-
Ethan: Just wanted to drop a line and let you know what a terriffic job you are doing on that character. I've been following this thread in the shadows and really enjoyed the evolution of Le'Painter. I do have to to admit though, that I was expecting him to look more like an artisan than a - for lack of a better word - soldier? His incarnation at this stage reminds me of a Musketeer or mercenary. What ever he may be or may be up to, a fine work of art he is. Eric
-
Get some sleep, T Dogg, it's waaaayyyyy to early into the project to be sighing already