Eric2575
-
Posts
2,615 -
Joined
-
Last visited
Content Type
Profiles
Forums
Events
Everything posted by Eric2575
-
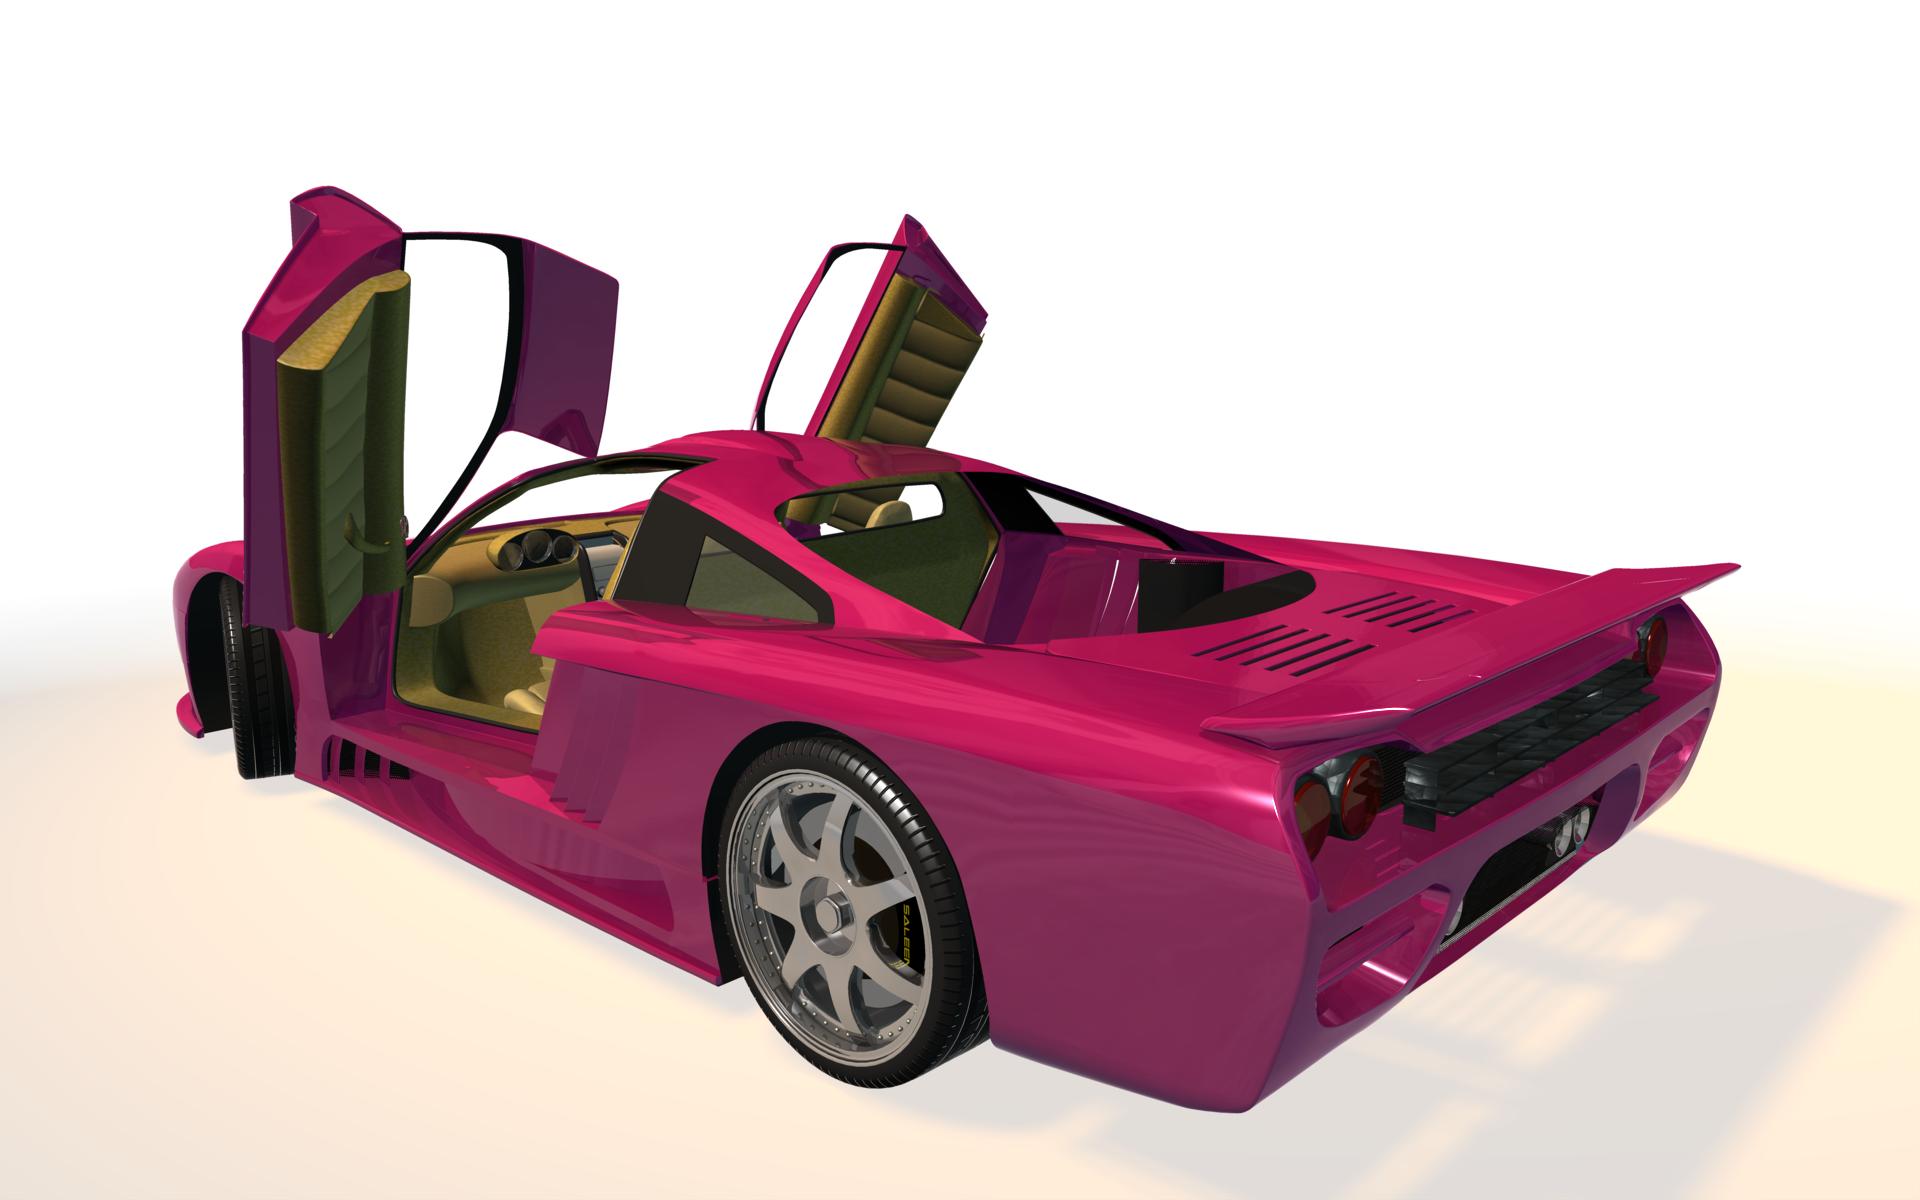
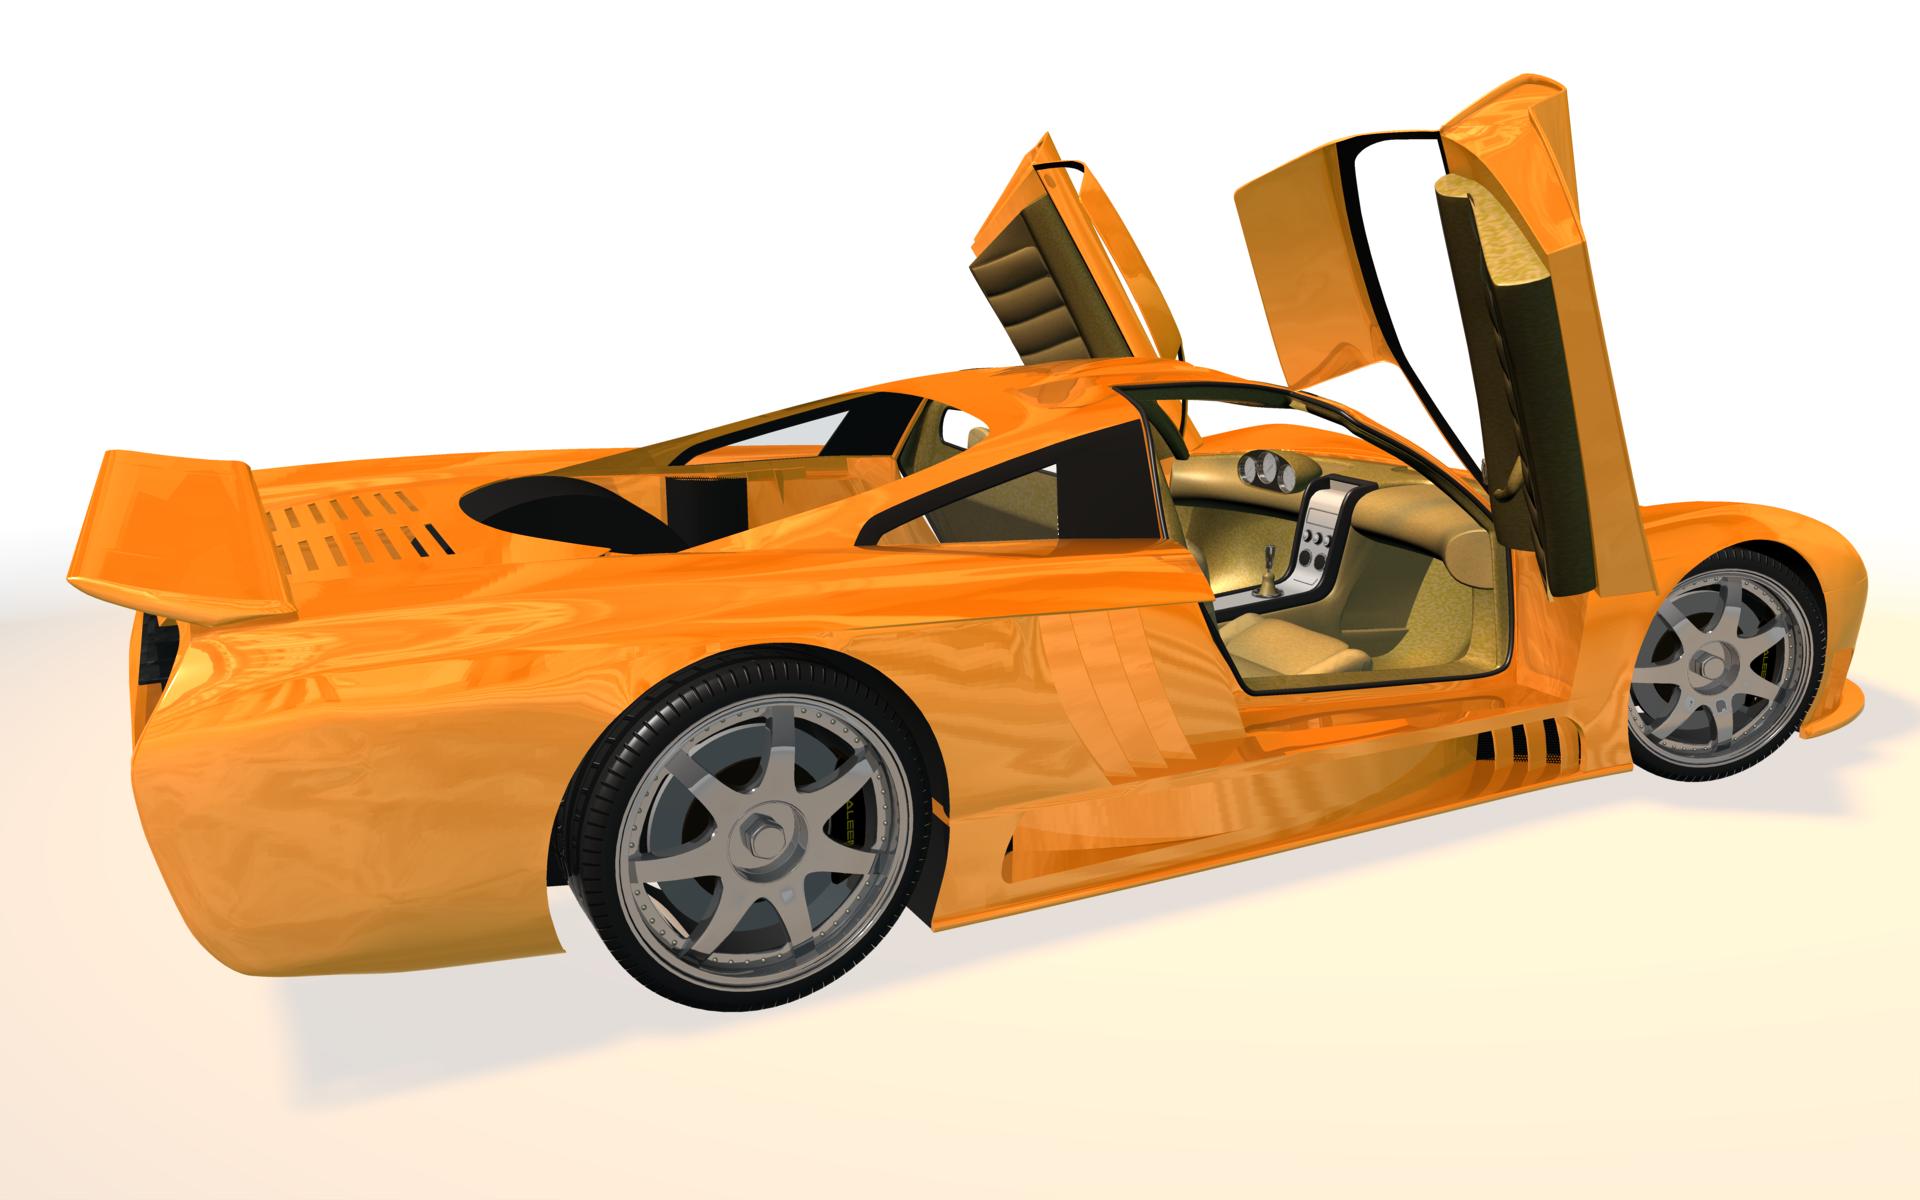
Started a new WIP post with a more appropriate heading. Picked this old model up and started tweaking again. Here are some quick renders with some color experiments - none of which I like. Also worked some more on the interior - dash, gauges, seats, door panels, center console and stick. The body is undergoing tweaking every time I touch the project. The metal is getting smoother every time. I also reworked the rims of the car, loosing over 500 cps without changing the look of the rims. This was done just by getting more experience in modeling and eliminating what was not necessary. I've started working on the engine compartment and will post a render tomorrow. Hope you like the progress after such a long hiatus.

-
Have attached arm and hand, let me know what you think...
Eric2575 replied to Roger's topic in Work In Progress / Sweatbox
On your first dragon post, I didn't see a tail. You're gonna add one, right? -
Just read through the entire thread on your progress - nice work. It's amazing what you pick up about working with AM when doing a detailed project like this. I started on a Saleen S7 many moons ago and am in the process of tweaking it again after getting more experience with modeling in AM. You mentioned tweaking the cones behind the headlights, falloff and such. What were the settings that gave you the best results?
-
Are you going for the big trick of building the inside? The season finale here in the US ended with the Doctor changing to a younger version (different actor.) I hope that's just temporary, cause I like the character that carried the season.
-
Did you forget to attach the file? Nothing here.
-
You must be spending 12 hours a day, seven days a week on this? No, I've got it, you have a time machine and are modeling a months worth of work in one day. No wonder you think this is slow progress Nice work.
-
Unless I'm not understanding your question, you just import the model into the chor and do your thing with it there.
-
What's the product?
-
Hit "R" on your keyboard, or use the toolbar button that looks like a wireframe globe.
-
Keep up the good work fellows! This version of the Batmobile has always been a favorite of mine. Looking good.
-
I'm in Sacramento and am curious about what you are up to. PM me if you like.
-
Check this - http://www.hash.com/forums/index.php?showt...+needs+high+res I've also found that going any higher than that will give me an error message.
-
I had the same problem and Paul's answer solved mine too, one of the volumetric lights was causing it for some reason. Deleted the light, created a new one just like to old, and voila', render times reduced dramatically. The way I got to the bottom of it was to turn everything but one object off, then render. If it rendered fine, then turn the next object on, etc, until you turned something on that would cause your render times to get stuck. That would be your culprit, and in my project, it happened to be the volumetric light.
-
Sorry, I'm not aware of a video tut for the giraffe. What is it that seems to give you trouble?
-
Refer to topic: http://www.hash.com/forums/index.php?showtopic=21431&hl=
-
Wow, cool image John!
-
Ok, so you guys got me. The Saleen was put on backburner for a long time, but maybe it's time to resurrect it. I was thinking of entering it into the mechanical stills contest, but got something else brewing for that. Anyways, I will start tinkering with the Saleen again. Will post update soon.
-
I went back to William Sutton's Balrog tut to refresh my memory on the whole decal thing. Now I get what you guys mean by "If the resolution changes but the aspect ratio remains the same, the decal stamp will still work without changes". I also gather from the tut that the higher resolution decal is not meant to be scaled back down. I think my mistake was to make the maps resolution too high. Maybe that's just the way it has to be in order to get the detail that I want from the rivet displacement map.
-
Stuart, Jamie: I know you guys want to help me and are trying to make it clear to me what needs to be done, but maybe I'm just too tired or just too plain dumb, but what I am reading here is really Greek to me. "Absolute pixel numbers"??? What exactly does that mean? How does it relate to my problem? How does that fix my problem? Btw, I have backups of everything, high res and low. "If the resolution changes but the aspect ratio remains the same, the decal stamp will still work without changes" I just don't know what to do with this information. I'm seriously in lala land. If it's not too much trouble, please just list the steps needed to make a high res decal map and then apply it to a model. Am I at least on the right track? Screen cap the AM model and then resize it in PS to create the decal map? Is changing the size of the cap the same thing as changing the resolution? If not, do I need to change the resolution? When I'm done making my rivet pattern on the high res map, I do need to scale it back down, don't I? I mean if I don't , then I have this huge tga in the project slowing everything down. I see decals all over the place at a size of 500x500 or there abouts, yet mine is 10,000x8000. This isn't right. Help
-
Ok, TGA's it is, but I'm still unclear on the rest. William, as stated above, I'm not savy when it comes to image resolution, resizing pics, etc. It would really be helpful if you could elaborate on your post. This is what I am doing right now: 1. Take a screen cap of the model part I want to decal in AM (wireframe) 2. Open the cap in Photoshop and crop the image to the model's extends 3. At first I tried painting the rivets at this resolution, but they were pixelated and blocky, so I figured I'll increase the image size. 4. Resize image to 10,000 pixel width - At that resolution, the rivets come out really nice. 5. Create a new layer over the resized image and paint in all the rivets. 6. Resize the image back down to apply the decal - now the decals look like crap. It must be completely obvious to a lot of you, see William Sutton, that I am not going about this the right way. Would someone please lay out the correct steps for this procedure, pretty please....with sugar on top.... You get the picture Thank you.
-
Well, I've jumped from making a decent looking decal of a rivet to a full rivet map. The problem was that in order to get the rivet decal to look as crisp as I wanted in the render, I upped the resolution at which I created the decal considerably. The model is 170' long on the horizontal, scaled 1:1 in AM. The decal map is the length of the model and several times it's height. All in all the map is 2.12MB. I tried resizing the map after I finished with all the rivet placement, but when I applied the resized map to the model, the rivets were noticeably degraded (see second pic). I'm no Photoshop wizard, so I may be doing something wrong. Here are the specs on the current size map: see pic Please help me, it took several days to make the rivet pattern map and I'd hate to lose all that work and AM seems ta have an issue with the size of the map. It gives a vague popup that says having trouble loading jpg to plugin??
-
Fog is great, but is a bit limited in it's options. What's the best way to fade a background from light to dark, but in a nonlinear fashion? I'm thinking maybe a rotoscope over the camera? A gradient material applied to a screen in the background? I tried both but haven't had real great results. See the pic for an example of what I would like to achieve. Edit: I basically made an alpha map in the shape of the pic and added it as a rotoscop to the camera. Looks promising. There are two options that I'm not sure about - "On Top" and "Include in Alpha Buffer". What do these options do?
-
Hah, anyone can go into a Catherdal and take a picture of some gemstones. I can see a reflection of you holding a camera in one of the gems. Seriously, I am speechless. Absolutely beautiful!!! You gonna let us know a few, no, lots more details on how you did that? Wireframe too please.
-
David, Nice work as always. Probably no need to mention this, but have you got your normals all facing the right way?
-
Sole survivor of nuclear fallout?