NancyGormezano
-
Posts
7,863 -
Joined
-
Last visited
-
Days Won
15
Content Type
Profiles
Forums
Events
Everything posted by NancyGormezano
-
I am not talking about the temporary DB used in modeling When I first added/created a permanent distortion box via a relationship to a model, it showed up in the model window, in shaded view, in modeling mode, as well as in bones mode. It would not go away from modeling window, until I saved the model, started new project, and brought the model back in. I suspect Maka might have been running into the same "funny" as I. If one makes changes, and is experimenting with permanent DB's in actions, relationships, chors, one runs into many "funnies". It's not all smooth sailing.
-
If you are referring to turning off the visibility of a distortion box that is part of the model via a relationship/pose, I have noticed that I can not turn off the visibility in the model window, right after creating the relationship. However, I noticed if I then save the model, and start a new project and bring model back in, then the DB is no longer visible in model window (as desired). Seems to be a refresh? issue, perhaps

-

EggBot walking through Distortion Box
NancyGormezano replied to robcat2075's topic in Work In Progress / Sweatbox
This looks to be more useful to animate, as well as makes it easier to reset the distortion. Probably only need to assign the "middle" cp's of the DB to bones (top, right, left, front, back, bottom) EDIT: What I have also found is that one doesn't have to use the original action that was used to create the original DB action object. It appears once a DB has been created, one can drag the DB to any chor action and animate the DB bones. -
EXCELLENT advice for any creative effort! It is very rare that the first idea is ever the best idea. The first idea is usually the easiest, most obvious, most common, the most cliché.
-
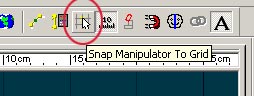
unclick the snap manipulator to grid icon
-
yayy! - looks great!
-
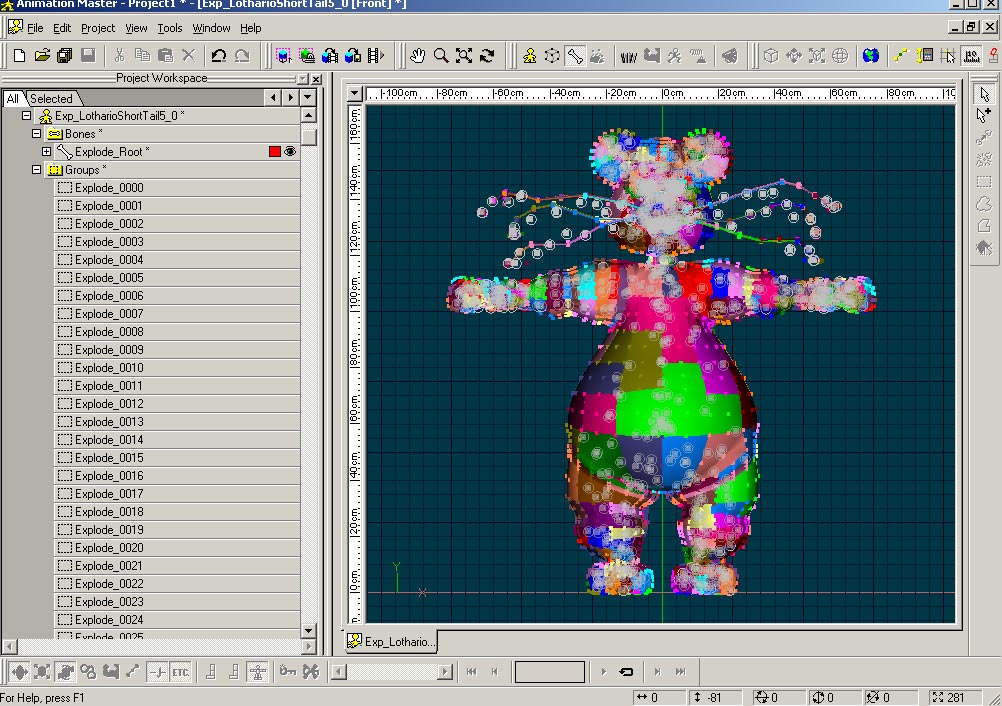
To create an explodable version of any model - right click on the model in PWS/plug-ins/wizards/explode Rebuildmodel A dialog box will come up - I just left it at default settings. Plug-in will create an entirely new version of the model which will contain a sequence of groups named Explode_nnnn, plus will also assign a bone to each new group. I'm guessing that this explodable model is then used with Newton. I believe Johnl3d has done many tinkertests with it. I tested it on a complicated model and it took quite a bit of time to create the new model, and consumed mucho memory. I thought it had hung - but eventually it finished. Probably best to try it out on a simpler model to start, just to get the feel of how it works.
-
IN addition if your patches belong to multiple groups - then select the patches, right click, and select "remove from groups" - the list of groups to which this patch set belongs will appear, and you can choose from which groups you wish to remove. Similarly - you can also choose to selectively remove decals (and individual stamps) from patches - by right clicking on the selected group and choosing "remove decals". A list of all the decals/stamps that are applied to this patch will appear.
-
I'm not sure I am understanding what you mean by matching the "appearance between the model and the photo is crucial". If the final product is to be a still image (or animation) rendered in a chor where the camera doesn't move and the photograph is used as a rotoscope (background image) which contains the image of the mountain top, then you can probably make the top of the mountain model a "Front projected model" (shortcut to top mountain model/options/front projected target =ON). If this is not what you want or mean then can you post the photo that you are trying to match (as a jpg) - and show us where the mountain top is in the photo, and what you mean by "match"?
-
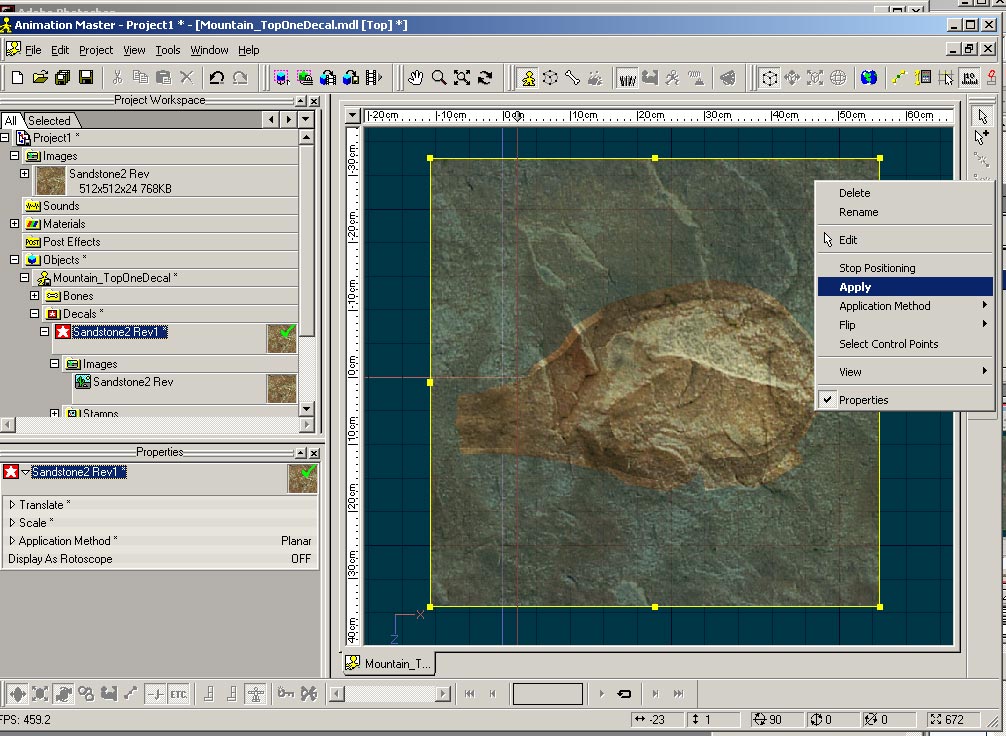
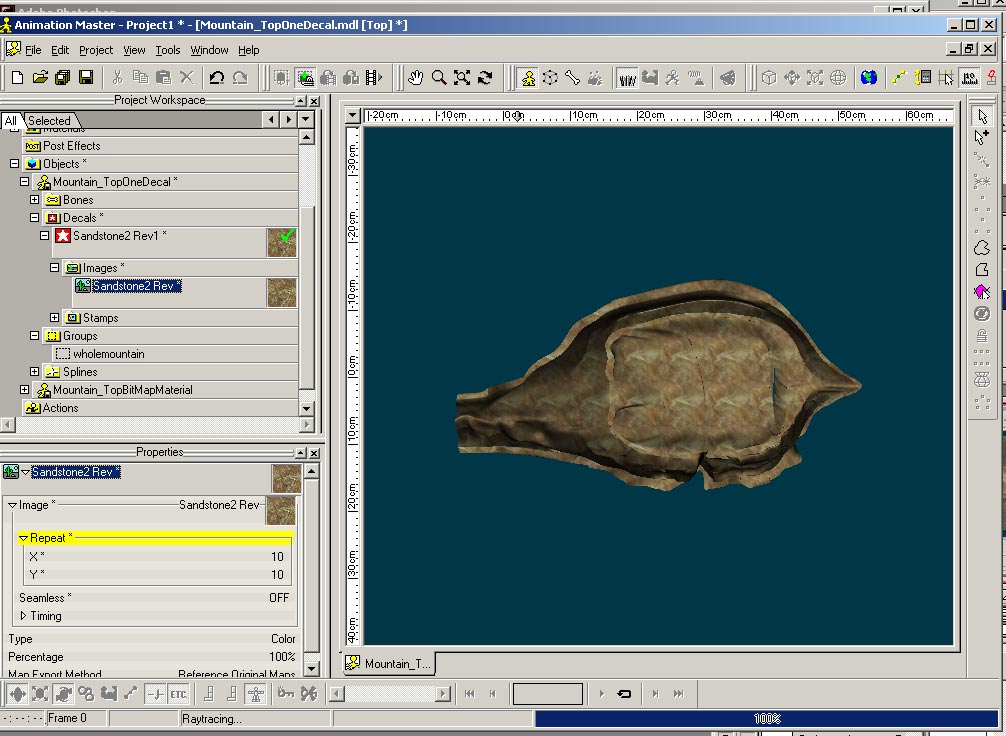
Yes -There are definitely easier ways to do this. To apply 1 decal (1 stamp) to entire mountain: 1) select those patches that you want to decal, hit the hide so only these patches are visible (in this case I chose the whole mountain), go into top view (5 on numpad) 2) drag image to modeling window, choose decal 3) scale the image to cover the entire mountain 4) choose planar method, hit apply, stop positioning 5) change the repeat count if the scale of pattern is too large (I changed from 1 x 1 to 10 x10) I also included in my project an example of using BitMap Plus material to cover the entire mountain (instead of a decal). When you are looking for a more irregular (non specific) pattern, and to easily cover any surface - Bitmap Plus is great. 1) New material > right click on attribute > change type to > plug-in > kci:dnd > Bitmap Plus 2) choose image to use in the material 3) adjust size and other properties to taste You will need to render to see effect of Bitmap plus: either shift Q (quick render, continuously updates on screen as you change properties), or Q (uses current rendering settings on screen, produces 1 image, does not continuously update), or render to file (uses current render settings, makes a file). Bitmap plus won't show in the real-time display without doing one of the render methods Decal_versus__BitmapMaterial_Mountain.prj
-
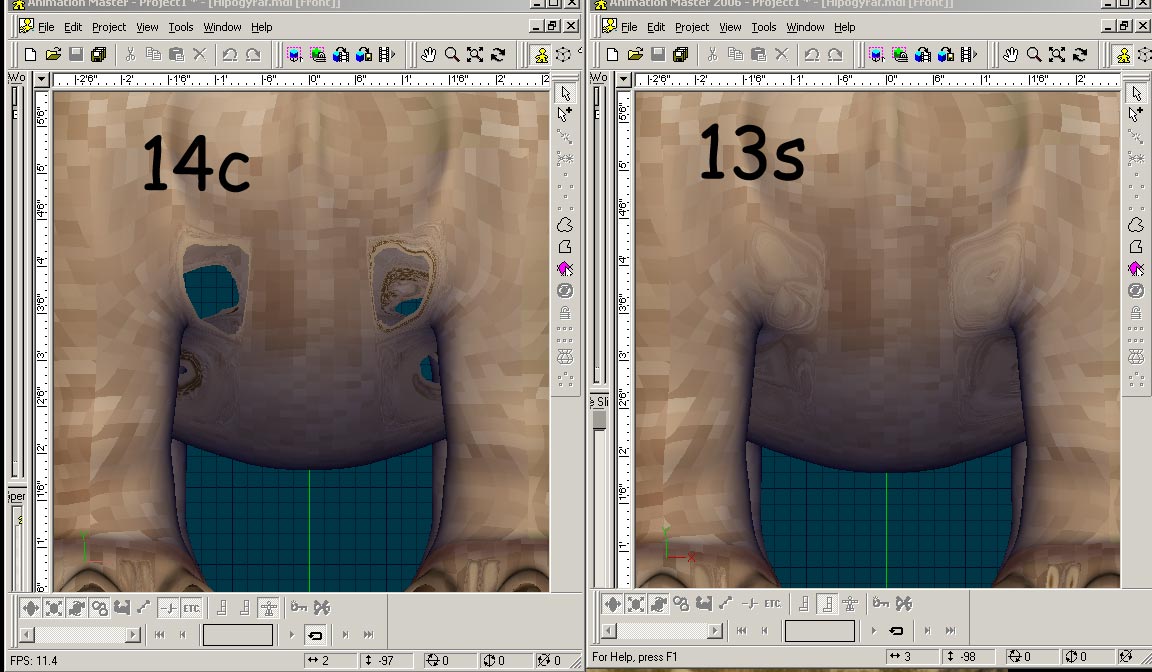
I believe this started happening somewhere between 13s and 14c. This is a real-time shaded view closeup of 5 point patches around Hypogyraff's legs
-
Wonderful Marcos!
-
Vive Le Roy!
-
It is a feature that could drive one crazy. I think I might have run into "funnies" like this for some other properties, but I can't recall specifically.
-
Aaargh! How do you get rid of the grid?
NancyGormezano replied to Digerie Crakstone's topic in New Users
Yup, you're right. I could not get thickness to change in model window, and I did not actually change it when trying it out (hit cancel instead). Also just noticed that it seems that every 5th grid line (model window) is slightly thicker than intermediate ones. I also I seem to remember in previous version(s?) that grid size line would change (long time ago?). I believe I once had inadvertently changed it. -
I find I can get the continuously updating values in any view EXCEPT camera view (1). Side, front, birds eye all seem to work.
-
Aaargh! How do you get rid of the grid?
NancyGormezano replied to Digerie Crakstone's topic in New Users
Perhaps you have them set too "thick" - Mine are set to 1 You can change the line size Tools/Customize/Appearance?item/Grid/Size -
My absolute favorite tutorial on modeling ANY character, destined for animation was presented here by Malo. He demonstrates a generalized modeling method specifically aimed at A:M that utilizes lathing, and minimal, efficient spline layouts suited for body rigging, as well as facial animation.
-
I was able to get it to work in the chor from front view. 32bit ver 16.0 I also tried a case of splitting the model into 2 models - model1=just inner group, model 2=outer group. dragged both to chor, selected model2, and went into front and did resurface (using previous settings I posted)
-
Interesting - I hadn't ever fooled with resurface - so I had assumed these were the defaults
-
Here's the result I get on my PC with v16b. I don't know what the expected result is. what are the settings I should use with it? (Don't say "the defaults") Ver 16.0 32bit. I used exactly what the project was set to, got correct result, but did the resurface from front view. If I did "resurface" from birds eye, I got a different, wrong result
-
UP! (a tiny, tiny bit of it)
NancyGormezano replied to robcat2075's topic in Work In Progress / Sweatbox
Ooooo...niiice... -
Duplicator, Extruder, Sweeper
NancyGormezano replied to Paul Forwood's topic in Work In Progress / Sweatbox
why not use sweeper? -
Ideas for the Next Community Project
NancyGormezano replied to robcat2075's topic in Rear View Window
For those who may not be familiar with the movie and it's many viewpoints: Might be fun to animate some voyeurs as well as some voyeurees -
HELP with COOKIE Cutter DECAL
NancyGormezano replied to liveimpact's topic in Work In Progress / Sweatbox
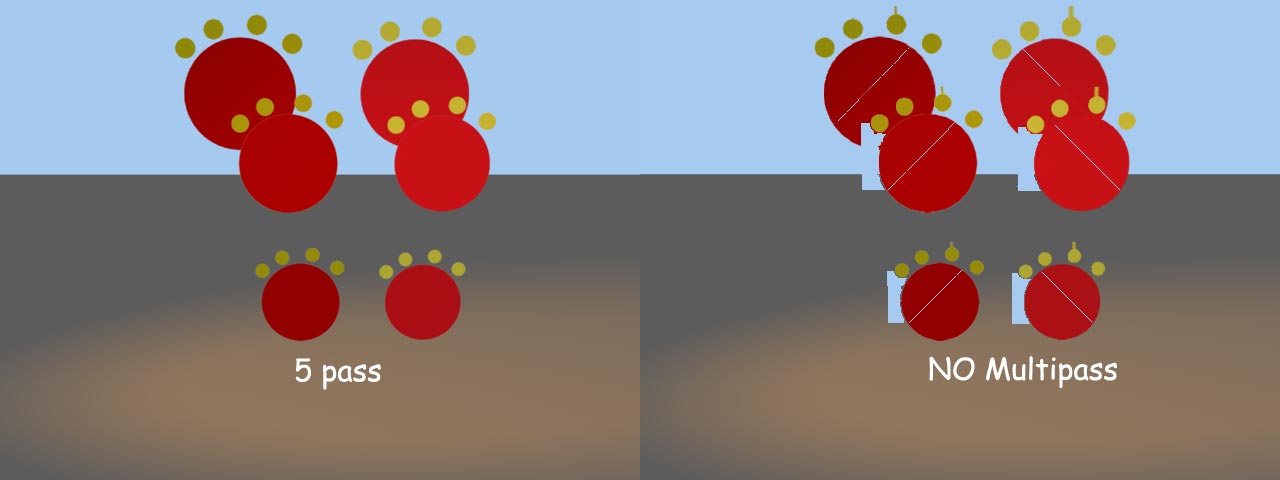
Hi - Just tried cookie cut with vers 16 (PC, 32bit), using tga and png for decals - there seems to be a difference in rendering using Final, multipass (renders correctly) versus Final, NO multipass (renders incorrectly). Change your render settings for now. I used 5 pass. Note also there is a difference in color between using png and tga images for the decal due to the way photoshop saves the color info. For PS ver6, the tga image looks accurate (same as image looks in photoshop). P.s. - It's better to use jpegs, pngs for uploading images to the forum. Tiffs don't show.