Wildsided
-
Posts
1,064 -
Joined
-
Last visited
-
Days Won
59
Content Type
Profiles
Forums
Events
Everything posted by Wildsided
-
Experimental hair using cloth simulation. test.mp4

-
Thanks, Robert, it wasn't a business/client transaction. I was just doing it because I like his science Yoshi avatar. He has asked for permission to use it in a video at some point and he and his community has been very kind with likes and retweets etc, is almost my most watched piece of content in less than 24 hours so getting some exposure at least.
-
Made a bit of animation for a YouTuber/Twitch Streamer. Made it in A:M so figured you guys might like to see it. Shout out to Robert for his Jet from streaks topic.
-
What happened to "do no harm". If you present to an ER with bleeding you can't stop then while it's not my arm has been severed serious, it's still something that needs looking at. What if it got infected?
-
Built me a Yoshi.
-
Could you not just make an action that has it rotating around its Y axis and then loop it however many times you need?
-
Nice one Rodney. Although to come apart like that they have to be the most cheaply made pair of spectacles ever. Shoulda gone to Specsavers. Side note, I wonder if we could make a flowing hair simulation out of the soft body sim.
-
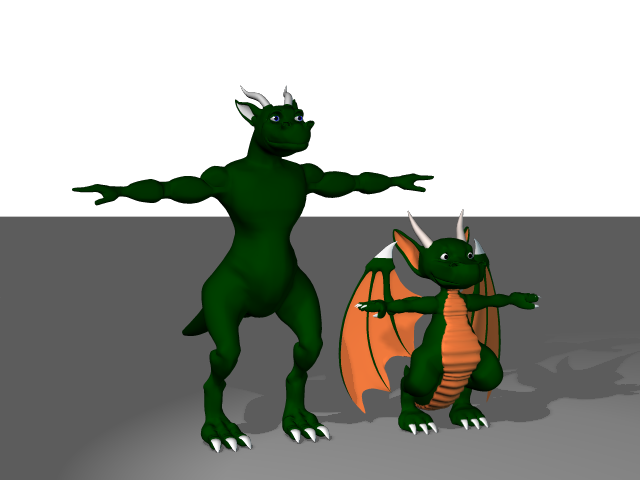
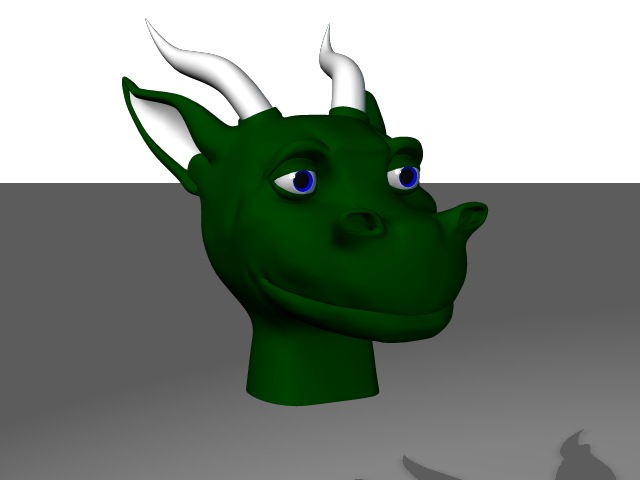
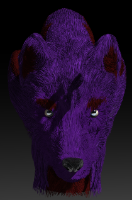
Hench is a word I keep hearing around the internet that means muscular or well built. Funnily enough the little dragon used to have scales (and was pink) but I just went back through the thread where I posted pics of it being built and it seems I didn't post any of it finished.
-
Been doing some more work on the dragon remake, still lots to do but his body is coming together. I seem to have made him much more hench than I intended if anything he looks older than the original dragon, but I'll be fixing that as I go along.
-
This one sounds like it might suit. 4gb of Ram, 128gb emmc (like an ssd just not as fast), quad-core at just under 2ghz, detachable keyboard and a touch screen with a stylus and it comes in at $356.99 US. I might be biased coz I love being able to draw right on the screen. https://www.amazon.com/Transformer-T103HA-D4-GR-Touchscreen-Quad-Core-keyboard/dp/B07CHLD8M8/ref=sr_1_fkmr0_1?ie=UTF8&qid=1547069973&sr=8-1-fkmr0&keywords=Asus+T103HA-D4-GR+10.1”+Transformer+Mini%2C+2+in+1+Touchscreen+Laptop%2C+Intel+Quad-Core%2C+128GB+SSD+Slate+Grey
-
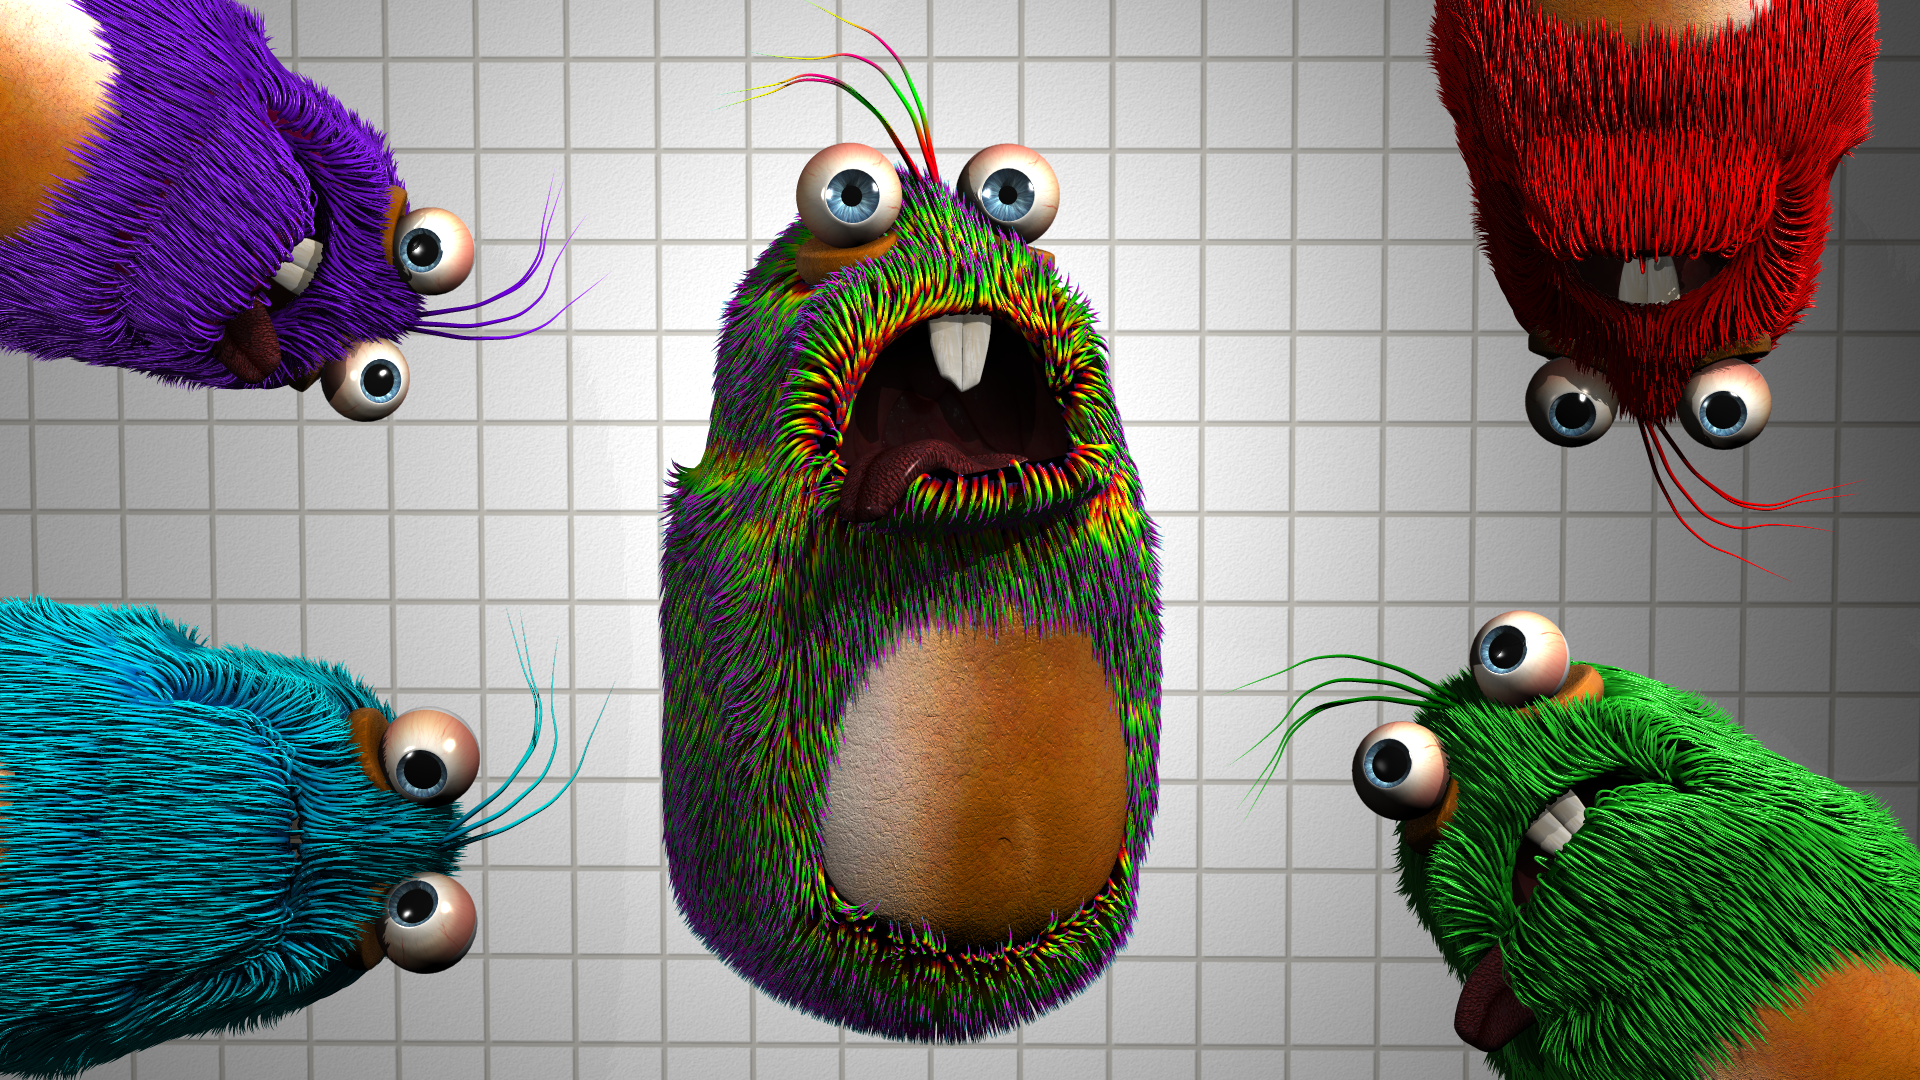
This is a Squeep puppet by a company called Luna's Puppets. They announced a competition to win one just before the New Year. You had to submit a piece of artwork featuring the character so I entered. Didn't win but thought I'd post my entry being as though it was done in A:M.
-
John, that looks brilliant! Love it.
-
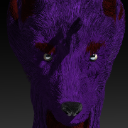
Just before I decided to make the grumpy mouse skit, I decided to revisit my old video games dragon and try and update it. That ended up turning into a complete rebuild from the ground up...Well more like from the head down. Old Dragon W.I.P New dragon
-
Happy Christmas guys and gals.
-
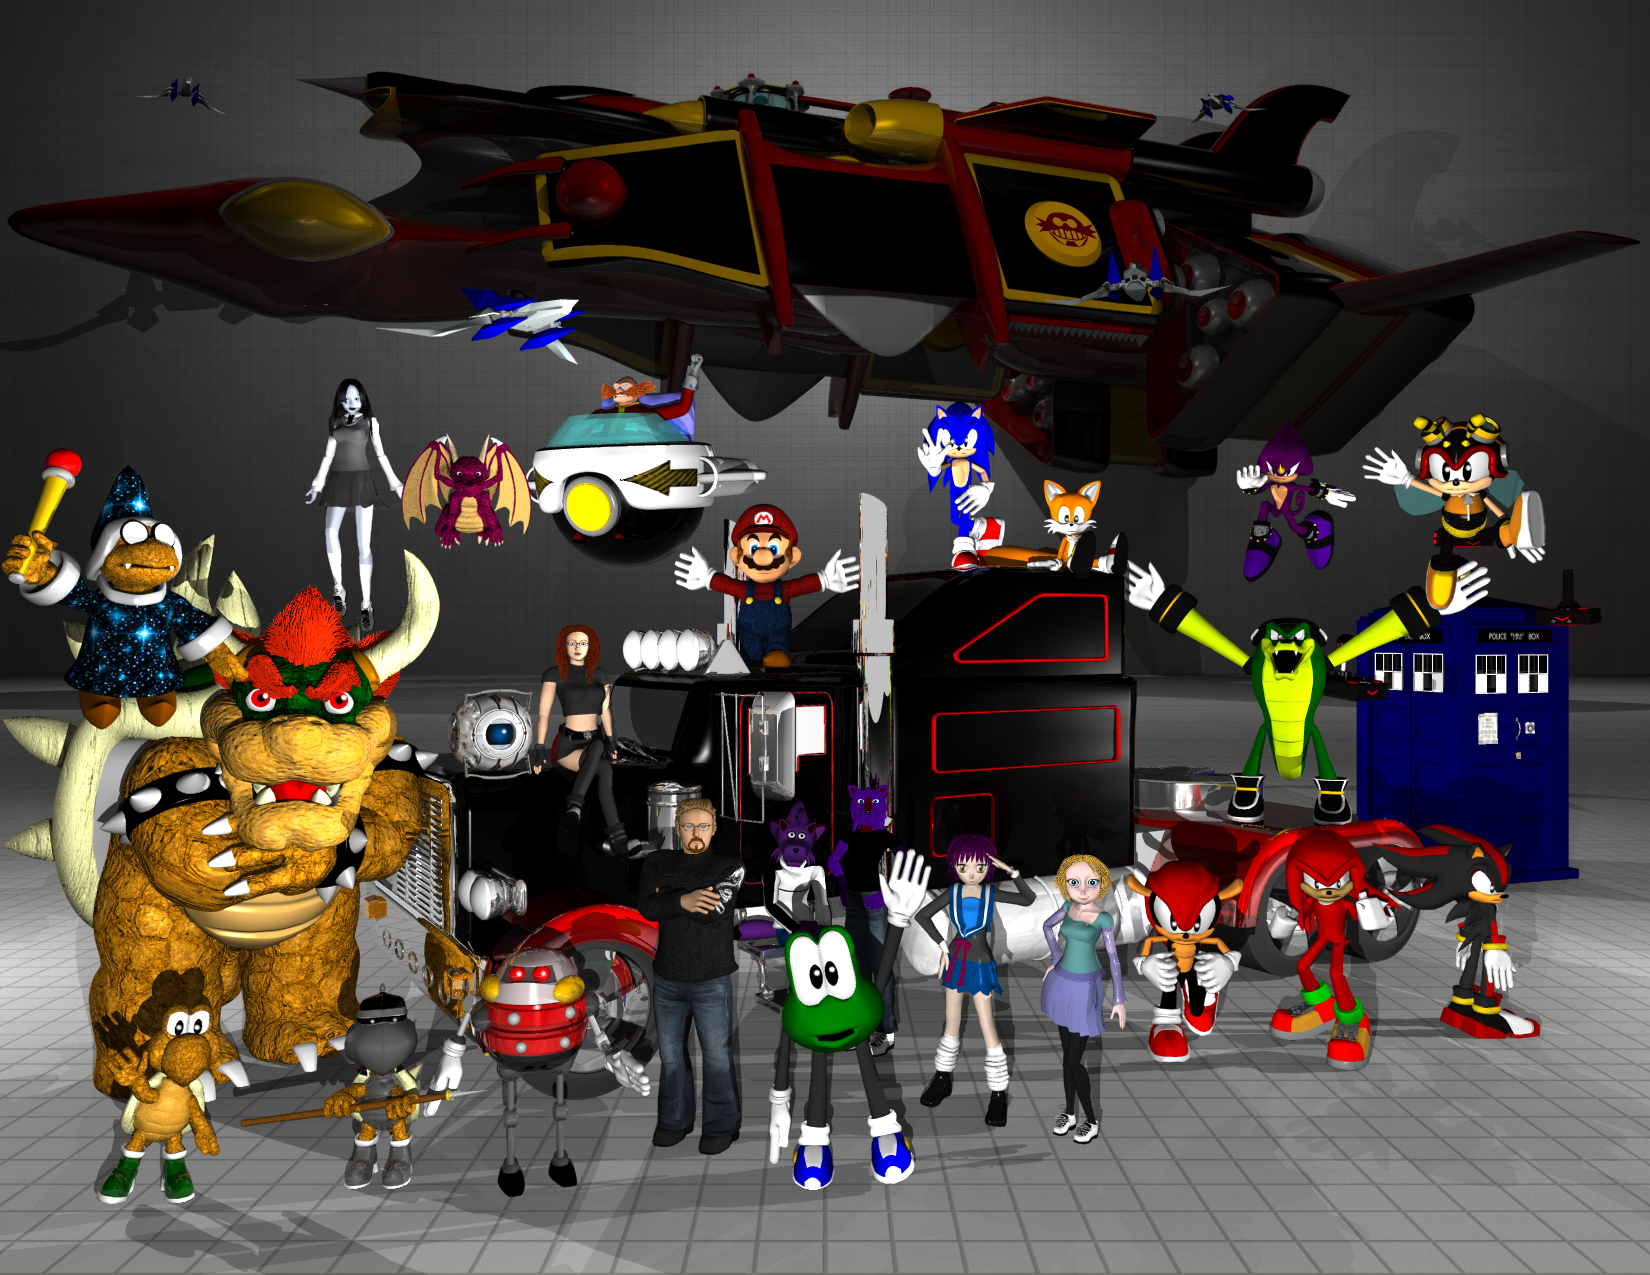
Decided 6 days before Christmas to make a quick little something for the kids. Turned out alright for being thrown together in a few days. There's a few bits of A:M in there so figured I'd post a link here in case anybody fancied watching.
-
Yeah, sorry. By copy I meant a 2nd model.
-
If you were pressed for time you could just put a copy of the model slightly in front of the first and fade the copy out. gradual_gradient.avi
-
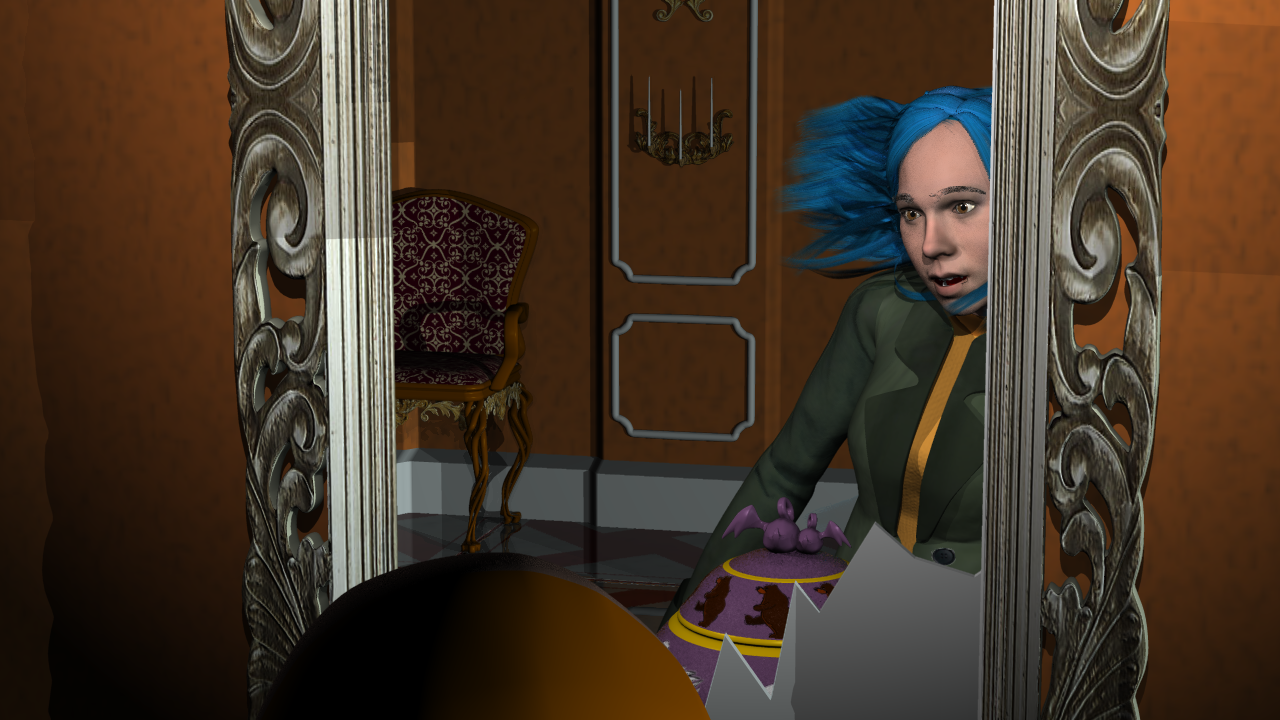
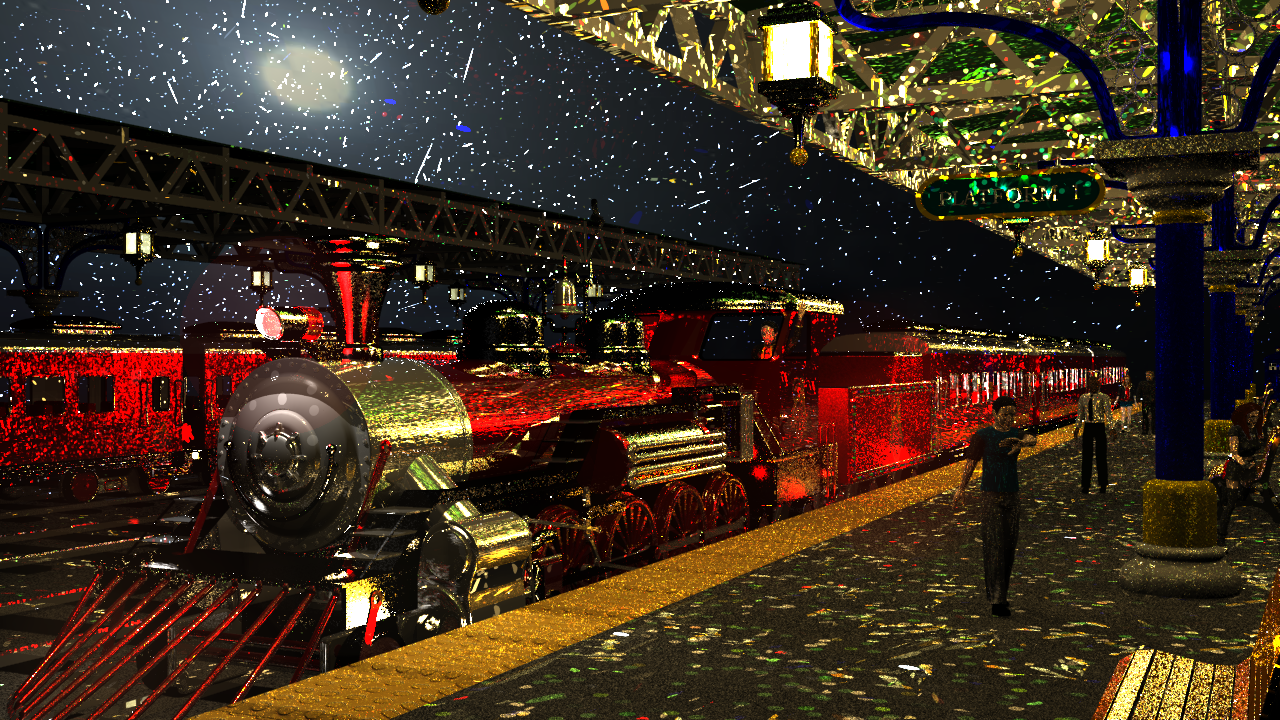
So I turned on radiosity for giggles and as well as taking an hour and a half to render, it turned the whole place into a disco. 😄
-
Been doing some more work on the possible competition entry.
-
Stonemasons all sitting together in a pub and some loudmouth know-it-all at the bar shouts "Fluting on the pillars can only be straight," Stonemasons: Hold my beer
-
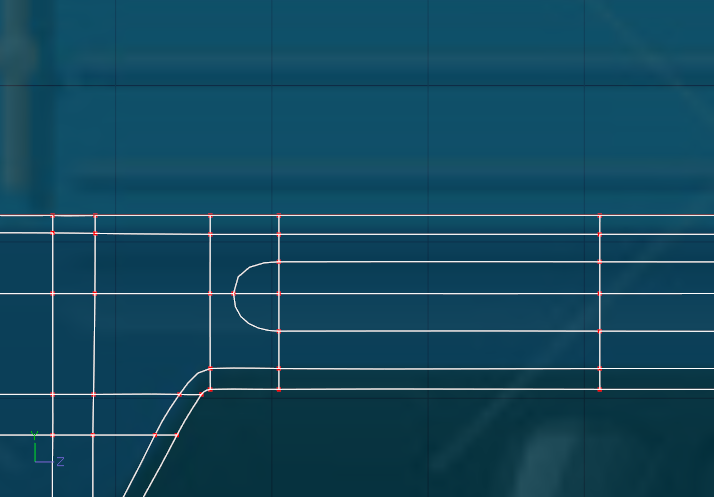
I had to do something similar for the trim around the base of my train carriage (That you'll probably not even be able to see in the final image, but ya know, I'd know I hadn't done it if I hadn't done it 😏) My solution ended up using 5 point patches because I thought it would crease otherwise. But your solution seems to work perfectly well.
-
I think it was to do with internal spines confusing the 5 point patch maker. Also a couple of the spines weren't registering as connected (where you have to press 'k' top separate them instead of just hitting delete). So I deleted/reconnected them and that let me close them up. eyelids_V3 5 pointer closed.mdl Hope that helps, Paul
-
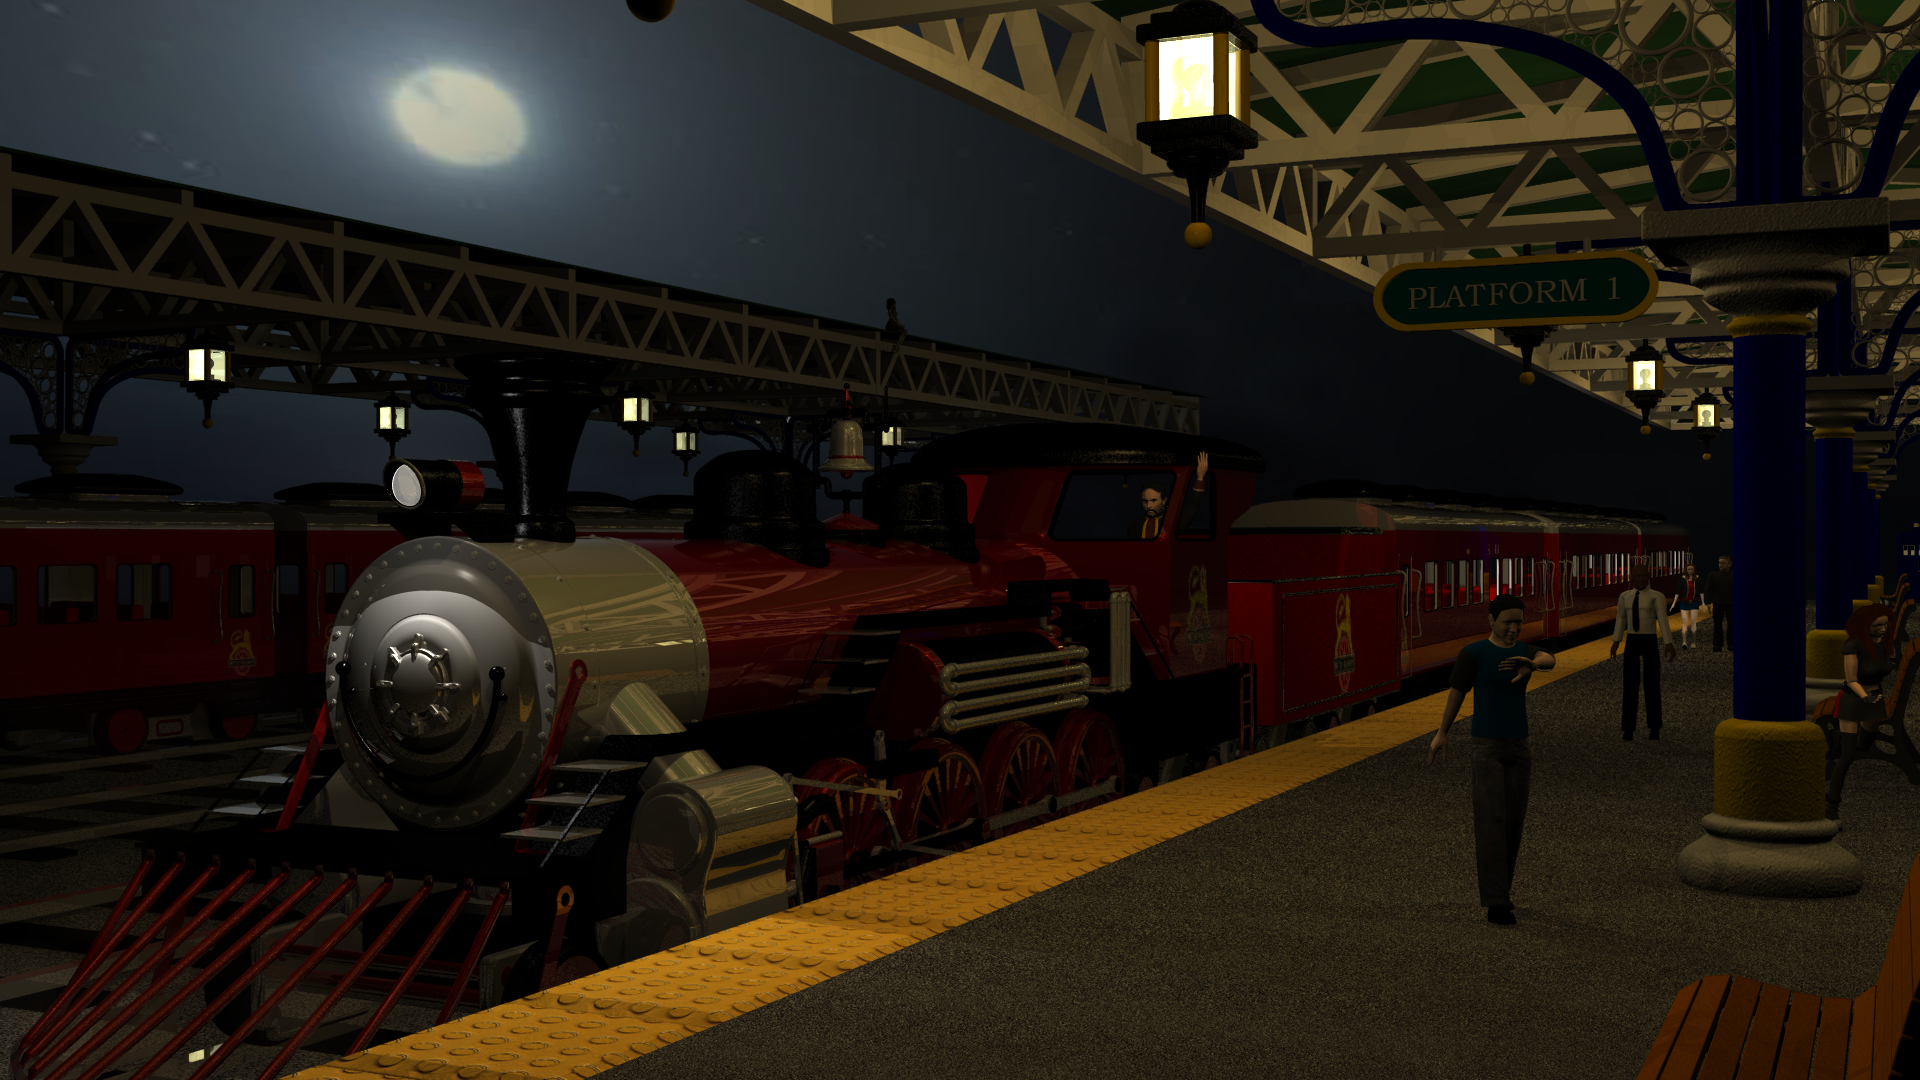
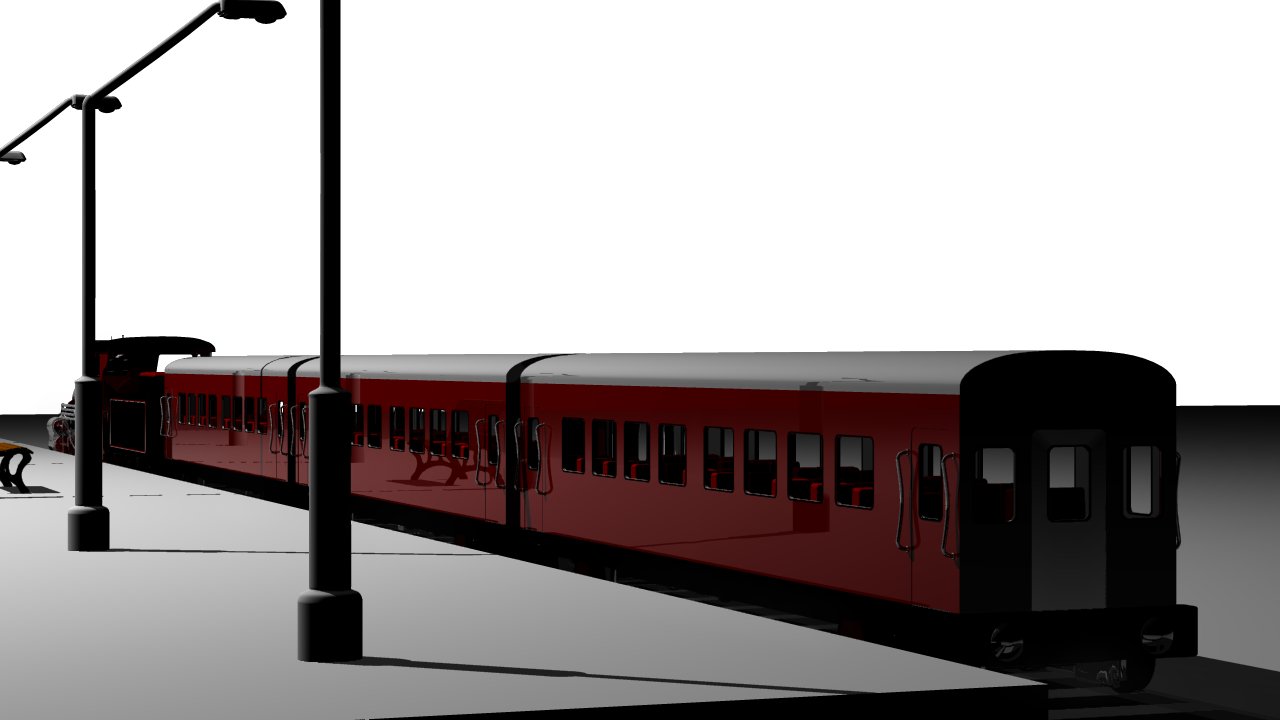
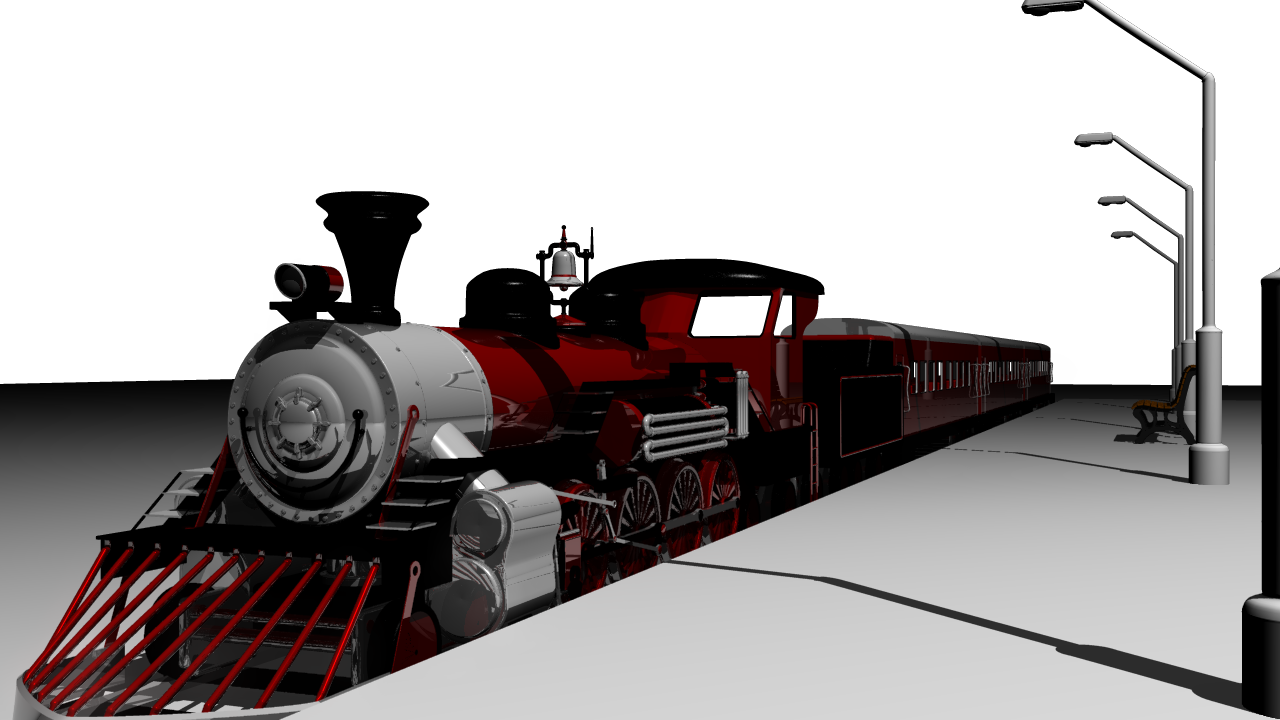
Decided to leave the hair for now as it was slowly driving me even more insane than normal. Instead, I thought I'd try making something for the Fall image contest. Don't know if I'll succeed in finishing something worth entering but It's given me a good excuse to make a lamp post and bench that I can reuse for other things and I've also built some carriages to go with the train I built a little while back.
-
Hi Simon, Have you tried isolating that frame and looking at the shape of the shadow? If you have an object in the chor that is a similar shape see if it's somehow got keyed to be in a position that could cast that shadow. I had a similar issue once where I'd unknowingly slightly moved a light and it was causing a shadow to move when as far as I knew it wasn't supposed to be. It might be that you moved an object at some point and it generated a keyframe you weren't aware of. Just a thought There's also a slight shift in the camera position at around 1.5 secs.