-
Posts
1,064 -
Joined
-
Last visited
-
Days Won
59
Content Type
Profiles
Forums
Events
Everything posted by Wildsided
-
Daaaamn, that reminds me of a much worse version of the screen from my old HP Touchsmart TX2. The nib of the stylus wore down and there was a piece of scratchy metal beneath.
-
Yeah, I've noticed the guide hair thing. I try and groom all the guides to where they need to be before I simulate. Been fiddling with settings and managed to get the following. It's not passing through her face at least test hair.mp4
-
Have you tried any of these with the hair at the length it was in the original model? Because at that length it isn't coming into contact with her face which is where I've been getting the collision problems, it''ll wrap around the top of her head but then as soon as it hits the cheeks/chin area it passes right through.
-
Thanks for looking Robert
-
Hi Robert, the same issue I'm having happens with your project and that's the hair refuses to not penetrate the model. I've had my hair moving like that (using similar settings) but when she twirls away at the end the hair at the sides of her head passes straight through her face and ruins the shot. I changed the hair settings on the model to the ones in your choreography and as you can see the hair just won't stay out of her face. Until I can figure out how to get the collisions to work there's not much point in having the hair flowing. Hair settings test.mp4
-
After much faffing with settings, I managed to get the shot into a state that I find somewhat acceptable. Uploaded it to Youtube so you won't have to download the file to watch it. https://youtu.be/tpdE4sztt4E
-
Nice one simon, 'dem boxes got da moves.
-
Hey guys, looking for some help with hair. I've given the model 2 seconds to give the hair time to settle before it moves into the start position of the actual animation. But it just won't sit still. As you can see from the little clip I've posted the hair twitches all over on every single frame. I've tried making it more/less stiff. Making the system Rod/not rod, increasing and decreasing the collision radius and nothing seems to fix the twitching. It's like the hair just can't settle. I originally had the stiffness very low and the hair quite far from the body and let it fall naturally onto the model, but this seemed to result in the hair behaving properly until the animation started and then the hair just had a fit or passed right through the model. So I increased the stiffness and groomed the hair closer to the body. This made the hair not pass through the model (not perfect but serviceable) but now it jiggles around instead. Any thoughts? twitchy hair.mp4
-
I'm sure one of the more techie guys here will jump in soon, but have you tried installing one of the older versions of A:M onto either machine (just copy your master.lic file into install directory and it'll activate it) to see if the problem persists in the older version?
-
Stalled Trek: The City on the Edge of Foreclosure
Wildsided replied to largento's topic in The Wannabe Way
That's a cute car Mark and it could double as an entry for the image contest. -
Okay, a quick update on the state of the winter project. The girl will have 3 models in total. The one shown below where she'll be wearing a long coat, one where she'll be wearing a higher resolution version of the clothes beneath the coat and one where she'll be wearing a ball gown. It makes more sense to make 3 models than say have the high res undercoat version beneath the overcoat version. It would be way too resource heavy for one thing. Anyway, I've added a top to her now and as I said in the previous post I've been reworking her hair. I've had her moving her head and upper body throughout the process so I could make sure the dynamic options weren't going bananas and I've just about got it under control. She really just needs her fringe (bangs) adding and then I can start thinking about animating the first part of the sequence. I still want to add a few texture details before that though and rework the lighting.
-
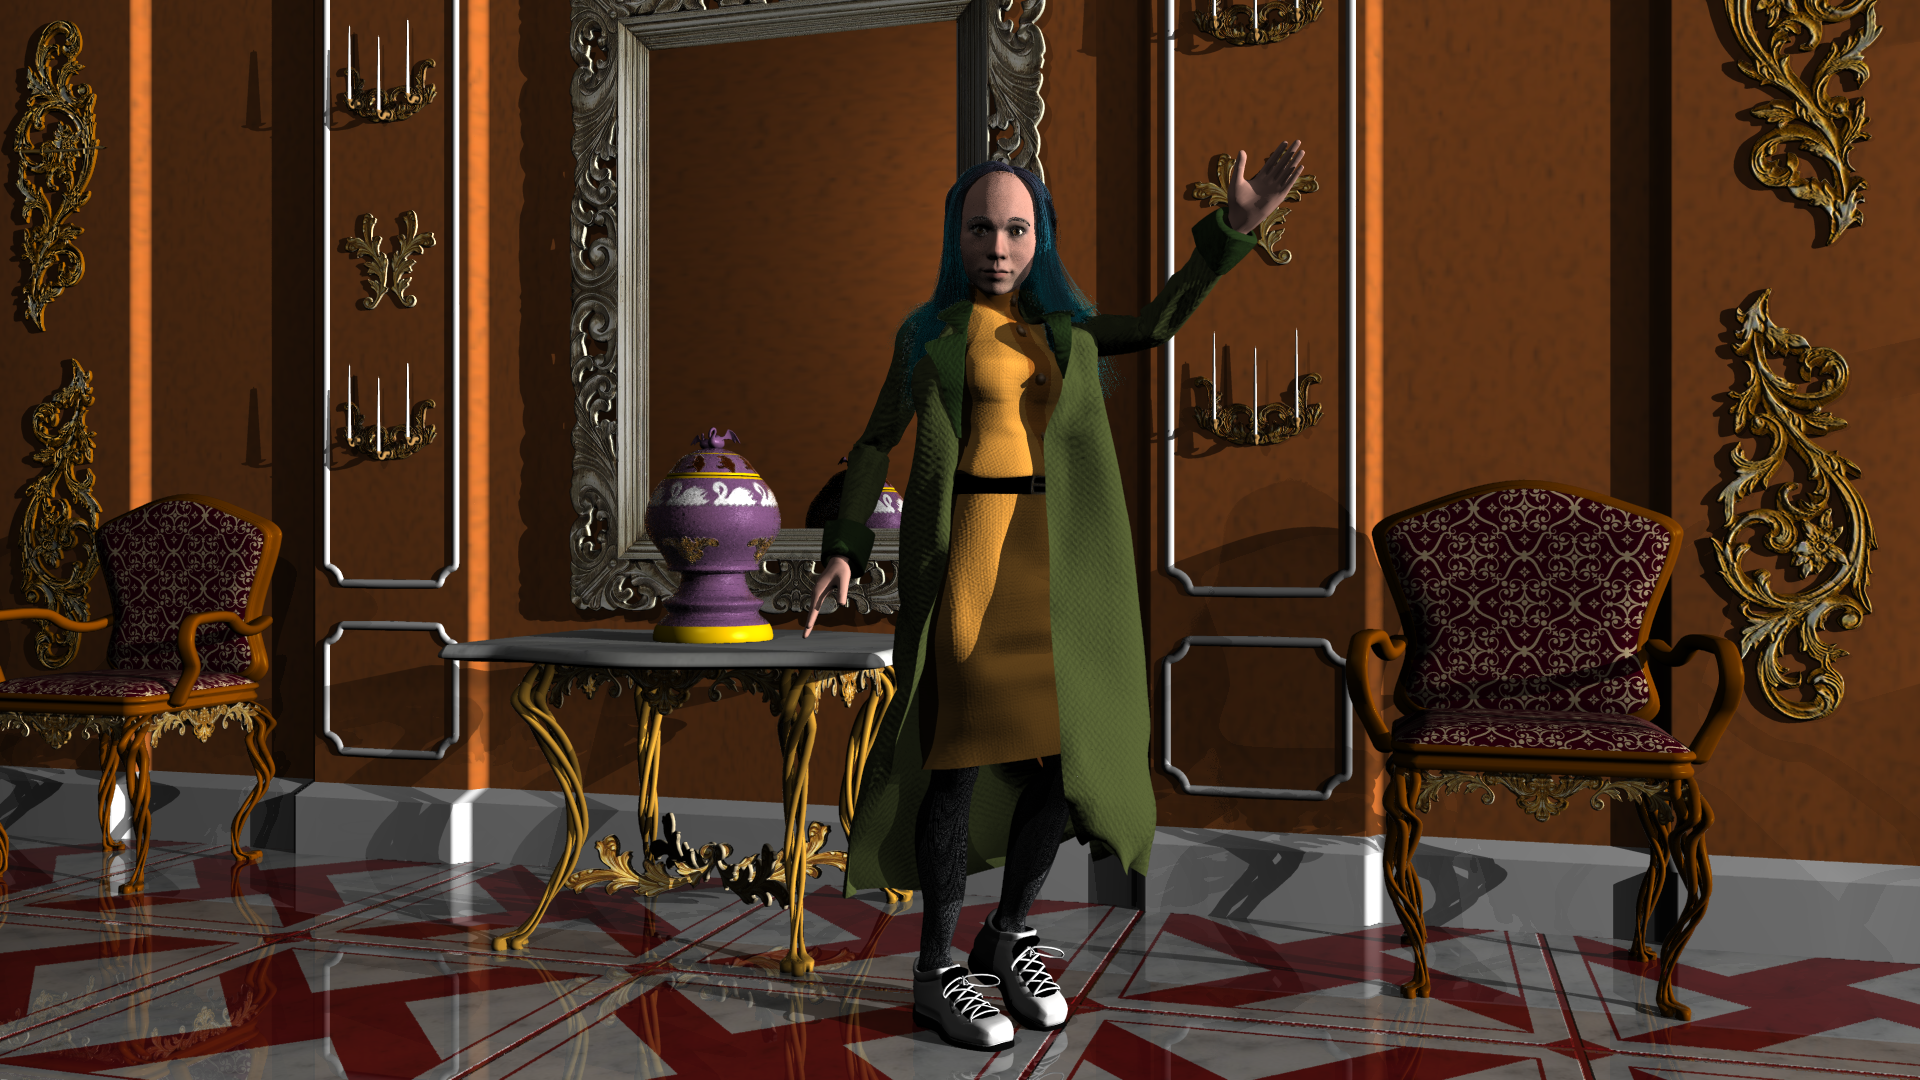
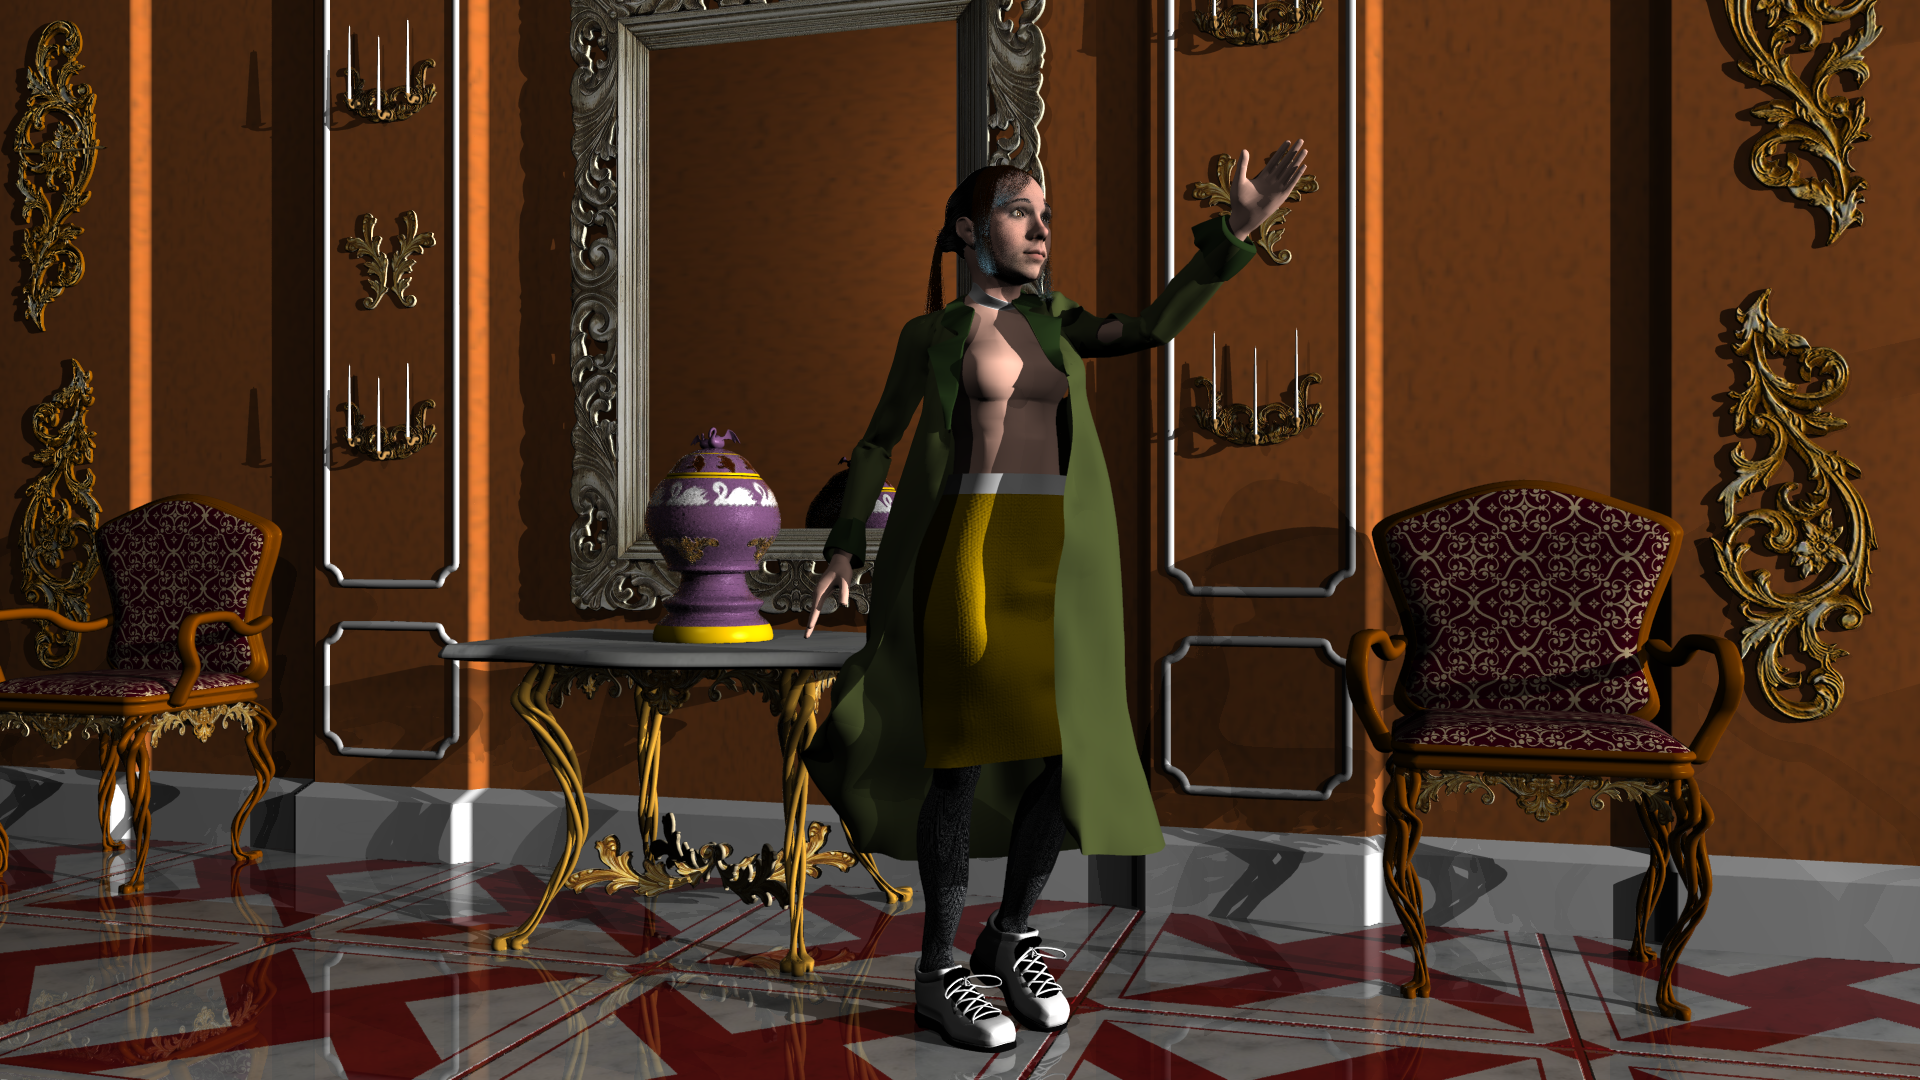
Been working on a thing that I hope to have done by Christmas, but who knows. Cloth experimentation continues, in the picture below the skirt and coat are completely cloth based. Lots of things to fix still, there are holes in the coat where I haven't finished cleaning up the mesh for instance and I haven't done any kind of texturing on the coat either. But the important thing is that the cloth works so far. Don't know how much further I can push it before the simulation gets annoyed at me, but it let me put a collar and cuffs on the coat without complaining. Nothing is set in stone at the minute, the hair and lighting particularly are going to be redone but I just wanted to get her into a very basic pose to check on the cloth and have something to post on here.
-
S'pose it depends which Robin you're doing. From what I remember of Batman the animated series, Dick Grayson was quite a bit taller than Tim Drake.
- 11 replies
-
Sounds good Robert, I'll make the tweaks.
-
Been faffing with the model some more and made some sliders. The face can now: Open and close both eyes Adjust the size of the pupils Look up, down, left and right Raise each eyebrow individually Lower each eyebrow individually Raise the upper cheek facial muscles Make the basic phoneme shapes Still to do: Individual open and close controls for the eyes to enable winking Controls for the lower cheek muscles. Here's a quick .avi of her pulling a couple of faces eyebrow raise.avi
-
Alternatively, you could just right click on the name of your model in the PWS and open its properties. From there you could scroll down to 'user properties' and you'll find a list of your poses. If you right click on one of them you'll find the option to delete the pose. Remember folks, you can do things the easy way or the Dan way Thanks for pointing me to this much easier solution Robert.
-
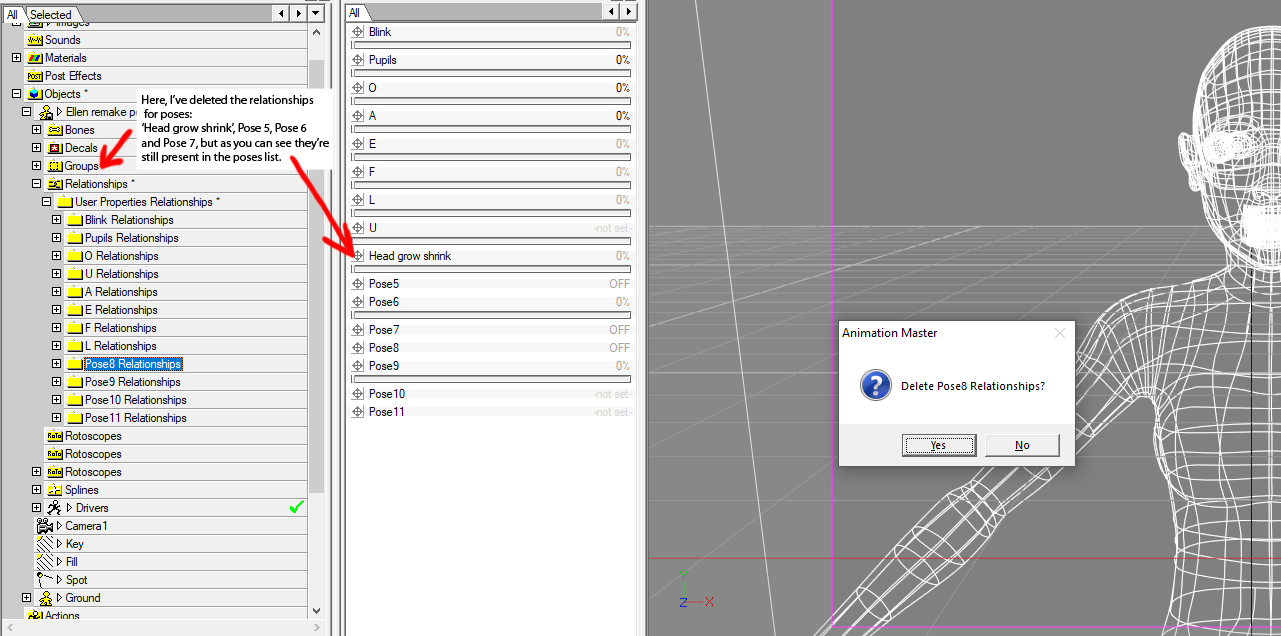
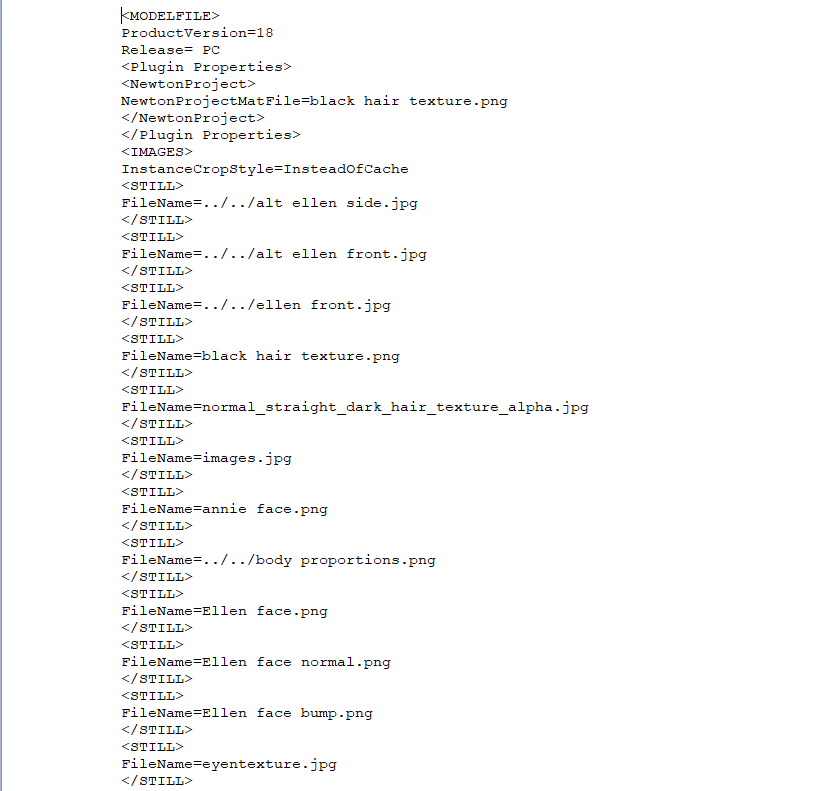
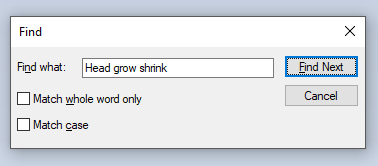
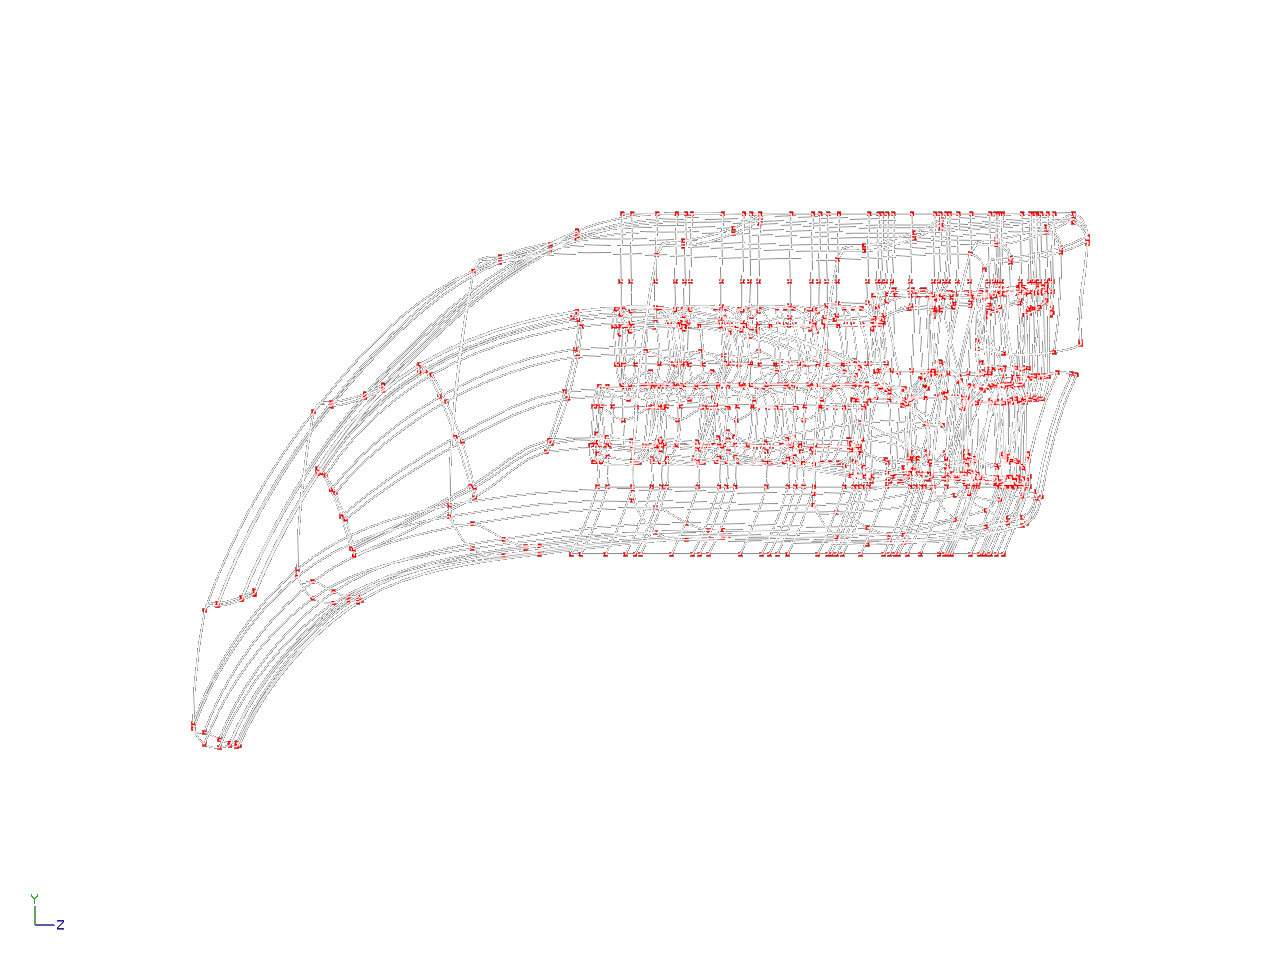
I don't know if anyone else has experienced this problem but I noticed that when I deleted the relationship of a pose from a model, it would remove the pose from the PWS but not remove it from the 'Poses' window for the model. If your text editor isn't in the list select choose another app and navigate to Word Pad. Step 4 - Select Word Pad and you should see something like this Step 5 - Press Ctrl + F and a find box will pop up, search for the pose entry you want to remove. In this example I'll search for 'Head grow shrink' When you press Find next (or enter) the document will auto navigate to the entry for the pose you're looking for. To make finding the poses you want to get rid of easier, I recommend renaming them to something unique in A:M but you don't have to do this. Step 6 - Highlight the pose info like in the examples below OR A percentage Pose will show as and an ON/OFF Poss will show as Highlight everything from [Pose name] or [Pose name] to or as shown in the screen grabs. Step 7 - Hit backspace to delete the entry Step 8 - click the save icon to save your changes. Step 9 - Open up the project your model is in (or import the model into a new project) and all being well those pesky poses should be gone. You can even rearrange the order of the poses in the pose list by highlighting the pose you want to move and cut/paste it below or above another entry. Maybe I should have made a video for this but hopefully, you can follow what I'm saying.
-
Today was a special day. Today was the day that I finally got a cloth simulation to work without my computer dying or it telling me I forced geometry to intersect or something moved too fast. Took some pointers from our resident cloth guy, Mr Robert Holmén and used his squish everything and reinflate it technique to get a t-shirt to work. Suddenly feel like a lot of possibilities have opened up for the future. cloth experiment.avi
-
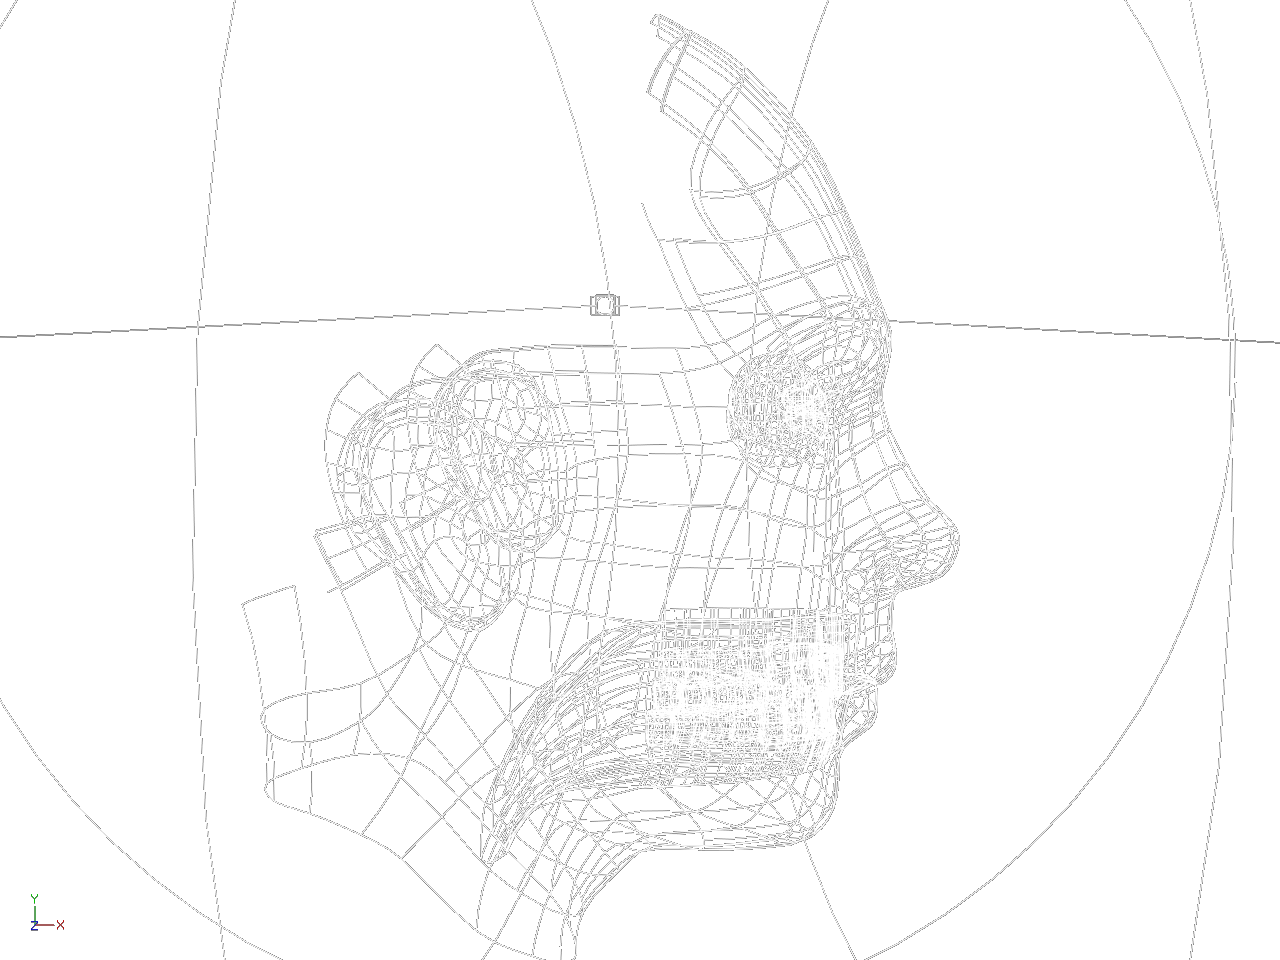
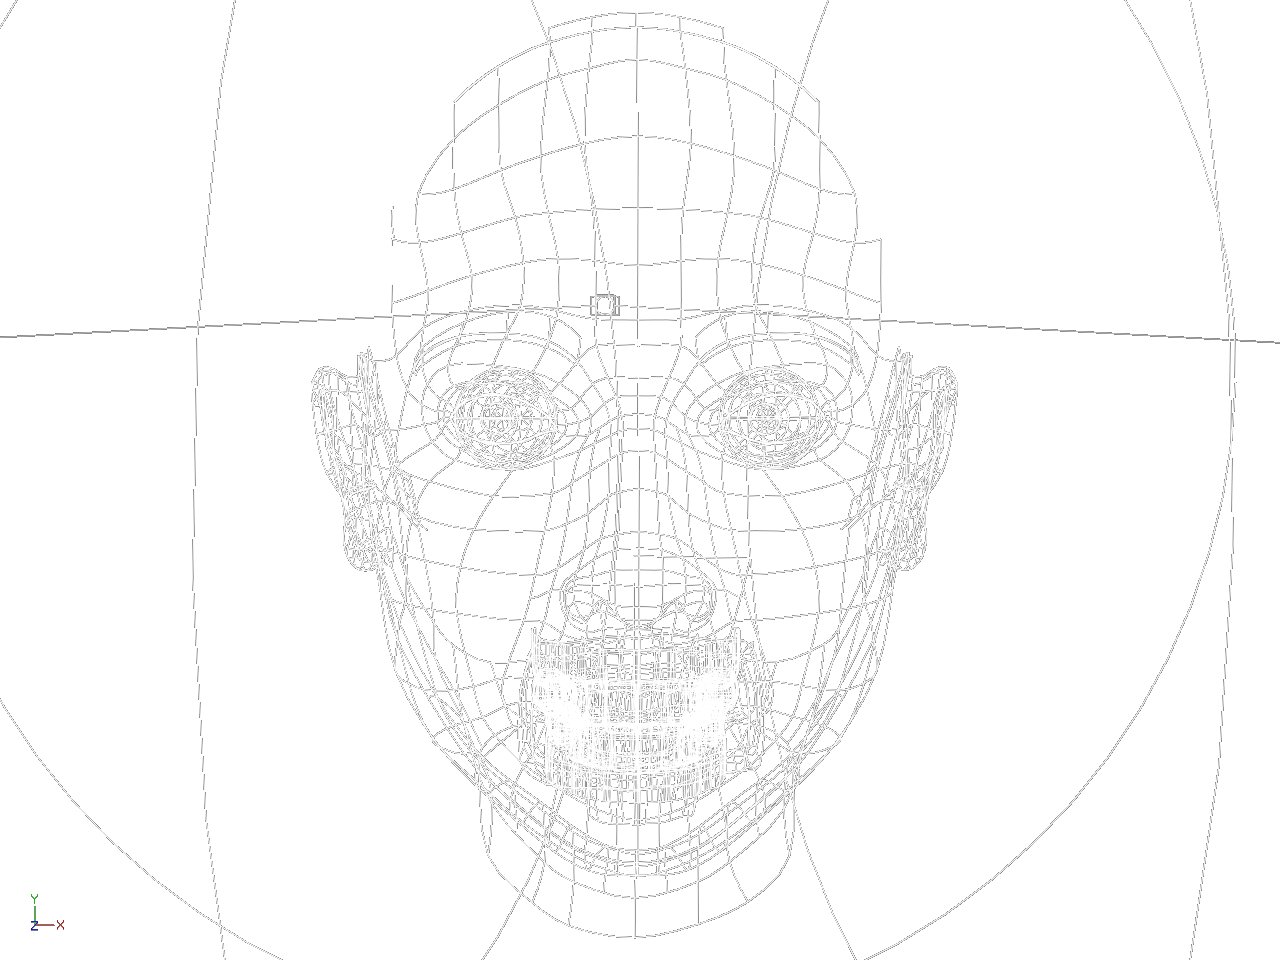
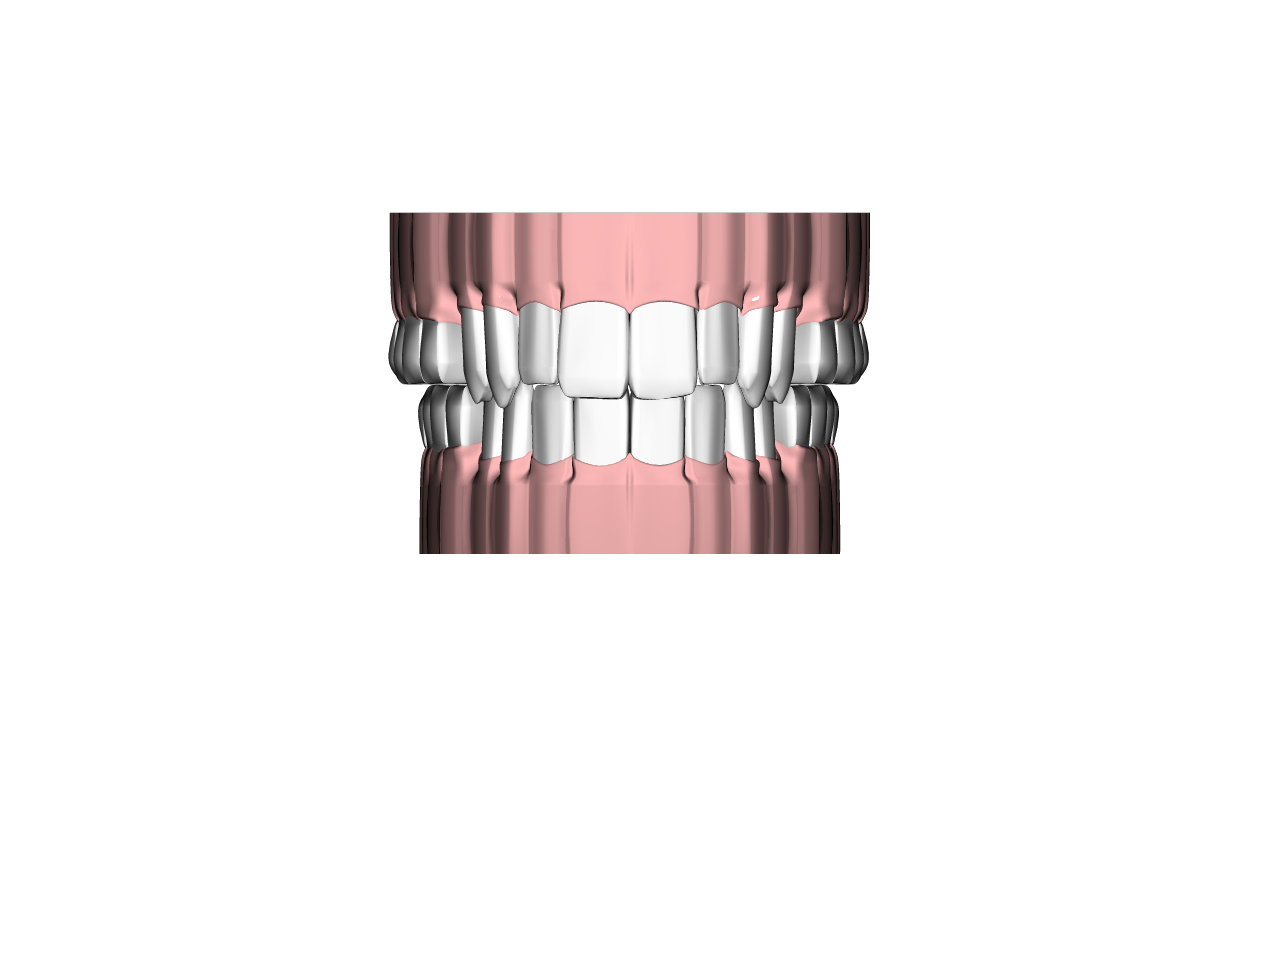
Sure thing Robert. I hid the back of her head to try and make it a bit clearer and did a couple of renders of just the inner mouth teeth.
-
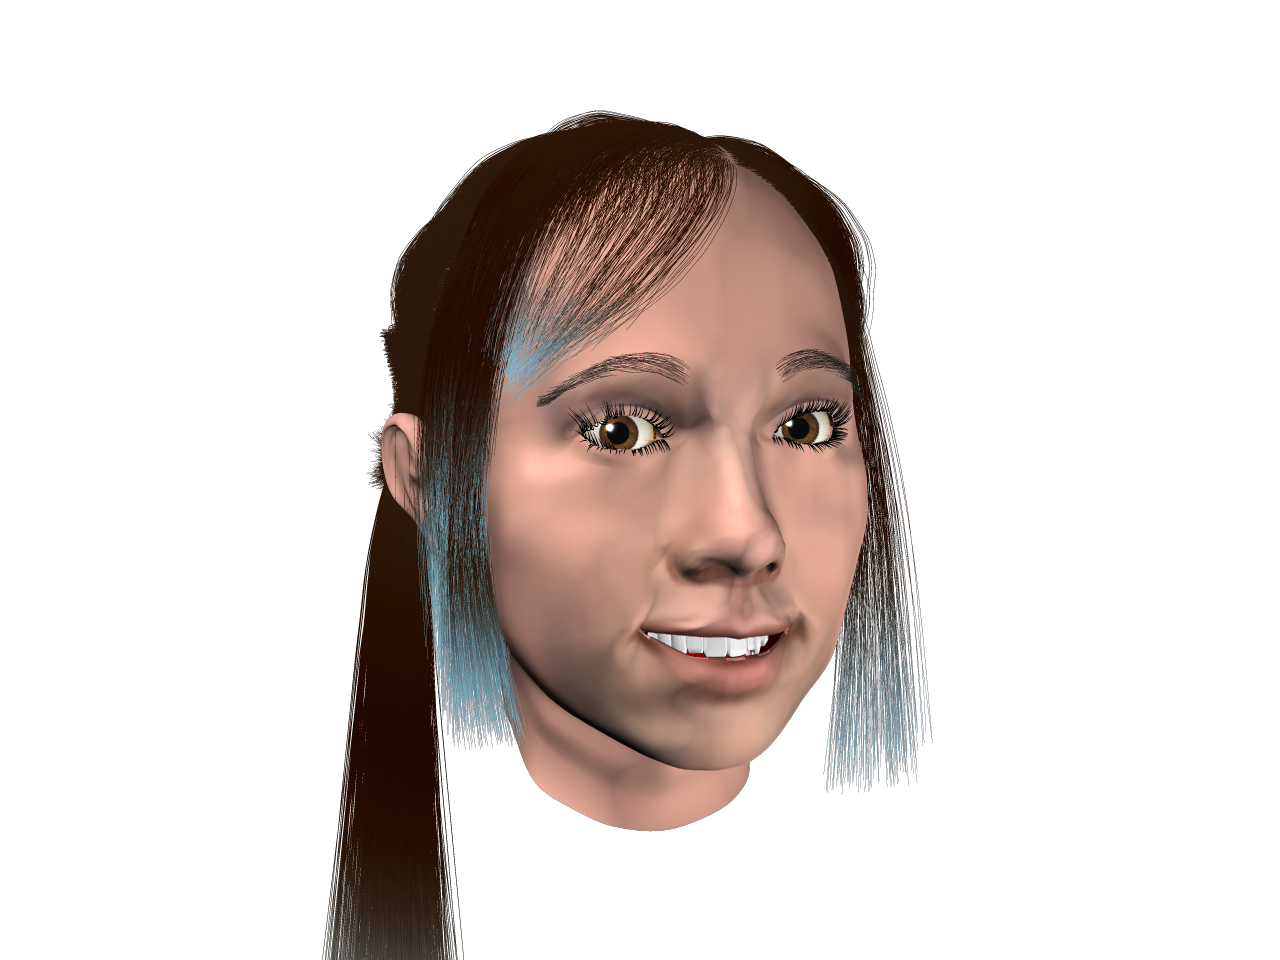
Had some time to kill so installed some teeth, gums, tongue and inner mouth to my Ellen model. Also turned off the toon filter and gave her a bit of a smile.
-
Ooh sparkly. I like anything sparkly. Very cool.
-
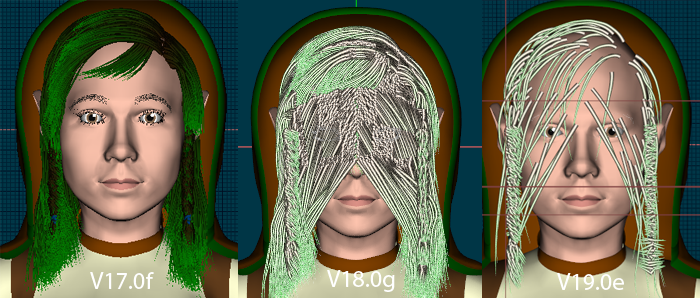
No idea either, especially considering I've had the exact same result across two different machines. My old laptop and my new desktop. I thought it might have been my old machine until I checked it with the new one. It's not a huge deal, because I can just groom the hair in 17 and know it'll look right in the others at render. But it is a bit annoying to have to switch between versions to accomplish what should be doable in the latest version. That copy/paste bug I reported where the decals aren't copied along with the geometry which has been broken since v18 was reported as fixed but when I tested it, it wasn't fixed. I keep finding myself going back and working in V17 because at least it seemed to work properly.
-
Attached is a picture of how the hair preview looks on my computer across 3 iterations of A:M. In version 17 it looks fine, then in version 18 you can't see the models face because hair at the back of the model layers itself to the front of the image (the only way to prevent this is to have shaded wireframe mode on). The hair has also turned white with a coloured outline. Then in version 19 it looks much the same except significantly thinner. Just to clarify it's the exact same model with no alterations. Just loaded up and then hair switched on. Everything looks fine if you render the image, but it's like whatever changes were made to the hair preview code between version 17 and 18 broke it quite badly and it hasn't been fixed properly.


