itsjustme
-
Posts
5,792 -
Joined
-
Last visited
-
Days Won
59
Content Type
Profiles
Forums
Events
Everything posted by itsjustme
-
He's looking great, Ludo!
-
Nice! Great find, Rodney!
-
I would reduce the splineage around the mouth and eyes, make sure your normals are flipped the right way (you have at least one five-pointer flipped wrong) and do a ton of tweaking. Once you get something relatively smooth, you can use the surface property "Average normals" to put a finishing touch on it. While it is not a perfect modeling job, here is an example of the type of spline reduction I would do: http://www.hash.com/forums/index.php?showtopic=33048&p=374471 You can get away with about eight splines in the eye spline rings and eleven to thirteen splines around the mouth. Hope that helps, Simon.
-
I've been messing with faking SSS using Toon rendering. The first test is in this post: http://www.hash.com/forums/index.php?showtopic=46759&p=400668 Since it is kind of buried, I'll post this link on the Toon renderer for anyone else looking for it: http://www.hash.com/forums/index.php?showtopic=20981&p=168360 I found that thread as a PDF posted here: http://www.google.com/url?sa=t&rct=j&q=&esrc=s&source=web&cd=1&cad=rja&uact=8&ved=0CB4QFjAA&url=http%3A%2F%2Fwww.hash.com%2Fforums%2Findex.php%3Fapp%3Dcore%26module%3Dattach%26section%3Dattach%26attach_id%3D64910&ei=ApN7VPmsI8KWNsqogogK&usg=AFQjCNFd8xV2s8AZMbtIZxnYEvQkOtxAag&bvm=bv.80642063,d.eXY The tutorial that made me try this method is here: http://vimeo.com/51029322 Hope that helps someone.
-
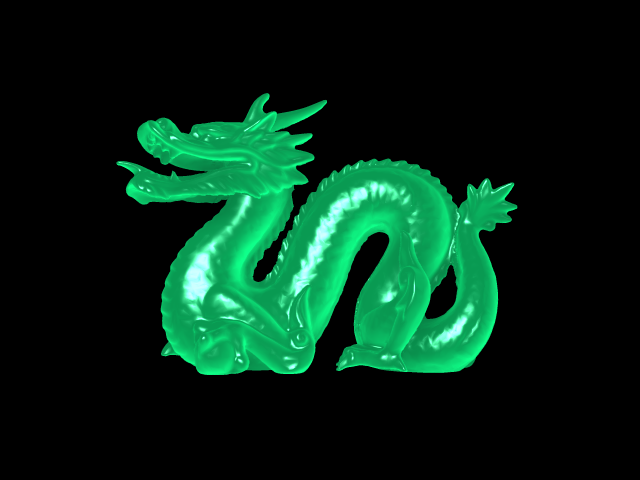
Here's a quick test I did using the Toon render settings...it still needs work and would need to be toned down for skin, but it's a start. There is one light rotating around the dragon model. The model is the Stanford dragon imported as a prop with a material applied. The material has a color, specular color, some specular added and "Toon with falloff". SSS_test_11_30_2014.mp4

-
Very cool.
-
Looks great, Rodney!
-
Looks great!
-
Looks great, Ludo!
-
Vision Recumbent r-40 bike "Maybe Mature warning"
itsjustme replied to ruscular's topic in Work In Progress / Sweatbox
Looks great! -
Here's another method that might be helpful: http://vimeo.com/51029322
-
I've been looking into fake SSS as well and have been thinking that Toonnation's "Villa" is something that might help. "Villa" affects transparency and reflectivity and can make an object more or less transparent at its' edges. I wish it could affect translucency instead of transparency. If we had decal control of translucency, it might also be helpful...but that is currently not available. I saw one tutorial that used translucency along with internal geometry acting as the skull...I can't find it at the moment. It had its' drawbacks, like you wouldn't be able to open the character's mouth, but looked pretty good otherwise.
-
Those are very high "Half extinction distances", which is providing it's own smoothing. "skin1" is (1.3, .85, .56) and "skin2" is (.95, .6, .5) in this post from Yves: http://www.hash.com/forums/index.php?showtopic=25867&p=212206 If you were to set the "Half extinction distances" to either "skin1" or "skin2", my guess is that you would find that the "Averaged normals" isn't providing any smoothing with SSS turned on (the smoothing works fine without SSS)...at least that has been my experience over the past couple of weeks.
-
What settings are you using on SSS, Matt? On higher settings, there is some smoothing inherent in SSS. "skin1" and "skin2" are supposed to simulate human skin. Most of the settings I've seen being used are much higher.
-
That may be the case...I'll try a few more things. If nothing clears it up, I'll see about faking SSS.
-
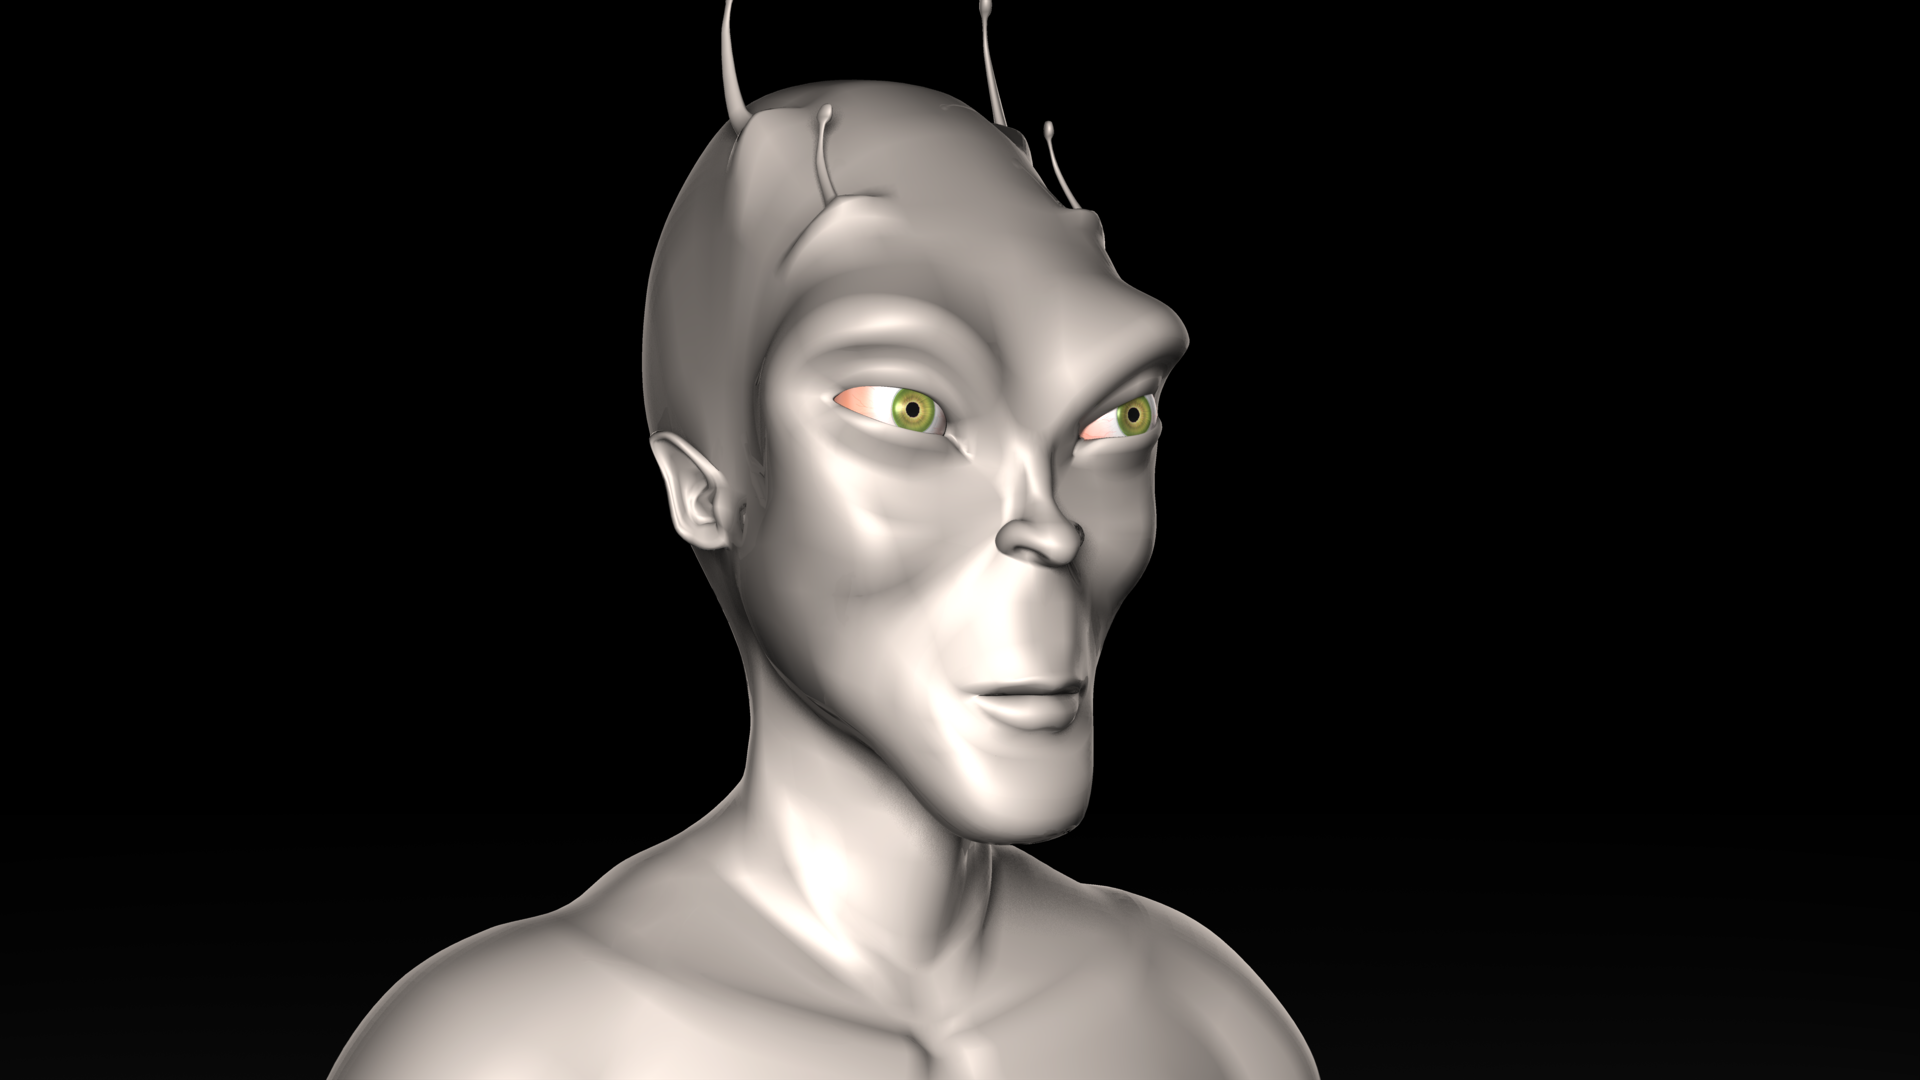
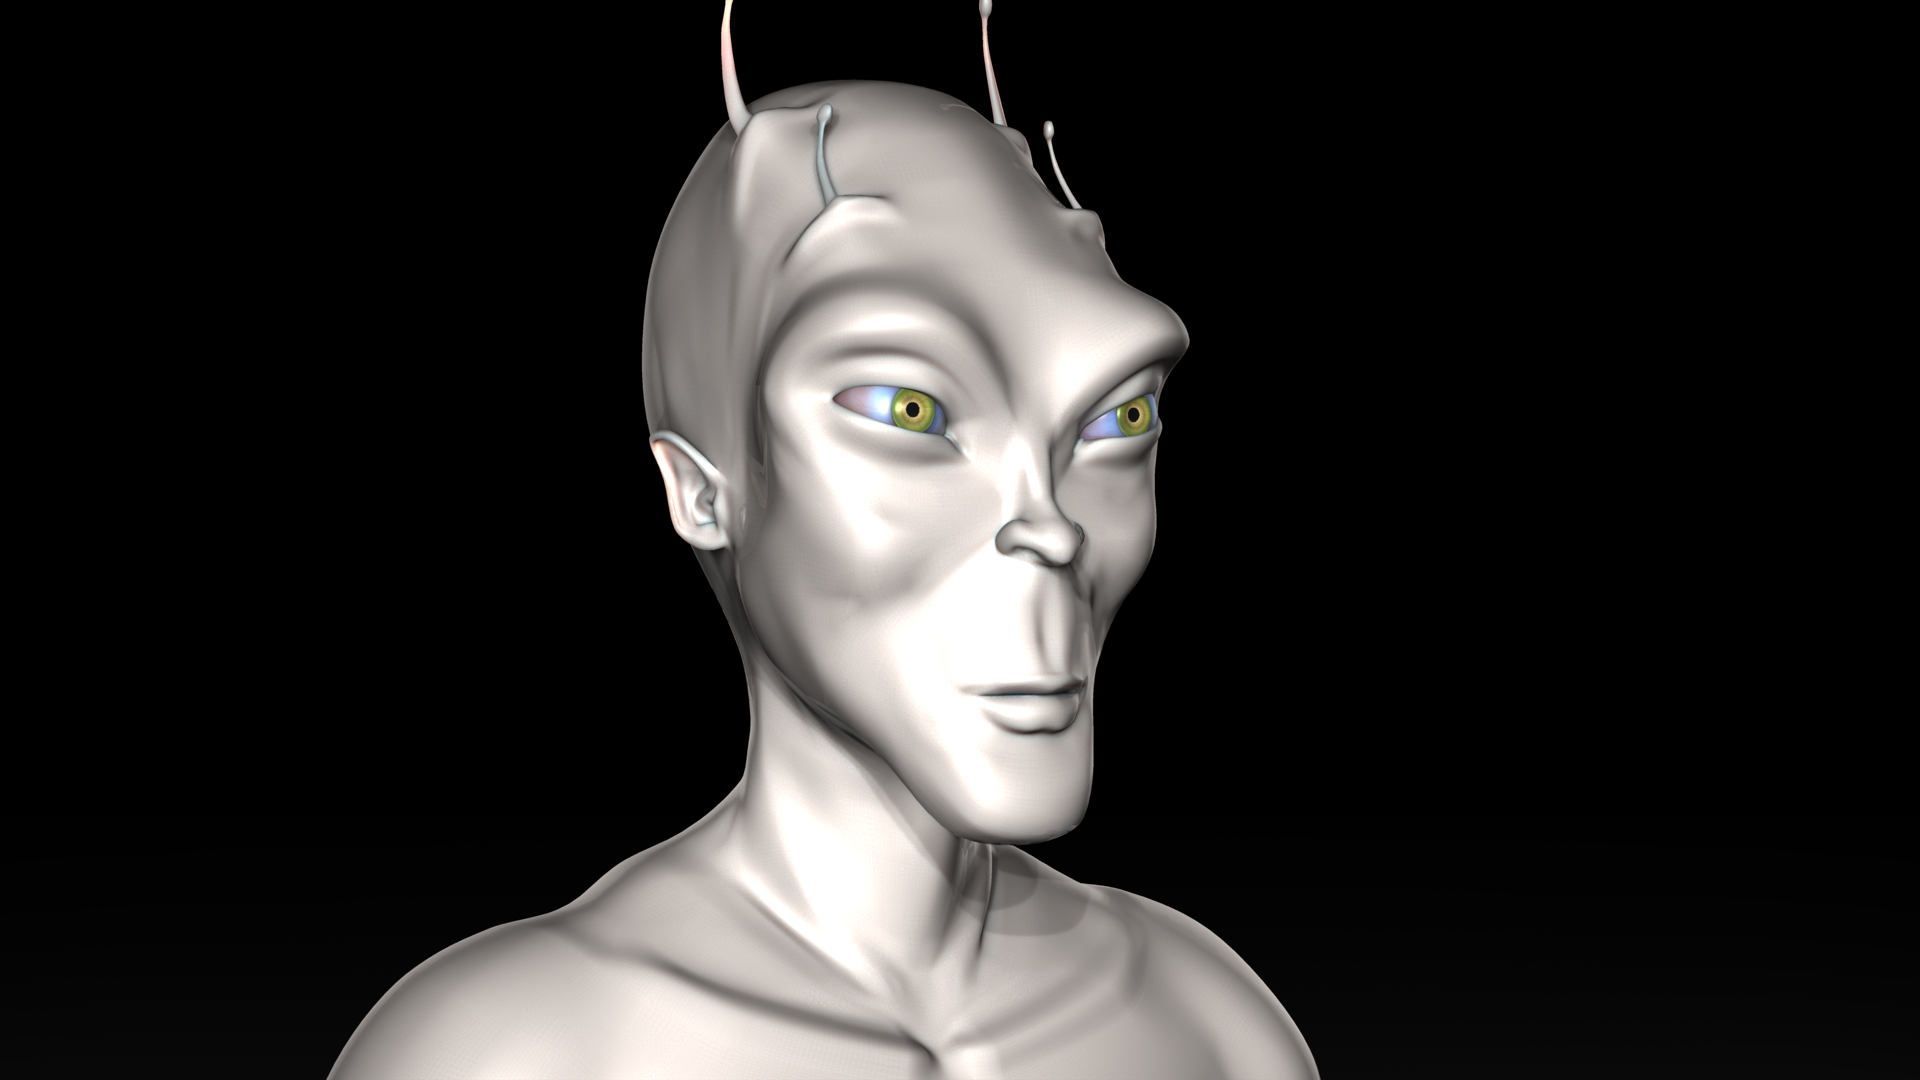
Yes, "Average Normals" is a surface property. When I look at Porcelain in v18, it has the same settings in its' surface properties, so I assume they are the same...although it used to be a different "Attribute" type called "Geometry" (I'm not sure when that went away). In v17g+, Porcelain and "Average Normals" gave the same results...in v18g, they were slightly different. I tried a 50% setting on the "Average Normals" and it didn't fix the problem. With "Average Normals" set to 100, the character is smooth until I apply the "skin2" SSS settings (.95, .6, .5), then it is no longer smooth (I tried v18g, v17g+ and v16b). When Jeff Bolle made his model, he used a higher SSS setting (6, 4, 2). The higher setting gives a more waxy appearance (which is fine for an the Alien character) and makes it appear smoother. The "skin1" (1.3, .85, .56) and "skin2" (.95, .6, .5) settings are supposed to be closer to human skin. I used Jeff's model so that there would be a common model that anyone could test on...it's located here (I deleted the maps for my tests to better see the changes between different settings): http://www.hash.com/forums/index.php?showtopic=46636&p=399715
-
I'll try it in a few other versions...haven't done that yet. I set the "Average Normals" to the same setting as was in the Porcelain material with Jeff's character..."100".
-
I'm not sure if anyone else has experienced this, but it seems as though SSS negates smoothing using "averaged normals" or Porcelain (same thing done as a material). Also, "average normals" and Porcelain appear to give slightly different results even though they should be the same. Anyone know how to get around this? Here are some examples (the names of the files denote the settings):
-
I just posted an SSS test for Bertram here: http://www.hash.com/forums/index.php?showtopic=32649&p=400464
-
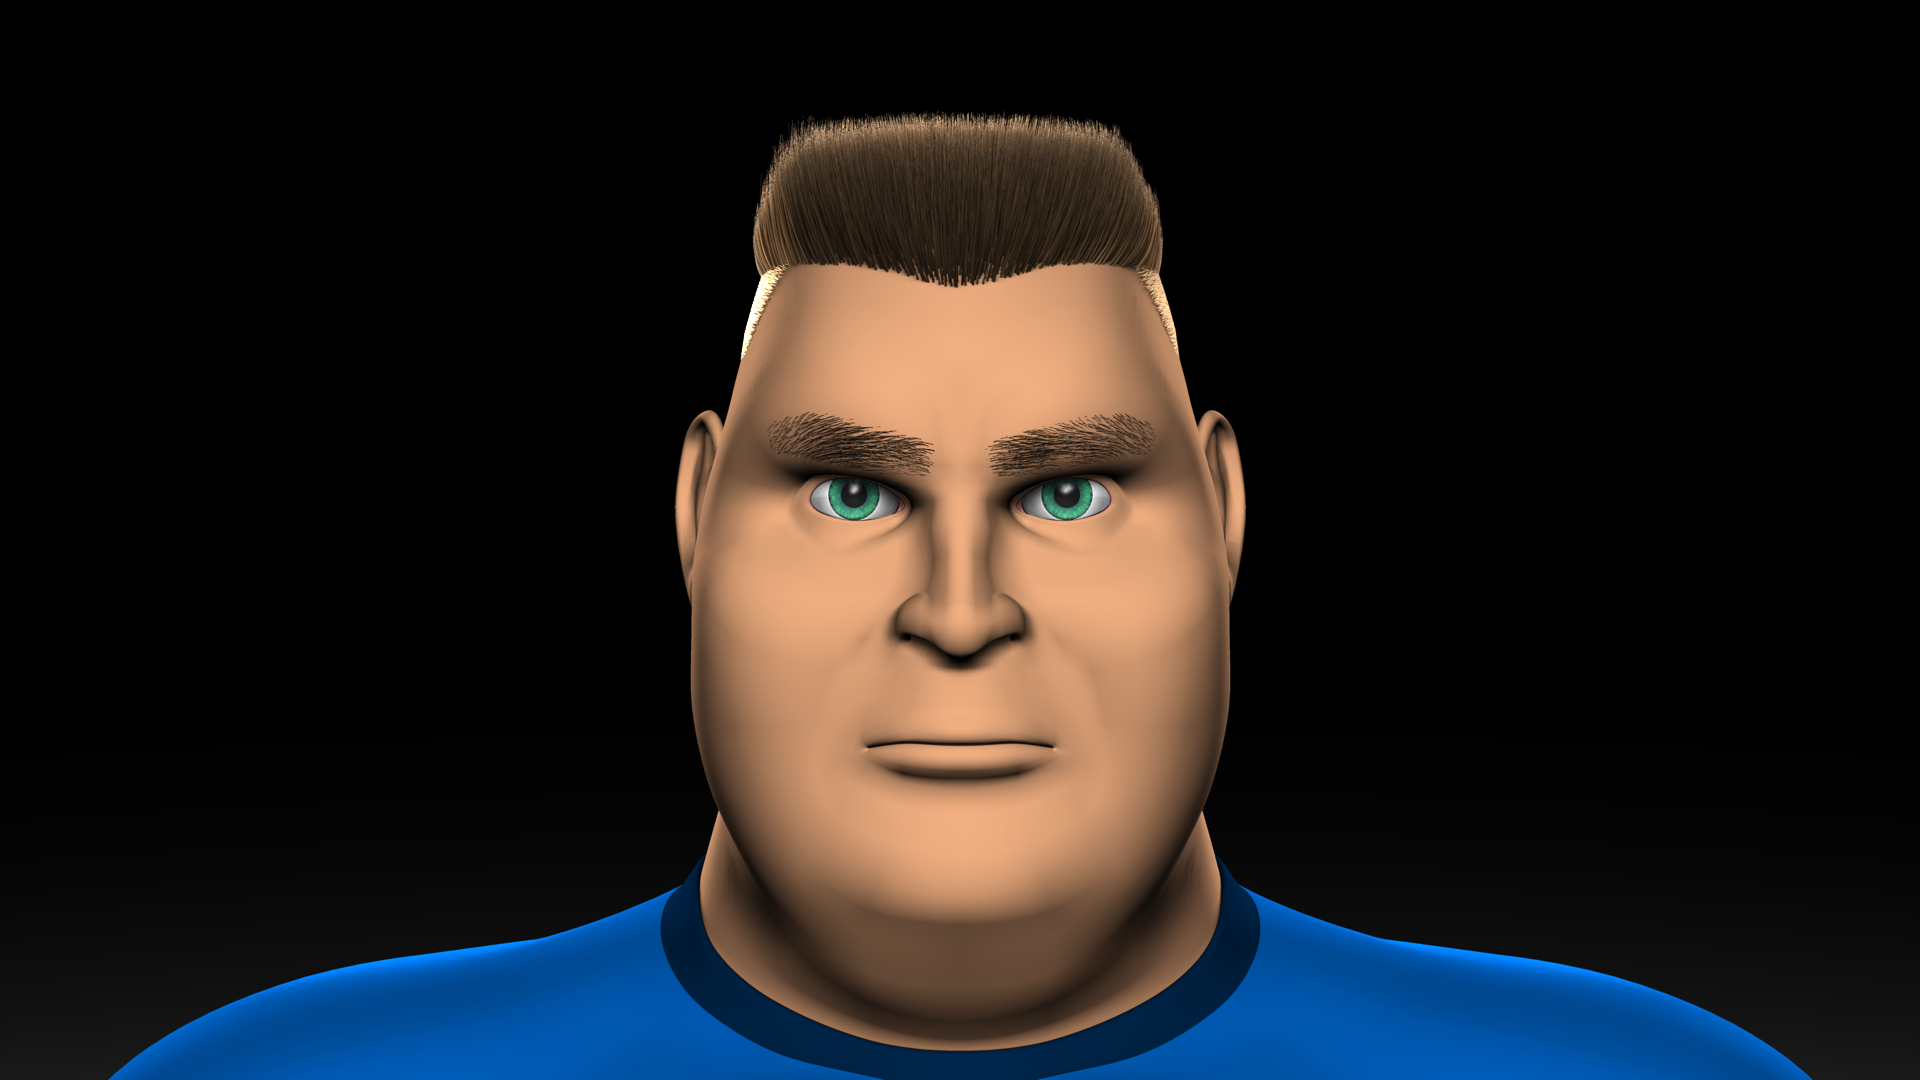
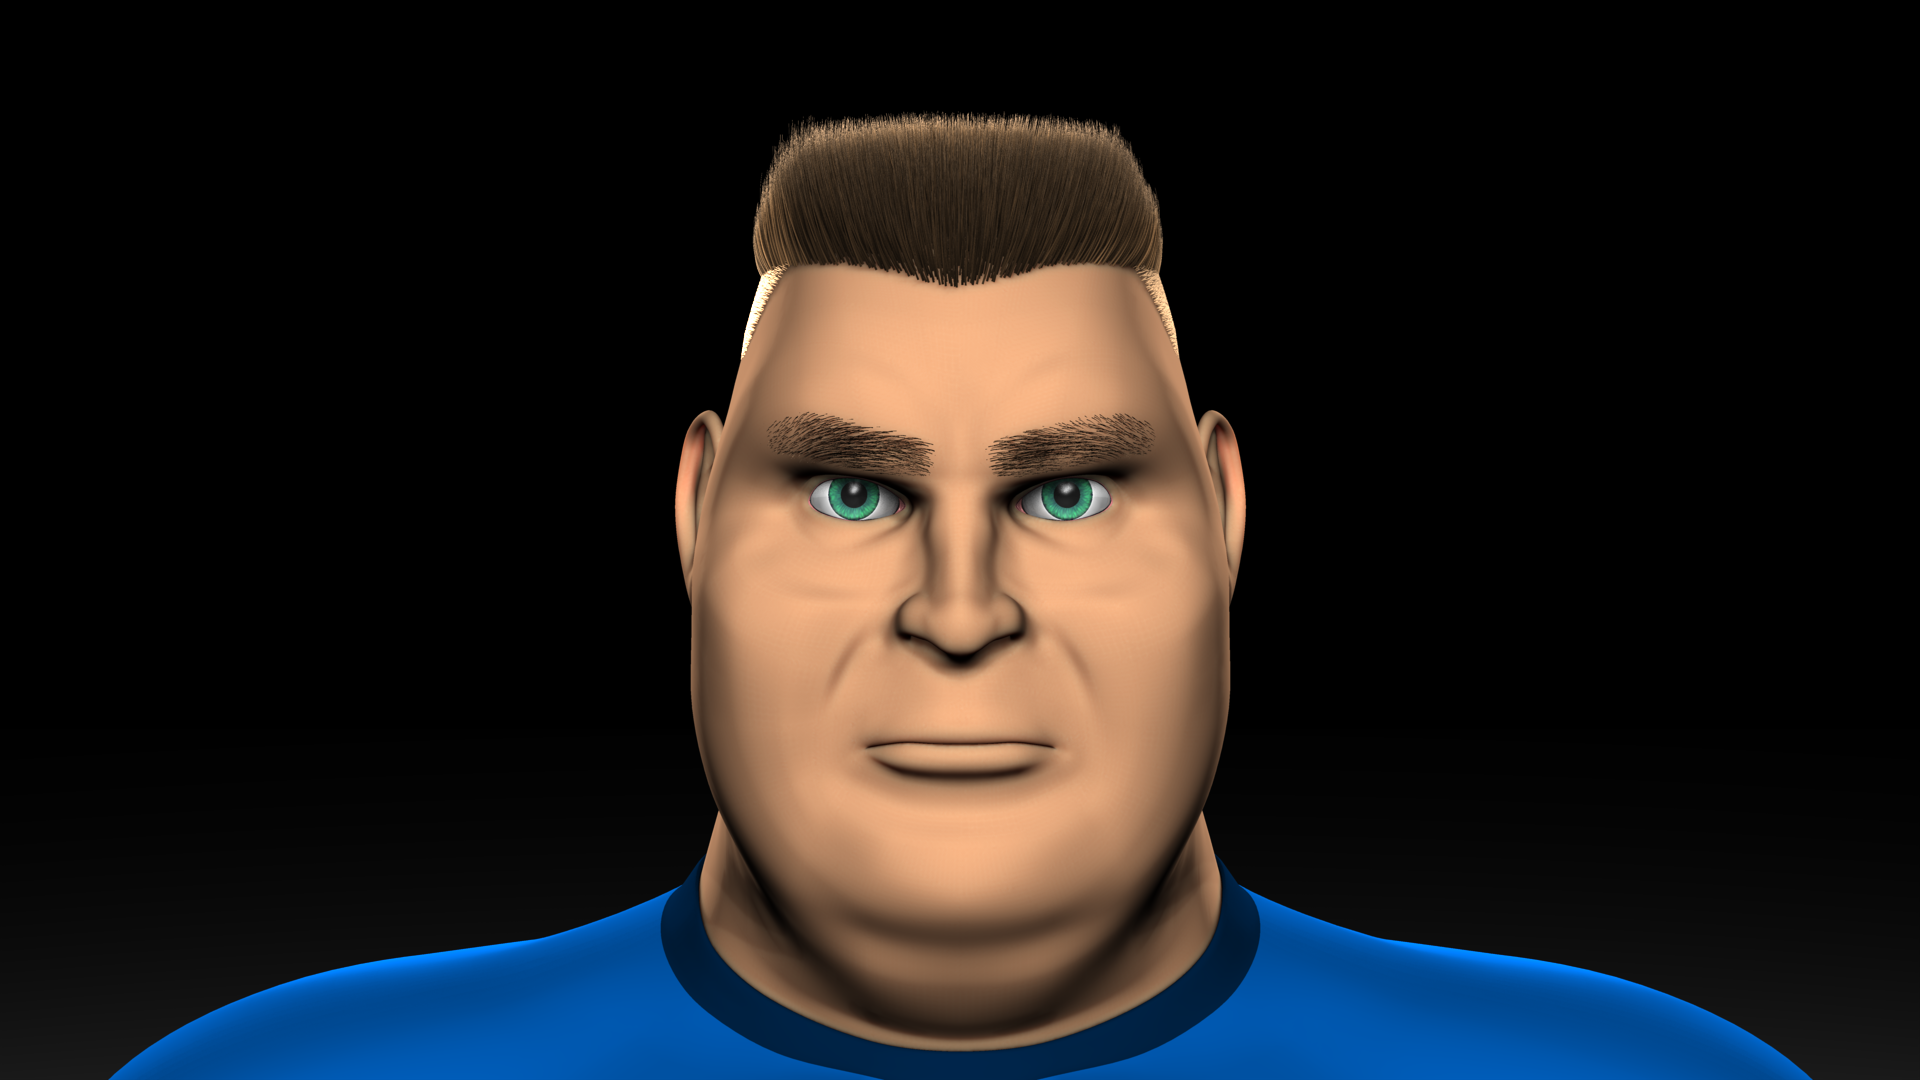
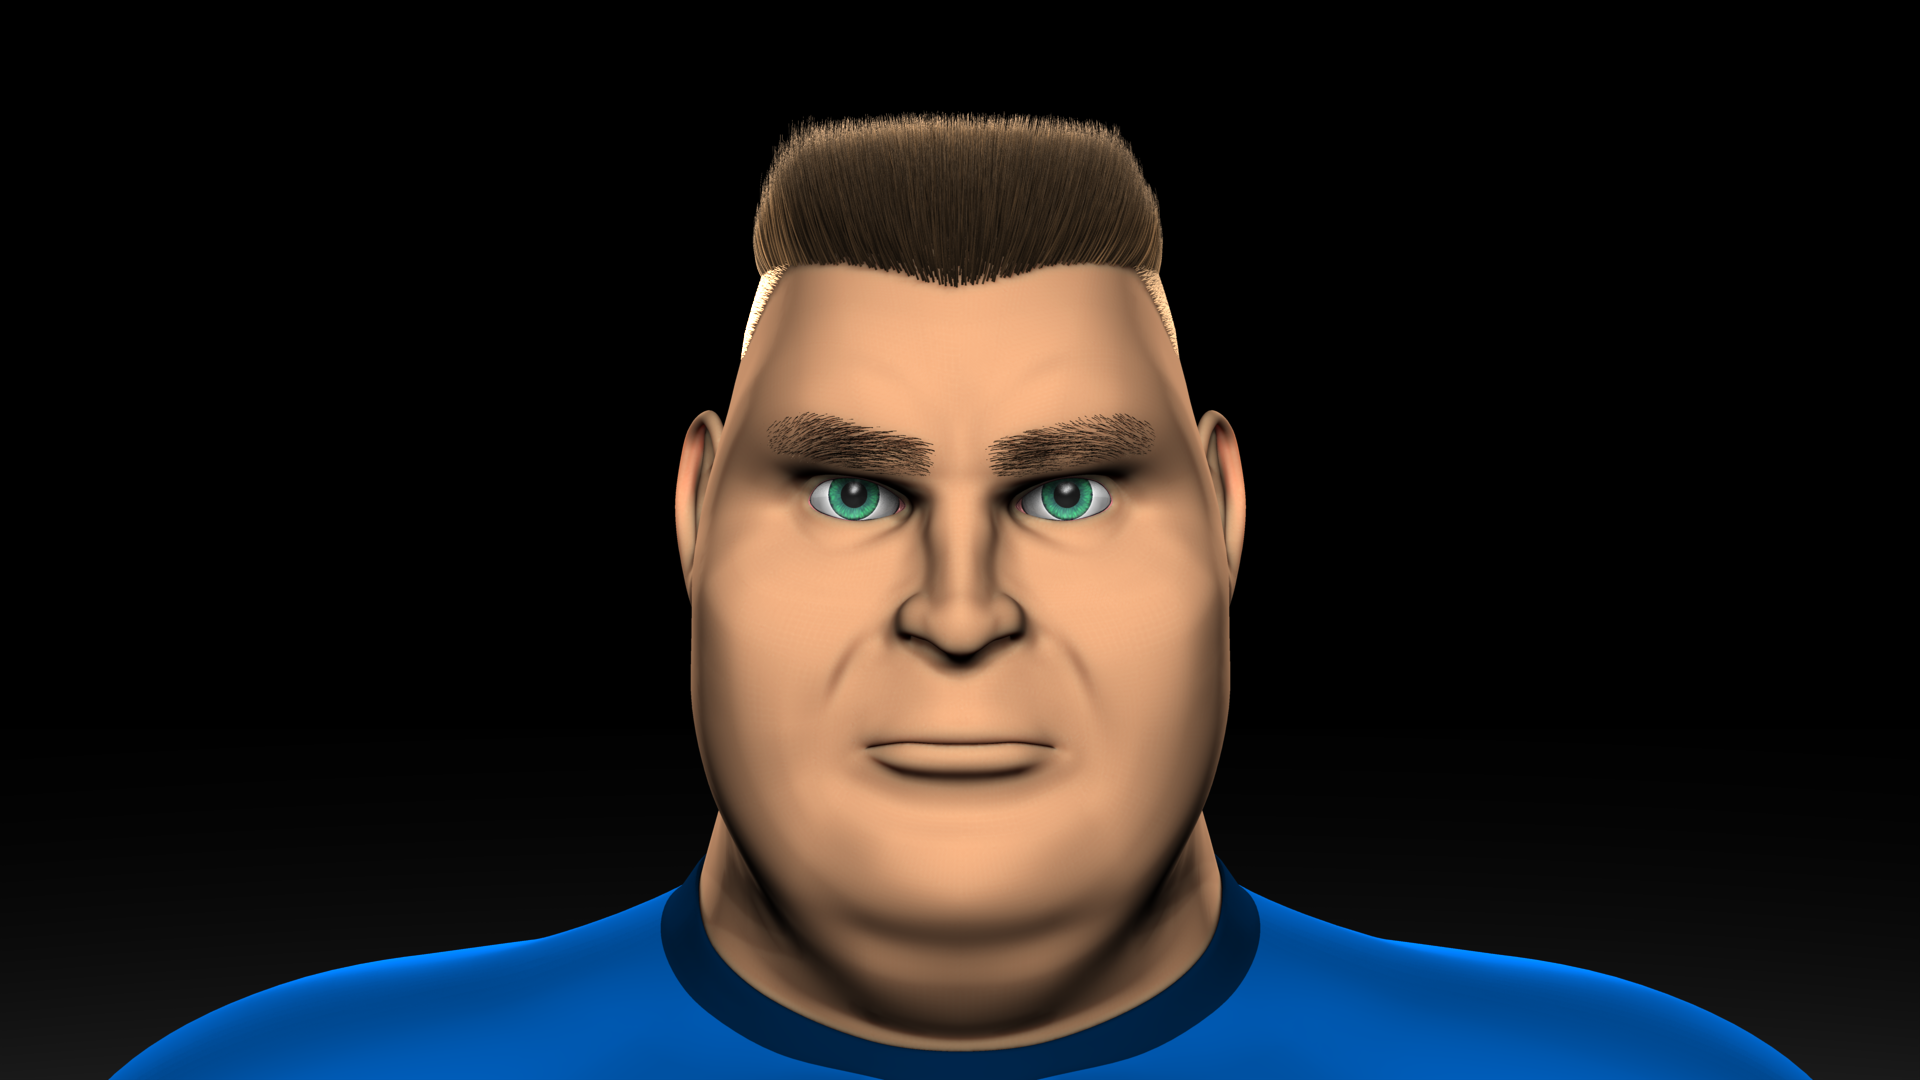
I made some attempts to make Bertram more "toon", but I didn't like what I came up with...so, I just changed the ears, nose and eyebrows and had to redo the hair. There are a lot of things that still need smoothing and tweaking, but, here is where the SSS is currently ("skin2" with a different color). I also need to turn up the "Relative density of SSS samples" to get rid of a few artifacts. Here is a repost of the SSS settings posted by Yves: For the hair, I used the MuhHair shader...which caused problems initially with the eyebrows. I dug up Richard Harrowell's explanation of the MuhHair settings and used that to correct the problem: http://www.hash.com/forums/index.php?showtopic=26834&p=222085
-
Very cool, Steve!
-
Happy Birthday, Will!
-
I haven't tried that yet, Steve...but it's worth another experiment. I'll do some quick messing with it. After a few more experiments, I had something similar show up on Bertram's mouth when lighting the head from behind. Setting the shadow casting light to have ray-traced shadows with the darkness set to 100 percent got rid of it. Hope that helps, Steve.
-
Nosir, I used the setup that I posted with the test in this post: http://www.hash.com/forums/index.php?showtopic=33048&p=400217 It's just one klieg light.
-
The possible Bertram skin? It might need a slightly darker tint...I'm still tweaking it. It has nearly the same settings as "skin1" (1.3, .85, .5 instead of 1.3, .85, .56), what I think you're seeing is the blue tint on the more shallow areas along with a very stark white light. Gelatinous would be more like the higher settings.