nixie
-
Posts
443 -
Joined
-
Last visited
Content Type
Profiles
Forums
Events
Everything posted by nixie
-
I like the look, kinda dry clay thing going on, push that further! Nixie
-
Nice, the tarten no longer overpowers, the only issue for me is that it lacks 3D ness, But then It serves the purpose! If you could somehow turn the camera at a slight angle and put in your (very nice) sporran model in the foreground? It just seems a waste since you made it and that you are using a 3d package (what you have now couldhave been done in photoshop) Its only a suggestion, Overall what you have works but the more you push it... Kind regards - Nixie
-
Move along here guys, Lets keep things on topic! Nixie
-
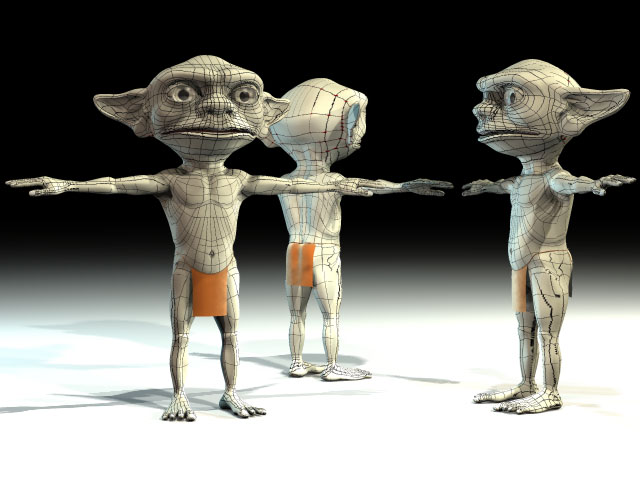
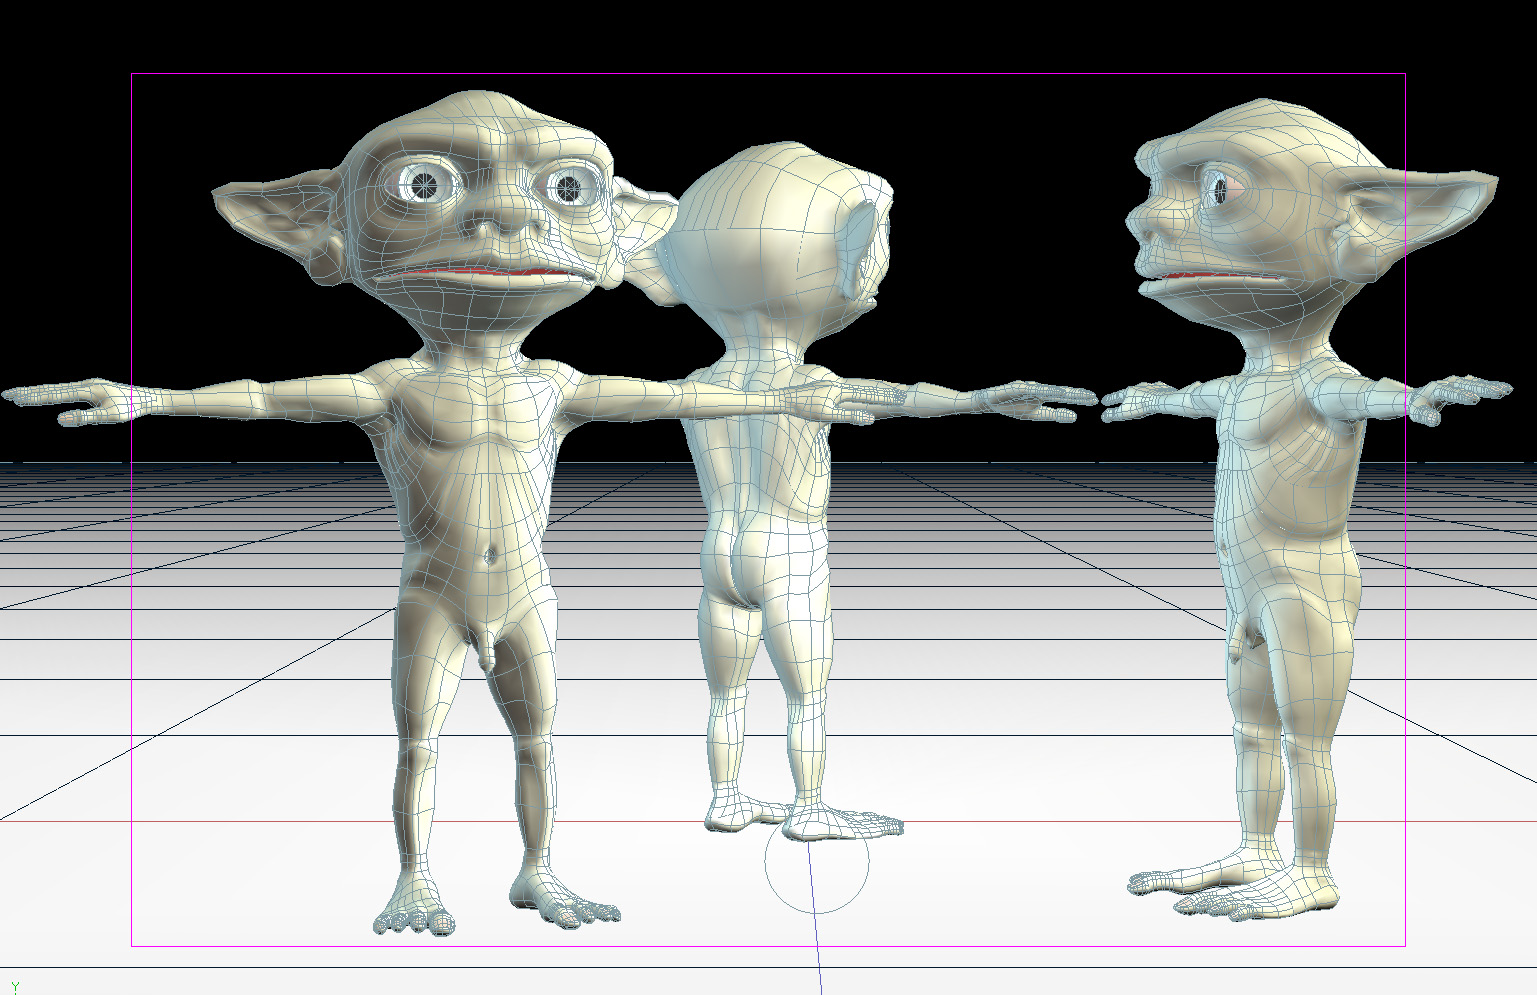
A little more done, Skinned a keekat to make a temporary soution to the issue of nudity and then followed William Suttons UV tutorial. Gotta say thanks Will for producing it, we need more wills around here! As usual, point out any issues efore i go too far, I tend to miss theobvious sometimes TTFN - Nixie

-
Dont be silly Vern! I wouldnt take anything you said badly! This is a WIP and as such is here for scrutiny and constructive critiscisms from my peers and those with more age/beauty/experience (delete as apprpriate!) Walt - Look away now, this one's for Verns eyes only! - Nixie
-
this would be perfect for my proxy modal ! great work, regards - Nixie
-
hmm, maybe the overhead was a better view? Or maybe the view of the still life is too far away. working in pencil to draft some compositions is a good idea to letyou see what works best. keep tweaking! - Nixie
-
Theres alot more going on which is a good thing, the tartan kind of overpowers it a bit though, I think perhaps making it more of a still life style thing, put the tartan on a table - hanging off a bit, make it look cloth like. put the objects on the tartan and view it like a still life painting, that way youl probably have spare room on the top third for some text; I think itd look nice! -ooh if your feeling crazy put the table by a window so its lit nicely and throw a photo of somelocal scenery as a rotoscope behind it! Regards - Nixie
-
Haha! cheers guys, I was thinking of using a loincloth but I'm not sure if il bother with clothes; that is unless i can afford to upgrade to V12... Vern, you make me laugh pretty much every post you write; this one... no exception! but you have a point, its the story thats important so Il get rid of it, it's not necessary. I need to focus! Regards - Nixie
-
hmm, then i think il leave him with for now, then either cover it or remove it later! Regards - Nixie
-
No one has commented on his genetalia? what do you think, should I keep it (or rather should he) or not? Perhaps your more feet people!? - Nixie
-
like the animation, it has a real smooth yet snappy feel to it! when he gets up theres a bit that looked just ever so slightly not as great as the rest! just a split seconds worth Kind regards - Nixie
-
you people, always wanting more! ok heres a wire: Nixie
-
ok ok, this wasnt part of the tweaking but iv given him a way to pee! please give your oppinions on this addition - Im not yet sure if hel wear anything in the short film im planning, but his groin looked emty without it! Regards -nixie Blah_.mov
-
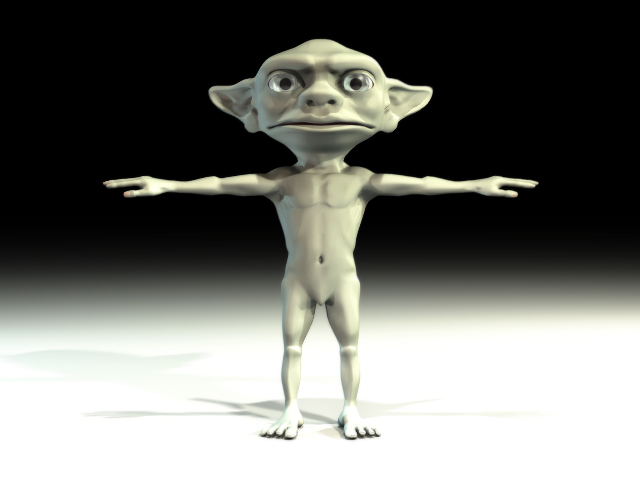
Mr J, His armpit or his back muscle? Il have a look at that for you! Here is the almost finished Gobelah, heavily lit up. Still to do - Tweaking (will take forever) colour, bump, specular, displacement, transparency maps and a little bit of hair! Then with the rigging... Regards - Nixie
-
what i'd do is a combination of bump maps for raised dirt and dents/scratches. A specular map so that the clean bits are shiny and dirty bits dull. a colour map that has the colour of dirt and metal etc. Importantly - make sure everything matches and it should be good. probably sounds easier than it is! Im gonna have a play with the UV editor very soon! Regards - Nixie
-
Nice, I like the helmet, could do with a few batle scars though me thinks! Keep working on this i want to see it finished - Nixie
-
Its all modelled at the moment, its just 3 double-hook-ended slines, They shold help te armpit crease hopefully, that and help make his skin look strethed when he lifts his arms. More to come Regards - Nixie
-
its an idea, might be a ood time saver if it works, I personally dont have any cmpositing software as of yet, nor v12! I need to save those pennies! Regards - Nixie
-
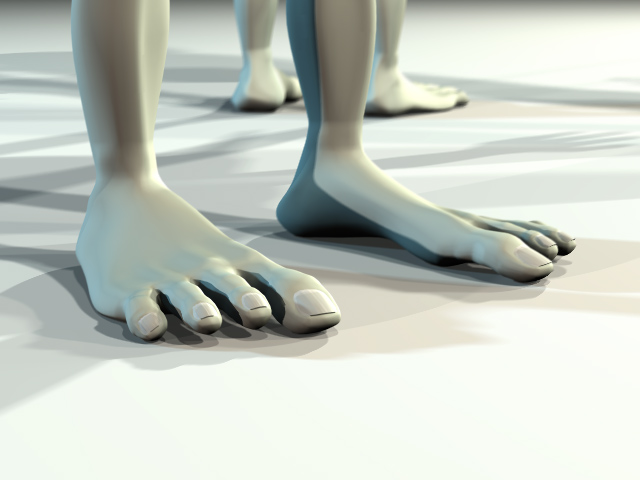
little progress here, spent some time making the hand and rest of the body. Bought the setup machine 2 and weight mover also today so when this is finshed i can play! Thanks for looking, comments welcomed as usual! - Nixie
-
finally 256 pass: good ob this was just shaded mode, final would have taken ages! but see how smooth it is in comparison. Sorry dude for hijacking your thread but DOF is so simple yet hard to get started with that I thought it might help a few! Nice job on the balls too!
-
36 pass: smother, fine for animation but as a still its not perfect.
-
Glad it helped! If I ever get a website il make a illustrated tutorial! but can you see how multipass works in this instance? you can make out (because it's at a high resolution) all the passes you used to produce it, Thats why if you wanted to produce a really smooth DOF at a high resolution youd need alot of passes! here the same finger rendered in shaded mode only (im not crazy after all) Iv focused very tightly on just the tip of the finger - much like a camera 'Macro lens' would. 9 pass, 36 pass and 256 pass respectively: 9 pass (see banding)
-
Its simple! In the CHO click on the camera (either the camera itself or the link in the PWS) Now go trough the property settings to render settings - look for DOF turn it on and you can now change depth of field. It consists of three numbers in the properties box and is displayed on the camera framing lines. To change it just cycle up or down the focus distance amount to move the main focus. Now change the far focus and near focus amounts to how you want them. anything within the three squares now part of the camera will be in focus (more or less) anything outside of them will be blurred. The further away from these three boxes an object is, the more blurred it will be. The more blurred an object is, the more passes you will need to use to get a nice smooth image. make sure MULTIPASS is ON and what iv been doing is write these settings down before final render; for some reason I cant get the render to automaticaly pick up the camera settings so I manually input the same focal distances into the advanced render settings. again - Make sure DOF is set to on and the right amounts. There, that should cover it more or less! so hurry, I need a new wallpaper! Regards - Nixie
-
also make sure the settings for DOF are in the render settings, I used to input it in the render settings manually Regards Nixie