thejobe
-
Posts
1,137 -
Joined
-
Last visited
-
Days Won
1
Content Type
Profiles
Forums
Events
Everything posted by thejobe
-
Doh! I missed the contest. I hope we have another one soon. We haven't had anything other than mascot in years.
-
I saw this coming. I bet your working on rotating morphing grid with animated displacement textures next.
-
You have to be kidding me!!! My mind was just blown!! Simply amazing! !!!
-
Now that is cool
-
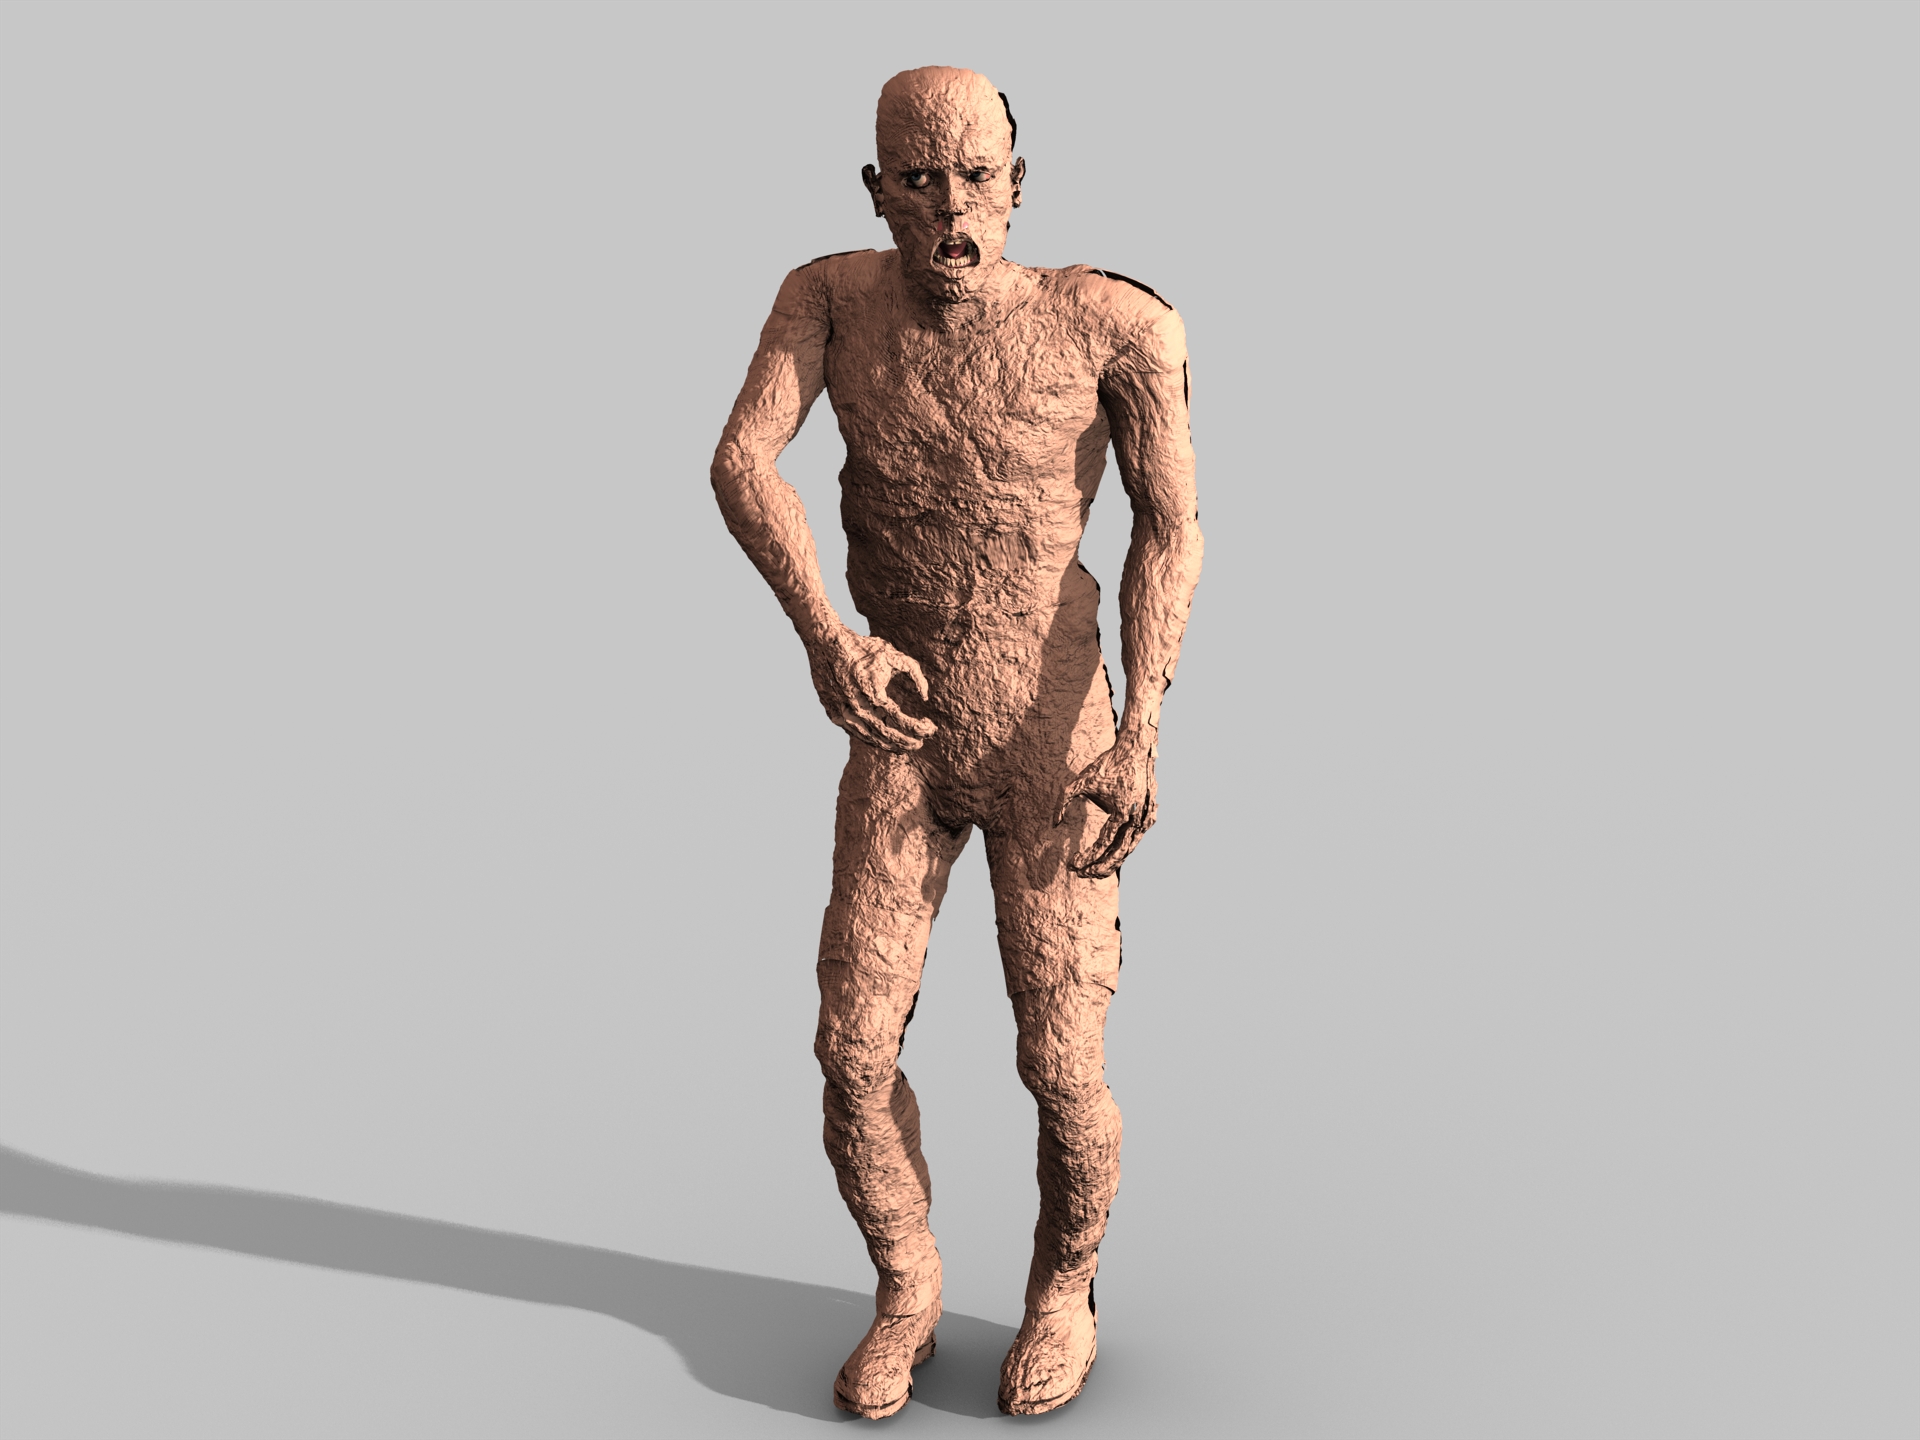
i did another skin test with a better render this took 45 mins to render.

-
here is the project file for the creepy mummy thing test. creppy_girl.zip
-
Ahhhha. Thanks for the clafication. Ill give that a try on the next render.
-
No I didn't try that. What will that do? Let light fill the box so it doesn't cause weird shadows? And ill post the project files of the creepy skin tests when i get off from work.
-
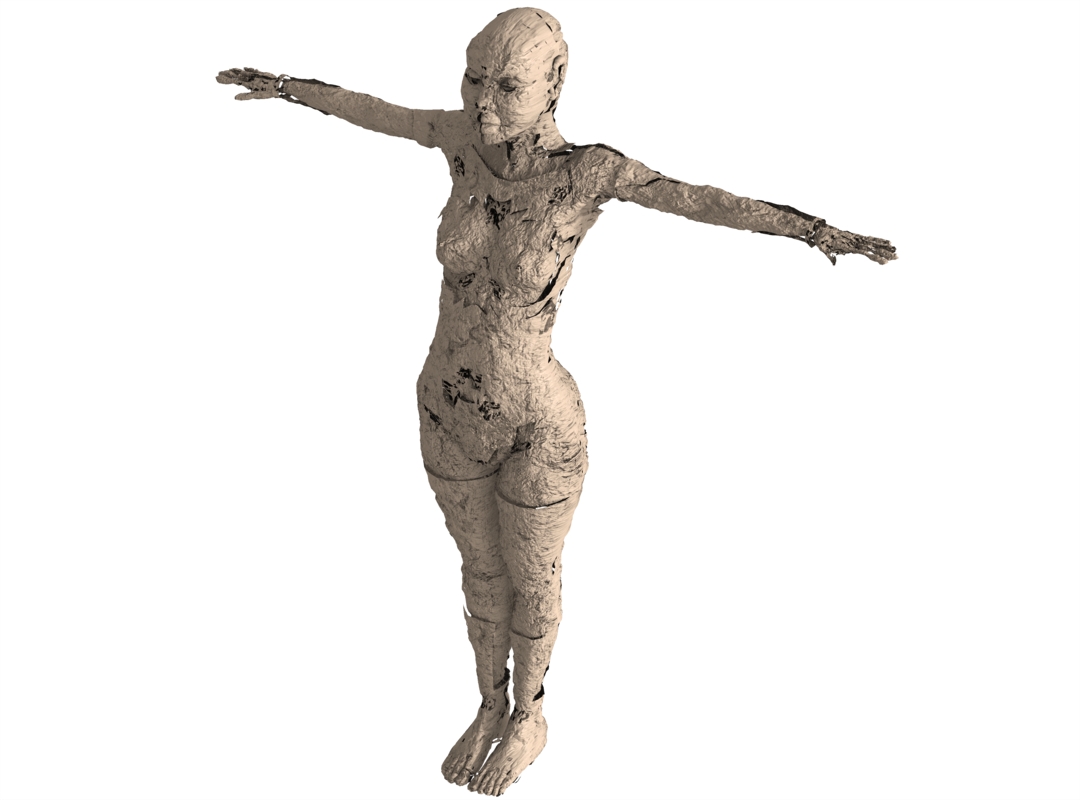
this is a full body render of creppy hand test
-
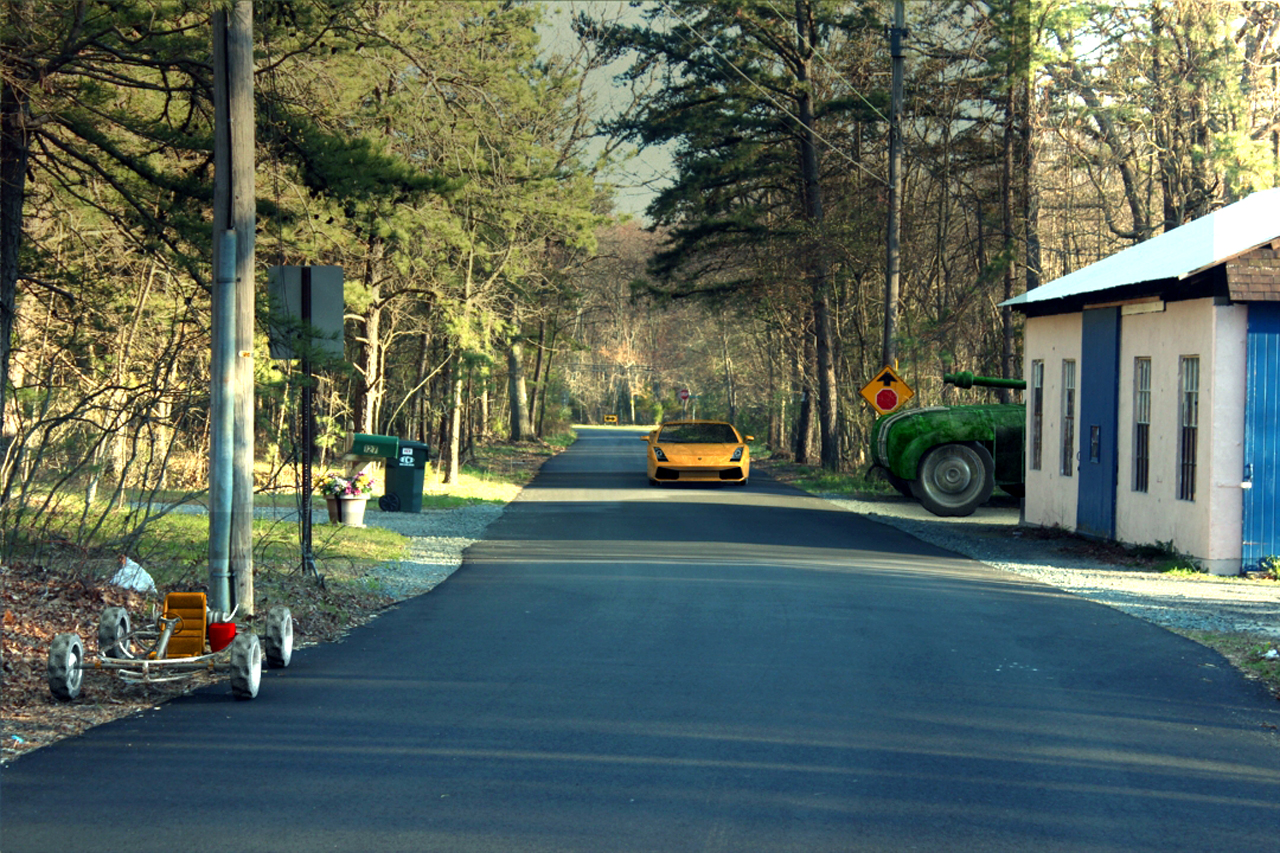
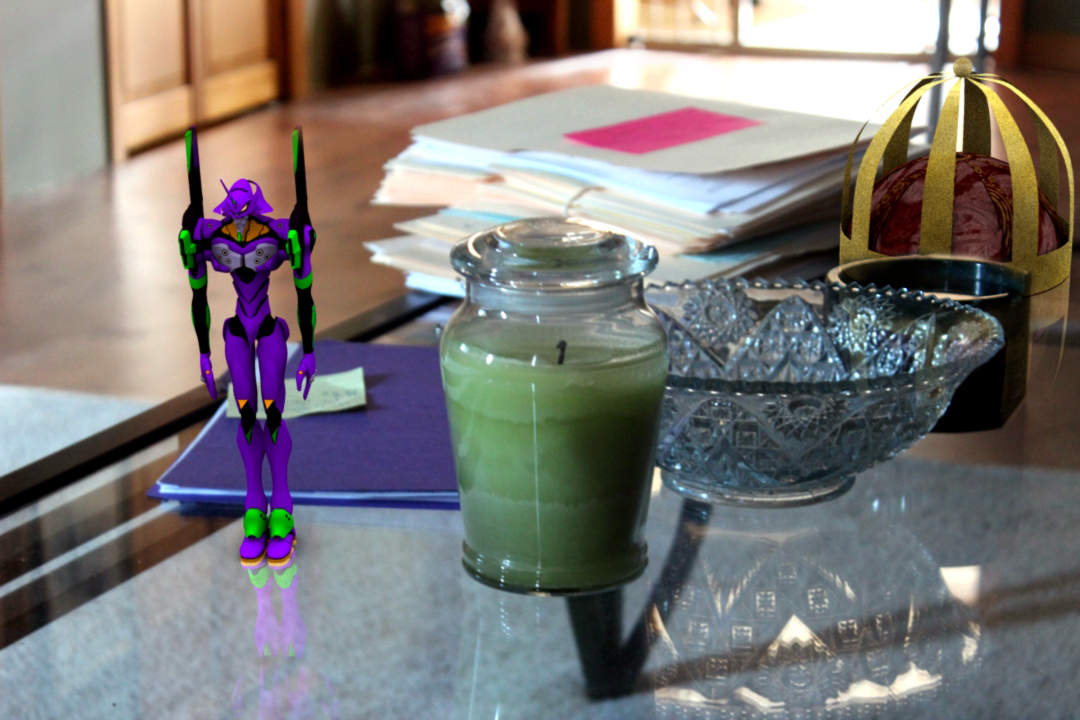
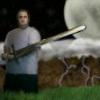
this one getting pretty close except for a few problems that im not sure why are happening. the area above the building has weird shading issues from the front projection box i used to hide the tank. maybe i have to make a box in the shape of the building? and color in the upper part of the photo looks like its fading a bit. was trying to get more reflections in the car but doesnt seem to show up right. and the shadow from the tank isnt showing on the ground? anyone have any suggestions?
-
Its okay Simon. I see what you are saying. The photo was taken in my friends living room while he was showing me some renders on his animation program I could have taken more time to even out the lighting but for a quick shot. It served its purpose.
-
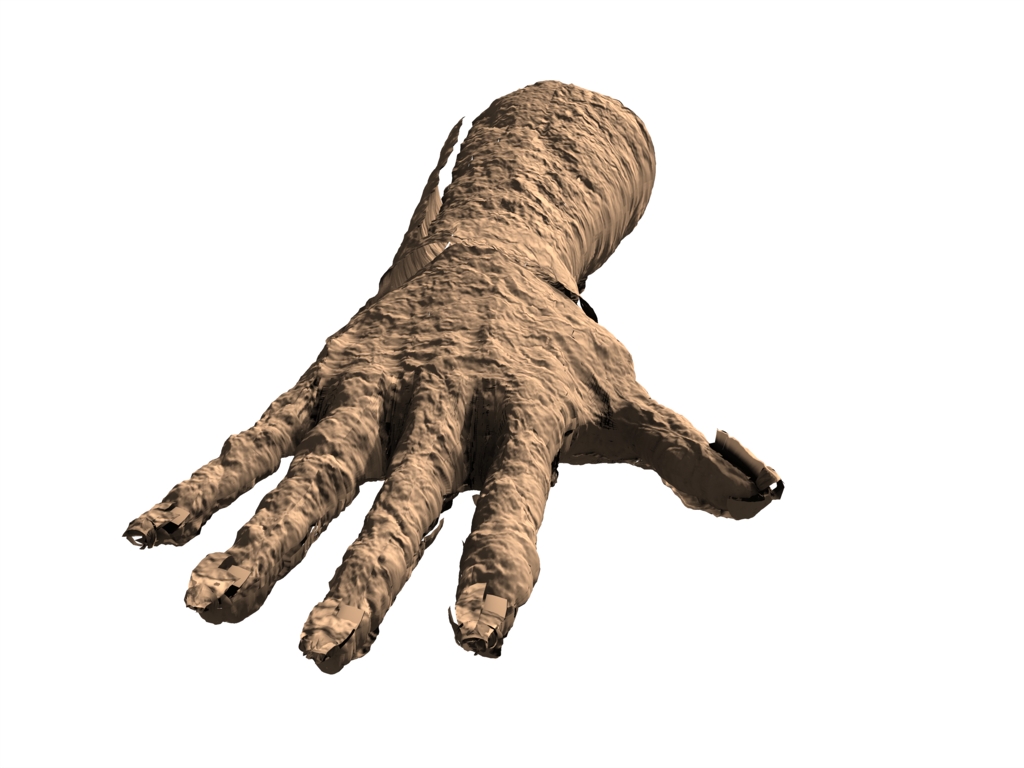
Sure ill give a full body a try. The hand only tool 5 mins to render.
-
Realistic 5 point Studio lighting video turotial
thejobe replied to jason1025's topic in A:M Tutorials & Demos
very nice and informative -
someone a while back asked me if i could show them how to build a crown. so i made this video and sent it them. since it was just sitting on my computer and collecting dust i thought i would share it with all of you. i hope it helps someone else out as well.
-
This has nothing to do with what i was doing with other tests but its stands on its own for another type of test. i was working on a decal for this thread Here and i came across a cool way of making a zombie looking hand. so with a little tweaking and a lot of lighting adjustments, it came out like this. The lighting is global light set at 25% ambiance/ 95% occlusion and 1 sun light at 100%, 16 rays, with distribute in passes ON. with a bit of cool coloring this can look amazing. i think i need to play with it more!.
-
AM Compatable Wrinkled Cloth Map Tutorial?
thejobe replied to UNGLAUBLICHUSA's topic in A:M Tutorials & Demos
i saw this post and though i might be able to help i made this image using a very simple technique that can be done in photo shop in about 45 secs hand_normal_map.tga this image here was created using 2 filters and 1 plugin (plugin optional) make sure you create a new file and make it pretty big (1000+ pixels) then you go to filters>render>Clouds you will see cloud shapes pop up on the screen the clouds will be the colors of the 2 colors you have in your toolbar (use black and white makes it easy) next thing you do is go to Filters>render> cloud differnt now you will see the image has changed quite a bit this is where the magic happens. hold on down CTRL (option on mac) and hit F key (hit it between 20-50 times depending on the level of wrinkle you want) now you have what looks like a chaotic mess! now this is where we play with some settings. there are 2 approaches from here, i will go over them both the normal map way 1. go down to filters and go to Nvidia tools (if you do not have this you can get it from Here! please note that this is Nvidia only) you can go thru the setting on this screen to play with things but thats a whole lesson in it self. for now just hit OK. done! you have a normal map, save the file (Targa) and bring it into A:M. apply the image like any decal then go to image settings in the decal settings and set it for normal map (175% my preference) and you are done! Regular way 2. go to image>adjustments>brightness and contrast from here turn contrast to 60% and use the brightness to get the amount of wrinkle you want when finished save file (targa) bring into A:M and apply the decal go to Decal settings and set the image to bump mapping(35% my preference) and you are done! I hoped this helped in some way.
-
that was neat!
-
im so jealous! i need to finish my car! keep up the good work!
-
I really really like this. keep it up! cant wait to see more!
-
i think your getting confused a bit of what is real and what is rendered (which is good! thats what im aiming for!) there are only 2 objects that are rendered in the image. the Robot and the crown behind the glass bowl. everything else in the image is taken by the camera. the reflections are from the ground plane which has front projection turned on and reflections set at 50% now i could try to add reflections to the glass candle. but im not quite sure how to accomplish that yet.
-
i think im getting pretty close i render this one with V17 took about 14 mins using IBL 2 lights AO and full reflections
-
hmmm.... ok i think i understand a little better. ill keep throwing up test images until i get almost perfect render (as close as i humanly can get) hopefully the people im working with will be pleased.
-
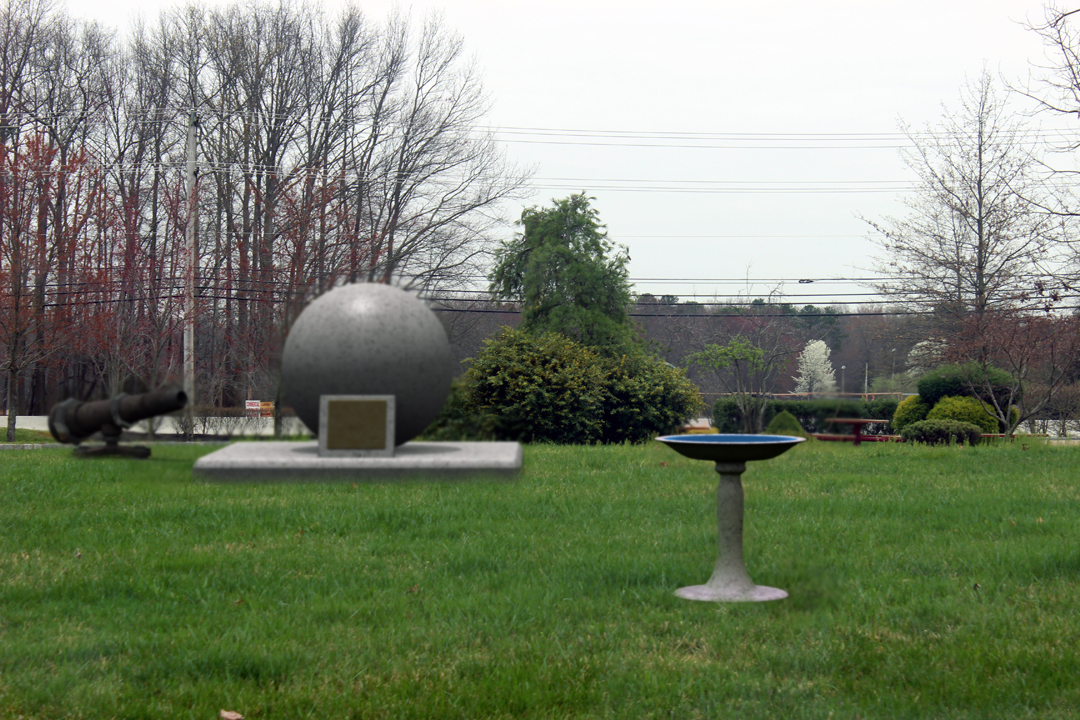
ok this image has a bunch of models in it. this one is just using IBL lighting. this one was done with a combo of Sun bulb and global lighting
-
hmm interesting. . . ill try to merge the two lighting setups and see what happens. ill try a different scene too, something daytime. Yes all 3 cars are CG. got them from the contributor cue.
-
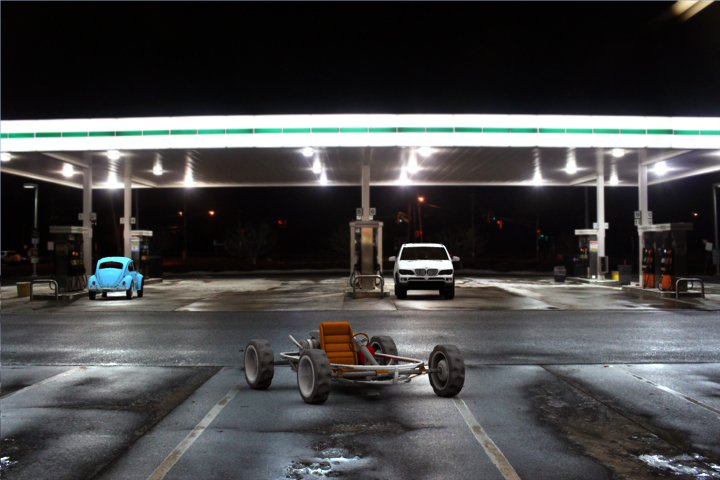
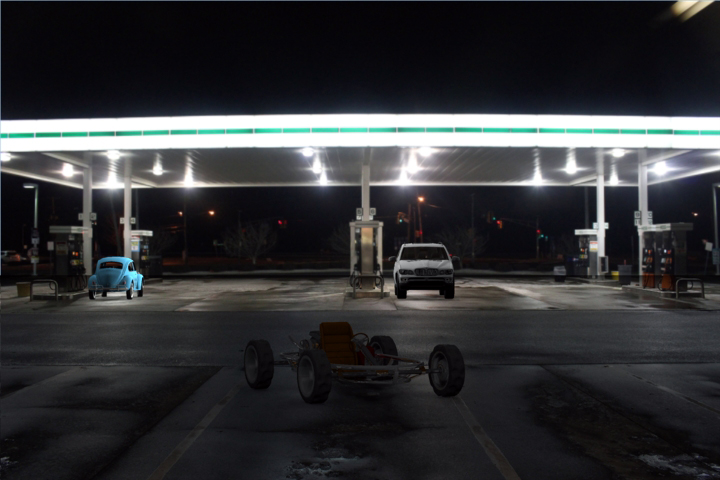
Hey guys. Been working on some new things with some people and trying to get 3D into the mix to give them a better understanding what i have at my disposal. so i have a question for you all. out of these 2 images which do you think blends better with the photo. this First image was rendered using only blub lights with 16 buffers. render time 4 mins this second image was rendered using IBL only. render time 6 mins so what do you all think? and is there a way to merge them better? following weeks ill be applying these to Video so it will be alot of frames.