robcat2075
-
Posts
28,393 -
Joined
-
Last visited
-
Days Won
423
Content Type
Profiles
Forums
Events
Everything posted by robcat2075
-
try resetting go to Help>Reset settings This will set everything back to defaults.
-
tut on combining CG with live backgrounds http://www.hash.com/users/ed/tutorials/fpm/fpm.htm a 32 bit targa is your best option to include the alpha in one file. Quicktime "Animation" codec also accomodates alpha channels. Targas are easier to deal with but Quicktime can include audio.
-
You're particle effects always look good. That fire looks like something out of a french impressionist painting. I hope you're lending your particle expertise to TWO. here's an old test i did by modeling some distortion glass to pass in front of the camera. [attachmentid=17425] but what we really need is some effect that can work in conjunction with a depth buffer to vary the effect depending on distance from the camera. distortionglass.mov
-
Fabulous model! I can just about see Eddie Valiant hitching a ride on the back. And congratulations on getting paid. You're a modeling star, Ken!
-
as i recall, get the model window up for your character, delete the poses from the "User properties" section of the properties window. Then delete the folders if they remain.
-
"The Art of A:M" booklet that comes with your CD has tutorials on modeling and using rotoscopes as guides. but those are pretty small pics. you'd want something larger and more detailed.
-
Yeah, there's some good shots there. I agree about re-ordering it and maybe eliminating some shots that are showing the same sort of motion that has been shown in others. They always say shorter is better in demoreels. Pick out your best 40 seconds and see what sort of a reel that is.
-
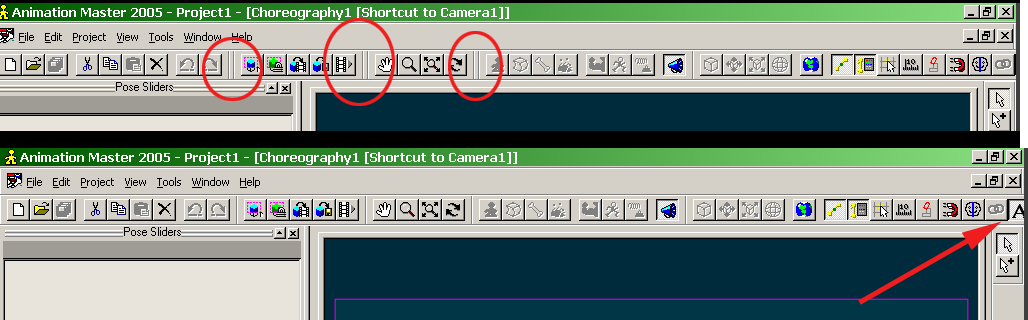
it's been squeezed off the screen go to Tools>Customize>Cool Look oFF [attachmentid=17381] then drag all the tool buttons to the left to eliminate the unused spaces [attachmentid=17382]

-
Make sure there is something else for it to reflect and make sure "reflections" is turned on in the render properties
-
Reminds me of this bit from the onion Good fire. How would we add some heat distortion to that?
-
If you activate "Show Manipulator Properties" you get an onscreen display that will at least track the XYZ location of the pivot point; noting those values could tell you if you have moved only on X Y or Z. [attachmentid=17336] Alas, it doesn't track the pivots rotation. Submit a feature request to AM Reports to suggest that. Named "groups" do store their pivot rotation and location: excerpt from model file: [GROUP] Name=testgroup Matrix=-4.37114e-008 1 0 0 -1 -4.37114e-008 0 -0.578563 0 0 1 0 Count=48 51 50 49 48 47 ... 9 8 7 6 5 4 Pivot=0 -0.578563 0 [ENDGROUP] although not in an easy to read form.
-
I also had "transition to ..." set to OFF. But I was going to guess it had something to do with red bars overlapping. They limit the influence of the chor actions to a certain stretch of time.
-
There's probably a dozen things you could have done to make it not work but without seeing it I couldn't tell you for sure. But here's the basic plan... How to add more animation after a cycle: [attachmentid=17289]
-
It's a huge world. There's no shortage of info out there on just about every topic. but since you are already animating in other media, maybe what you want to know is how it is done in CG. I'd recommend the A:M Demonstration and some of the tutorial walk-through videos to give you an idea of what is going on.
-
Disconnect teh hooks going into the 5-pointer first then select all five points hit the period key twice the 5-point tool will appear. use it then reattach hooks into 5-pointers if you have to. looks like bad spline continuity here: [attachmentid=17194] splines should cross each other rather than meet and turn away.
-
By "greenscreen" you do mean live video shot with a green backdrop, not CG images created with a green backdrop , right? A:M doesn't do greenscreen compositing on it's own. you would need to composite your A:M animations with your greenscreen footage in an app that does that.
-
I just get a directory. no rockslide movie plays.
-
Current thinking in animation circles is getting away from the idea of numerous preset mouth poses and moving toward rigging the mouth so it can easily be manipulated into various shapes with just a few controllers. The premise is that repeating the exact same shape for every "oo" or "ee" gets to look very mechanical. Jason Osipa's "Stop Staring" is the seminal book on that approach and even includes some examples in A:M. Either method has pluses and minuses.
-
That's a big syringe. like seven feet high?
-
Poor Thom! the the aliasing on his tiny legs almost made it look like he was running. But he couldn't out run that giant machine.
-
Be sure to show us the animation when you're done!
-
Alternate long answer... the whole point of A:M is to animate splines and patches; A:M animation and A:M models go together.
-
You can set the background color in the properties window for the camera. Make sure the "alpha buffer" is turned OFF in your render properties. However, rendering a CG character on a colored background to Chroma key it later is a last choice. Better to render your character with the alpha buffer ON and have your compositing software use the alpha channel. There's a tut out ther with a character walking on a sidewlk that shows how to do it. Maybe someone can pop in witht the link.
-
refraction in a transparency will lengthen render times, but I can't detect that a transparency on a plane (not using refraction anyway) invokes any more overhead than any other decal, which is negligible. ? Update: In a brief test I find that a transparency map applied to a patch in the scene does add about 2 seconds per frame. A patch with an actual hole in it added about 1 second. However, a rotoscope on the camera with a transparent hole in it seems to add no time.
-
Instead of modeling the hole in the plane you could use a transparency map (created in a paint program) with a soft edge and apply that to the plane.