-
Posts
3,868 -
Joined
-
Last visited
-
Days Won
1
Content Type
Profiles
Forums
Events
Everything posted by zandoriastudios
-

TreeZ and Darktree simbiot equal ??
zandoriastudios replied to johnl3d's topic in Work In Progress / Sweatbox
cool!!! -
I think the terminology changed to "invert selection", but the keyboard shortcut is still the same (.)
-
try breaking that spline and then re-attaching it. Or unhooking the hook that is adjacent and then re-hooking it. It looks good on the other side, just looks like it got messed up with copy/flip/attach.
-
Look at the project workspace, under Choreography. You see "shortcut to" for all of the Objects that have been placed in the Choreography. If you look closely at that shortcut to model, you will see that you can click on it and get a dropdown of all the other models that are loaded into the project. So by picking another model, it switches places with the one that was there. It keeps all of the actions and animations that were done to the model beforehand. So this is how you swap out the models. As long as they have the same rig, you can use any model. A:M models are generally "light" in construction, so there is not a requirement that you use proxy models. You can speed up performance in other ways, such as changing the draw mode for different models in the choreography.
-
If you could have a tileable image to use for a reflection map, that might be a good way to get that effect. Another way could be a material that had a combiner and differing reflectivity.
-
under OBJECTS, right-click and choose NEW>LIGHT. Drag and drop it into your choreography.
-

PLEASE HELP!! Can't find any help!! Please help Am Group
zandoriastudios replied to hoosierinlasvegas's topic in New Users
The suit looks like it is just painted on, so you should be able to save a modified version of Dex with a different name. Then just alter his decal maps to be the colors you want. I would re-model the boots to replace the mesh of his feet, also the arm bands. Model the helmet and copy and paste it into the model (unless you need it removeable). If it needs to be removeable, then constrain it to the head in an ACTION. For the cloak, Add it to the model, then use Simcloth in your choreography to simulate. There are tutorial videos on cloth in the tutorial section of the forum. Hope that helps you. -
I have one tutorial for underwater effect: http://www.zandoria.com/caustics.htm For the waves on the surface, I would try an animated material displacement. Check-out the ocean in this demo reel of effects for "Miss Castaway". The scene where Noah's Ark breaks in half and sinks. In that scene, the ocean was a modeled disk, with the camera at the center. It just rotated past, while a surface constraint kept the boat in the water... http://amfilms.hash.com/search/entry.php?entry=694
-
comma key selects the rest of the spline. period key inverts your selection
-
I'm in, David! Say where and when (on a Saturday )
-
Select the group, look at the transform properties. Under Scale is a place to change X, Y, and Z scale. Type a "0" in the appropriate slot and hit enter. ( I'm assuming that you are in an action or pose window )
-
This is a 2 Hour video that was recorded at Siggraph 2004, for $19.95. In it I build a model of King Kong (model and high-res textures are included)
-
Very nice modeling!
-
Try this tutorial on decalling: www.zandoria.com/uv.htm you may find that it is a better approach.
-
I think NTSC is 720px x 486px
-

what do you guys have that i dont??
zandoriastudios replied to digitalmunkey141's topic in New Users
Don't worry, you will eventually "get it". There is this zen-like moment when it all crystalizes It happened for me while I was watching another experienced user. Suddenly it all makes sense....you will start seeing the world made up of splines--Kind of like Neo at the end of the movie "The Matrix" when he can finally SEE it! -

How can I improve response time while posing characters
zandoriastudios replied to Tralfaz's topic in New Users
Use SHIFT+8 (*) to toggle particles and hair OFF. Shlitzy has particle hair, so that should speed you up a bit. Also, try hitting PAGE DOWN on your keyboard to reduce the real-time subdivisions of your models. You can also change the DRAW MODE of your objects in the Choreography. There is a little icon next to their name in the Project Workspace. If you have a lot of models in the scene, it could speed things up while you are animating to set the draw mode to "bounding box" or even "don't draw" (especially for elements that your character isn't interracting with). -
http://www.zandoria.com/caustics.htm
-
I love it!
-

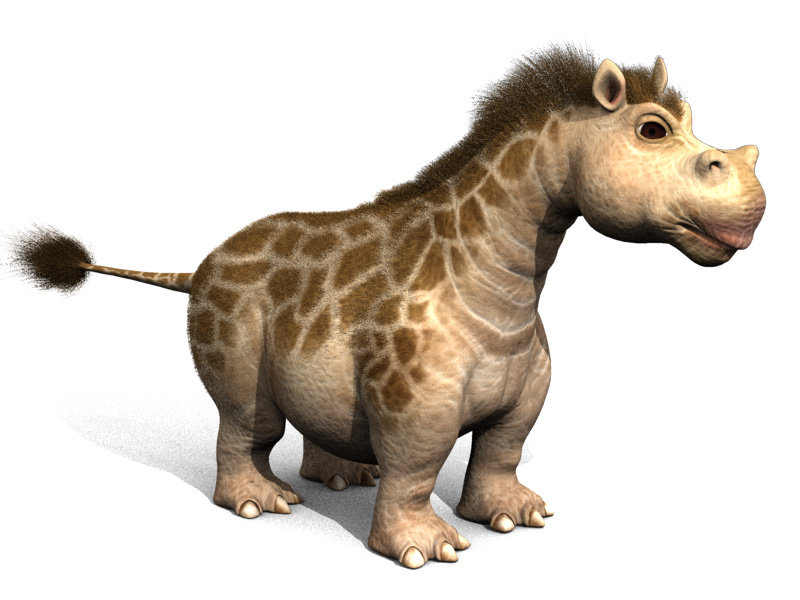
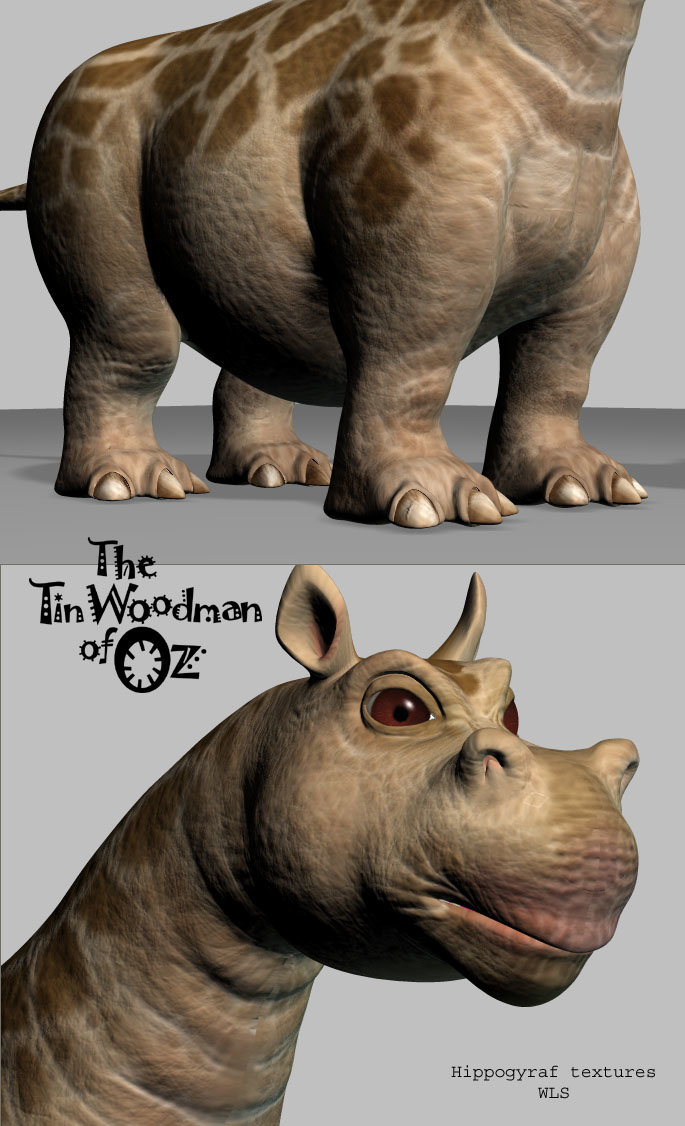
hippogyraf textures
zandoriastudios replied to zandoriastudios's topic in Work In Progress / Sweatbox
-
great model!!--the Excelsior is one of my favorite ship designs from Star Trek
-
I would suggest drawing some concept art for the man,truck,boxes,conveyors,building to help you keep an overall style together. Do this BEFORE you start all of tthe modeling...
-

hippogyraf textures
zandoriastudios replied to zandoriastudios's topic in Work In Progress / Sweatbox
It is really awsome--Filip let me use the beta version for my Siggraph demo, and now I'm addicted! -
It is just INCREDIBLE!!! You did a FANTASTIC job!
-

hippogyraf textures
zandoriastudios replied to zandoriastudios's topic in Work In Progress / Sweatbox


