-
Posts
3,868 -
Joined
-
Last visited
-
Days Won
1
Content Type
Profiles
Forums
Events
Everything posted by zandoriastudios
-
there is a model (on extras CD?) called "Musana Warrior" that has a great quadruped leg setup like your model. If you could find it, I might help you see the way to rig your own--or you could just copy that rig.
-
Eric, I think you're getting it now--you don't scale the image back down. I would consider this: How large will this detail be onscreen at your final resolution when you render your project? If, for example, your final frames are going to be at 720x480--your decal will only be seen at it's full size if it happens to be filling the entire view.
-
You resize the image BEFORE you paint the details.
-
Artists doing nude pictures--wow, that's new! BLACK MAGE: A nude woman just standing there...that isn't perverted. The animation project that I was contracted to create her for, that might be a different story. But I didn't post anything from that. Jon, that was "Red Lori". I need to find time to get back to that project--lucky he didn't see the nekkid hippo!
-
Thats just a real-time refresh issue. I wouldn't worry at all about it. On the tree images, try setting them to flat shaded (don't know why, but that worked for me recently with a skydome with the same issue)
-
David, have you tried using a percentage pose for your displacement/damage? Instead of turning it "off" you just animate the percentage strength to 0% over a couple of frames.
-
Swinosaur Made in A:M for "Miss Cast Away"
-
Hair won't collide with the surface that is emitting it. I don't know whether to call this a "bug" or whether it is just an oversight in the design of the feature. I would make a request in AM:Reports. The work around is to have a emitter surface below the skin and emit the hair through the skin. Then it will bounce off of the skin. I've been just using this with a scull cap beneath the skin of the head to emit hair--but that is really impractical in your situation.... I will put some hair on the Oz characters. That way it will get priority for a fix
-
I just right-click the modelname in the PWS and choose New>Decal from the context menu. That prompts you for the image. Then the decal appears in the window to be stamped. We could make a feature request for Decal to be an option when dragging an image into an action or pose window. I have just been used to doing it by right-clicking, so didn't realize that would cause confusion.
-
You want to do your decalling in an ACTION or POSE. Don't be using the FLATTEN feature in the modeling window!!!
-
So it sounds like, while you have made a decal, it has not been APPLIED to the model. Under the decal name it will show a STAMP if it has been applied. If not. Open your action and double-click the decal name in the PWS. The decal should appear in the action window. Positon it, then right-click and choose APPLY from the context menu.
-
Is your "Object color" set to white? Tools>customize>Appearance If you are looking at white lines over a white image.....
-
you probably need to rename all of your lipsync poses to the higher set names, and then delete any extraneous. That way you aren't giving a multiple choice for A:M when it comes to which pose to use when using the dopesheet...
-
the edge of the table appears black because the ceiling beyond that backdrop is not lit (it appears black). the ceiling is being refracted by the glass so that is what you are seeing in the table edge. Recreating the environment of the photo is the way to duplicate the look. The photo only appears to have 2 lights, so I would start with that.
-
I would suggest that all of the glass pieces share the same properties. The key is in color, transparency,index of refraction, reflectivity. Then you need a backdrop like the one used to photograph the real table. Then spot lights--not skylights. Then you need radiosity to simulate the caustics from the glass.
-
no one can stay away for long
-
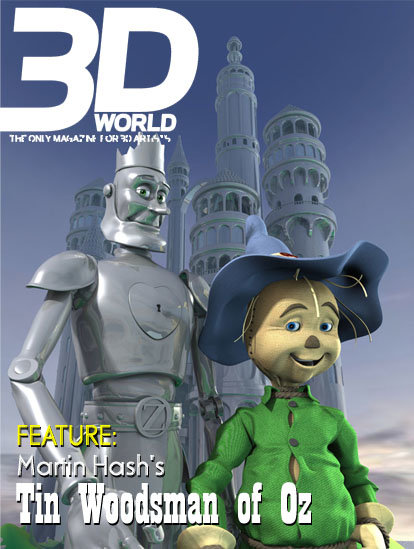
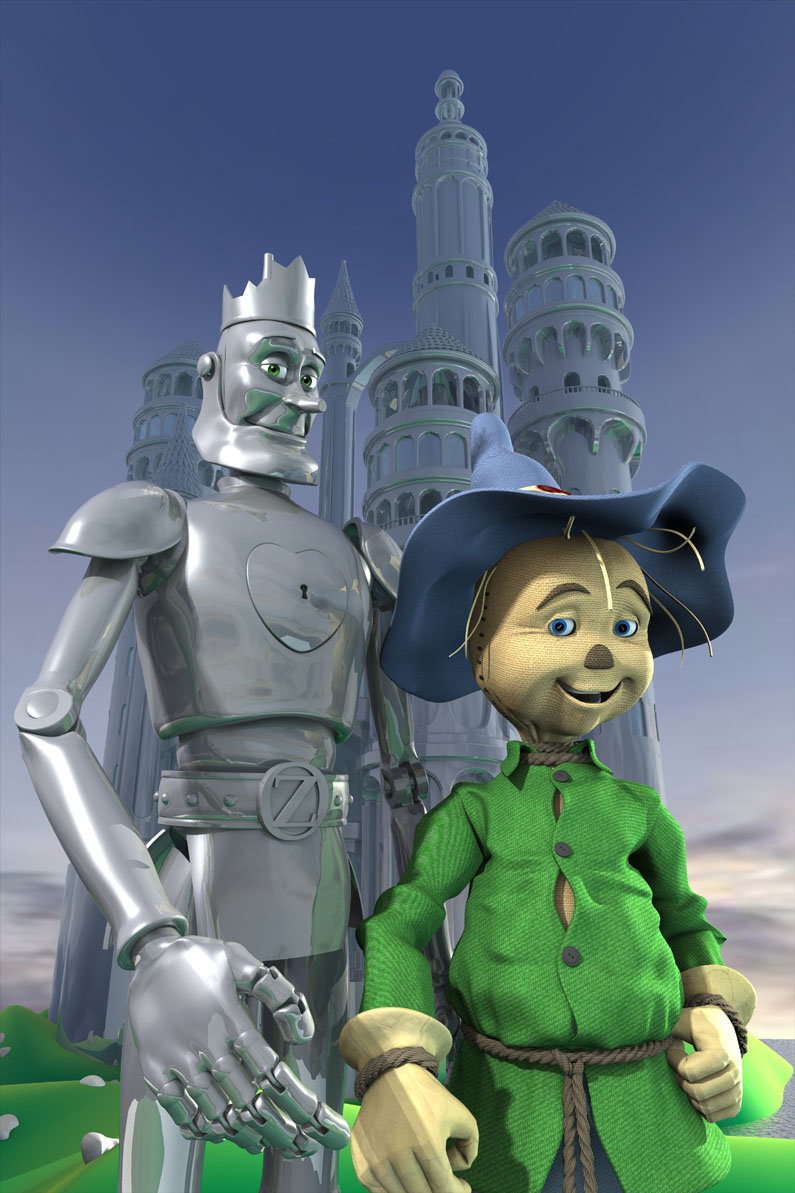
I have set-up a material Library for texturing the objects in "Tin Woodsman of Oz". If you would like to help get all of these objects for the movie textured, I could really use your help! All you have to do is drag and drop materials from a library onto groups in models, and then tweak the parameters on the material shortcut. It is just a matter of choosing an appropriate material and tweaking the color, basically. This is a good opportunity to learn and to contribute to making the things ready to render. If you are interested, send me an email and I will point you to where to get started. Thanks,
-

The Griffon Rider and Steed
zandoriastudios replied to Zaryin's topic in Work In Progress / Sweatbox
Fantastic Work, Jeff! Clients never understand how hard some things are...But, sometime they push us to attempt things that we mightt think are impossible... -

Somehow things are getting a bit blurry?
zandoriastudios replied to Eric2575's topic in Work In Progress / Sweatbox
uncheck "soften" in the multipass settings. -
Nice stuff, Dimos!
-

The Griffon Rider and Steed
zandoriastudios replied to Zaryin's topic in Work In Progress / Sweatbox
Face is a little too long. I made some tweaks in Photoshop to illustrate what most people are seeing:


