-
Posts
3,868 -
Joined
-
Last visited
-
Days Won
1
Content Type
Profiles
Forums
Events
Everything posted by zandoriastudios
-

The Lost World: TAR of Zandoria
zandoriastudios replied to zandoriastudios's topic in Tar of Zandoria
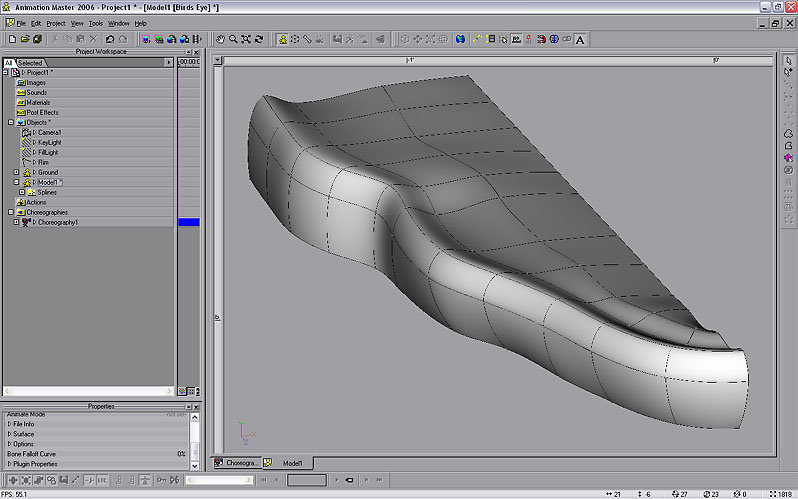
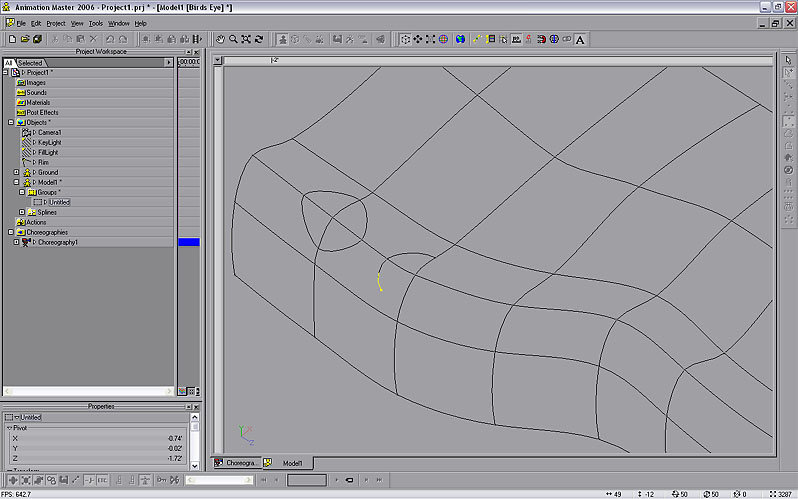
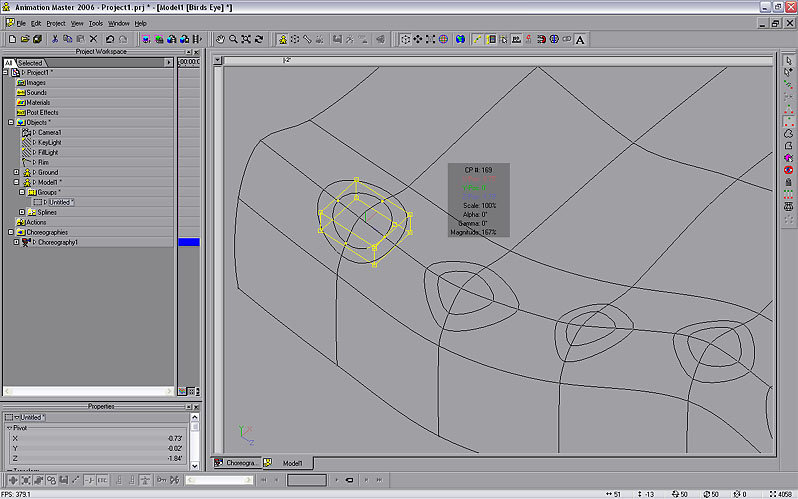
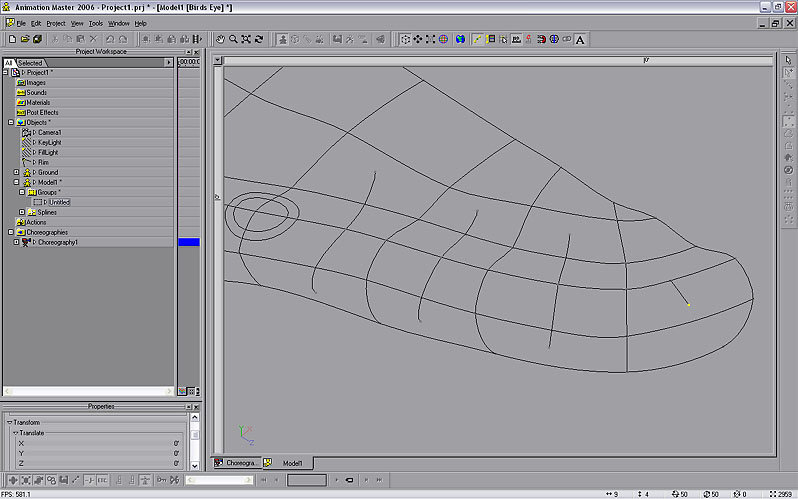
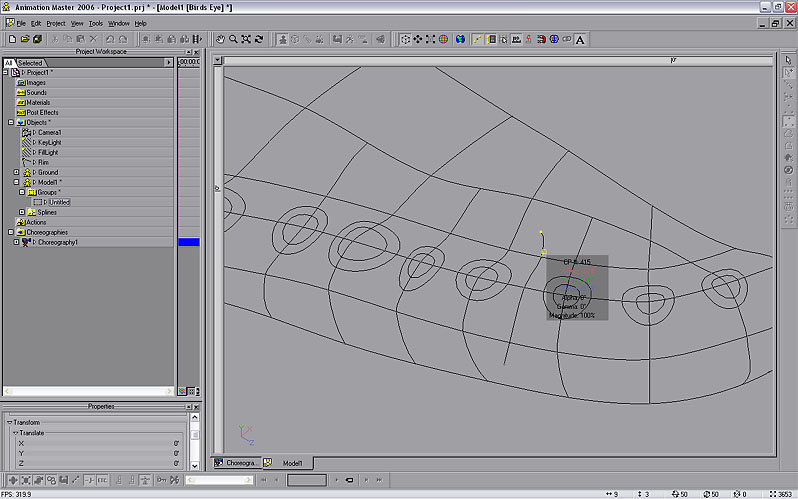
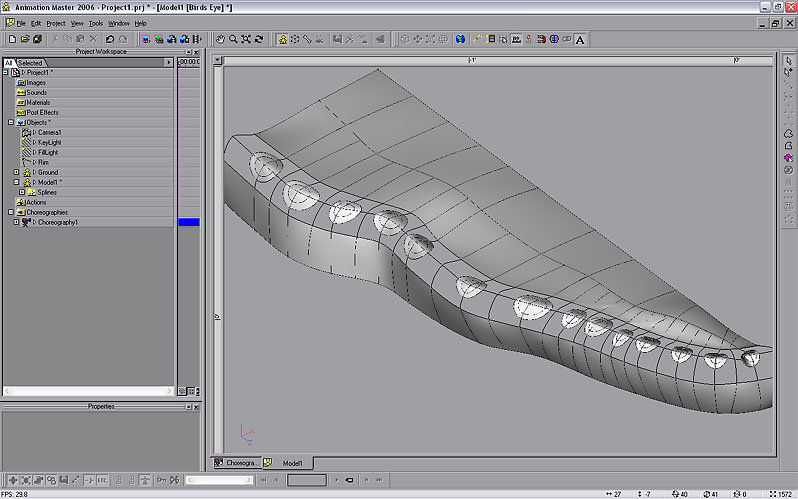
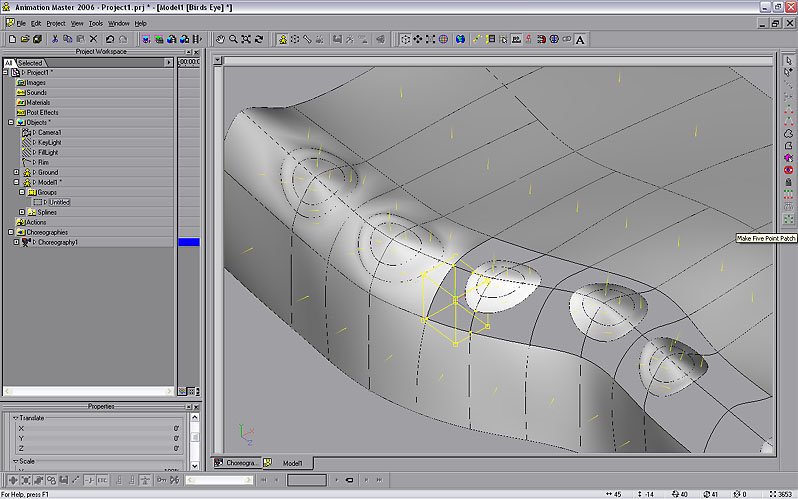
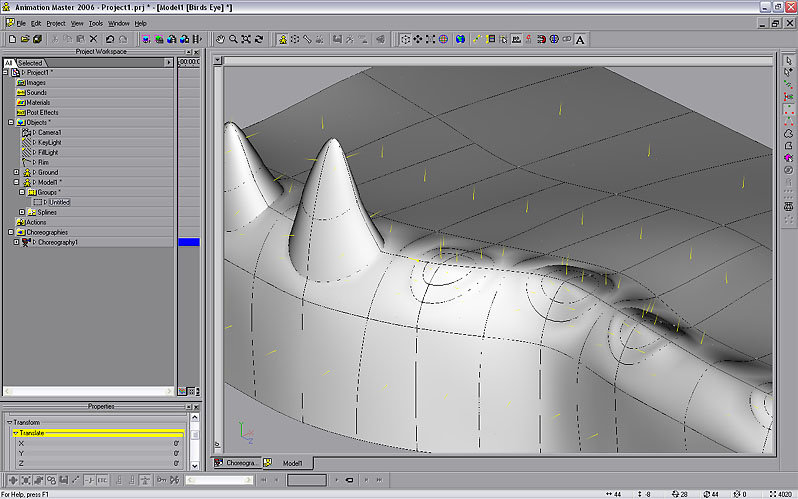
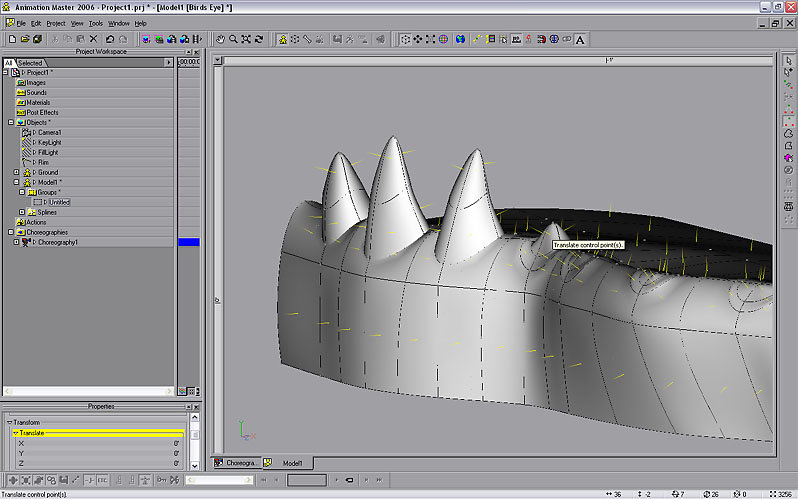
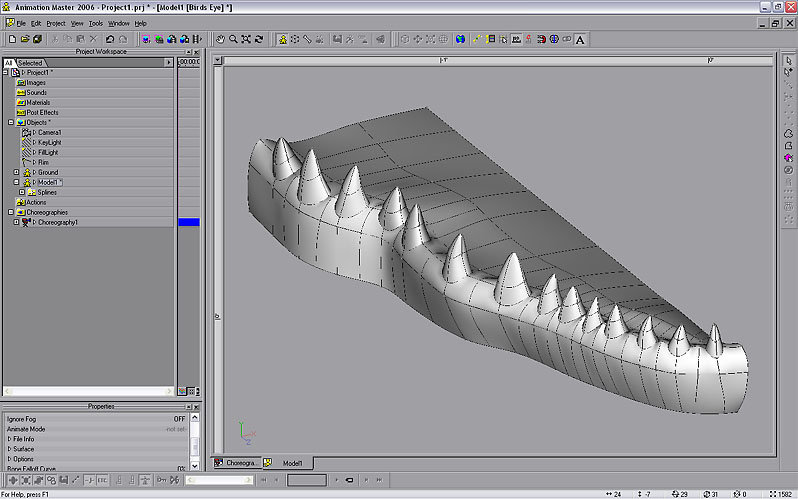
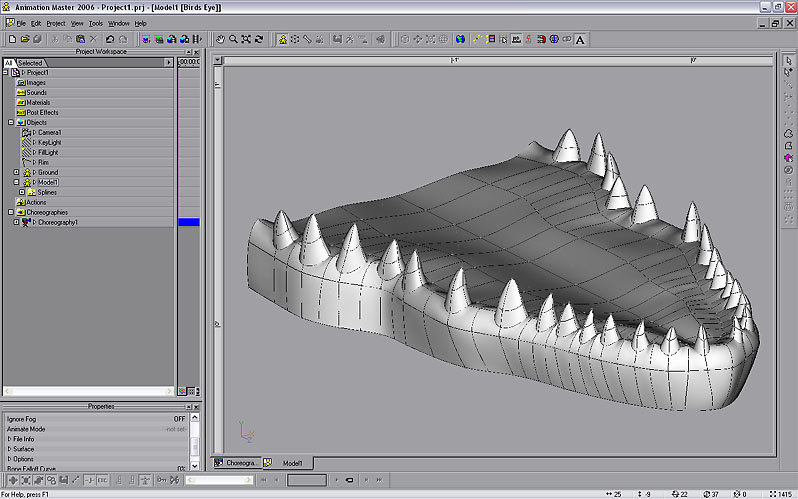
Jody, it was actually really easy--I'll see if I can post a brief tutorial. I remember taking forever to model the Balrogs teeth--once you try this, you'll never go back. Teeth Stitching Tutorial Start with the mesh of the jaw or gums. In this case I decided to model what could be a crocodile or dragon's lower jaw. Using the ADD tool, stitch a circle into the gum. This will become the base of a tooth. Select the splines in each circle and set the MAGNITUDE to 167%. For these teeth I have added a second ring, which will become the tooth cross-section later. Where the mesh doesn't have enough resolution for the number of teeth you want, stitch in more. These dangling splines will be HOOKS. After you get your teeth drawn in, you notice that the adjacent teeth have 6point areas between them. Fix this by stitching a spline between them. leave the end dangling, then HOOK it into the next patch. Here you see all of the teeth stitched in, but a lot of 5point patches to make!!! It's really not too bad...just work your way down the line. Turn on SHOW NORMALS (SHIFT+1) to make it easy to see which way the surface is pointing. If the direction is wrong, hit (F) to FLIP it. Select the spline where it runs into the base of each tooth and PEAK it (P). This will help create a distinct gumline where the tooth emerges. Select the center of the tooth and TRANSLATE it up. Then select the cross-section spline and move it up also. You may need to switch views as you go. Holding down (2) constrains movement to the Y-axis (up and down). Continue down the line and shape the rest of the teeth. COPY/FLIP/ATTACH to get the second half of your model. Easy! -

The Lost World: TAR of Zandoria
zandoriastudios replied to zandoriastudios's topic in Tar of Zandoria
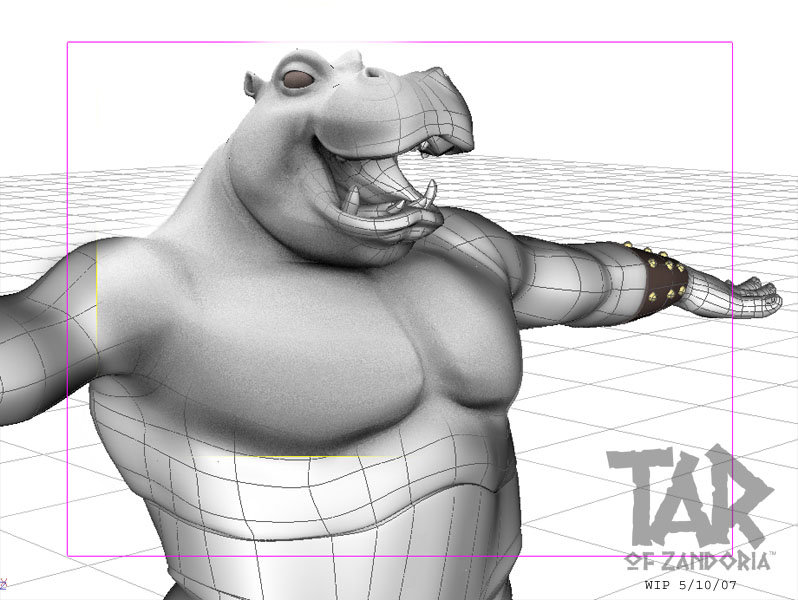
I've made it past copy/flip/attach...Now I will start adding the rest of his equipment. I was really pleased with the mouth this time, especially the insides (I had better references this time around)--and I even improved my technique stitching in the teeth -

The Lost World: TAR of Zandoria
zandoriastudios replied to zandoriastudios's topic in Tar of Zandoria
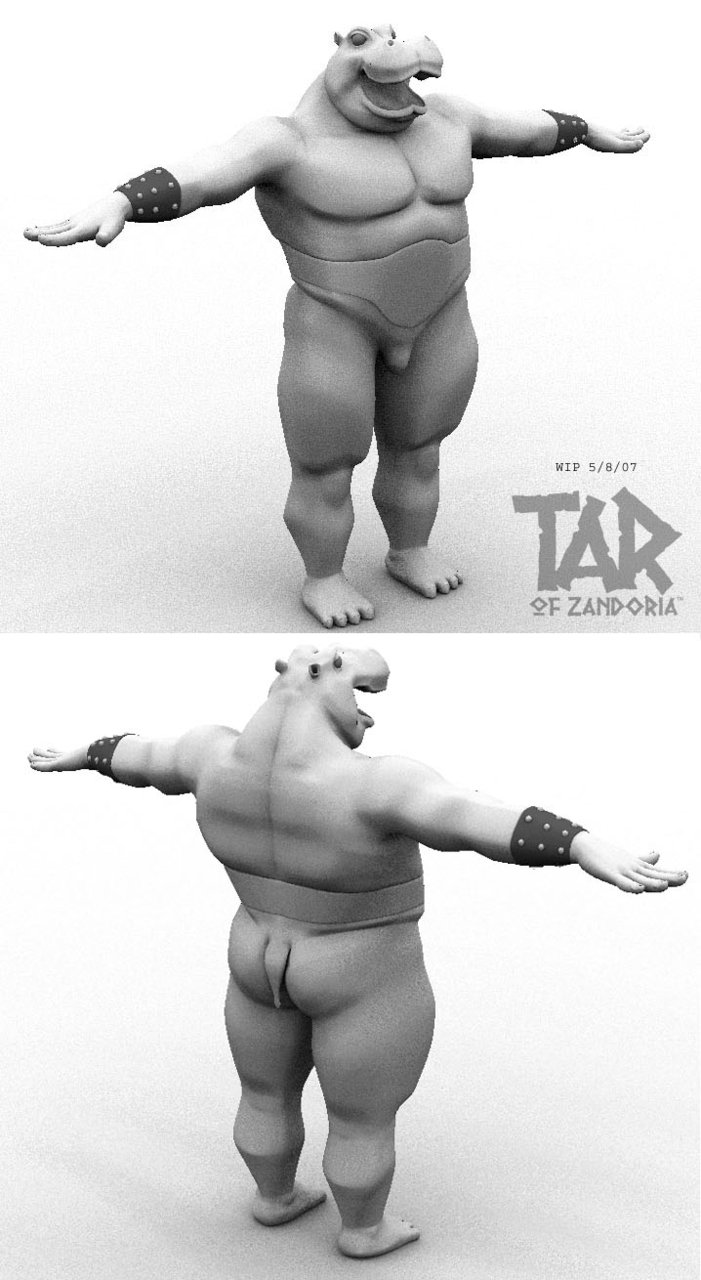
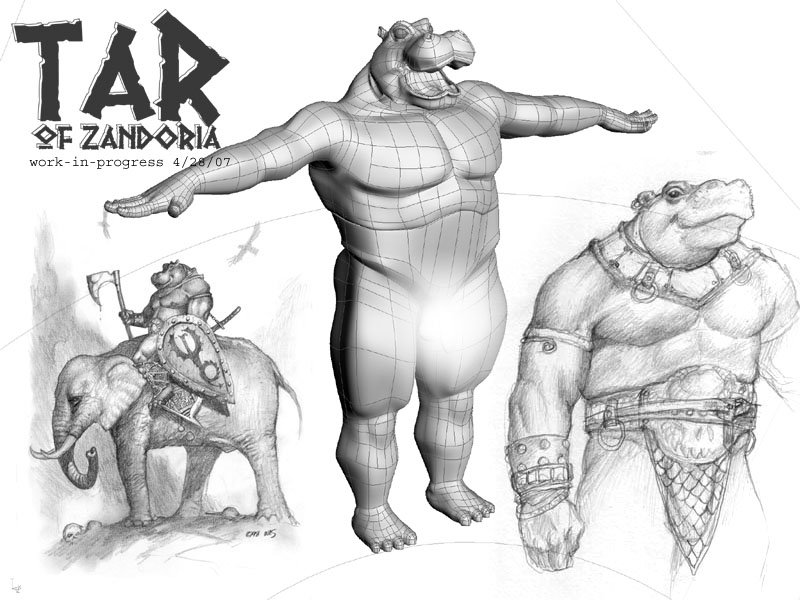
Here is how it looks so far...Still working with just one side (the other half is just scaled -100% x-axis in the choreography) -

The Lost World: TAR of Zandoria
zandoriastudios replied to zandoriastudios's topic in Tar of Zandoria
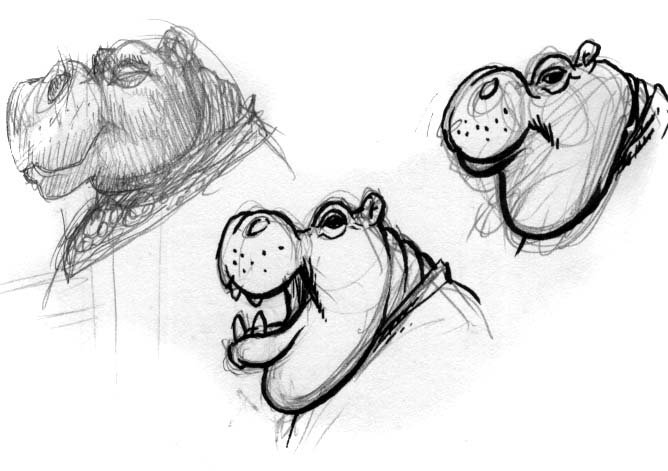
I've been doodling around trying to decide on how I want the Jowls to look and work, since I was unhappy with my earlier version... A real hippo has a bit of a chin (left side of sketch), but giving less of a lower jaw--almost all lip, seems a little "cuter" (inked version). I will keep these ideas in my head tonight as I remodel that lower jaw area... -

The Lost World: TAR of Zandoria
zandoriastudios replied to zandoriastudios's topic in Tar of Zandoria
-
I think that buying A:M, learning to model,rig,animate and also produce a finished 1/2 hour piece in 1 year is very unrealistic. I think possibly you would be able to START production in a year...but plan on spending your first year preparing the skills and assets that you need.
-

The Lost World: TAR of Zandoria
zandoriastudios replied to zandoriastudios's topic in Tar of Zandoria
I'm thinking of doing that "death dealer" scene, with ruins in the background. -
Here is going to be my challenge entry I first modeled this character in 2000, this time I think I will be able to achieve the look I have in mind [since i've had some practice...]
-
I think the Star Trek photon torpedos on the newer shows are done in Particle Illusion--that is a sprite based program that works just like our Sprite particles in A:M. So you should be able to duplicate that effect. For phasers, which travel at the speed of light(?), what about a spline that is set to "draw as lines" with a glow? you could use a bone to aim and could just scale the length to make it shoot.
-
Dusan, I am amazed and inspired--thank you for sharing your work with us. I feel like you just gave me a creative kick-start!
-
Do you have "soften" turned on (multipass)? that might be whats happening...
-

How do I view Darktree Materials In the library
zandoriastudios replied to Zolakaya's topic in New Users
I actually went through the process of making A:M materials by changing the attribute to DarkSim, then rendering a preview image. Then I made a Library file for TWO that had all of the darktrees, and also a bunch of Bitmap Plus materials (using Marlin Studios textures). All of that data is part of SVN, so if you are working on TWO, then you have access to it. -
I think they were dropped from the extras CD to avoid offending the parents of the schoolchildren who are learning to use A:M.
-
It comes with practice. you push,pull,tweak the bias handle,etc. untill the CPs and splines are just where they need to be. No plug-in, and no porcelain material will make it happen. There are a number of tutorials to help you--in the manual, and online. But you still have to just do it. You will at some point have that zen-like moment of "getting it". We have all been there, trust me
-
If you are just making a light gel, then your sequence doesn't need an alpha channel--since the colors define the color and intensity of the light, black just means zero light. So if you just render the flames against a black background, you will have what you are wanting for a light gel.
-
Really nice work Rodger!!!
-
Set the city's option to "shadow only". then render with SHADOW Buffer checked. this will give you a black render with an alpha channel for the shadow shape. You can use this to composite the shadow in post.
-
Why didn't you send it back for a refund, if you weren't happy with it? There is a 30-day money back garauntee on my online store. The book was described as "226 pages black & white". How can you imply that you thought that it would be in color? Your comments are offensive, libelous, and ungrateful (since that entire project was done to answer a desire in the community for a printed version of the tech reference...and was made available at an extremely low price). If YOU ever come out with a book for A:M, then you might appreciate the amount of work is involved. But until then, I think my opinion of you will be that you are an ass....
-
I think you are better off using a view of your scanned mesh as a rotoscope. Try using a distortion box for major reshaping, followed by magnet mode for individual areas.
-
looks like the texture is stretching at the seams between front and back. You can compensate some by "spreading out" those patches at the edge so that they are more proportional to the ones next to them... Looking at your screen capture, I can see another problem. You have overlapping splines at the upper left shoulder( front side).... Until you have a program like 3D painter, you will have trouble getting the seams perfect.... I always get a little distortion where you are seeing it, it seems no matter how careful--because it is just really hard to do. If you have 3D painter, you can go into Projection Paint mode and then clone across the seam--It's SWEEET!
-
Check-out this tutorial: http://www.zandoria.com/uv.htm For a video demo, click this banner:
-
I've printed out large-format tradeshow graphics that look just fine at 50 dpi for an 8 foot wall graphic.
-
Great job!
-
You can select a point, then add a bone's influence to it. Select the point, right-click>edit CP weight. In the dialog you can add other bones influence, and set the percentage influence from different bones.
-
I think he means the Inverse kinematics (IK) in the 2001rig. Definately do the "show some backbone" tutorial in the manual.


