KenH
Film-
Posts
13,816 -
Joined
-
Last visited
-
Days Won
1
Content Type
Profiles
Forums
Events
Everything posted by KenH
-
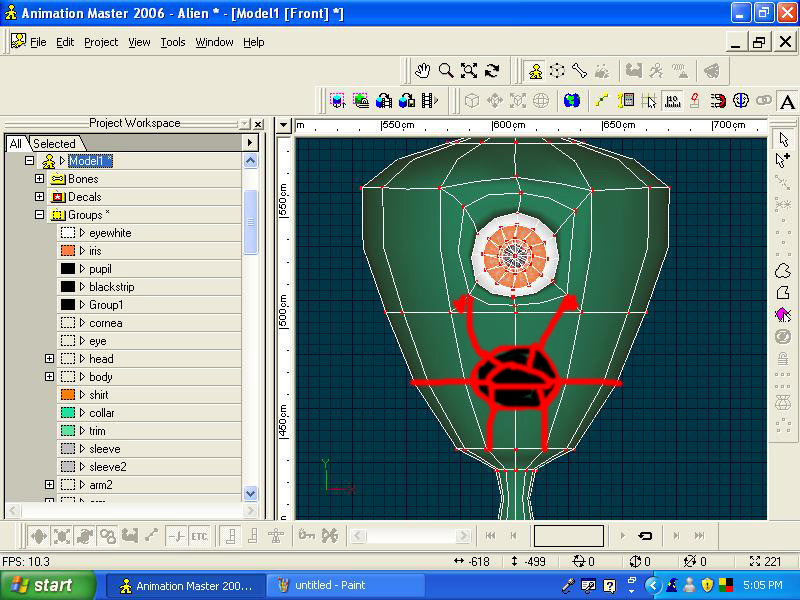
Look at the faces (so many!) on the cd and get an idea of how the splines are layed out. I would suggest that the spline going round the nose and up to the eye joins up with the hook coming off the eye. It would flow better.
-
Another possible way....there might be more if you search the forum: http://migrate.hash.com/forums/index.php?s...25&hl=snake
-
Moving a camera from the Choreography window...
KenH replied to Kelley's topic in Work In Progress / Sweatbox
Hey....I just spent my first post trying to explain that to Robert! Don't people read anymore!? Edit: I didn't specifically mention the Control and Shift keys, but I thought that was a given. And I use the middle mouse button. -
Moving a camera from the Choreography window...
KenH replied to Kelley's topic in Work In Progress / Sweatbox
If you move/pan/rotate when inside camera view (Numpad 1) then the camera will move with the view you see......because you're "inside" it. But there's currently no way to automatically position the camera to a view outside it..... -
The vertical ones yes. It might mean you'll have to work abit to get the shape back, but it's the only way to get a hole in the side of the head.
-
-
1) Hold down Control key. Go to scale manipulator (press s) and scale. 2) I don't believe you can position cps absolutely......only relatively. You may be thinking of the floating box (icon to the left of the grid icon at the top)?
-
Looks like standard interlacing. I'm not sure if AM where that option is in AM though....or if it has it. Maybe look in the screen resolution section of the render options? As you can see from AM:Films AM doesn't always output like this.
-
You might try contacting the author of the plugin about your problem....
-
A google brought this up: http://www.kci-group.com/z/am2swf.htm Apparently it's included in current versions of AM already.
-
Try the ftp site?: ftp://ftp.hash.com/pub/
-
Hmm....yes there were exceptions to his rule......EVERYONE ELSE!!!!!! Jeez......ignorance like that drives me nuts.
-
I think it looks great. They should love it. What are the other steps? Or is this supposed to be all one guy? PS Just a small point: If Thom has a neck, you could probably use it in some of the poses instead of only rotating his head.
-
Definitely the new one.....those texture/transparent maps are needed for the fins etc. I also agree with the saturation especially in the eyes. Good luck with the series!
-
Maybe it's in the parent hair material.....the one under the main materials folder. If you adjust it there, it will filter through to the child hair in the group of the model.
-
Strange. What version of AM is it? Also, maybe you have an image defining the density? What happens when you start a new hair material....is it there then?
-
Good work....a nice clean mesh.
-
SHIFT +8 is a toggle ON and OFF for hair. I believe Chrury is right. Select the backward hair patches and press F to flip them.
-
The basic stuff should be in the model.....things like walls and ceilings. Then make an action with that model. Now you can drag other models into that action ....say you call that action "interacting props"......you can drag in all the stuff your character interacts with in the shot. Other props can be put in another action. Now you can drag your basic wall model into the chor, drop the "interacting props" onto it and voila, all your props will be in the right place in the chor. Then optionally you can drag your other props action onto it.....or leave it till animation is done. If you go for separate models for props then make sure they're all the right scale. You can scale/rotate/move it in the action, but it's handier.
-
Excellent progress and motivating speech! Maybe you covered this before, but can this resulting action be put onto any head with the same bone/pose names?
-
You have to be in particle mode (Shift+8) and grooming mode (seen green areas) to see the grooming tools to the right of the screen. Also, you have to select the hair attribute in the PWS to see the Density option like that.....the one above it gives other options too.
-
Careful with forcing keyframes on the whole model. It's liable to make a keyframe for every bone in the rig......slowing things down hugely. You're better to move the few bones you want at frame 0 then later on you can force keyframes on just the bones you've made. Pressing SHIFT as you force, gives you this option. Or you can copy keyframes for all bones by selecting the bones folder.
-
Not bad at all. Pehaps you could make the mustache group color abit darker than the hair color. It would add more contrast to it.
-
I don't think so. Why do you need to when you can visually see it in the model window......and use several tools to groom it. In fact I don't know why they're in the PWS at all.
-
Sure you can. Just drop the hair material into your mustache group in the PWS. Then only the mustache will be hairy. Use the model window for all hair changes. To get rid of the furball in the chor, press the spacebar......if you didn't then the render will try to render what's there....taking ages. In hair material properties, reduce the density and increase the base thickness of the hairs to cut down render times.


