rusty
-
Posts
1,851 -
Joined
-
Last visited
-
Days Won
1
Content Type
Profiles
Forums
Events
Everything posted by rusty
-
Welcome back 'mage', Outside of putting a single bone in the center, I've never tried to 'rig' a sphere. Unless you had a particular reason for doing so (you wanted the sphere to do something more then squash and stretch), you wouldn't rig a sphere with much more than a single bone. Most people don't even add a bone to it -- they just use the 'model bone' which all models have as soon as they are created (its hidden, go into bones mode and in the PWS select the model name and you'll see it... of course rarely do you move or mess with it). So, unless you want the sphere to deform and move in some way you would have no reason for more then perhaps one bone at the center so you could manipulate it from the center (the model bone is at the 0/0/0 coordinates or bottom of the model and is used for stuff like telling a path constraint which way the model should face and where the bottom is). Cheers, Rusty
-
Very good point. Thanks! Rusty
-
The biggest slow down of all is if you have other windows (model windows, action windows... any) open in the background. r
-
This of course is the proper course and in a way I have... I just have to make the time for it (between writing and animation). But I'm also an engineer by nature and reducing things to digital formulas and structures, if not really 'art', is always a desire, a trait and even a habit. I do need to get back to my sketching tutor and the lessons we started -- I very much enjoy it. r
-
Thank you for the kind words Rodney. My turn of the century 'million dollar idea' to produce animated book trailers has been my singular goal these last eight years. I have not IMHO reached a marketable artistic state yet plus I've had to face the fact that although I may achieve the technical and artistic level needed eventually, I don't know how to do 'the rest' (take it from pipe dream to reality... get investors, start a company, sell the idea, protect personal exposure, etc.). There's also the fact that my wife and I are comfortably retired, we don't need money and I'm not really anxious to return to the realm of deadlines and stress (not hungry). But, LOL, I digress... I'm still pushing forward and its fun if nothing else. r
-
You've hit the nail on the head with all points Vern. I thought I was at the point were I could 'just do it' but the virtual actress model Monique who appeared in the Horrorthon trailer knocked me for a loop -- well after completion I noticed that her forearms were 'too long'. Instead of making any kind of physical correction at that point in the Horrorthon project I hid this defect with camera angles and scene staging. I then became determined not to make that mistake again and I'm now perhaps extra sensitive to this. r
-
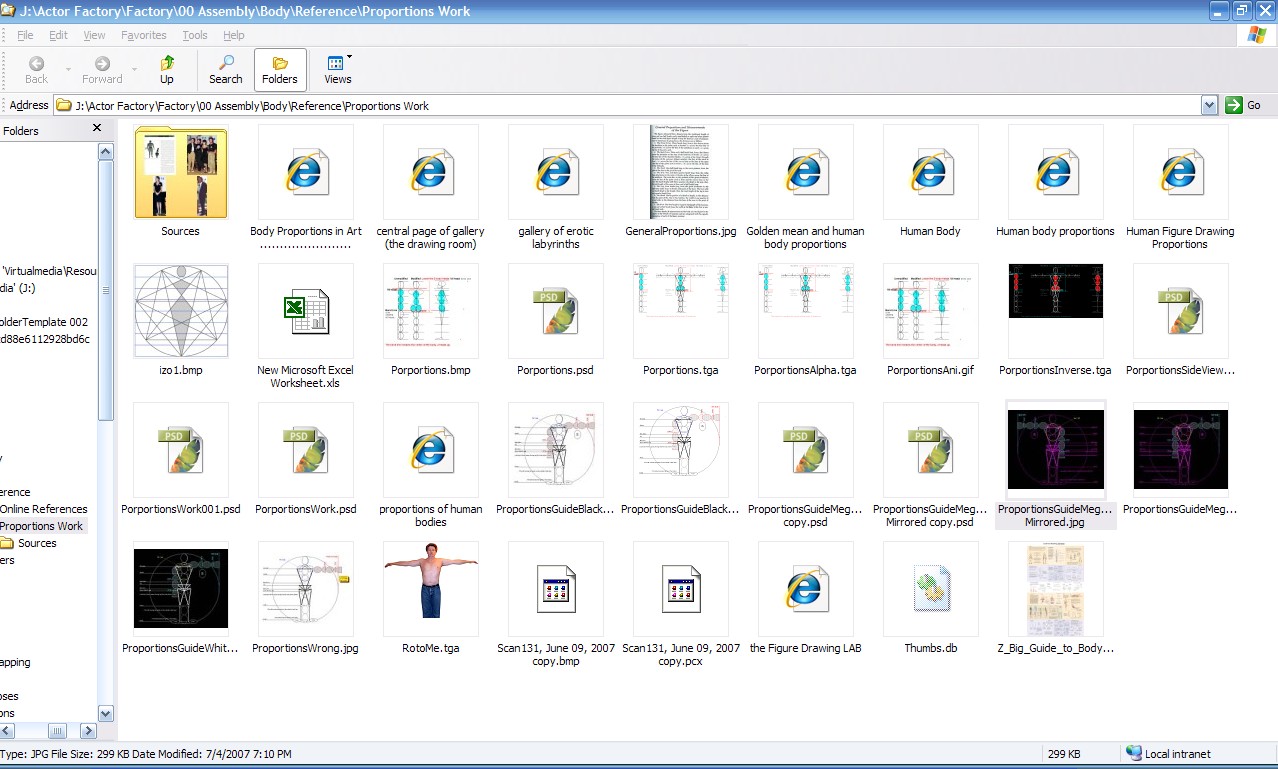
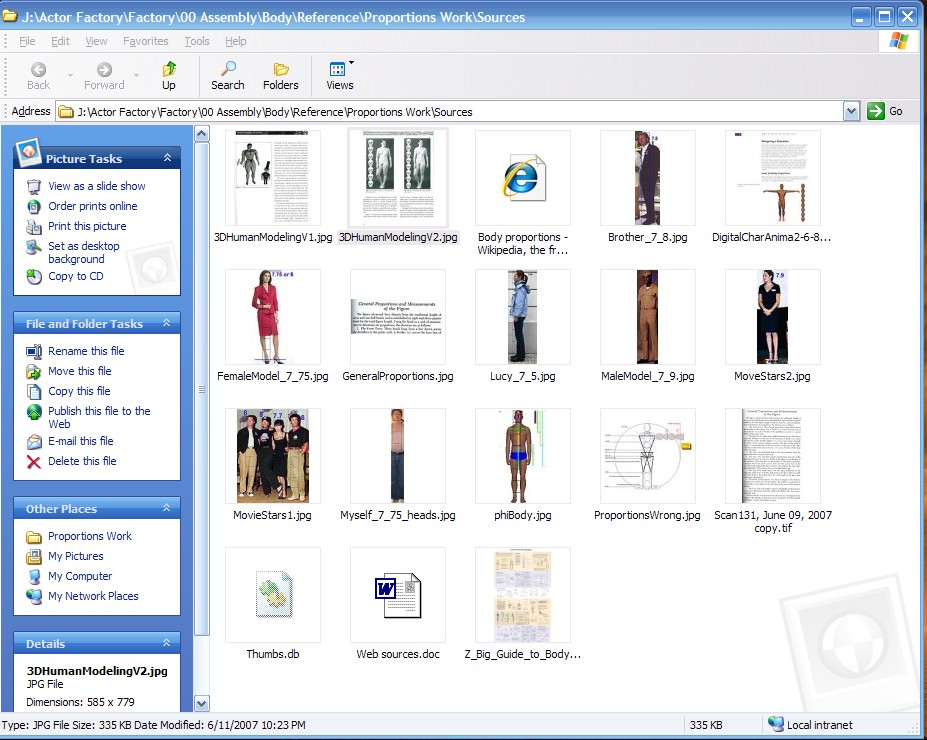
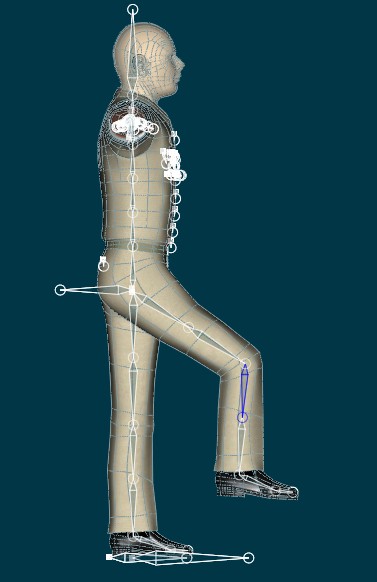
Thanks for all the responses and all the info! The source used in my posting was actually the only one that I hadn't used before rigging. The examples I used from it, to the extent I could tell, matched my own body. BTW, I litterally have every source I could find on the Internet -- enough to make you crazy because they do not all agree. Mostly I used myself to double check the sources I found that did agree (for the most part) but, even doing this there were inconsistencies. Believe it or not, even if I try go strictly by my own body I run into problems and things don't look right! I think its a case of trying to digitally measure an analog system (no pun intended). Meet one requirement and another fails... plus, you tend to lose your 'control' or starting reference point (you have to have one part you say is correct and use this as a starting point). I finally settled on what I thought was the best combination, checked this against myself as well as other people I had pictures of and a few months ago I posted this as a guide to average body proportions. At the end of the day everyone is a little different. Despite my pre-rigging efforts, somehow I still managed to mess up LOL. I believe: a) The hands are too small and need about a 120% increase (and once I increase these by 120%, other parts which use the hands as a basis will be off). Granting that my reference is a little accurate, image one shows this. Image 2 test correct on everyone in my family and clearly indicates that either a) the upper arm is too short, or the lower arm is too long or, c) a little of both. c) Image 3 indicates that the upper body is too long... or, the lower body is too short... or, a little of each. Perhaps the image is not 100% but my model is way off. d) Looking at image 5 my gut feeling is that the body bone (or upper leg pivot) is a little too low (which will impact item c to some extent) For now I am discounting image 4 but will come back to it after the above changes are made. I'm surprised so many of you said that the reference I used was incorrect. It is a guide for 2D artists but I can't see how this matters. After what I've seen, I have to take all of the references I found with a grain of salt -- still, if something is 'way' off, I have to review it. Finally, since I'll be adjusting mutually exclusive systems using the root bone for that system and holding down the key to expand the mesh as well, I don't think the rig, fan bones, CP weights or Smart Skin will be affected in most cases. Rusty

-
Hello, As hard as I've tried to come to terms with human body proportions (how long is the upper arm, lower arm, hand, upper leg, etc) I seem to still have issues! During the last stress test of model shown below I realized that things were not right so I placed it next to proper body proportions document (below). Before I start scaling body parts this way and that way I wanted to get any feedback I could get from the forum. Also, for me, rigging starts with a 'guess' as to where the 'Body' bone goes (that's the bone that sticks out of the butt facing back wards). This is the pivot point of the legs and I'm never sure where it actually should be. Any help will be greatly appreciated! Rusty
-
Radical! Left comment on site. Rusty
-
Hi, Somewhere I remember watching a tutorial on smoothing out heads. I can’t remember what his was though. First, make sure you tap Page Up until your PC starts beeping!!!! This results in max patch subdivisions so you can see what’s really going on! Second, for a face you will want to animate there are some guide lines which not only allow the face to animate properly but also help with smoothing. Bill Young’s ‘How to Model A Face’ CD from Anzovin Studios is the best and most complete guide on this that I have seen. Back to that mystery tut, I remember this tut (I don’t think it was Young’s CD) talked about ‘lifters’. This is where you have splines traveling in the same direction (more or less) that have large spaces between the cross splines (the forehead is a place you see this). You will see these splines. Getting rid of these using just bias tweaking will be next to impossible. Lifters are simply stitching in more cross splines to ‘lift’ the offending splines up so that they do not show (if that makes sense). Bias tweaking is the main way to get rid of bumps and other patch blemishes. I do not know if this will survive ‘Copy/Flip/Attach’ – in other words, if you can fix half a face then mirror it and the bias tweaks will be there on the mirrored half. The porcellain-material blurs patches and is the final solution. However, I have found that it blurs maps too. However you can turn this effect up and down. Rusty
-
Ha! My wife (who is a 'mother' and so qualifies for a gift from me) would absolutely kill me if I tried something like that. It's a cool idea otherwise. A few years back I had a person helping me do a whole bunch of klieg tests rendering the output so I could just say I want that one and use those settings. Damn if I can find it! :-( If it turns up I'll post it. I'd try a search of the forum. Cheers, Rusty
-
I would prefer something like that for the Squetch rig. If I had the time, I'd try writing a plugin for Squetch, but alas I don't. I'm guessing that if I tried to install a Squetch rig by hand at my skill level, I'd have to redo everything 5 or 6 times before I got it mostly right. From what I've seen, it's a long and complicated process. It's really not that bad and in fact the pose system used to fit the skeleton to your model in fantastic and better and about the same amount of effort as the TSM2 fitting process!! But, there is a phase called "Reset Compensates" which is about 130 steps that really sucks. It is the reason I've decided to go with the TSM2 rig (which I've been using since TSM'1' first came out) for my current project. As soon as that Reset Compensates phase is automated it may be that over all Squetch will be easier to install then the TSM2. NOTE that in all of the above I am addressing ONLY the Squetch from the neck down -- just the body and not the face rig which is very complicated to install but also very nice. As you know TSM2 does not have any kind of face rig or setup. At present I'm going to go with the TSM2 body rig and the original face rig which is very much like the squetch rig (Shawn Freeman's bone configuration, Squetch's control system and Osipa's lip sync system). I'm so happy I saw this thread -- I thought my old friend TSM2 no longer worked in AM! Cheers, Rusty
-
It works perfectly.
-
I'm not familiar with the download Robcat referred you to but more then likely when you unzip it you will see a folder called Library. In AM do Tool->Options then go to the file tab. In the drop-down box select Libraries. Add a new library location by clicking on the '...' and browse to the Library folder. You must restart AM. You should see all the resources in the AM Libraries. Rusty
-
Found it. Thanks!
-
Hi, I dug up all my TSM2 stuff and to my dismay every TSM2 manual icon was a link to an on-line manual that isn't there anymore. Does anyone have the old AM manual? Thanks, Rusty PS: Also the latest version I have looks like V2.0.7... is that what you have?
-
hisako, Well that's kind of a bummer but on the bright side, Paint Shop Pro 7, to my knowledge, will do everything that Photoshop does (at least as far as my tut goes or, as far as you need it to use with AM). However, I'm sure things work a slightly different way and I don't know how to use it anymore (I used PSP for many years... 10 years ago). PSP will do everything you need for AM (its just as 'compatible' with AM as Photoshop which is to say that compatibility is not a concern -- if the program outputs image formats that AM accepts, and both do, that's all that matters). Whether you get Photoshop or use PSP you going to have to learn how to use the program and learn to use it well. I think PSP is easier to learn. BTW, do not waste your money on Photoshop Essentials!!! Its a piece of crap! Photoshop costs $650. Both programs are as 'large and deep' as AM. There are free tutorials and how-tos all over the web, you just have to search for them (i.e. google 'PSP Paint Shop Pro learning tutorials") and you'll have to work, work, work. If it were easy, everyone could do it. Once you start though, its lots of fun. Cheers, Rusty
-
'Maps' or just images or pictures applied to a model via drag and drop or, more often using decals. The default map type is color which shows the image but there are many other types of maps besides 'color'. Flip through tut on my site -- it shows in detail how to create and apply different kinds of maps for skin creation. Cheers, Rusty
-
hisako, I almost shied away from responding -- too many questions -- don't have time to write a book LOL (many will shy away due to this). First, the forum helps those who help themselves; almost all of your questions are answered already in this forum and you need to do some searching on your own before asking us for help. Look in the tutorial forum -- there are at least 3 skin tuts and also many hair tuts. Also there are many models on the AM and AM-Extra CDs and you should load one and take it apart and see how they have done it. I have a skin tut on my site in the Gallery section (URL in signature) -- it is a very complex tut but you will learn a lot by working through it. I will answer your first question on brows; some people just use a dark brown decal (color) with a bump decal (see my tut). I use hair on a separate mesh which I place just under the face mesh and attach to the same bones as the forehead mesh... and then of course I also save a copy of my work in my resource pool so I can reuse them directly from the AM library... or, send them to people like you. Brows01.zip Merry Christmas! The attached was created before hair grooming was available and uses maps. I would certainly use groom now to comb the hair in the right direction. FYI, I do the upper lashes the exact same way except on a much thinner mesh. If you put them on the model mesh, when you close the eyes, the mesh twists and does crazy things. I do the lower lashes the same way except these it create right on the model mesh. I hope this helps! Cheers, Rusty
-
I used TSM and TSM2 the entire time they existed but to my knowledge, Anzovin Studios discontinued both the TSM2 product and its support about 1.5 years ago (about the same time they discontinued weight lifter). It seemed to stop working for me in either version 12 or 13 (one of the three TSM2 plug-ins simply wouldn't run -- don't remember which one). To hear of anyone using it in V14 and that it works is a shock to me. I literally begged Anzovin not to drop the product. Please confirm that you found both the three plug-ins and the rig dare working in V14. Cheers, Rusty
-
Hi, Thanks! I thought it came out looking cool too. As stated, I 'threw' this together -- maybe 3 hours of work. I can't even imagine how long it would have taken to animate those moves. The run and the break dance/cart wheels were motion capture files. Just before the final render I just went through the AM library (which is hooked into my resource pool... see another ongoing thread here) and grabbed models and lights and 'threw' them it into the chor for... 'bling' effect! The test refreshed my memory of BVH files and how to use and tweak them and, how to use the one lowly BVH tool I have (bvhacker). In fact the item that took the most time (an hour maybe) was tweaking the BVH files (in bvhacker, notebook and AM) so it looked right and didn't float off or along the ground. Cheers, Rusty
-
Hi, Before using the latest posable Squetch rig I wanted to see how the latest rig performed so I threw together some stuff to put Sam through the paces. Sam performed admirably. http://www.virtualmediastudios.com/SquetchStressTest001.wmv Cheers, Rusty
-
Looks good and just as important your splines should animate well... good job. Usually I like to have more spline circles around the eyes and mouth but I think you have enough. Usually a face is modeled with a nutral expression (the eye brows seem raised -- I could be wrong) and modeled with the mouth closed but again, you should do all right (you'll just have to have a pose that places the face in a mouth closed nutral expression). Rusty
-
Hi, This release is different then the release I installed only a week or two ago which was new back then (I'm not sure of the rig date). I just want to make sure about what I'm seeing. You have split out the relationships so that when you import 13s_Posable_Five_Finger_Squetch_Rig_04_11_2008.mdl the only relationships you get are the Install poses. Then later on in the install process you import other files (i.e. FINAL_IMPORT_Posable_Five_Finger_Squetch_Rig_04_11_2008.mdl and others depending on what options you want) in order to get the other of the poses. What confuses me is that 'seemingly' (I could be mixed up) the version of the rig I installed only a week or so ago has the same "FINAL_IMPORT" model files (that you import later) and yet, I've only imported the "13s_Posable" file and I have ALL of the poses. Sorry if I'm complicating things... I'm very tired. I just didn't expect what seems like such a fundamental change from the last rig. I'm also wondering if I should rip out the rig I installed a week or so ago and redo it with this newer version. Thanks, Rusty PS: any estimates of the new install tuts (or documentation ) your working on will come out?