johnl3d
-
Posts
7,770 -
Joined
-
Last visited
-
Days Won
205
Content Type
Profiles
Forums
Events
Everything posted by johnl3d
-
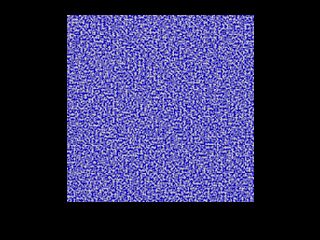
Okay this looks good but its not moving yet project3 step3.prj
-
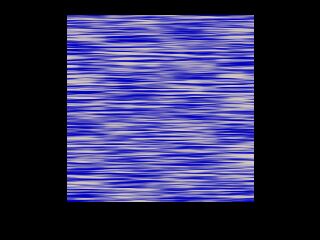
Now to get the results I was after we also scale y in sine to 3000% and get this ...looks like something useful

-
Okay this doesn't look much better but could be ...depending on what you are trying to show project 2 step2.prj
-
Okay step2 we open scale in sine and set x and z to 3000% yes 3000% and get this
-
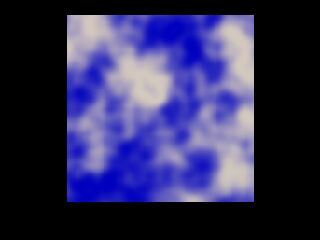
Okay real exciting here is project 1 ...11.1g format step1.prj
-
I usually to do write a tutorial just post projects this will be an attempt to combine the two. To get an interesting material to animate it might take a few steps. In this project I'll start with a basic plane to display the material and prepare a material for hopefully an interesting result. You can start by downloading the 1st project or just jump to the 5th In project 1 I set up the plane in a chor and make a new material right click on the attribute and change it to a combiner \turbulence \sine pick blue and white for colors and choose 3 octave in the sine choices. Then render this rather uninteresting frame
-
very nice work !
-
the evei eye is material also will dig that up and explain
-

started to play with animated materiall
johnl3d replied to johnl3d's topic in Work In Progress / Sweatbox
the background in a volumetric light ..check project file -
started to play with animated materiall
johnl3d replied to johnl3d's topic in Work In Progress / Sweatbox
and here is the project with the sprite 11.1g animtest.zip -
sprite flower volumetric lighting sweep vines all for fun flower000.mov
-
don't know what this was suppose to be but you can do 2d in Am http://johnl.inform.net/pages/pretend.htm
-
The handle in not a map just a a material appled and animated in the chor. Will try to decide the best way to explain the ideas and keep the file size small or maybe turn it into a pdf file John
-
In case you just need the project file here it is 11.1g 24k matmovetest.prj
-
Trying to see what users would be interested in regards to a simple animated material tut. I put this together to get sime ideas of simple things that can be done. I used the material combiner sine in this example in fact it is the same material with slightly different settings and colors on the handle and the globe of the wand. In the wand it is doing the displacement and in the globe the twirling colors. I did use a lens flare at the end. So if this is of interest let me know here. qt 47k mattest00.mov
-
Wow very nice !
-
sprite balloons controlled by gravity forces
johnl3d replied to johnl3d's topic in Work In Progress / Sweatbox
Thinking who has time to think I just do...I've had AM since 98 by now I don't have to think and least too hard... Thanks (see Yoda quote below) Ps to Rodney maybe i should give out more cards -
thanks Jeff
-
Was thinking of doing a tut on animated materials is there any interest $1.98 version here sine10.mov
-
here is the 11.1g project with decal temple.zip
-
okay here is a better render used the decal and set render as lines to same group
-
should have slightly thicker lines but grouped entire model on cd ..temple deleted all other groups and applied this image to the group as a cookie cutter . whiteline.zip
-
did this with a decal
-
simple version http://johnl.inform.net/pages/roto1.htm just applied the material to skydome will be working on a tut
-
the speed is very easy to control will try to post slower version and project later. It was late when I decided to try this and guessed wrong.