MMZ_TimeLord
-
Posts
1,495 -
Joined
-
Last visited
Content Type
Profiles
Forums
Events
Everything posted by MMZ_TimeLord
-
Excellent job... wonderful timing on the motion... Cheers!
-
playing with balls and lights - Newton+Radiosity
MMZ_TimeLord replied to Xtaz's topic in Work In Progress / Sweatbox
Here's my take... I simply turned down the transparency on the balls a bit. Each type a little different. Ranging from 95 to 80 percent. Enjoy! Xtaz_tribute01.mov -
Yes, usually it is two splines also that are on top of each other as well. easy way is to start sub-dividing your splines in the lower ring. (Press the "y" key while a cp is selected on the spline.) I've made this mistake before myself. That was the reason for asking for the file to examine.
-
If you have not deleted it, please post the model here. I'll take a look at the file structure and see what happened.
-
newton family wobble but don't fall
MMZ_TimeLord replied to johnl3d's topic in Tinkering Gnome's Workshop
I thought they were going to look like the "Weeble" toys I had as a kid. You know... sing it... "Weebles wobble but they don't fall down!". -
I had not seen those before, I'll check them out!
-
Windows 7 Boot Animation
MMZ_TimeLord replied to MMZ_TimeLord's topic in Work In Progress / Sweatbox
I completely forgot about Specularity only lights! I'll probably just play around with the one fill light I have. I think it's close, but I'll probably just render the lens to test it... those glows slow things down. -
Windows 7 Boot Animation
MMZ_TimeLord replied to MMZ_TimeLord's topic in Work In Progress / Sweatbox
Okay, I've added the videos... enjoy! -
Windows 7 Boot Animation
MMZ_TimeLord replied to MMZ_TimeLord's topic in Work In Progress / Sweatbox
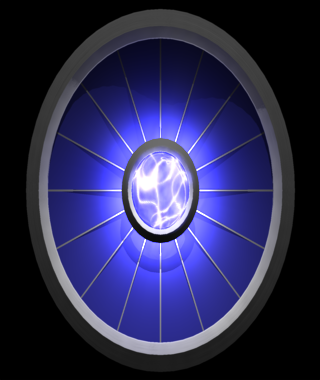
When you see the "Starting Windows" text and the four orbs converge into a glowing windows logo... that IS the boot animation. In order to change that animation, you can use a publicly written tool called "Windows 7 Boot Updater" it strips out the stock animation and adds another based on a series of images. I'm using .png images, but you can use .bmp too. I think .jpg images work, but I have not tried them yet. -
I made this, well... because I can. Win7_Anim_Logo_TL_01.prj Not completely happy with it as I could not get the specularity on the lens to show properly, but my skills at lighting are not that great. *sigh* It's intended for widescreen 16:9 (1.35 Aspect setting in A:M's Camera) monitors as Windows 7 does NOT correct aspect ratio upon rendering the animation. The second image is an uncorrected 1:1 (1.0 Aspect setting in A:M's Camera)version here as well as the embedded project file (v14.0 only, sorry haven't upgraded yet) link. EDIT: Here are the videos, as promised. 16:9 and 1:1 respectively. test000_16.9.movtest000_1.1.mov My farm is currently rendering the 16:9 .png files for the actual animation patch into Windows 7. When it's done I'll render some full QuickTime videos of the animation and post them here. NOTE: If you are still using V14.0 as I am, the project saves the FPS rate, but does not load it into A:M for some reason, so I always have to manually change the FPS from the default 30 to 15 for this project when I load it. Also, the Windows 7 animation is limited to 105 frames and repeats frame 61 through 105 after it gets to the end of the animation the first time. I'll probably change the colors to purple and re-render for my lovely bride's machine. Enjoy!

-
Stian, Nice work! I too am addicted to Minecraft. I run a small server for some friends and have a blast. I've been away from A:M for far too long I think. I'll post a Windows 7 boot animation I made shortly. Cheers!
-
Could Somebody Build Me Something?
MMZ_TimeLord replied to Darkwing's topic in Work In Progress / Sweatbox
So here's the latest... most of the main hull and all windows now have decals applied. Only the tail section and the bottom of the center hull and the detail pieces to go. I'll be taking a break on this so I can work on the bedroom for the SO project. Cheers! p.s. - Yes, a cloth skirt or something cobbled out of cardboard and painted right or covered with old fabric of some kind would work wonders for the chair. Be creative!
-
Could Somebody Build Me Something?
MMZ_TimeLord replied to Darkwing's topic in Work In Progress / Sweatbox
Observation: Everything but the 'desk chair' look like it should be there. I would (given the budget) get a pair of bucket seats out of a car at a junk yard to use for the pilot and copilot seats. But that's just me... -
Could Somebody Build Me Something?
MMZ_TimeLord replied to Darkwing's topic in Work In Progress / Sweatbox
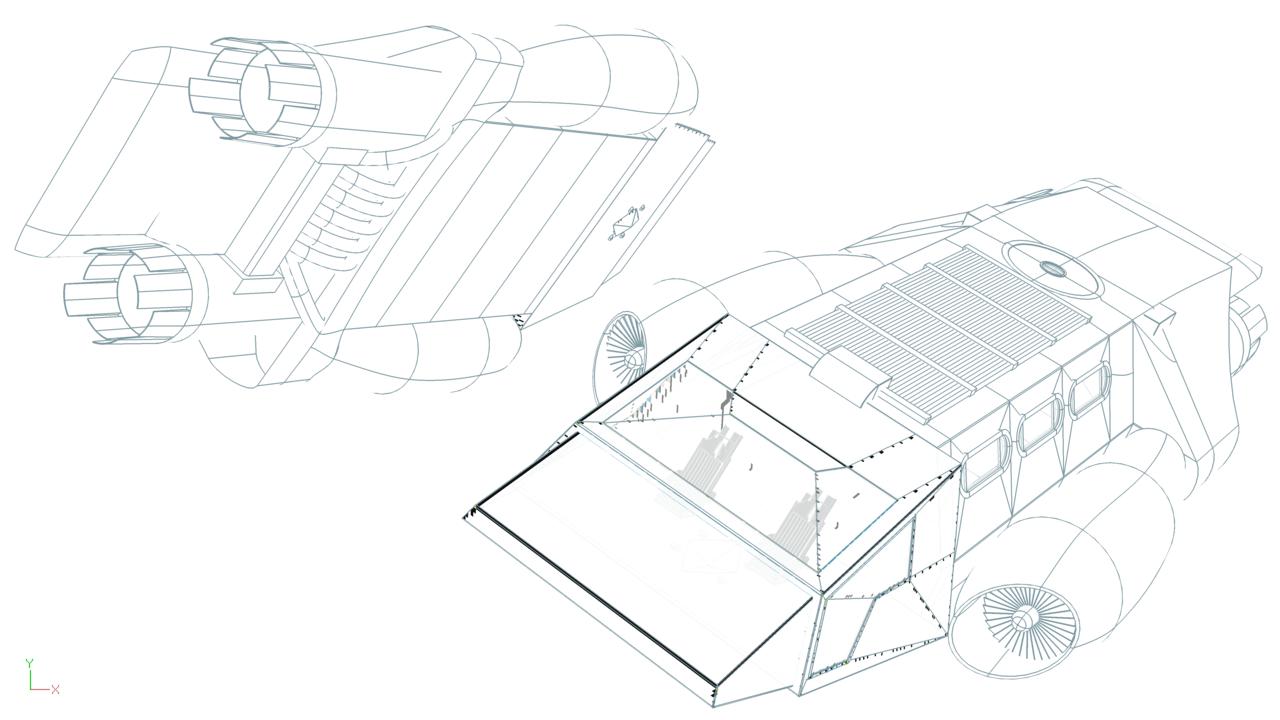
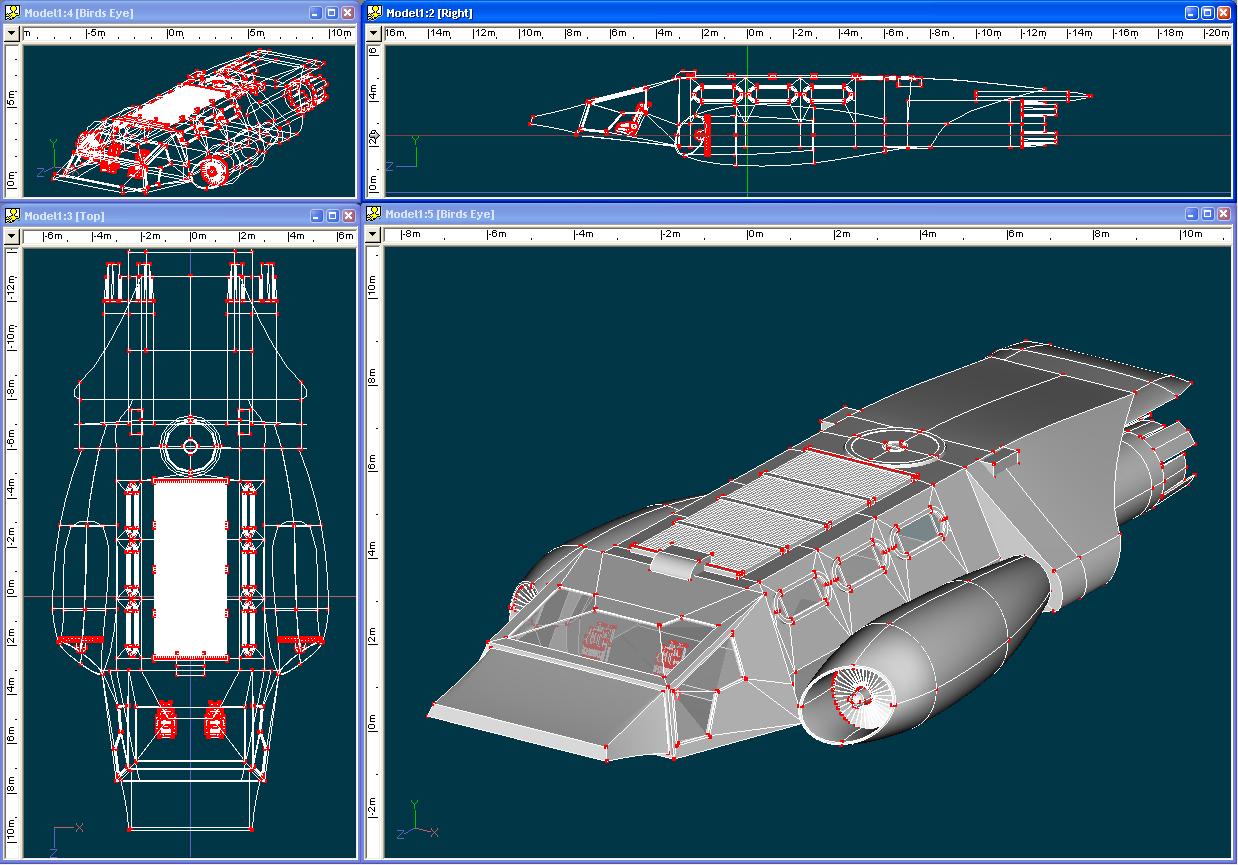
Yet another purdy picture ... may not look much different... but the decals on the cockpit and front glass are white with black lines following the splines. I'll be working on this some more hopefully tomorrow and Labor Day... EDIT: And for all you wire frame freaks out there...
-
Could Somebody Build Me Something?
MMZ_TimeLord replied to Darkwing's topic in Work In Progress / Sweatbox
Well, the last of my week was VERY busy... but I managed to re-model part of the hull so it's truly beveled. This should help with any close up shots that are composited with live action. I'll re-apply the decals later today... Cheers!
-
Could Somebody Build Me Something?
MMZ_TimeLord replied to Darkwing's topic in Work In Progress / Sweatbox
Vern, Yes, I've used the extremely small bias myself on more than one occasion to good effect. I may do that this time, I may not. We'll see. Here's a slight update from last night... Got some of the first textures applied to the cockpit. They were just raw screen captures applied right over a flattened action pose. When I get home tonight I'll dig out my tablet and have a go at it. Cheers! p.s. - the intensity of the lights is what is causing that rough looking pattern on the tail.
-
Could Somebody Build Me Something?
MMZ_TimeLord replied to Darkwing's topic in Work In Progress / Sweatbox
Vern, To address the 'beveling' issue. I thought about that at first and I can still add that back in without drastically altering the model. I was planning to weather the ship a bit with the texture maps and hide most of those hard edges. Also, creative lines at the edges in an appropriate bump map will give the illusion of beveling without adding more geometry to the mesh. I'll do some simple experiments and see what I come up with. Thanks for reminding me of that part though as I almost forgot in my haste to get this done. Cheers! -
Could Somebody Build Me Something?
MMZ_TimeLord replied to Darkwing's topic in Work In Progress / Sweatbox
Rodney, As usual, you are too kind... michaelangeloart (Michael), I whole heartedly disagree with you sir! As you can see, splines work VERY well for 'box' type shapes and in most cases can still significantly decease the size and complexity of the mesh involved. You can even do the strangest thing with them... use them EXACTLY like *gasp* polygons (oh geez, there I've gone and said it! ) One thing is for certain Michael, you can NEVER get the same fidelity with a polygon model as you can with a spline model. I mean no matter what you do you never get ANY truly curved surfaces and let's face it... this ship has more than it's fair share of those. Stock Polygon model props have their place, but if Darkwing is using A:M for his project and needs a prop/vehicle/set specific to his story and not some generic model, then why not stick with creating them with A:M too? Darkwing, I've got some minor updates to post in a bit, but I got to sleep quite late and haven't rendered them for posting. Cheers! -
Could Somebody Build Me Something?
MMZ_TimeLord replied to Darkwing's topic in Work In Progress / Sweatbox
Little present for you...
-
Could Somebody Build Me Something?
MMZ_TimeLord replied to Darkwing's topic in Work In Progress / Sweatbox
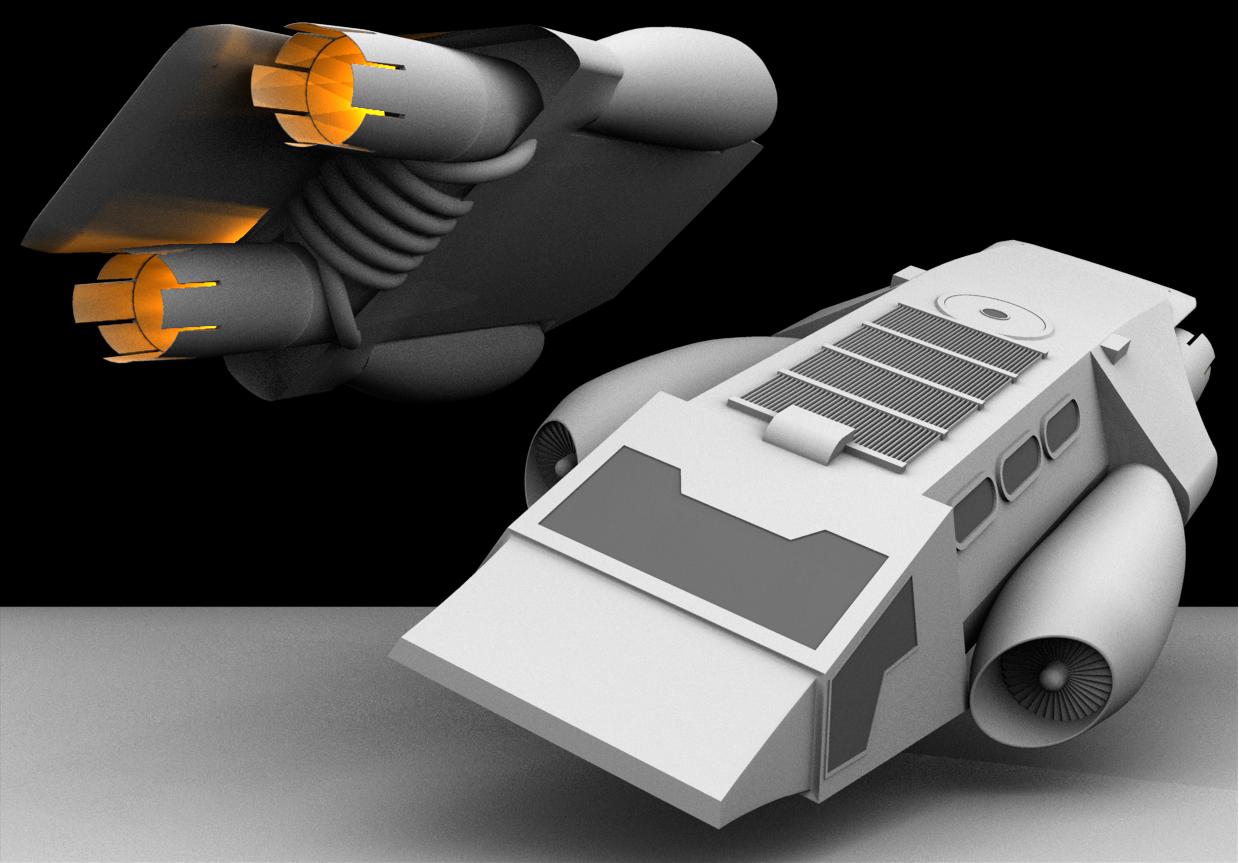
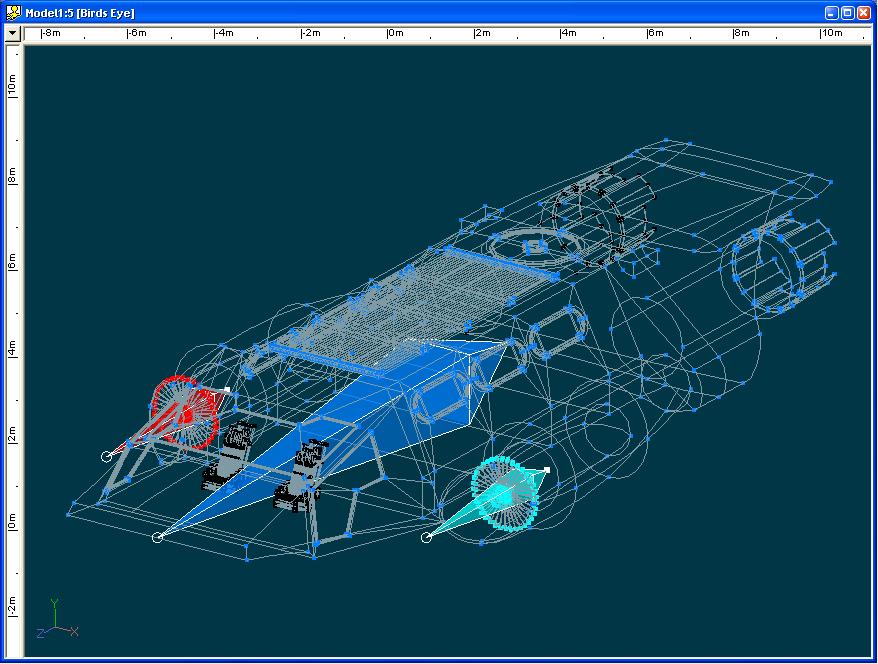
Okay, the rigging is almost complete, including the engine lighting. I'll probably add the marker lights tomorrow as well as start on some of the smaller details on the bottom. Piping, ramp, landing gear, etc. Here's the screen shot...
-
Could Somebody Build Me Something?
MMZ_TimeLord replied to Darkwing's topic in Work In Progress / Sweatbox
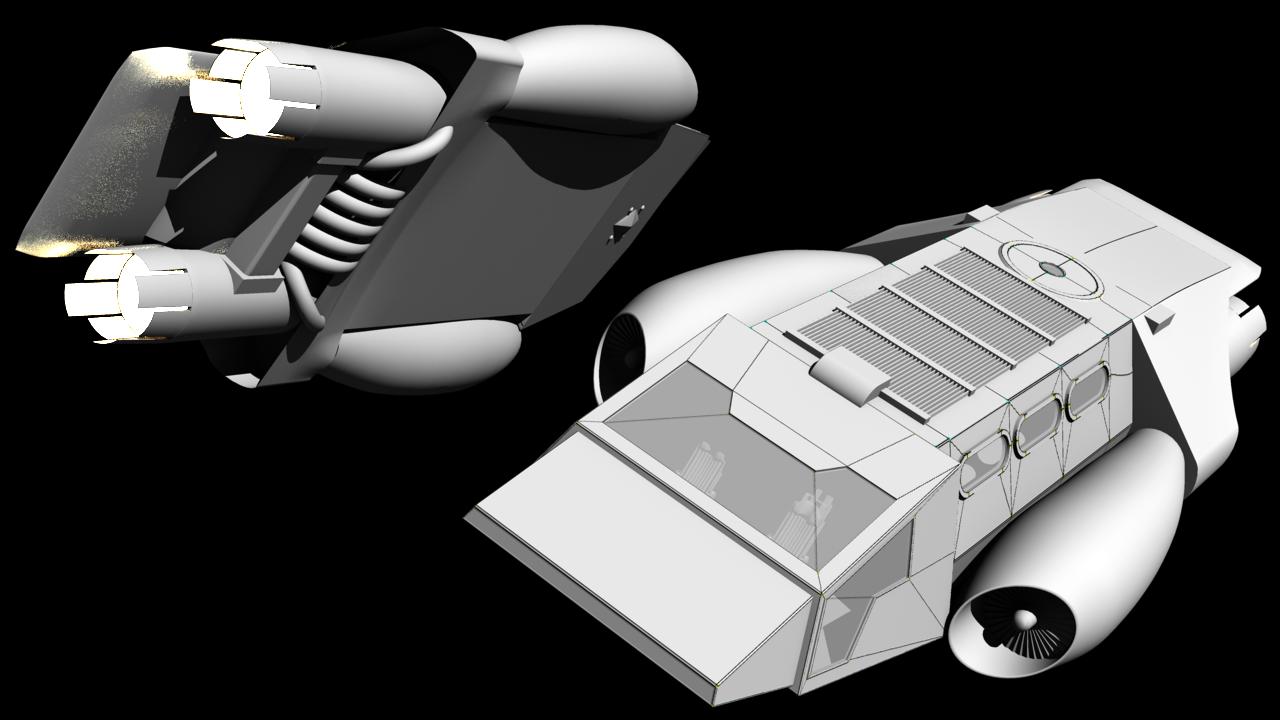
Darkwing, I just put the seats in for scale placeholders. When you get the design for the sets done, let me know... keep in mind the sets have to fit the model and vice-versa. So if you need the model altered to fit the set, let me know. I'll take a shot at texturing it as I need the practice and have the 3D Painter product from Pixosaur. Cheers! -
Could Somebody Build Me Something?
MMZ_TimeLord replied to Darkwing's topic in Work In Progress / Sweatbox
Okay... some more time tonight... Added the rocket/jet nozzle control surfaces, docking hatch and some cockpit ejection seats I had laying around. I also began some of the rigging. Both turbines and the center of gravity for the ship. More to follow... oh yeah, the patch count stands at 4791... EDIT: Oh yeah, I almost forgot, the seats are in scale for a 2 meter tall biped. :cool:
-
Could Somebody Build Me Something?
MMZ_TimeLord replied to Darkwing's topic in Work In Progress / Sweatbox
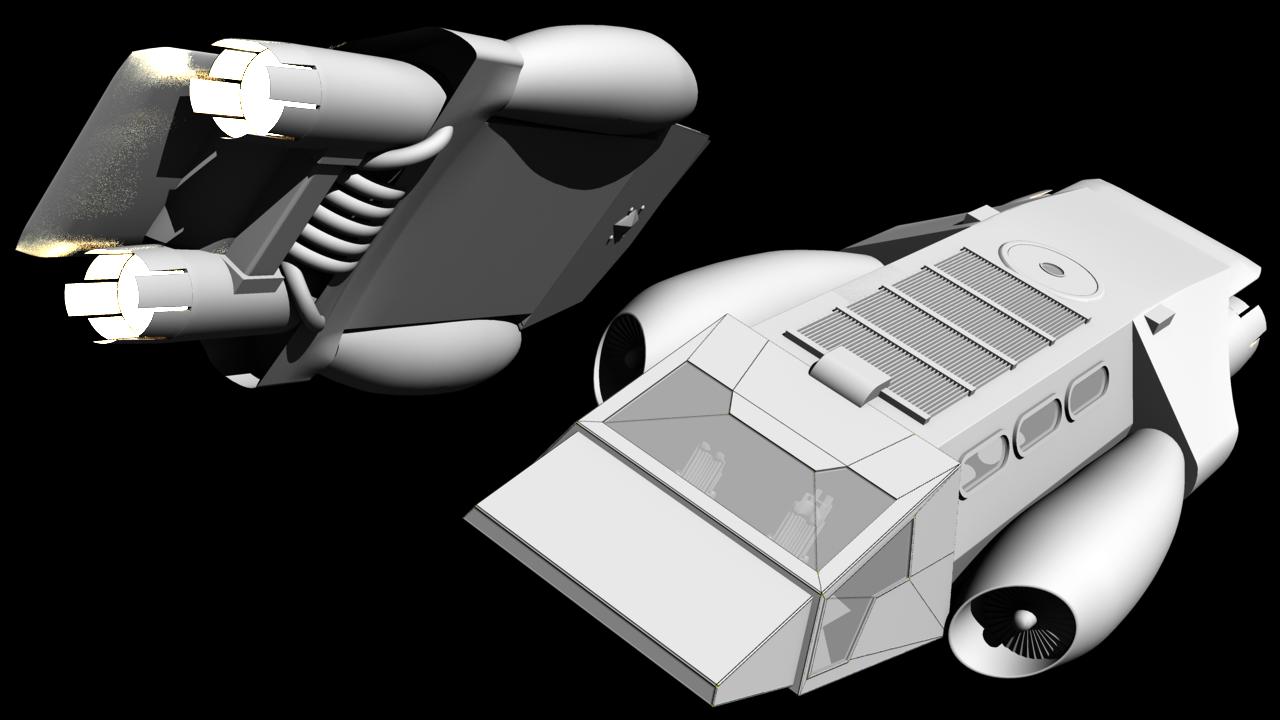
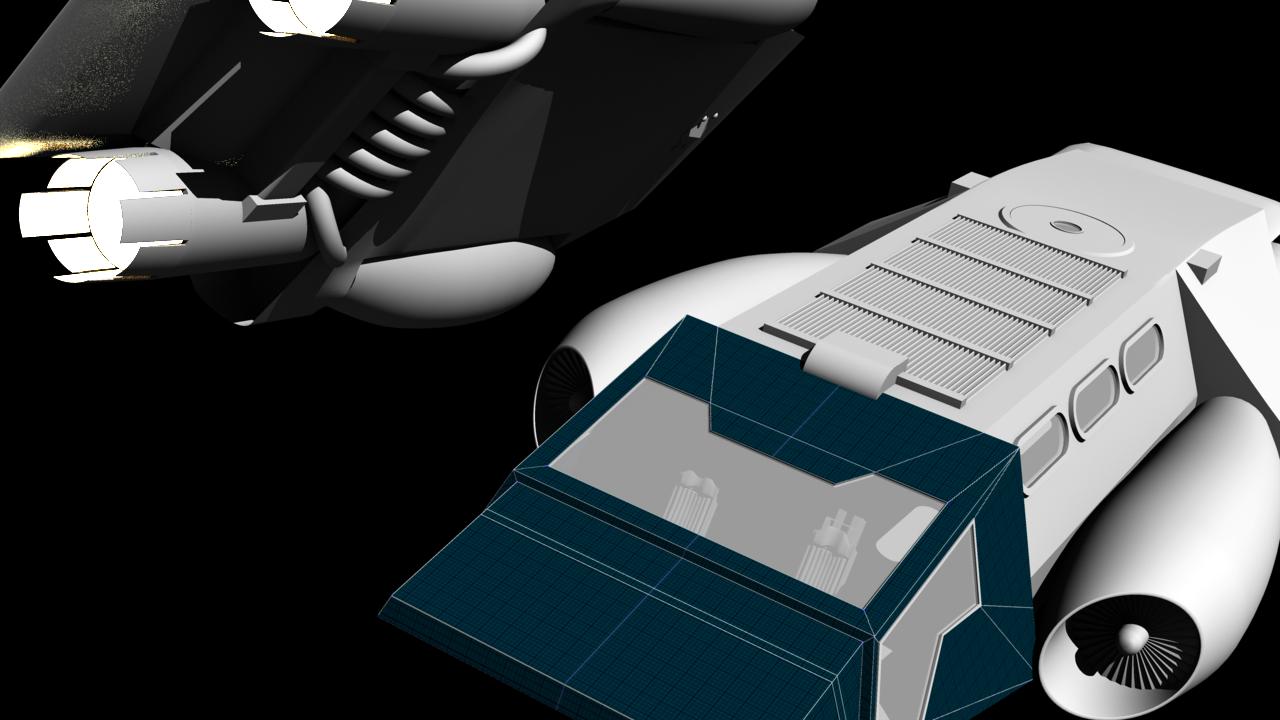
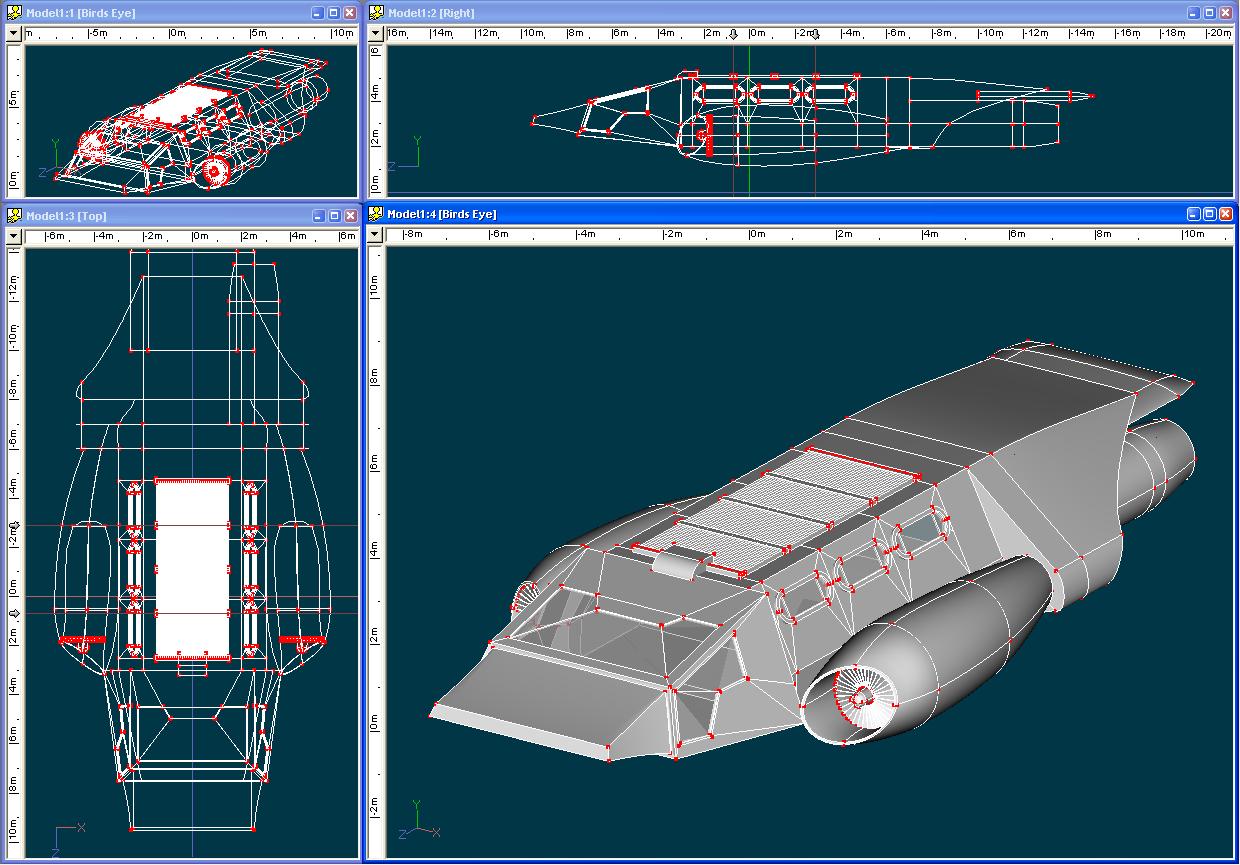
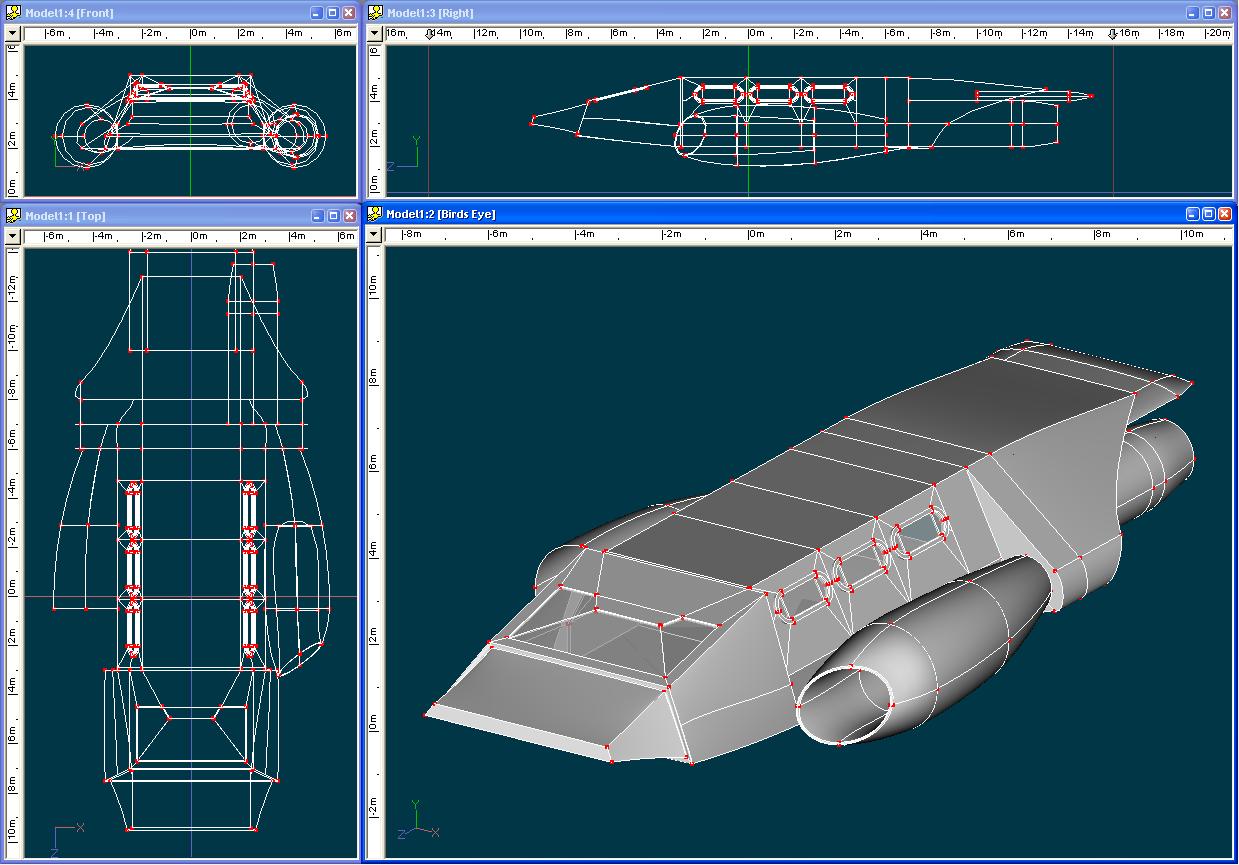
Okay, I think I have the engine intakes pretty much done, including turbines. I also added some detail to the top of the hull. I will work my way toward the back now. Cheers!
-
Could Somebody Build Me Something?
MMZ_TimeLord replied to Darkwing's topic in Work In Progress / Sweatbox
Darkwing, Yet another small update... had an hour or so this evening... Cockpit windows are now done. Cheers!
-
Could Somebody Build Me Something?
MMZ_TimeLord replied to Darkwing's topic in Work In Progress / Sweatbox
That's a really good start! Some smoothing and tweaking as you said. Here's a small update... had some time to add to this at lunch today.