thefreshestever
-
Posts
821 -
Joined
-
Last visited
-
Days Won
2
Content Type
Profiles
Forums
Events
Everything posted by thefreshestever
-
depends on how much control you´d like to have over the items, animating by hand could be less time consuming. for the cloth simulation above i fiddled around at least for 6 hours or so, remodeling the word (since geometry makes a huge difference, i´ve tried many variations) ,adjusting the cloth settings and running simulations... at the end i spend a whole day and wasn´t yet able to get a satisfying result. if it wouldn´t have mattered where exactly the words should land and if the camera weren´t that close, so the jittering wouldn´t stand out that much, it would have been a good solution to do this with cloth i think. but if you want full control, i recommend animating by hand. here´s the final animation, all animated by hand, no dynamics, no cloth, you can imagine that i would have taken a lot of patience to achieve that with cloth. at the end i liked the motion better that way, even though the physics are not completely realistic. but i some cases that´s a good thing i think... ld_anim_2011_low.mov
-
i was recently trying a similar thing... that´s what i came up with... i ended up animating the words by hand, because i wanted the words lo land on top of each other, and with cloth simulation they just wouldn´t stay on top, they were always falling down... also i couldn´t get rid of the jittering, and that bothered me... the ability to maintain it´s shape depends a lot on the grid-resolution, denser models require other settings, you just have to play around with them, until it fits your needs... i hope it helps.. audioanim_low.mov clothtest.prj.zip
-
for me the rotate snap angle is going back to its default 5° after restarting am since v16beta4 on a mac...
-
it doesn´t really matter when you´re doing the weighting. i always weight my characters after installing the control-rig.
-
wow... that looks amazing!
-
inspired by robs amazing tests i´m trying to use cloth for some typo animation for work, to get some sort of bouncing yelly-letters falling down. it wasn´t easy to get it to behave like this, but i´m pretty much there. the letters will have to be remodeled though, they´re not complex enough for a smooth cloth-simulation, i just left them as they were imported by the ai-wizard. i´ve tried several approaches, with the letters in a invisible box etc... but i wanted the whole word to look like it´s one piece and i wanted to have the letters return to their original form and position at the end of the simulation, so i connected the single letters with invisible geometry. and that worked just fine, as you can see... i will try to optimize it, i will post the project-file when it´s done, for those who are interested in the settings. audioanim_low.mov
-
I think I dealt with the SAME woman recently... I did a little graphic for her and at the final hour she demanded I give her the Maya file- and was infuriated when I told her there was none... 'How did you make it then?' she barked... I booted-up A:M and she was over my shoulder... 'WHY DO YOU USE BETA SOFTWARE?' she asked spotting the red BETA on the splash, thinking I was using some new crazy stolen app... 'I am a beta tester for the software' I replied calmly. 'HOW LONG HAS THIS Animation Master BEEN AROUND?' She demanded, knowing Maya has been around since 1998... 'Oh- only about 1989 or so...we are on version 15, going on 16'. She proceeded to 'pull' the project from me and gave it to a team of 4 Maya animators... last I heard, they are still working on it- 2 going on 3 weeks. lol... ignorance.... the very worst of all weaknesses in character...
-
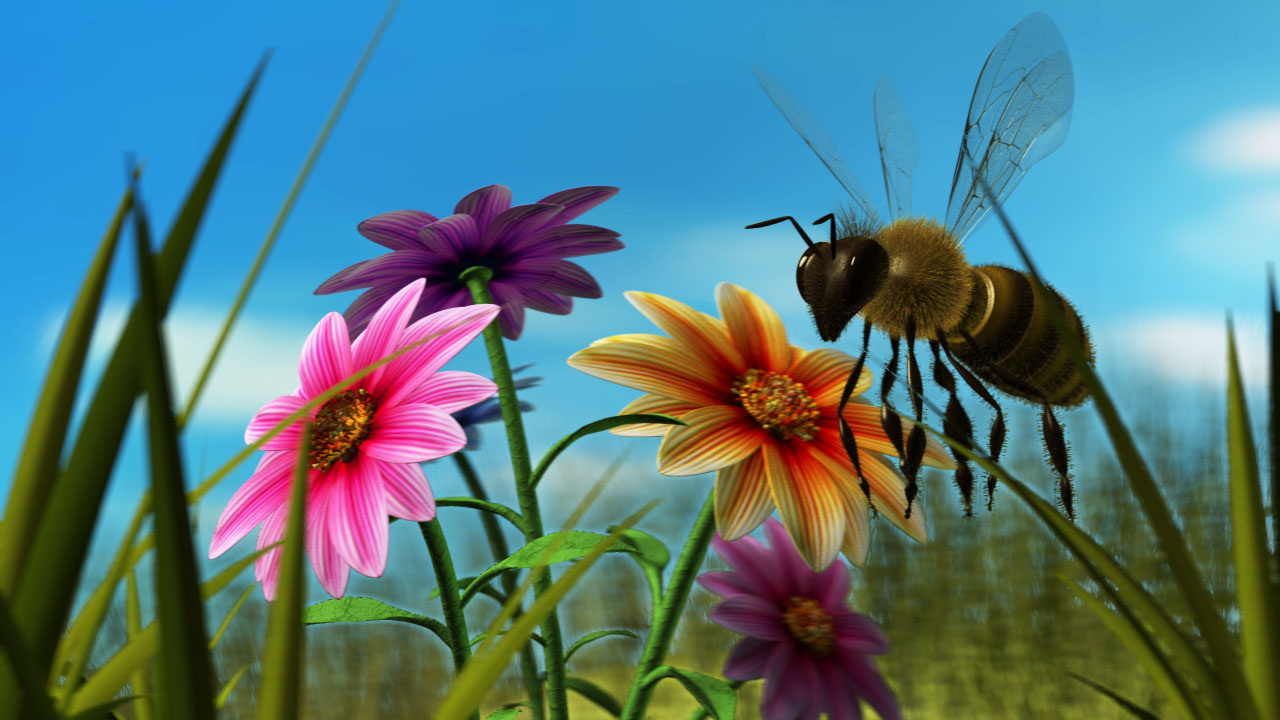
little update... here´s a new testrender of the bee-scene... much better, but still some issues with the grass in the area of the bees wing etc... i will render at least the grass in the foreground seperately, so i´ll have no problems with that anymore... and a little update on the animation... just animated the bee-scene and some additional seconds... the timing when she lets the bird fly isn´t right though, got to be a bit faster... animtests.mov

-
thanks.. i´ve got a few ideas on the DOF which i´m going to try today... let´s se how it works out. i´m using the squetch-rig, david has made it so easy to install that it´s no more effort in time than tsm2 anymore.
-
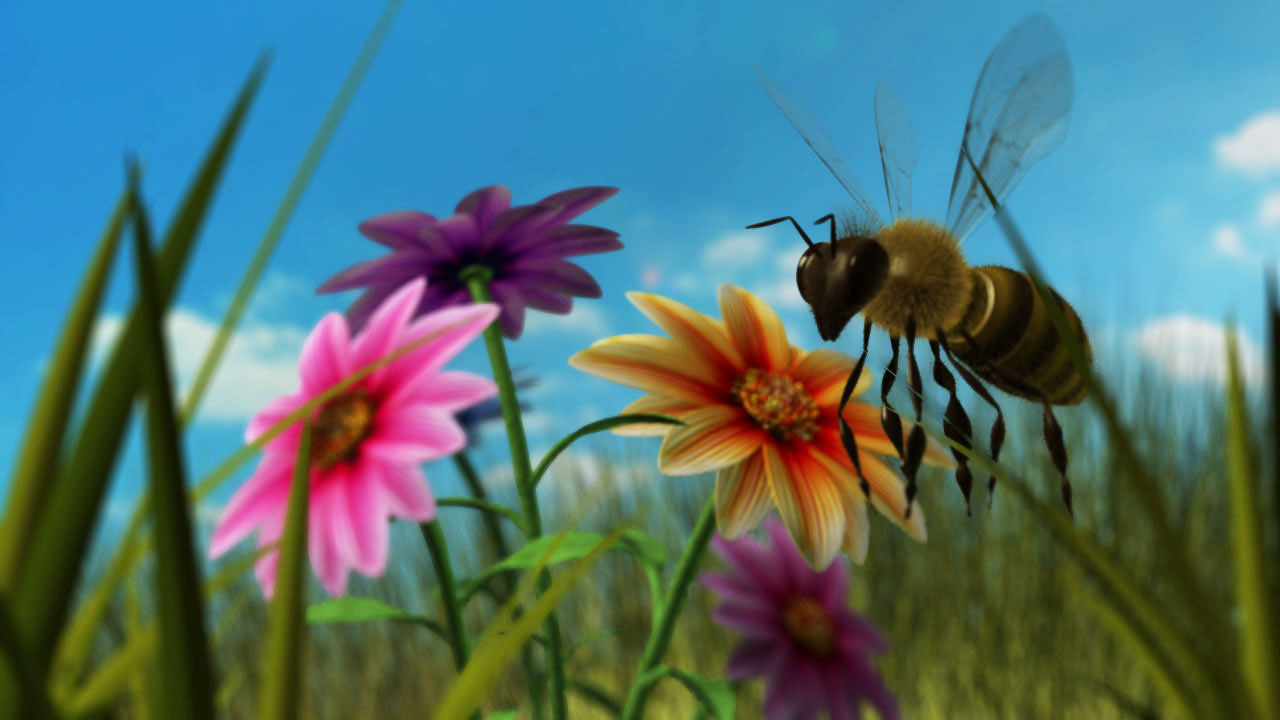
thanks... here´s a testrender of the short scene with the bee and the flowers... not happy with the look of the DOF yet...
-
much better now! great job. what about a horse for her to ride ?
-
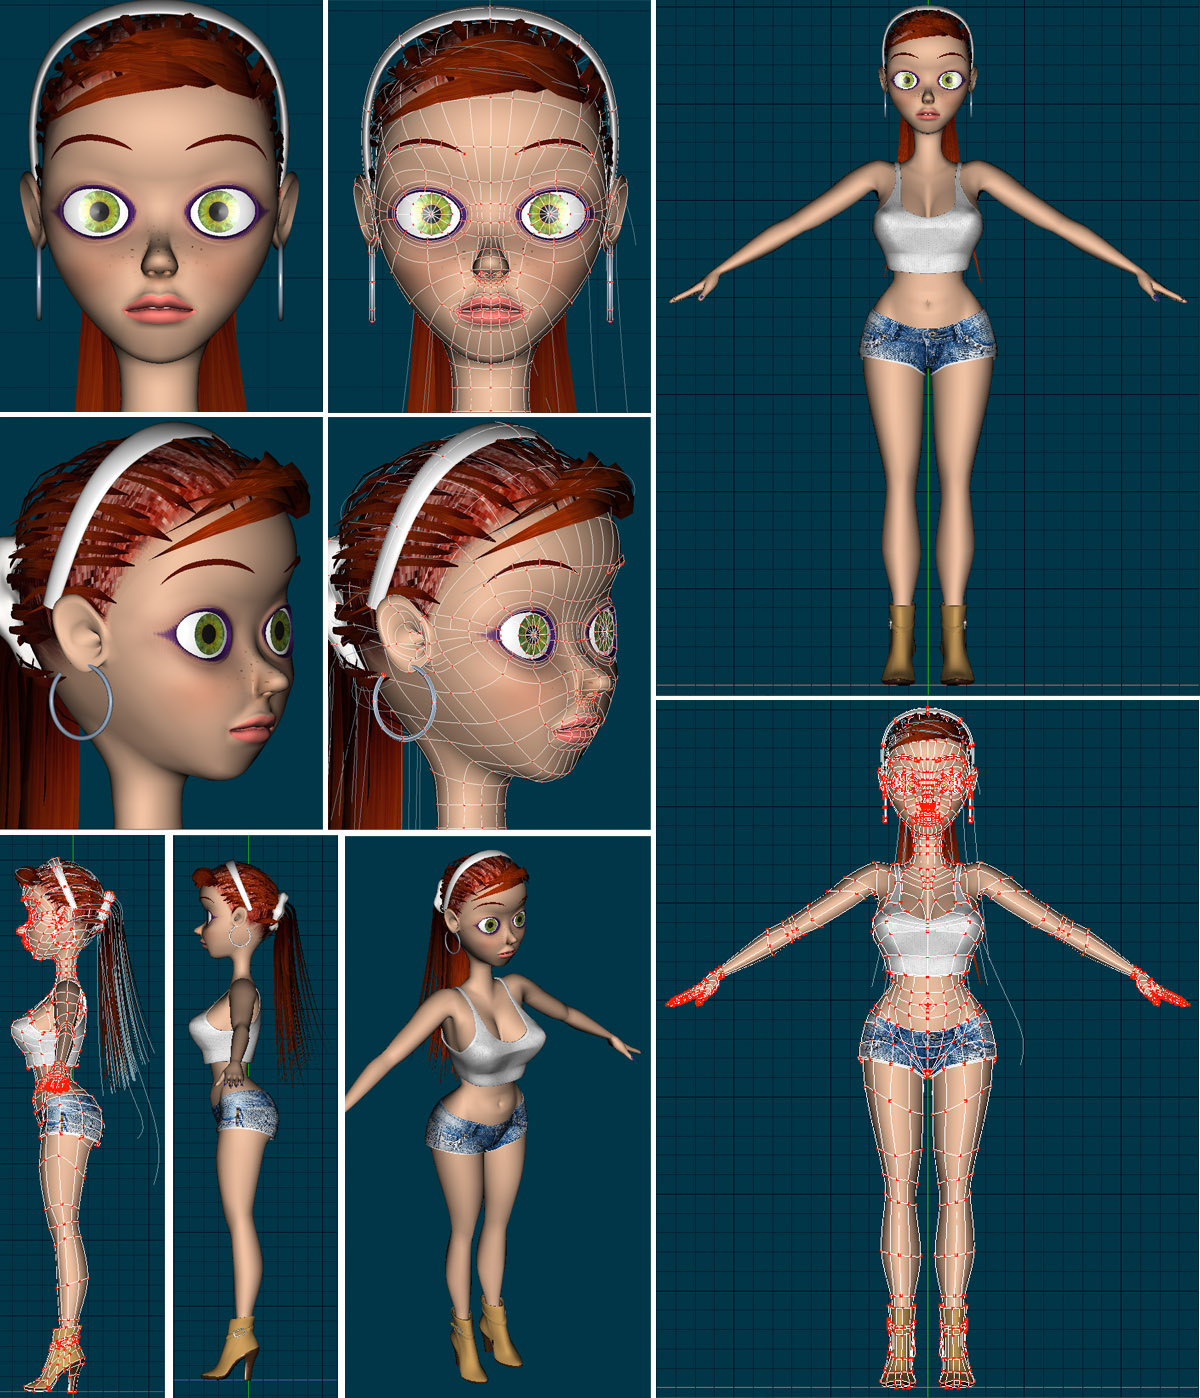
something seems wrong with her mouth... besides that the lips are propably a bit too full, i can´t figure out where the splines are going at the mouth corners...
-
awesome... this has become really impressive.
-
to be honest: i can´t really draw... that´s why i don´t draw my characters first and use rotoscopes... i just start with a spline and see where it goes from there... i really can´t give you that much advice on modeling, just start as simple as possible and then put in the splines that are really nescessary...
-
thanks... technocrane i love that thing...
-
thanks... @ rob: yeah, it´s got to get a lot smoother... i watched some "how to do a catwalk" tutorials on youtube for the walk, but it´s kinda hard to figure out the extremes on those... thanks for the advice...
-
it´s a company that makes plug-ins for after-effects, premiere, and final cut too (i think)... i could make the waterfall with sprites in a:m and get almost the same efect, but it´s rendering much much faster if i do it in post.
-
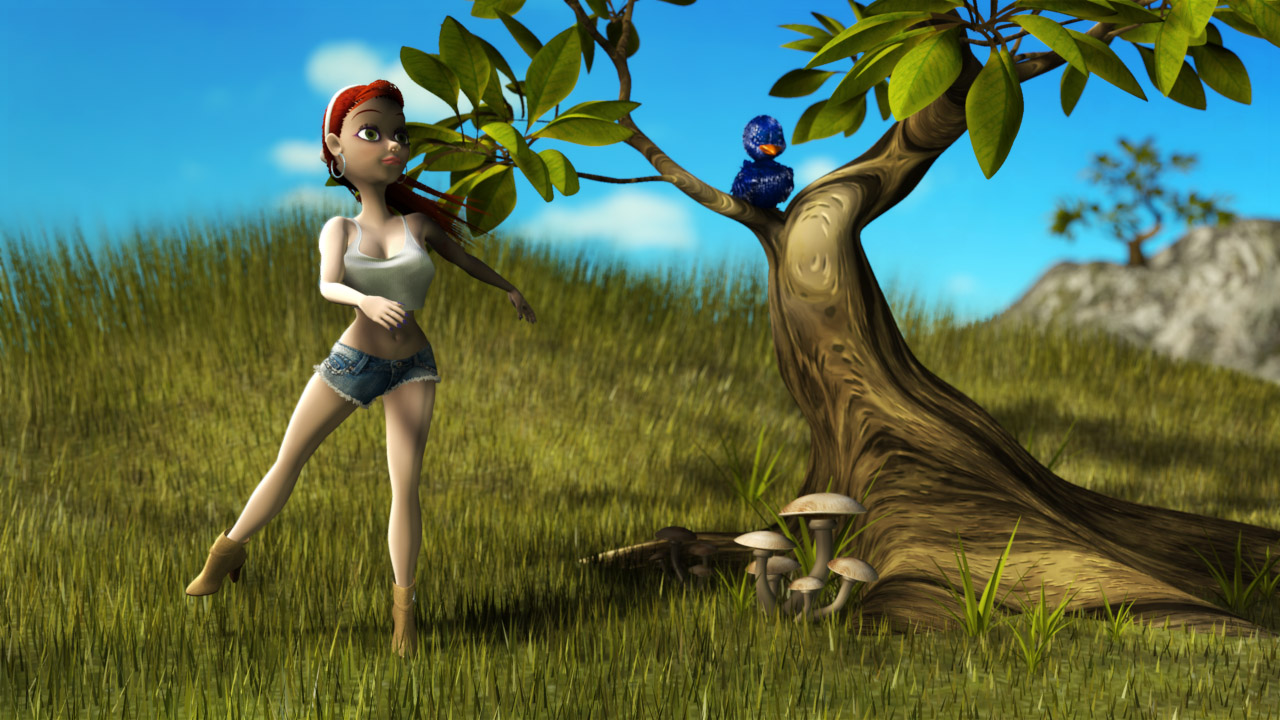
i´ve made my first female character lately ( can´t believe it took me years to finally model a woman ), and i wanted to let her sing, somehow i always wanted to model a girl and see her sing.. so i took one of my favorite minnie riperton songs and started animating. it´s just a short break from my "alive in the attic" project, which is all dark and spooky, and this one is bright and sunny... the only intention i have with this project is that it should look beautiful and light, and of course to learn stuff i didn´t know before. so far i´ve learned tons of stuff from it, i´m sure there´s more to come. i´m pretty proud of my rendertimes on this one... i´ve always had issues to make the rendertimes of well lit outdoor-scenes with grass and trees suitable for animation, but now i´m down to 6 minutes per frame in 1280x720 on my macbook, so the big 8core mac should be able to render a frame in 4 minutes or so. i´m still hoping that fake AO for mac will come soon, it surely will look better with some sort of AO... i´m using smart SSAO in aftereffects with the help of the depth-map, but that doesn´t do too much... here´s the main character, a final quality testrender, and some first anmation-tests... there are a few seconds missing in the animation-test vid, it will be filled with a shot of flowers and bees, which i already got from previous projects. i still got some issues with the hair - when the character is moving fast, i can´t get rid of the stretching... i´ve already tried to decrease the number of control-points, with no result worth mentioning. the collision-detection doesn´t work as precise as i want it to be, i´ve build an extra-dense mesh around the characters shoulder/neck/torso area like in matts tutorial, but there´s still some of the hair hanging in the shoulder as you can see sometimes ... i also have to work on the walkcycle, it doesn´t look completely right yet... also there´s some weird knee backwards-bending/popping sometimes in the chor, even though it looks fine in the action. there also will be a waterfall in the background, i will composite that one in later with trapcode particular in after effects. i hope you´ll like it.. waterfalltest.mov animtests.mov
-
if the camera stays in place and the fog image matches the the camera view, then it should fit. another way to darken the tunnel area could be the use of negative lights... this way you can "suck" the light out of the tunnel... not sure though if it´s enough to ged rid of the fog...
-
seems like your uncle is enjoying a little junk in the trunk, he? just kidding... about the splineage: you have too many horizontal splines on the arms, you will want to get rid of them, there´s no need... the spline rings of the knees and elbows are way to close together, that won´t bend right after rigging... when you copy/flip/attach the model you will propably notice that this girls cleavage may be too wide for those big breasts. other than that you´re on a good way i think.
-
@ nancy: hmmm... i have always had multipass turned on, so i guess it´s almost the same... only that your sphere doesn´t appear at all, while my top is rendering white... funny thing is that i have two characters with transparency set on the eyes cornea, but only one pair of eyes is rendering white in the depth buffer... i´ll have to do some more tests...
-
aaarrgghh.. that´s too great!!! my first attempt was with a material effector, but i wasn´t able to get rid of the decals with the null shader, and i didn´t want to make an extra project and delete all the decals manually. this would have been the solution... but it´s good to know anyway, that´s a great thing with the spherical fall-off to simulate some sort of extreme miniature tilt-shift optics... thanks holmes...
-
You could try rendering 1 pass (like Robert suggested) with the Blur Post Effect. That way you wouldn't have to do any extra processing to get aliased edges. This sounds like it might be a bug. Have you rendered a depth map without the null shader? Is the with top still white even though it is in the middle of the scene? If it is, please make a simple project the shows this and submit a bug report. yes, it happens every time i´m trying to render a depthmap, even without the null shader. but i think i´ve already found out what it is with the white top. it has a transparency set of 10% and a decal on it. at first i just thought it was just the transparency, but the cornea of her eyes has transparency set, too... and it doesn´t happen with the eyes. so it only can be the combination of transparency and decal...
-
yeah it is weird... you can only choose if the focus will be in the front or back by inverting the depth-map, i couldn´t find any other option... other than that, lenscare does look a whole lot better, the blur is more accurate and it is able to automatically blend the brightness of heavily-blured parts of the image to the objects behind it. looks very natural i have to say.. i´ve already picked time i´m not very patient, so i always pick the solution that saves time... that´s propably the reason i´ll never get rich ...throwing out money for software... hmm, i don´t have to render it twice with the double-size solution, with v16 i can render my final and my depth-map at one time.. already checked the rendertimes and everything, and i´m pretty happy with the solution... i have a outdoor-scene, with a lot of hairsystems, grass, the characters hair and birds feathers, and i´m down to 6 minutes per frame for 4 passes at 2560x1440px... and that´s on my macbook. i guess my 8core macpro will be able to render the a frame in 4 minutes or so... and everything is the way i want it to look like. i´m adding some smart SSAO ( http://www.adobe.com/cfusion/exchange/inde...6&loc=en_us ) later in post to get the final touch, also with the help of the depth map... i guess it works pretty much the same way as yenpy´s fakeAO. i´ll make a WIP post when i´ve made some animation-progress....
-
a skydome will definately extend rendertimes a bit, since it´s additional geometry to render... but it´s close to nothing if you turn "cast shadows" and "receive shadows" off for the model... if the fog in the camerasetting overrides the fogsetting in the renderdialogue depends on the setting you´ve made in the options-menue render tab... there you can choose "use settings from camera" or not... regarding the animation: i´m with you when you say that physics defy reality in a cartoonworld, but you should take care that it doesn´t look "wrong"... in a cartoonworld physics are most times just exaggerated, not inverted so why would the train slow down BEFORE it hits the car? and why is the car thrown away with a much higher speed than beeing hit? even in a cartoon-animation the basic physics should not be thaaat wrong. cheers...