zandoriastudios
-
Posts
3,868 -
Joined
-
Last visited
-
Days Won
1
Content Type
Profiles
Forums
Events
Everything posted by zandoriastudios
-
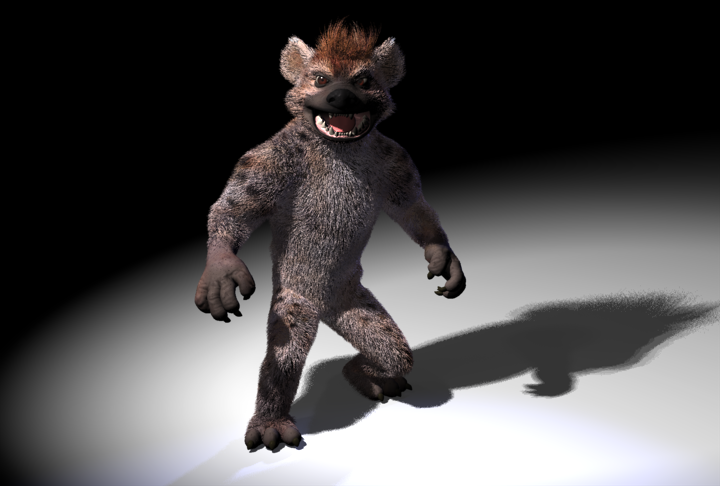
After a lot of experimenting, I just never got happy with the look of the fur. This world has a LOT of animal characters--and It was taking an hour per frame! So...I've gone to the darktree "plush" material for the body.
-

The Wobbling Dead Kickstarter is Done
zandoriastudios replied to largento's topic in The Wannabe Way
Just backed you! -
I do ALL of the smartskins for a bone in one relationship. See this series of videos for boring details: http://www.youtube.com/watch?v=H0kRXN1XU7g...BF44797CD8BC2A3 On my current model, I have even dispensed with fan bones! I weight the joint, then in my test action I roll the bone 90º or so and fix the squeeze in the smartskin relationship. I move through all of the extreme positions in that action, right-clicking and going back into the smartskin1 relationship to reshape the mesh
-
Show up for work EVERY DAY. Schedule a 1-2hr slot in your studio/office/kitchen table in your calendar. Events will conspire to interrupt your scheduled time, but keep coming back to it every day. WORK on your project during that time...not forum/facebook/etc.
-
pretty cynical article...
-
I couldn't find a thread that explained the settings, but dialed the % back to 5, instead of 100% on the highlights(?) and the strength down to 20% --He looks like a mean little bastard!
-
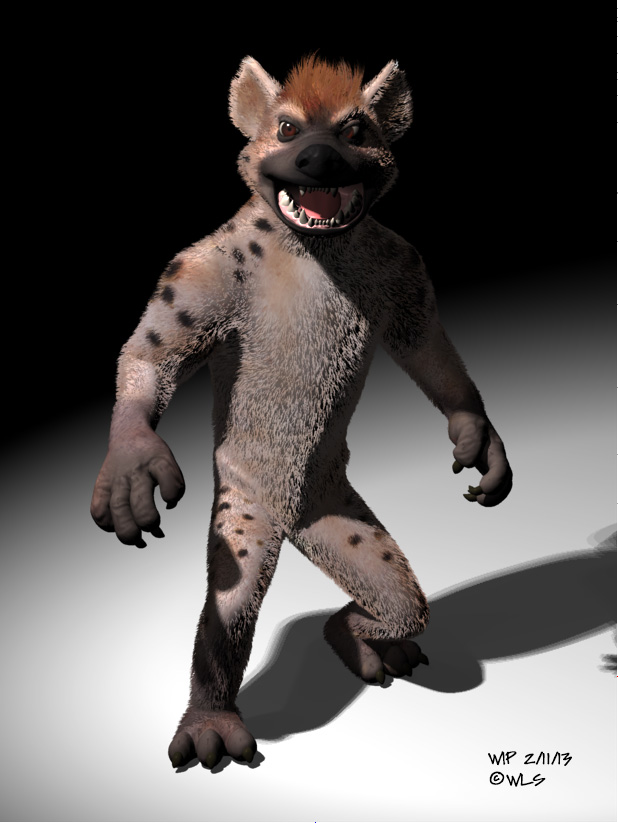
did a lot of reading and tweaking last night, using the Muhair shader. This is with the hair casting shadows:

-
Here he is rigged with textures! I'm still tweaking the fur...Can I tweak the brightness down? It looks better without casting shadows, but still too much contrast with the surface that is emitting the hair. I'm thinking about giving that group a darker color, then turning down the properties driven map strength that is coloring the hair to see if that will darken it a bit... If anyone has suggestion, I would appreciate it.
-
Is it possible to generate a hight map from objects?
zandoriastudios replied to pixelplucker's topic in Animation:Master
Color all of your objects white, flat shaded, then render with black camera fog -
How to cut a circular opening on a tube
zandoriastudios replied to detbear's topic in Work In Progress / Sweatbox
Why don't you want to use a boolean cutter? -
if you put the fan bones in first, flipper will mirror them for you! Rigger will ignore everything besides TSM bones
-
I have tried it and the .objs work we'll inside A:M as Props.
-
I think the idea would be (if the CP names didn't change with every import) that you could bring in the morph target meshes, and then in a smartskin relationship paste the CP positions at the appropriate positions. Since A:M renumbers the CPs, your best bet might be try to focus on the exporter rather than importer. If you could EXPORT a .seg or .mdl file from your application, the CPs might keep the same numbers. (you might be able to go through a different program to bring in an .obj and export .seg) Then you could copy & paste the CP positions in a Pose relationship or a Smartskin
-
Very nice work!!!
-
Nice drawing Rodney!
-
It will mostly be textures, but I will will use hair to break up the silhouette
-
thanks!
-
Some more progress...I'm into the CP weighting now
-
You just have to have intersecting parts. It doesn't have to me a single mesh
-
http://store.makerbot.com/replicator2.html Check out this new 3d printer--$2000 :yay:
-
I don't start in A:M until the concept has become a rotoscope. So 50% of my preproduction is sketches
-
I think I spend 50% on conceptual, 25%modeling and texturing, 25% rigging, weighting, pose set up... My units of measure= time. And time = bazoozas
-
I would love to lead a chapter in my area! Maybe I could send out a massive email to the forum mailing list!
-
Haven't posted a work-in-progress for a while...Started modeling the hyenas in V17
-
I'm interested in trying out the new features--looks like you could save some steps and not have to have as many stamps? My technique uses a bunch of named groups to organize the way you want to split up the map. I don't know if that goes away, because it is easy to look at the groups and see if you've missed anything...