steve392
-
Posts
3,343 -
Joined
-
Last visited
-
Days Won
1
Content Type
Profiles
Forums
Events
Everything posted by steve392
-
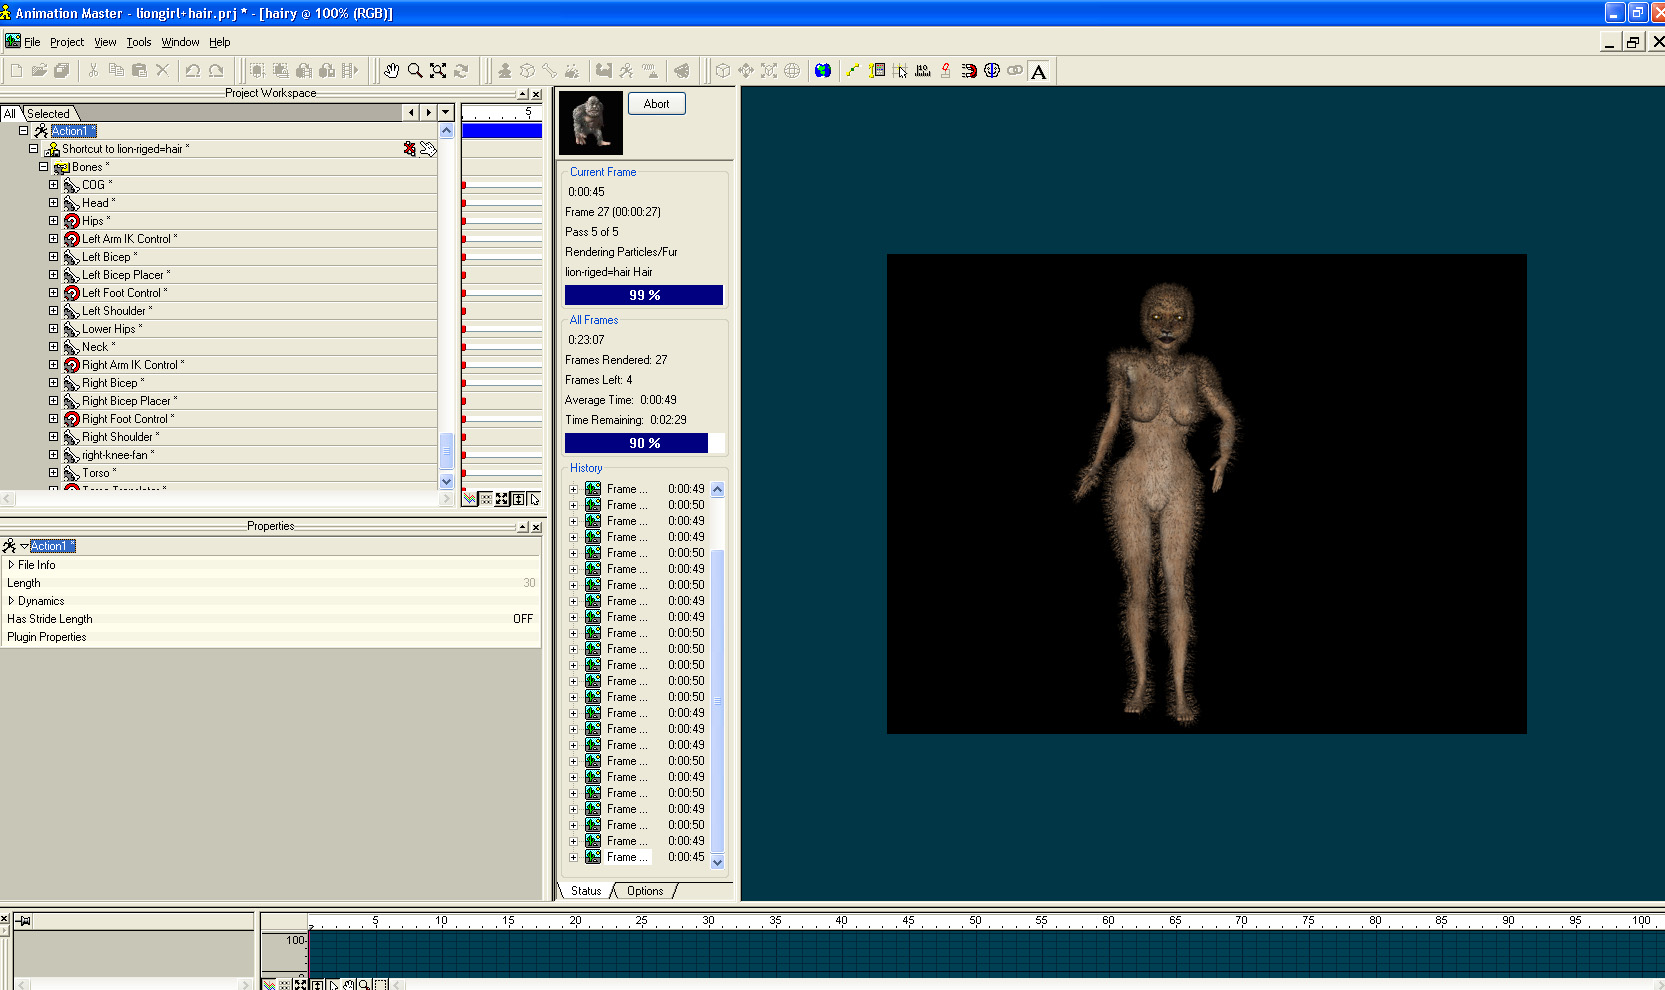
Rusty ,I don't know if this is of any help to you in your questions about v15 but heres what I got on this model and my pc is not that good .I thought it renderd prety good

-
You just show it the first still when you make the layer and it will make a movie
-
Try using tga image sequance ,qt is doing a lot of messing around at the moment
-
It will be on a layer in the background instead of the colour you have ,if you wan to animate ,just go ahead and do it with your model but to include a model in the background takes a bit more work ,you need to build some geometary that will look like say the floor in the movie and place it .There is a good tut somewhere I will see if I can find it
-
You can import it through the image folder in the pw's image animation/sequance .not sure it will import that formatt but will import qt.movie avi and the best is tga sequance .Once you have it in then make a new layer (under objects or roto) and show it the movie ,drag that into your chorie as you would a model .phew my hand aches lol
-
Not sure what you mean but I allways have the chor in the left or right view when I drag a model in ,then move it around to where I need it.Im sure there is a key to centre it but can't remember sorry
-
Playing around with hair on this model ,I need to learn it a lot more I think
-
Thank's Rusty will be usefull
-
That looks graet Paul very sleek looking hair ,hope you will do a tut or show some settings .That prog is Goo and winMorph and Wax allso http://www.debugmode.com/
-
Yea I have the same problem ,allso it didn't do any fan bones ,I tried it with cp's asigned and not .Its a dam shame as its a realy good rig
-
Can't remember for sure but I think its to do with the amount of frames that you give for it to walk along the path if its walk cycle was made at 30 fps then you need to make enough frames for it to reach the end or not to many.try adding frames
-
Im riging another model all is well untill I get to doing the constraints on the fan bones ,when I edit the costum constraints relationships there is no calf and feet bones showing .Is there a way to get them to show ?.Using the latest install rig dl
-
Thats looking good, nice texturing and lighting
-
Heres the first one Rusty ,model still ,camera moving and the second ,hope this is what you wanted .Theres a lot of settings to play with so this could be much improved cam_spin.mov model_shake.mov
-
Rusty ,you should try v15 I think its better for hair for some reason .I will do the render in the morning , oh it is morning 04.03 to be precise ,lol goodnight
-
It seems ok on the movement now .I made the front a seperate group and had no dynamics on it hair_test_4.mov
-
Done some more and got this ,needs some more vigerous tests ,head shake or something but its looking promising anyone know what the target constraint thing is for in the dynamic options ? hair_test_3.mov
-
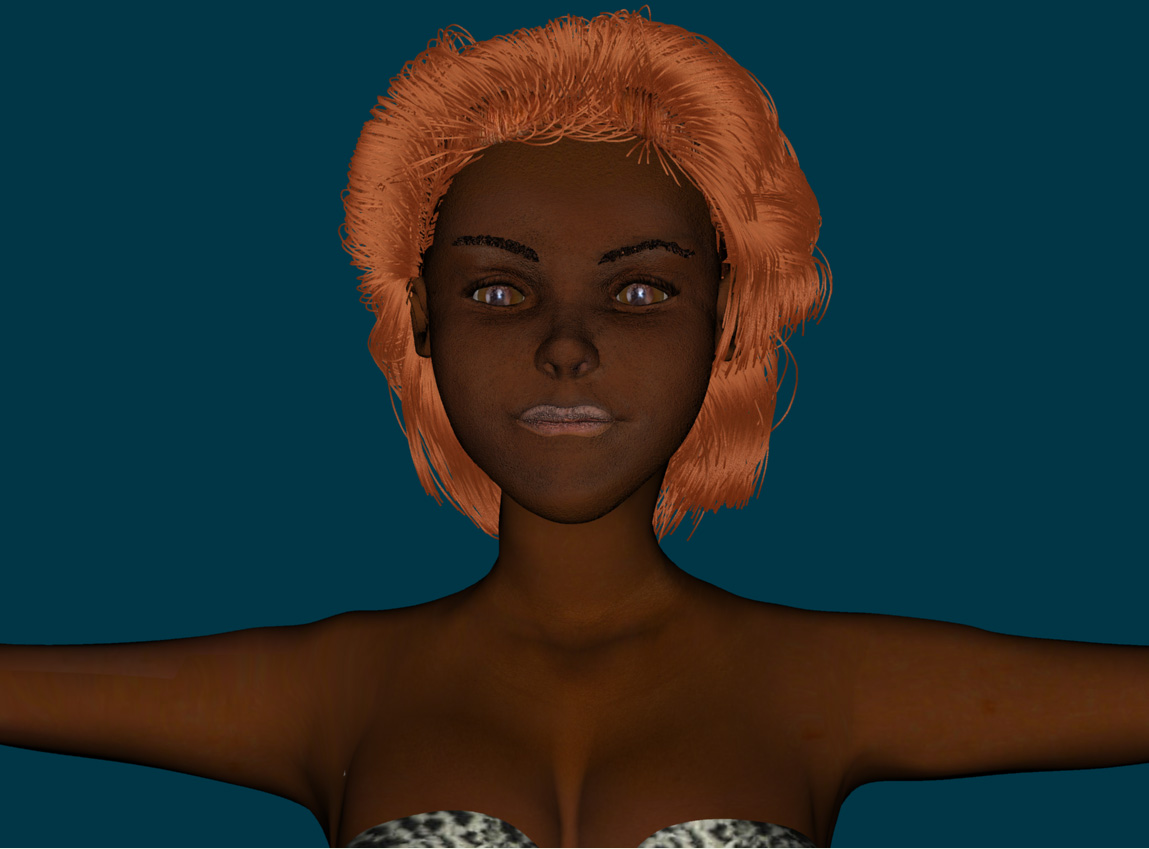
Yea Rusty it is jumping around v15 e but I wanted it to move but it moves to much at the front .I will have to use differant settings on that I think.I will have to go for it now anyway as I overwrit the model after deleating the hair model ,like a twerp.I didn't see the dress problem ,will fix it ,its in the smartskinn.I think the particle hair is much better than the last time I played with it ,a long time ago now it seems.Thank's for your feedback edit btw Im doing it now with a scull cap for the hair matt wiyh another cap for a displacemant decal just under the hair matt and its not looking bad
-
Thank's Mr Spleen ,heres a shot of the hair test ,this is my first test ,colours a bit to bright I think
-
This is a model Im working on with the light rig ,still got some smart skinning to do but I think its nearly there.The rig works well .I will try particle hair aswell soon w.test_2.mov
-
I don't know the rig at all but did you check the constraints on off in the pose sliders ,maybe it has something you need to turn on