-
Posts
28,400 -
Joined
-
Last visited
-
Days Won
425
Content Type
Profiles
Forums
Events
Everything posted by robcat2075
-

Moving to A:M from another 3D software, what to expect?
robcat2075 replied to Path other's topic in New Users
First visit the New User page The starter manual every new user should work thru is The Art of Animation:Master (TAoA:M) available to download in pdf form. Doing TAoA:M will get you past all the usual new user questions. There are more people here. you mean the community window? Close it and ask questions on the forum here. note also that almost all of the TAoA:M exercises have a video walk-thru available -

Using a distortion box to create different characters
robcat2075 replied to strohbehn's topic in Work In Progress / Sweatbox
That worked well! Is the mouth rigged with smartskin poses or bones? -
While researching another issue I found that Steffen Gross's Multiple Models on Path plugin does report the length of a spline path. However it only works in the chor so I guess you'd have to put model in the chor and get the plugin to think the spline is a path.
-
That would be a great character in the land of Oz.
-
I don't know why it isn't there, but you could try copying the folder from your previous version.
-
The balance and balance rigid poses should always be set to 0. They're more trouble than they are worth.
-
I haven't tried yet but I think a 3rd action would be the most likely.
-
Welcome to A:M! Looks like a promising project. Those toon-rendered better than I thought they would. I strongly recommend you upgrade to the current version. More powers, stability problems gone and the interface is much improved. Upgrade sooner rather than later so any hiccups on the transition won't be last minute surprises. Also, there are lots of users here who can answer questions about A:M but very few of them will recall details of v9.5.
-
Welcome to A:M! Page Up and Page Down will also do that
-
before and after PRJs Thom__IKtoFK.zip
-
step by step. This worked better than I expected. ThomIKtoFKMP4.mov
-
Welcome back to A:M! vine tut: http://www.hash.com/forums/index.php?s=&am...st&p=292370
-
is your track at any of the usual sample rates? Try resampling it to a different one?
-
That's starting to look very graphic novel!
-
It's a way to rig characters. You attach your mesh to the simple geometry bones it makes, then it hides those and puts in the control bones that you actually animate. See link in Rodney's post.
-
www.sgross.com/plugins sound slike a job for Newton Physics, which I am not up on.
-
Here's another example of moving a projection map movingMap.mov turn on "Show More Than Drivers" to vary the placement of the Projection map material. AFAIK you have to do it by typing in XYZs in the properties window, there's no visible control. PRJ: MovingMap02.zip Update: It turns out the projected map will still follow the deformation of mesh attached to a bone. I didn't think it would be able to do that. This extended mov and PRJ include that. movingMap3.mov MovingMap03.zip
-
First, make sure you attached your mesh to the geometry bones that Builder and Flipper made, not the control bones that Rigger creates, and that any fan bones you added are attached to the geometry bones that Builder and Flipper made, not the control bones that Rigger creates. yes, you can drag the arm control bones ANYWHERE, but the geometry bones stay attached to each other and won't travel any farther than they can reach. The shoulder bone is hidden and follows the base of the upper arm bone. You translate the upper arm, and the shoulder follows. YOu control your shoulder position by animating the position of the arm. This saves you from haveing to animate the shoulder bone separately. It's like an IK shoulder. The real joint at the upperarm/shoulder will only move in a radius at the end of that invisible shoulder bone. Unless the mesh is attached to the wrong bones; then anything could happen. Post a crazy pic if you are still wondering.
-
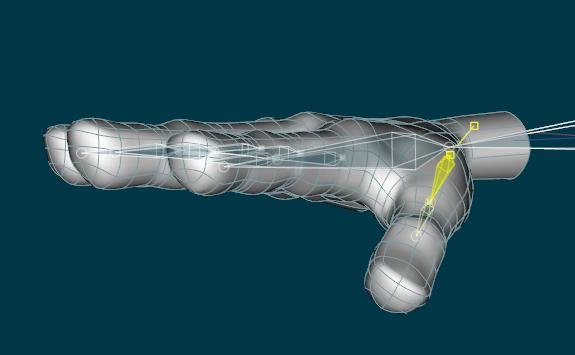
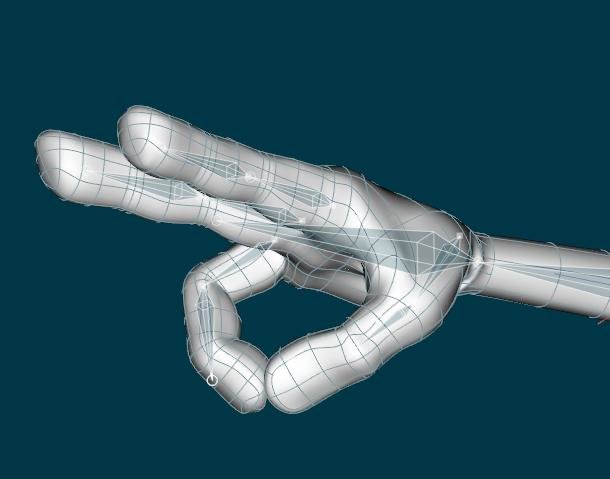
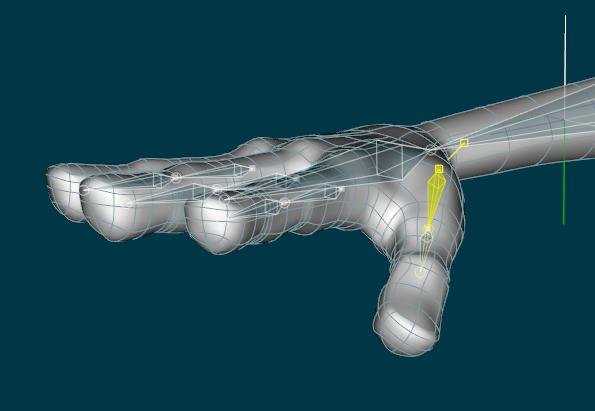
I think you need to choose "advanced" fingers. the base thumb bone is freely rotatable. one more finger wouldn't be too much to reach to. Modeling the thumb on the plane of the fingers places it at one extreme of its typical movement. Better to start in the middle so the mesh doesn't have to deform so much to get to the other extreme. No, I didn't model any TWO characters. Some of those were flat handers and some were not, but those were all Squetch rather than TSM2.
-
TSM2 will work in v11 to the present version. A few versions of V14 broke it but that got fixed.
-
That was wonderful, Alan! It brought a smile to my face. I have one request... could you add "animated with Animation:Master" in the credits? And then Youtube it! Definitely submit it it AM Films also.
-
I think it helps to not model the thumb onthe same plane as the fingers. I also think it's just a matter of making sure the thumb is boned correctly. The first bone starts almost at the wrist.
-
it's at the top, next to Thom, it looks like a squashed cube
-
In the model windos you can select a gropu of CPs then turn on the distortion box tool. move the CPs in the distortion box distort the mesh. you can change how many CPs are in the dist box in the options panel
-
I saw that on CGTalk a few weeks ago and the card stuff was said to be done in [one of the lesser known 3D apps], which made me wonder what any of that has to do with Adobe CS. If the animation of the cards was done in Flash I'd be surprised but I've seen surprising things done in Flash. It would be more 3D than anything I've seen from Flash before. Dont' presume that very much of that was automatic, whatever app they did it in. You could certainly animate that in A:M. Just to try it (this is not intended to replicate the full effect of the Adobe presentation) but just as proof of concept... here's some cards flying themselves into the beginnings of a bridge. I used Stefen Gross' Multiple Models on Path plugin to place them along a path, then it was easy to pull them all to an offscreen locations so they could fly in. None of this is particles, but particles could be a part of a fully developed animation. If I had made the face of the card an image sequence I could have made each card pick a different face so they weren't identical, but that's a story for another day. bridgeMP4Med.mov And here's a simple castle of cards (in crosseye 3D) made using the same plugin. Other plugins could do similar work. What you see here is not the limit of what you could do in A:M, it's just a quick proof of concept. Many enhancements possible. Edit: PRJ attached Cards.zip


