largento
-
Posts
3,827 -
Joined
-
Last visited
-
Days Won
31
Content Type
Profiles
Forums
Events
Everything posted by largento
-
Henrietta gets hair! Here's a turnaround... henrihairbws.mov

-
Hopefully lighting is another one of those things that will come with experience. :-) Here's the screengrab I made from "The Sea Hawk." ("Captain Blood," is a little *too* old looking.) It's apparent that there's Robert's strong rimlight and Lee's bloom. It looks like from the shadow of his face on his right shoulder that there's a light to his left aiming down on his face and then a strong light in the front. So, I set up the lights in a similar fashion and added the bloom post effect. Then in photoshop, I converted it to black and white and adjusted the contrast a little and added some film grain. You guys were spot on! The intense rimlight and the bloom really makes it look like an old black and white movie!
-
Thanks for all the help, guys! I like the dramatic rimlight, Robert. That's an excellent idea. I'll take some grabs from "Captain Blood" and "The Sea Hawk" and see if I can match them. Much better than just fooling around guessing what "feels" right. Lee, thanks for the info on the post effects. I've seen the folder there in the PWS, but have never experimented with them. I just followed your instructions and it couldn't be simpler.
-
Dar, I was doing the same thing with my Spott model and it *is* very tedious. One shortcut to use is to weight rings of CPs at the same time. Then go back to individual CPs if needed. Kind of starting broad and then working to specific.
-
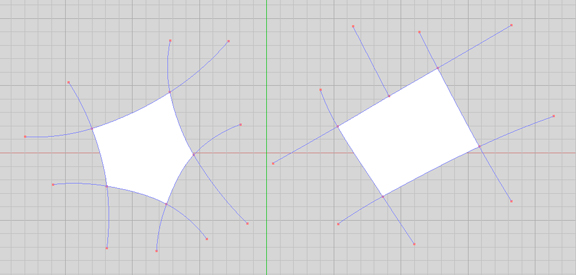
I think I'd like that, although I will say, the way it is now makes you think before you use a 5 point patch. If they just popped up automatically, we might find ourselves overusing them. And if it did do it automatically, I wouldn't want it to do it automatically for "bad" 5-point patches... like the one on the right in this screen grab: I would have to say I'm completely against changing the 13-point patch tool, though. It would really mess me up if 13-point patches automatically showed up.
-
I agree, that's a cool look. Something that occured to me is that you could tone down the specularity and then add some bloom as a post effect, that could make it easier to control...it's hard to get things right the first time. With bloom, the overexposed effect could be more uniformly distributed across the frame. Keep the spec size though, it's great...just lower the intensity a little. Whatever you go with, I'm sure it will look great! Lee Thanks, Lee! I'm really anxious to see Henrietta with hair so that I can stop thinking about Star Trek: The Motion Picture every time I look at her. :-) I have a general sense of what you mean by bloom. I definitely think it's part of what I'm wanting to give it an old movie look. Is this something I can set during the render? Thanks, Robert! You're right, I think it's just the default choreography lighting. Thanks, Matt! Okay, I played around a little this morning trying to figure out what I liked. Here's a more muted version of Flemm in color and with the black and white adjustment: In color, I think it looks really nice. It's not bad in black & white, but it seems kind of flat to me. Now, here's the over-the-top shiny one: What I think I like about it in black & white is that there's more contrast. But... there's too much contrast. So while I was messing with them, I decided to combine them to see if I could find that point in the middle: For me, this is the kind of look I'd like to have. It has the right level of contrast to make it interesting, without completely blowing out everything. Now I just need to figure out how to get it to look like this. :-)
-
Well, strictly speaking, that's a word balloon. Here's a thought bubble (saved as a PNG with an alpha channel)
-
Good point, Mike. I'll have to rethink those to account for converting them. I'll also need to figure out what kind of lighting works best. It's funny when I look at it now, it seems more like old black and white TV. Maybe the specular brightness is part of that impression...
-
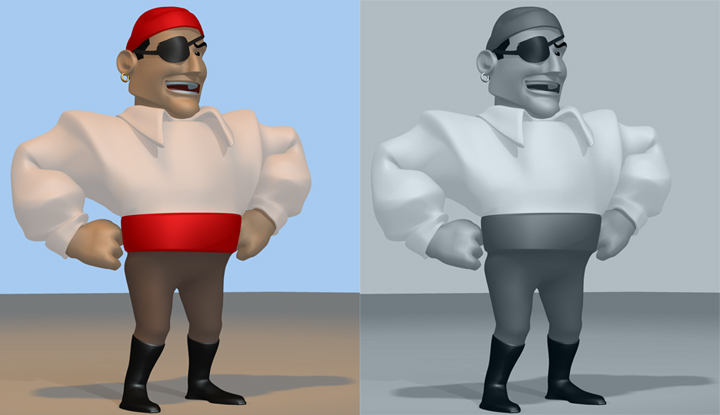
After making a color version of Flemm, I started thinking maybe I should look at doing the black and white after the render. Photoshop CS3 has a nice new Black & White tool that lets you really get what you want with it. I set up a quick action and the batch converting is really fast, so it's definitely doable. Here's a comparison: First is the black and white model, then the color model and then the frame converted in ps. I think it has a nice "silver screen" look to it. I've also started modeling the second character: Henrietta Morgan. My first attempt at modeling a female character. To add more pressure to get it right, this character was played in the movie by my best friend's wife, so I've got to worry about offending them both. :-) I think hair will help a whole lot. :-) Here's a turnaround: henrihead.mov
-
That's a wonderful, wonderful cat! :-)
-
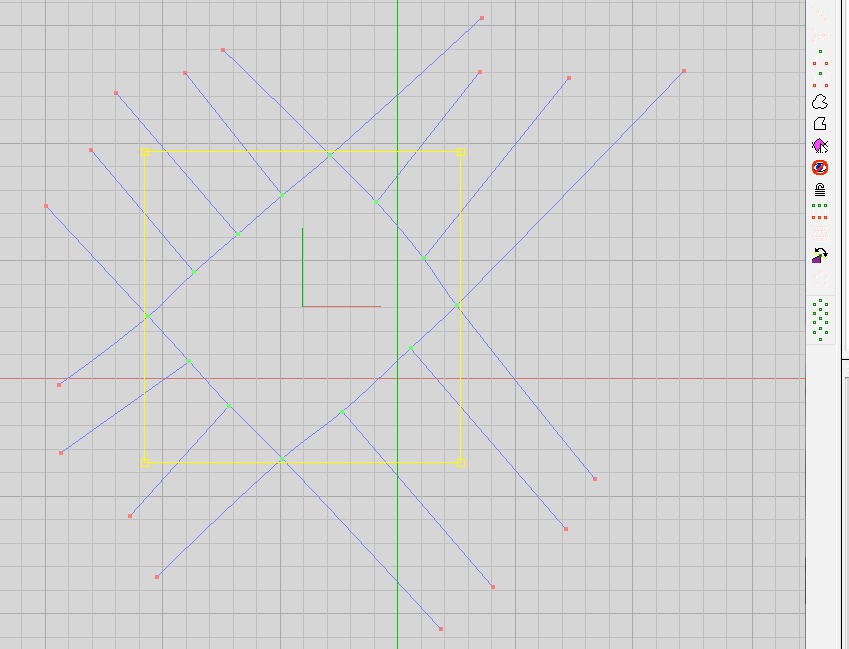
Welcome to the forums, Bob! There are a couple of ways to do what you're wanting to do. The way to think of it is that instead of making a corner in one spline, you want two splines to come together into the corner. Try this: press the "a" key and then click the mouse to make your first CP. Position the mouse where you want to make the corner CP and left click to add the CP and right click to end the spline. Now press the "a" key again, but this time hold the shift button down while clicking on the corner CP you made. You should now be making a new spline that doesn't have the continuity of the first spline.
-

Can child bones be selected with the parent bones to
largento replied to Eric2575's topic in Squetch - Rig
I think you do that by selecting the top folder and hitting the asterisk key... -
Can child bones be selected with the parent bones to
largento replied to Eric2575's topic in Squetch - Rig
The trick is to expand all of the folders to show all of the bones you want to delete. Click to select the top bone. Shift-click the bottom bone and hold the shift button down until all of the bones are selected (this may take a few seconds). Once they are, then hit delete. -
Do you have mirror mode turned on?
-
Awesome work, Paul!
-
Haha, you're more than welcome, Will! I'm grateful for all that I've learned from them!
-
You can use 3DPainter to automatically decal an entire model, but it's not the best way to do it. The decal 3DPainter creates is recommended only for projection painting. It's like putting a glass up in front of a view of the model and painting in 2D on the glass. Then that's applied to the model's decal. This works pretty well, but being able to paint in 3D around the model is the really cool part about 3DPainter and painting in 3D requires that the model already have decals. The best advice I can give is to purchase Will Sutton's Decal and UV Setup CD tutorial (you can get it on his zandoriastudios website). It'll explain exactly how to set up your model to flatten groups and apply a single decal with the UV editor. Then when you take the model into 3DPainter, you can paint in 3D. I was really intimidated by the process until I watched the video and saw how easy it was to do it.
-
That's a really cool ship design, Michael!
-
Thanks, David! I hope so! I'm definitely feeling less pressure about this project than I was about Stalled Trek. Okay, I'm probably the only person who thinks this is cool, but I found out that if you keep the Windows icon in the dock and select it, it not only launches Parallels and Windows, but it does so invisibly and then opens the application minus the Windows desktop! The little "please wait" box and the title screen appear over the Mac desktop, like you're launching a Mac app! (Except not like the Mac A:M, since it doesn't have the "please wait" box or title screen.) :-) Then the application opens fullscreen, rather than in the Parallels window. Wowzers! :-)
-
3strikes.mov Three strikes! (Well, actually just one strike, but I couldn't figure out how to make the file loop, so I repeated it a couple of times.) :-) I was playing around this morning and just did this quick animation test. I did it using Parallels. I haven't used it in awhile and the latest updates seem to have really made it usable. The times I tried it before, you couldn't use quick-render and there were screen redraw problems, but now the quick render works fine. There are still some glitches with the screen, but they only seem to show up after you call up a contextual menu and go away when you move or zoom. Nothing like what it was doing before. That's killer, since I hate having to restart to use it in Boot Camp. Now when you're using Parallels, the Windows applications show up in the dock! So, now I see a Windows A:M icon with a little parallels symbol attached to it:
-
You're doing a really fantastic job, Kevin! Especially on keeping the elegance of the lines and curves! Even on something as incredibly un-elegant as a "gut sack." :-)
-
The constraint to use for the feet not going through the floor is "translate limits." Set the minimum Y value to zero.
-
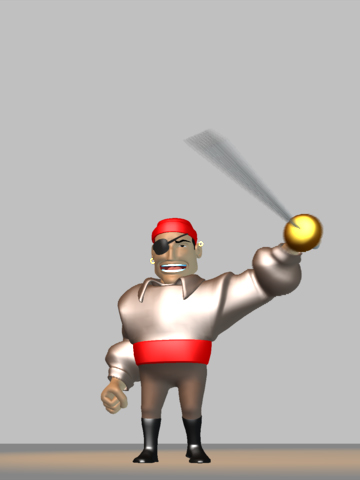
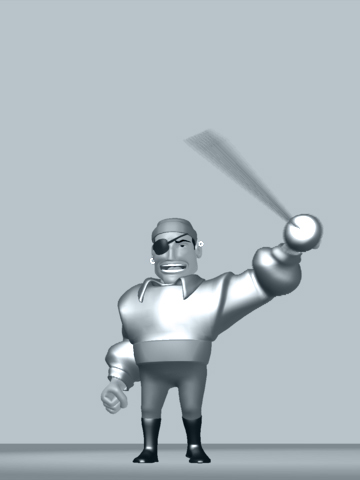
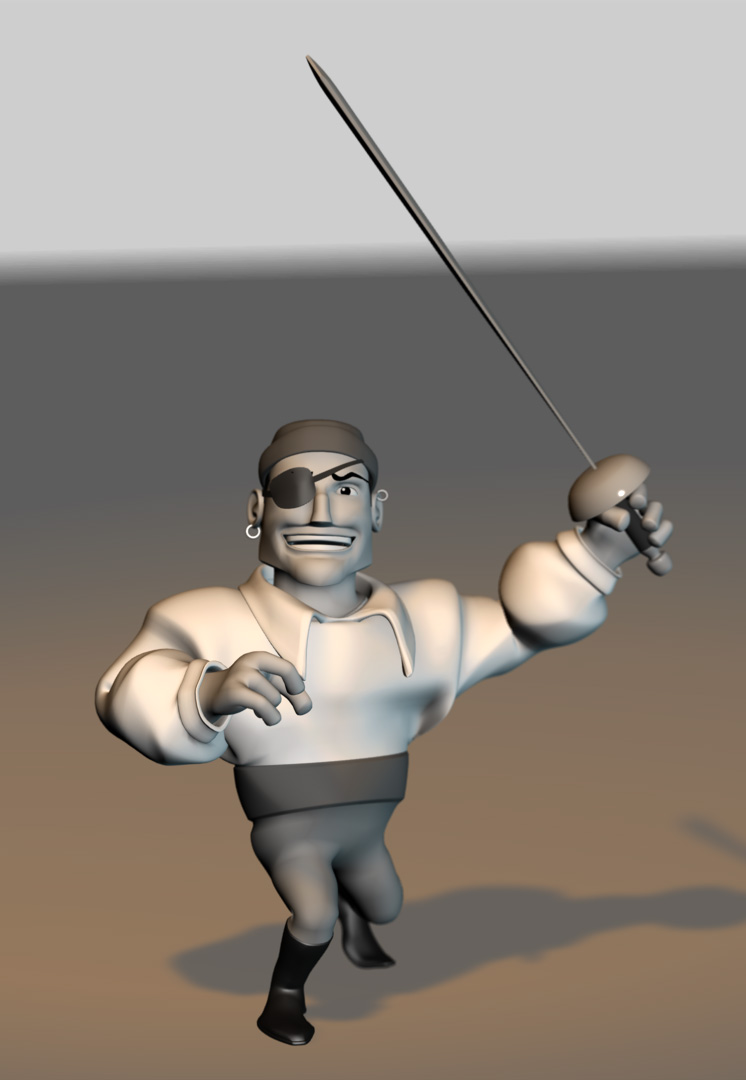
Thanks, Dhar! I'm still working on facial pose sliders, but couldn't resist modeling a quick sword and putting him into a swashbuckling pose! Wouldn't you know that the weekend I finally get close to finishing him is one where I have obligations that are keeping me from being able to work on it as much as I'd like.
-
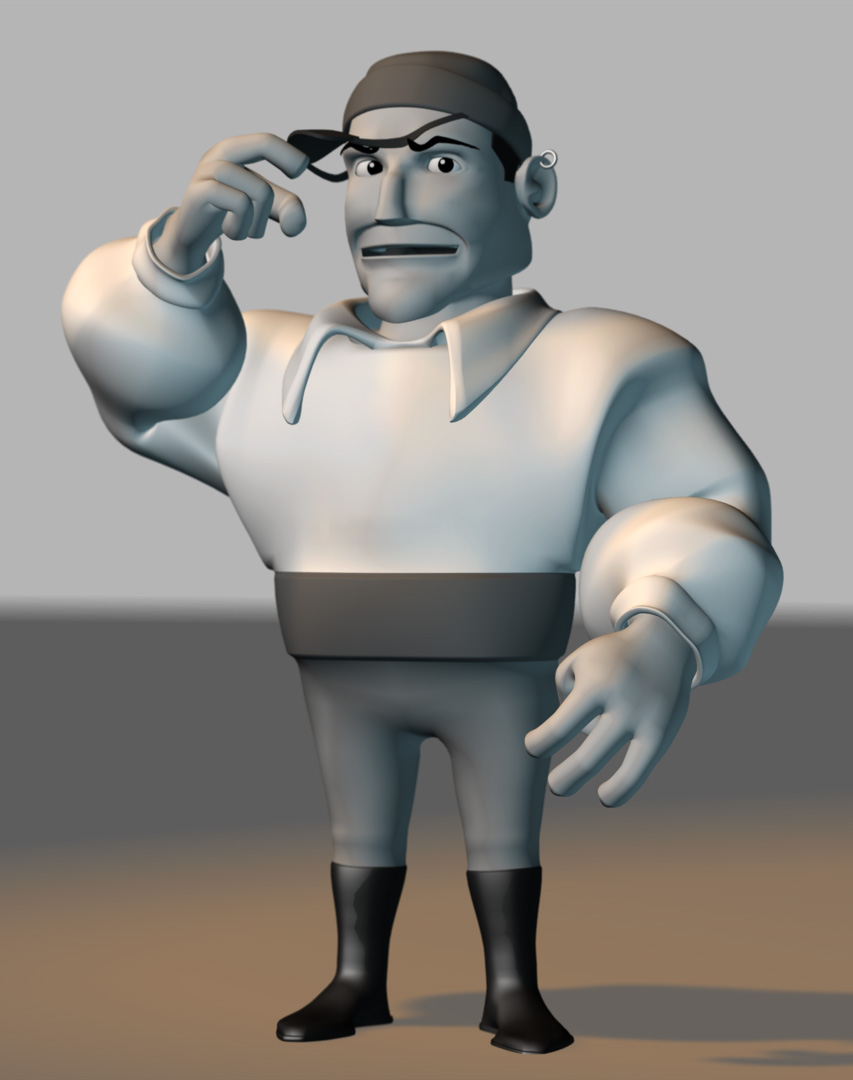
Whew! Progress at last! :-) I'm nearly finished with the rigging for Errol Flemm. The only thing I have left is the face and I'm going to set that all up with pose sliders. I feel like I passed a few more mile markers with the rigging. I decided to create a custom rig mixing and matching things I've seen in other rigs and trying to make the rig work with the character, rather than making the character work with the rig. I'm going to do a bunch of animation tests with him and try to get out any bugs and then I'll use the same basic setup for all the other characters.
-
Although not exactly what you say you're looking for, I high recommend Barry Zundel's Animation: Master Training DVDs! It really jump-started my learning and they are discs I still go back to again and again. The first disk covers modeling, the second is rigging, and the third is animation. Following along, you can model your own character, rig it and then animate it. Along the way, Barry covers the interface and concepts behind A:M. He originally created them for a class he was teaching, so it's like sitting in on lectures.