-
Posts
6,562 -
Joined
-
Last visited
-
Days Won
58
Content Type
Profiles
Forums
Events
Everything posted by John Bigboote
-
Hi Simon- Bulls blood. Really! Seems that might turn brown with time. As far as criticism... Is there a reason the eyes are that blue? I usually use a decal on the eye... i'll send it along- feel free to color correct or not use. Have you considered using real A:M Hair on top of your hair areas to add a little extra shag? It could be groomed (brushed) in the proper direction and might help add realism... beardoeye.tga
-

Summer 2017 Image Contest! New Deadline Sept 22!
John Bigboote replied to robcat2075's topic in Contests/Challenges
Good move! applause! -

Image Contest, Matt Campbell's workthru
John Bigboote replied to John Bigboote's topic in Work In Progress / Sweatbox
-

Image Contest, Matt Campbell's workthru
John Bigboote replied to John Bigboote's topic in Work In Progress / Sweatbox
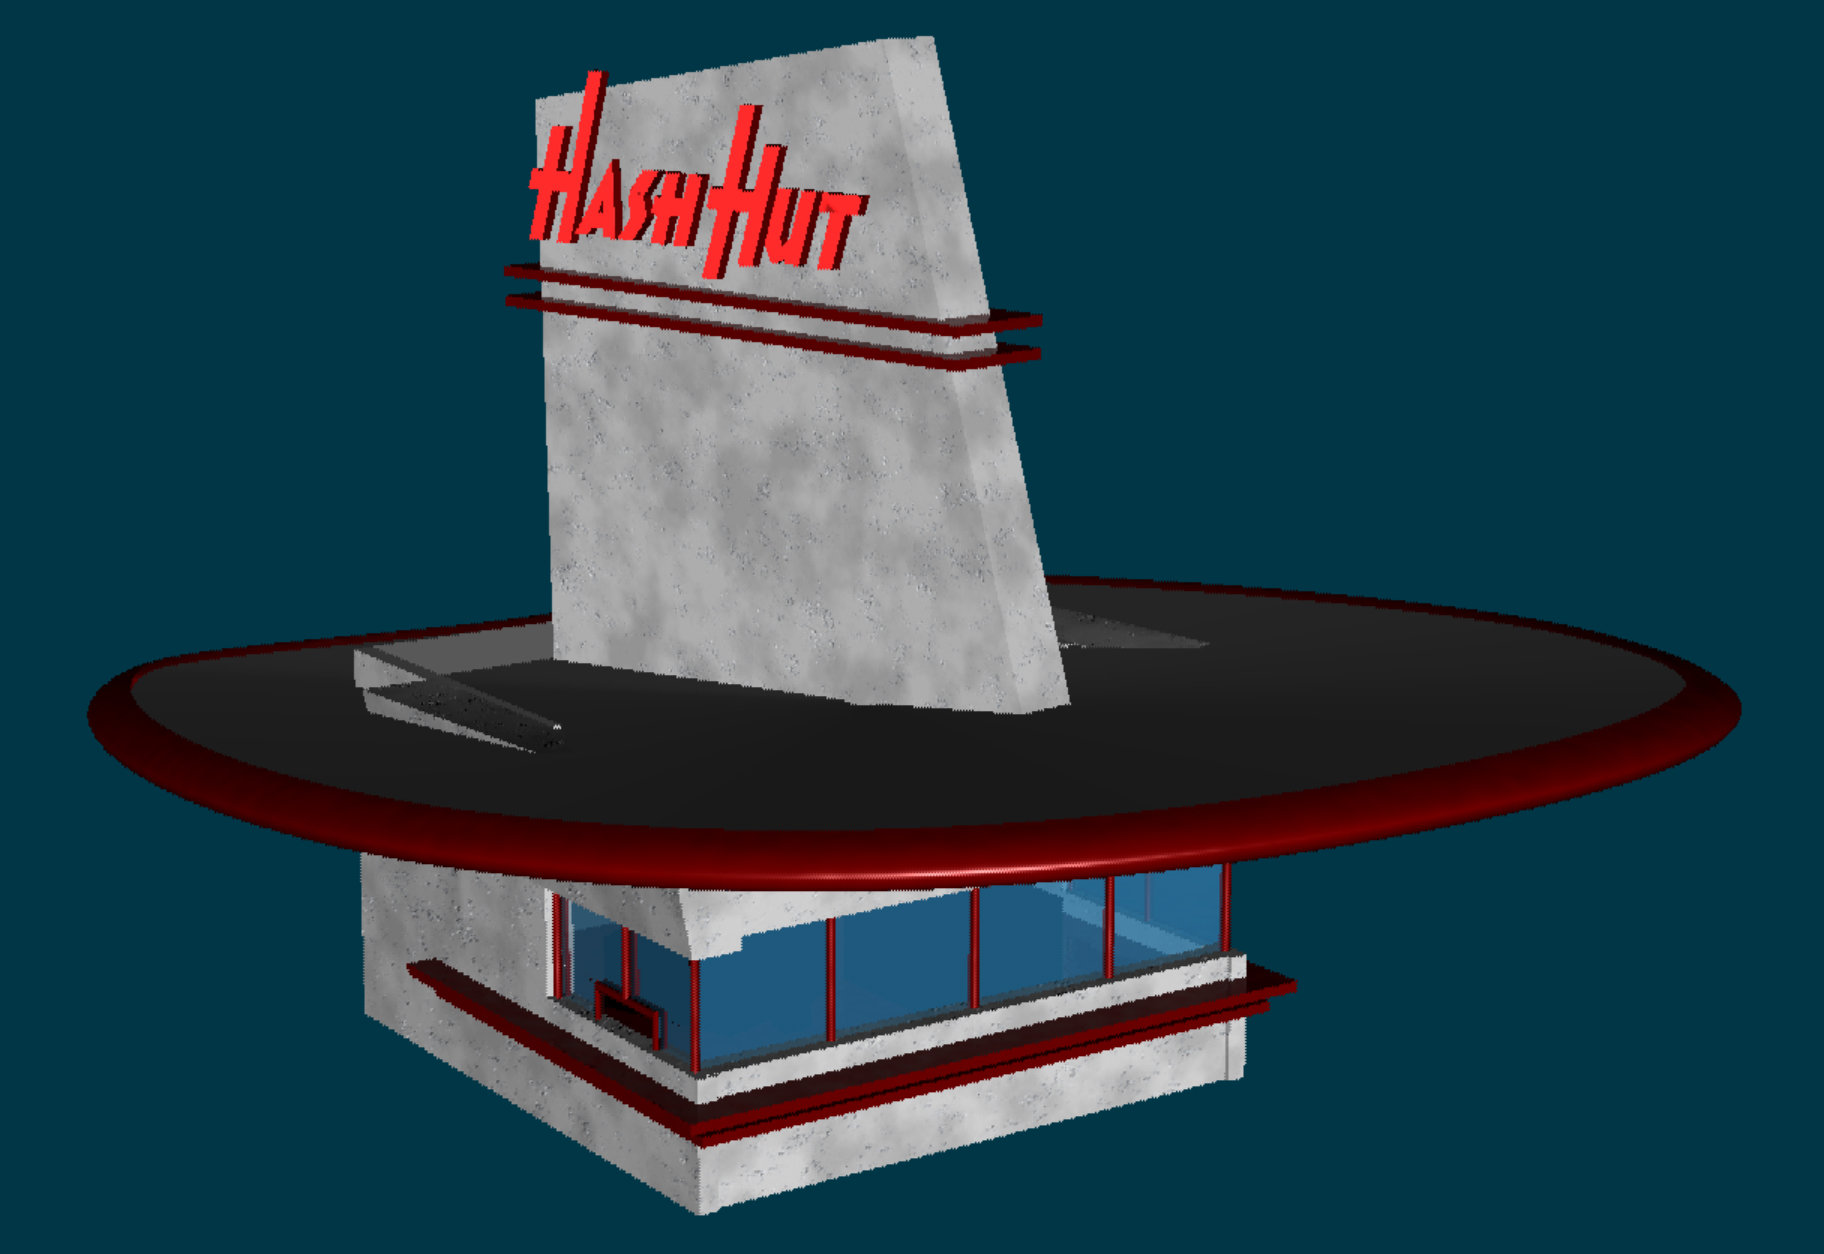
STEP 3: the STAND Using my rough building sketch as a guide, The simple 'Hut' is an homage to all those ice-cream joints we have all seen and frequented. Once again, Simbiont textures will add a nice Stucco texture. The 'Fin' on the top was an added detail, and rotated once I added a sign so the text would read better. Simple black shapes (cubes) added inside the building give the illusion of equipment and hide the back wall- Text was quickly added using the Font Wizard, and the font 'Honest John' which I believe was made to look like the old Howard Johnson's logo text had a nice 'food-stand' look... classic! -

Image Contest, Matt Campbell's workthru
John Bigboote replied to John Bigboote's topic in Work In Progress / Sweatbox
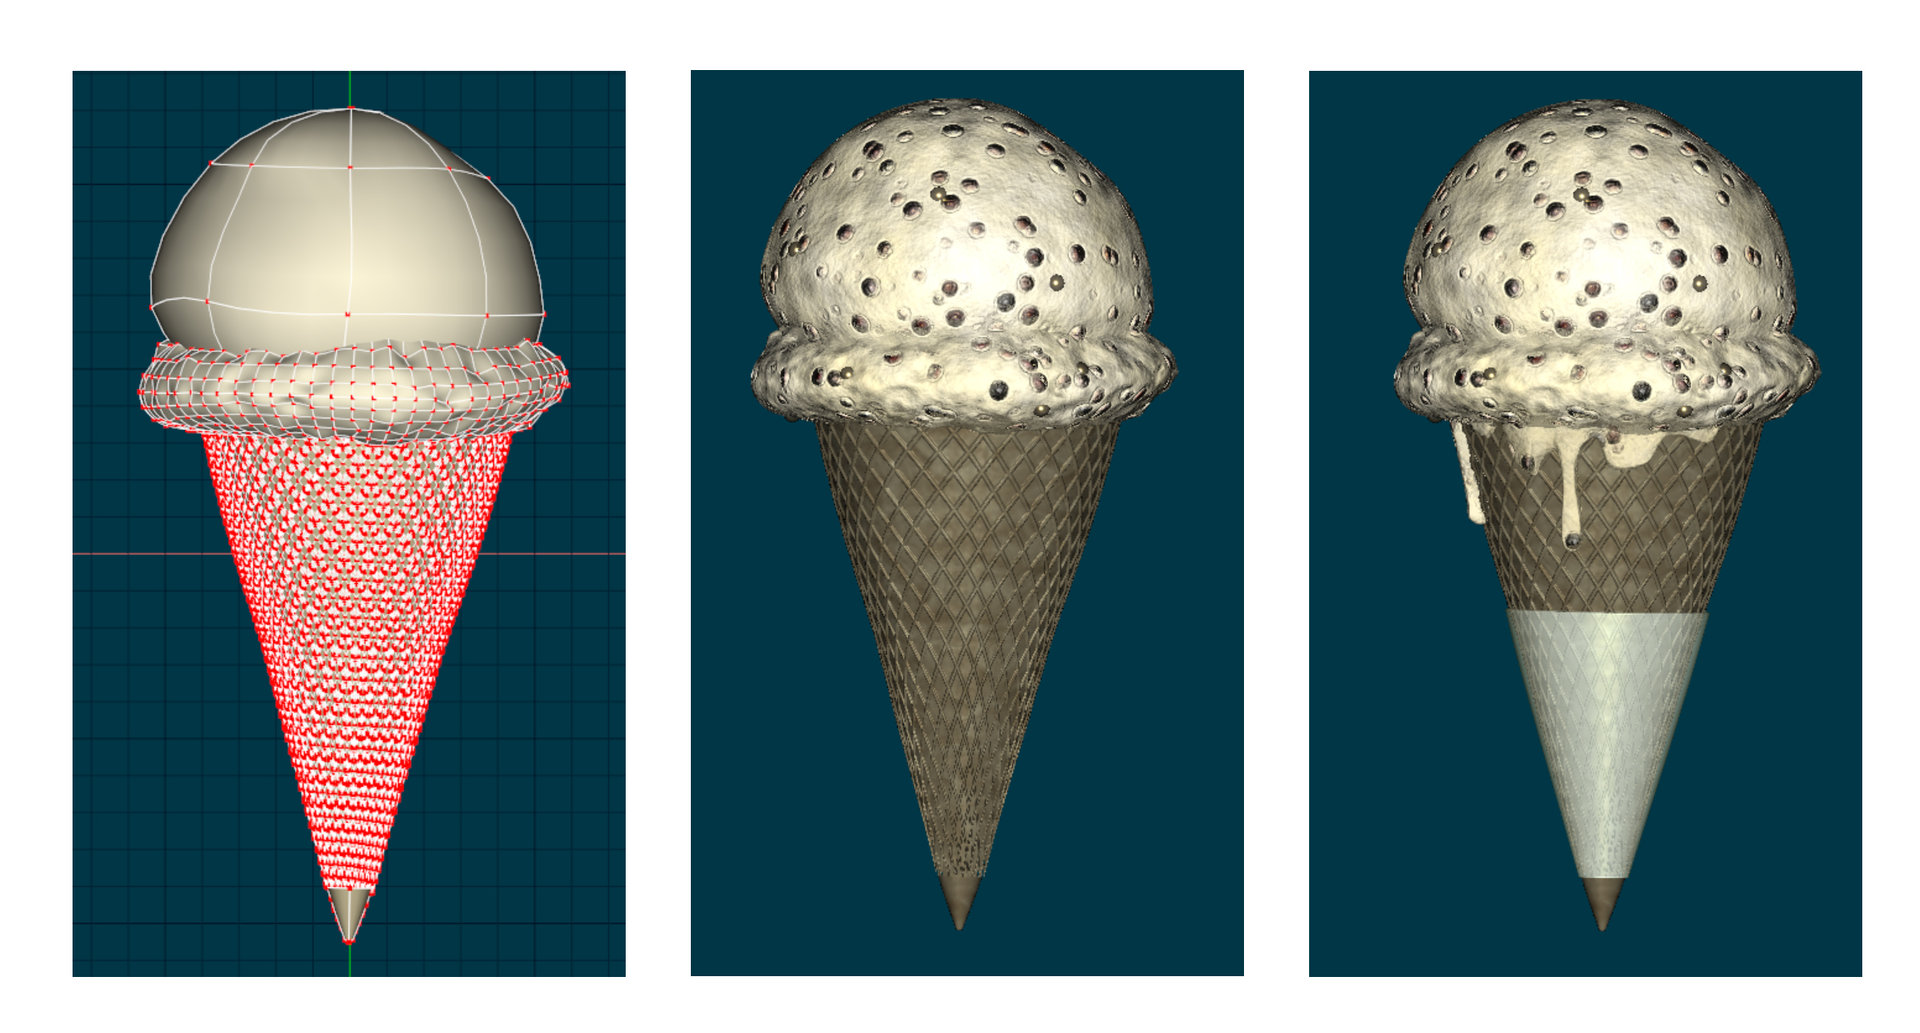
STEP 2: the ICE-CREAM First, I did a Google image search on 'ice cream cone' and came-up with a lot of reference.... what flavor? I hadn't even considered. Vanilla would be easiest, I suppose... but I was hungry for something more. I played with many Simbiont AM textures and finally found one that looked ice-cream-ish... and it was the tx-Bio Alien Skin texture. I played with colors and settings and got a nice 'submerged chocalate chip' or maybe they are pistacchios... I don't know- looked good and was quick-n-easy. For extra detail, I added a plastic/paper transparent holder, and along with an upside-down small cone added at the very bottom the cone's problems were mostly hidden. Some drips were added as well. Also- I added some extra 'chips' to the ice-cream surface that served to break-up the smooth outline nicely. -

"Paint fall" Image Contest WIPs
John Bigboote replied to robcat2075's topic in Work In Progress / Sweatbox
My next move would be to see if it is a V19 problem, open up 18 and try it there... -

Image Contest, Matt Campbell's workthru
John Bigboote replied to John Bigboote's topic in Work In Progress / Sweatbox
But I still had a ways to go. I realized I was making my cone like the Youtube video I had watched... https://youtu.be/_f7-Eq4H0D8 at 1:30 in the video I noticed the round shaped waffle goes into a cone where it molds it's shape... I had to do that, so I: 1- made my grid into a round shape and tilted it 45 degrees. 2- cropped the top off so I would get an even top. 3- used Distortion Mode to meld and form my waffle to a primitive reference cone shape (red) 4-Final result... I now added the color and a celturb material to give a little variance and texture. Looks nice, but there are still 'problem areas' that would need to be dealt with. Mainly, the top was jagged and rough- an easy fix once I put my ice-cream in, will cover it up nicely. But, at the cone's bottom- the grid is over-converging and comes to a non-uniform crumbly tip. The solution? Stay tuned. -

Image Contest, Matt Campbell's workthru
John Bigboote replied to John Bigboote's topic in Work In Progress / Sweatbox
STEP 1: The CONE I began by attacking the cone of the ice-cream cone... still not knowing if I was working on an idea I would scrap- or ever finish. I figured this was a good starting point, something I literally love to sink my teeth into... and I told myself it would be an easy start. Right? Wrong. I initially lathed a cone and then started playing with materials to get that 'waffle grid' look I was after. Materials let me down in the mapping (spherical, cubic...?) and in the bump/displacement (I wanted to be able to 'feel' these ridges...) I scrapped the lathed cone idea and watched a Youtube video on how ice-cream cones are made for inspiration. I could'nt believe I was 'stuck' at such an early point in the process... so I went 'old-school'. I used geometry (CP's and splines) to make my waffle pattern. I modeled 1 grid-unit and then copy-paste, copy-paste, copy-paste... and via the magic of exponentialism I was quickly there. -

Image Contest, Matt Campbell's workthru
John Bigboote replied to John Bigboote's topic in Work In Progress / Sweatbox
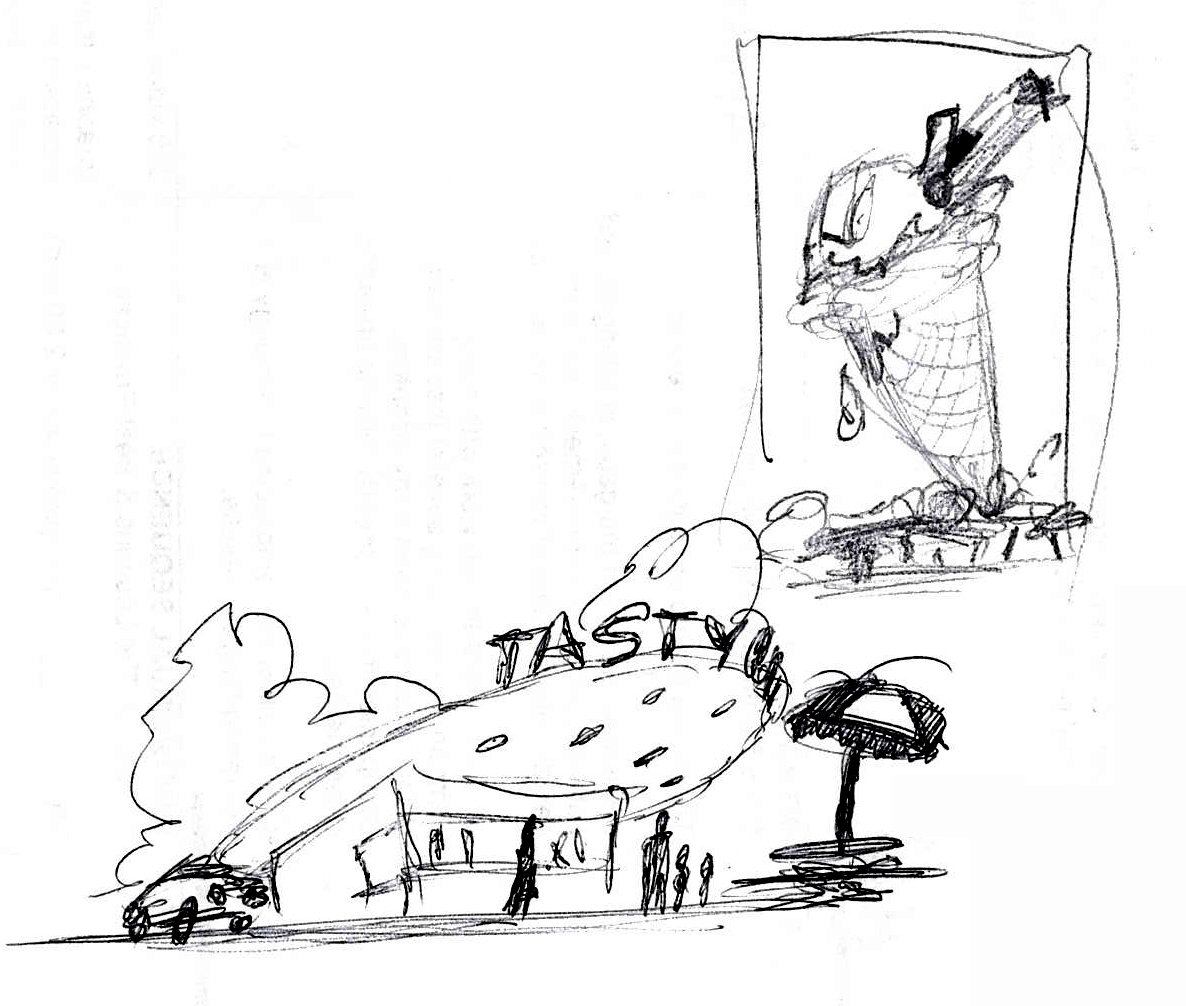
It was just a crude doodle made while on the phone... but I liked the way it seemed to catch the spirit of summer. It had the whimsy and composition of an advertisement you might see on a marquis while deciding if you should get a slushy or a cone. I liked the way the 'shack' sat at the bottom of the frame, and I immediately redrew it with more angled perspective and added detail. With the right colors and textures- this could make a nice image! I read recently that in the name of not being 'overly-ambitious', when you start a project with a design like this you should reduce some of the elements, so ultimately I would 'nix' the ice-cream scooper, the car, people and picnic table and just concentrate on the building and cone. -
I'll be posting some images, files and explanations about my 2017 SUMMER Image Contest entry here. I am sorta working backwards, seeing that my entry is already submitted. I worked on it for about 8 hours, 4 on 1 day and another 4 the next. It all began with a simple sketch that I was able to get excited about:
-

"Paint fall" Image Contest WIPs
John Bigboote replied to robcat2075's topic in Work In Progress / Sweatbox
That is odd... guess you will need to re-apply that one? -
Ha! I like the way the pink dots took reminded you of a little story for us, Simon. Maybe time to paint your house pink! I feel your pain on this--- wish I could be more help. My approach to UV'ing has always been to simply apply a decal... maybe take a screen capture of the particular view I am looking at... take it into Photoshop and paint to that angle. I was very excited to start learning C4D with it's 'Bodypaint' feature for UVing... but found it quite convoluted and many other users feel the same way and recommend expensive 3rd party UV-ers... Lately, back in A:M, my approach is to use less imagery and more materials- tho that would'nt help you here- sometimes you need paint and imagery. I appreciate this thread and will follow-up on the knowledge here when I can. Let's go for a pint at the Shadingfield Fox!
-

"Paint fall" Image Contest WIPs
John Bigboote replied to robcat2075's topic in Work In Progress / Sweatbox
Thank-You... I tend to avoid the search bar in the forum... I just wanted to check the rules one more time before i SUBMIT MY WINNER! -

"Paint fall" Image Contest WIPs
John Bigboote replied to robcat2075's topic in Work In Progress / Sweatbox
I really like that noise material set to displacement! Hey Rob--- I went looking for the post for the 'Summer' image contest, it was not where I imagined it to be- which was in the 'Current Contests' forum... -

Summer 2017 Image Contest! New Deadline Sept 22!
John Bigboote replied to robcat2075's topic in Contests/Challenges
How fun, and easy topic everyone can relate to. I will shoot to get at least 1 entry, I hope many others do too. The prizes are great- and EVERY ENTRANT is a WINNER??? That's new! Imagine your excitement as Rob scratches-off your $1 ticket from the Texas lottery... everything in Texas is BIGGER! -
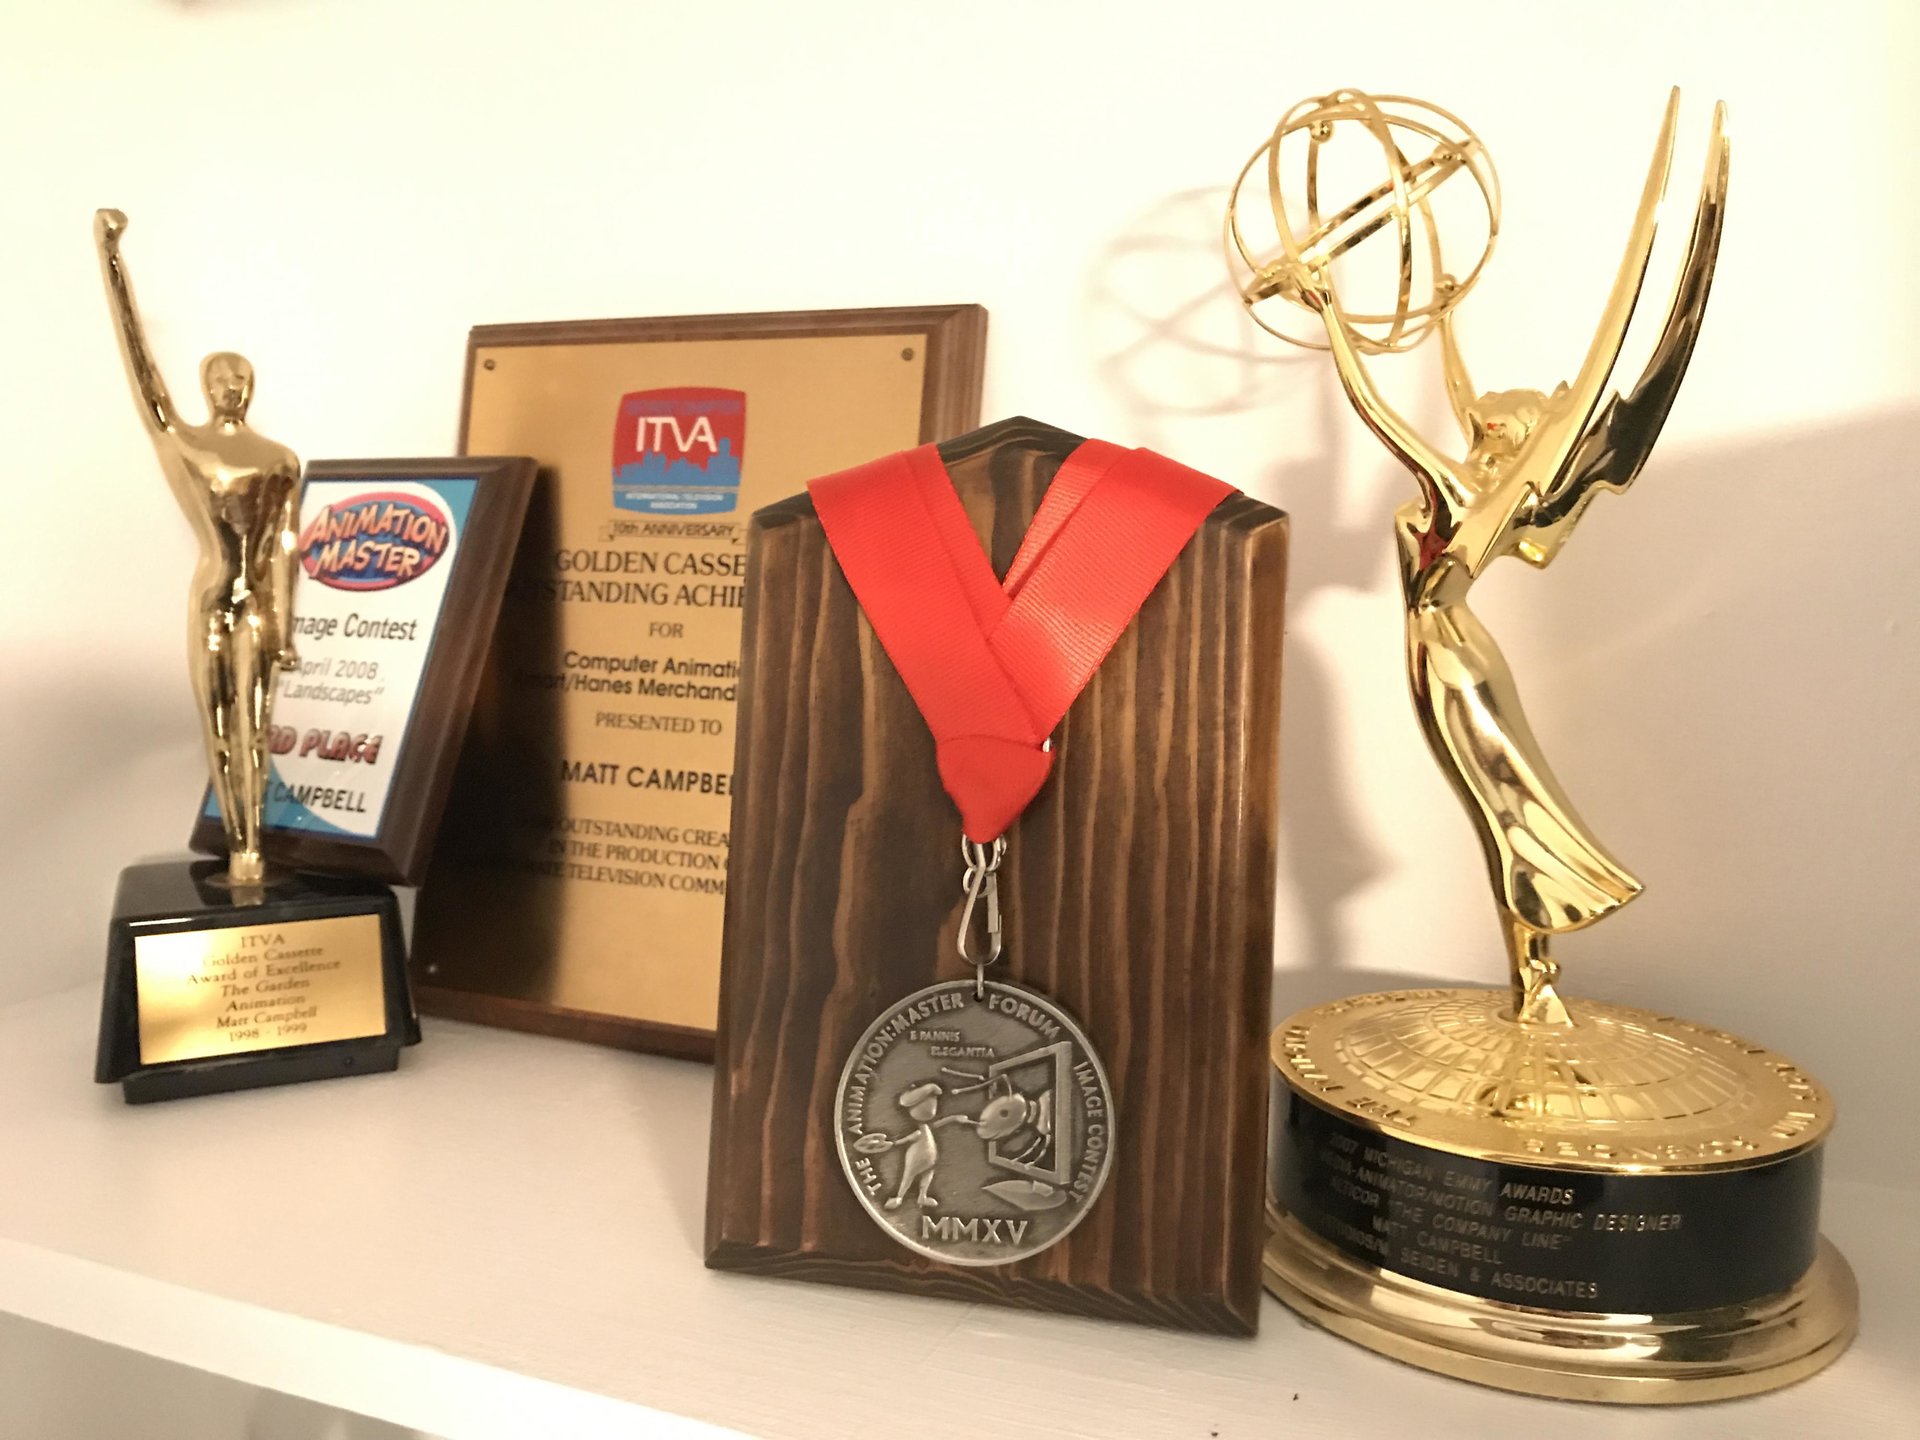
Finally got a moment to appreciate the high degree of detail and attention Rob has put into my award. The videos were informative and entertaining... he even dons a suit for his on-camera appearance! Every detail has been considered, and the pewter coin... is heavy and perfectly made! A true memento! Here is my award front and center with some other knic-knacks picked up thru the years... THANK YOU ROBCAT!
-
Great study, Rob. When used in NetRender with multiple renderers, the time-savings really adds UP! I have been putting V19 NetRender thru it's paces with some test projects- working well! NOTE: I made a test project with 2 instances of SSS, and it did'nt crash upon render... so nevermind on that. I have so many belles and whistles turned-on in my renders- playing detective is no fun.
-
Thanks Rodney- that helped! Here is another for testing... may be a bug...When you have 2 objects with SSS in the same scene the render crashes...
-
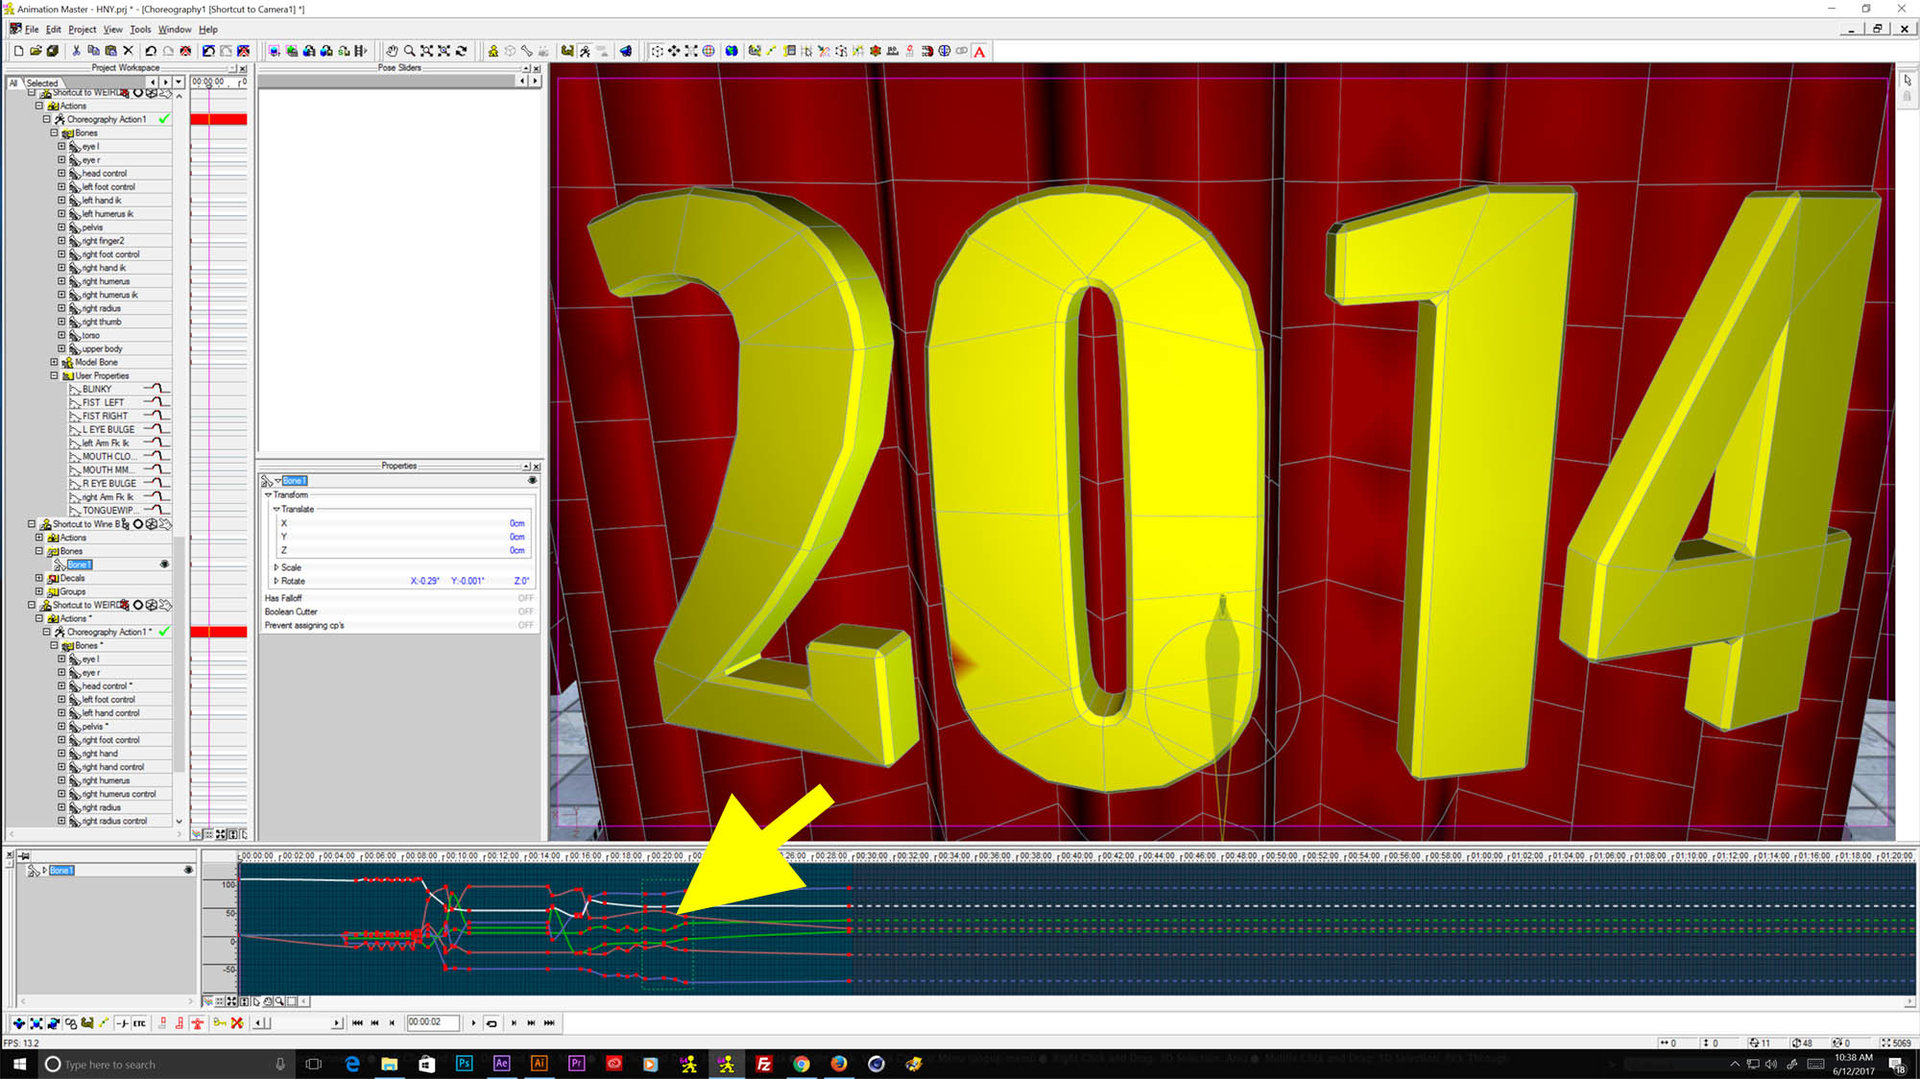
Hey- sorry to change topic back over to V19... I have installed it and am toying with a old project- is anyone else having trouble selecting keyframes in the timeline? It is not always predictable but about 50% of the time, I drag a rectangle around a group of keyframes (see image- arrow at bottom) and the keys will 'maybe' become selected. I can workaround by selecting a different bone in the PWS then reselecting the bone I want and trying again which resets my odds at 50%... is there a new feature or setting I don't know about? Seems like a bug.
-
Truly looking forward to it. You go above and beyond for this forum, BIGTIME!
-

found old project tried it in 19
John Bigboote replied to johnl3d's topic in Tinkering Gnome's Workshop
Nice LOOP! -
The Haven wedding story got my stomach in knots!
-
Impressive list, great work Steffen! Lots to read here! Happy to see my request: - 6772: Feature Request: Weight Menu Undo the weight dialog has now a "Cancel" button , which reverts the changes done in the dialog to the state before the dialog was started. Weighting has now also a general Undo/Redo , if the dialog is exited with the "Done" button. among the additions. Got a chance to update today.
-
appears to WORK! Trial is limited to 500 frames- doesn't seem to be a time limit. There is a little bit to learn about it... and you need to install ffmpeg which AfterCodecs is built upon... but, I just successfully encoded a Pro-Res on my PC! Happy Day!!


