-
Posts
6,562 -
Joined
-
Last visited
-
Days Won
58
Content Type
Profiles
Forums
Events
Everything posted by John Bigboote
-
Great! Always interested in what Kevin Detwiler is up to!
-
I am crashing upon applying a decal... png or jpeg... alpha or not. Steps to reproduce: -Open A:M -Make new model -Make 2 point spline horizontally -Extrude spline so you have a patch -Import image -Drag image onto model window -Choose decal option -Position decal over patch -Apply
-
That is the way I was going to try... I was setting about making a simple prj but every time I go to apply a decal I crash?!?! (19.0F)
-
I don't think so... I am just referring to when you export your obj and you can choose between 1,4,16,64 etc polys-per-patch... 1 being just each patch being exported as a polygon- 4 splits/smooths it 4 ways etc. It is too bad that it is a '1 size fits all' approach because my models have parts that are sparse and parts that are already quite dense and I feel it unneccessary to further densify it...
-
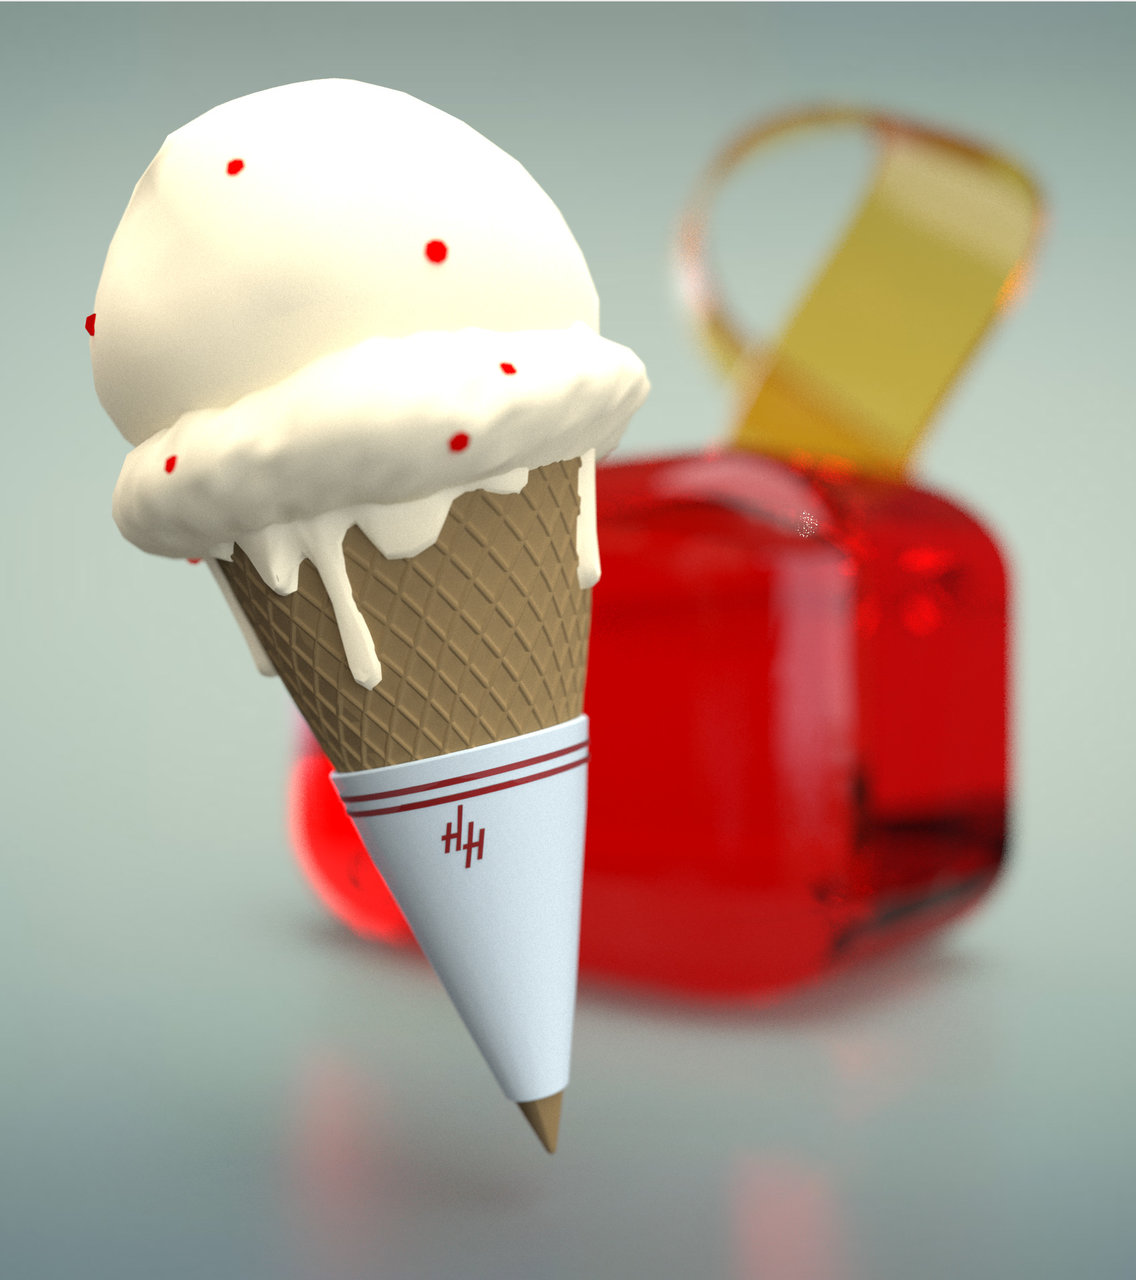
I am always late to the party... thanks Mark! I found the way to set image dimensions, and it is easy. SO- I did a test render at 1600 X 1800 pixels at 'medium' render quality and let it go overnight. It looks pretty good but I think I am seeing a 'glitch' at the forward edge of the red box. Render time 3hours 12minutes 3seconds, not fast at ALL! Almost makes me think the image is being rendered 'in the cloud' offsite somewhere... PLUS- as you can see in my Hash modeled ice-cream cone--- there is no SubDivisionSurfaces so I would need to export from A:M at a higher mesh density.
-
SO- thinking more about this... There are many-many high res models out there that could be employed here in A:M with this plug-in... if there was an easy-peasy way of getting the CP's and rig transferred over. Does the lo-res model need to be generated from the hi-res? Could a minimal CP rigged model be used as a 'Universal Lo-Res'? I suppose a fair degree of scaling and sizing would be needed to fit the lo-res to the hi-res, and even tho rigs like TSM2 have great 'limb-stretch' capabilities- you can not activate them in a model window... Could open new doors for A:M if 'mixamo' type capabilities were acheivable! BTW- I love the little 'action to put him thru the paces' you made in the example!
-
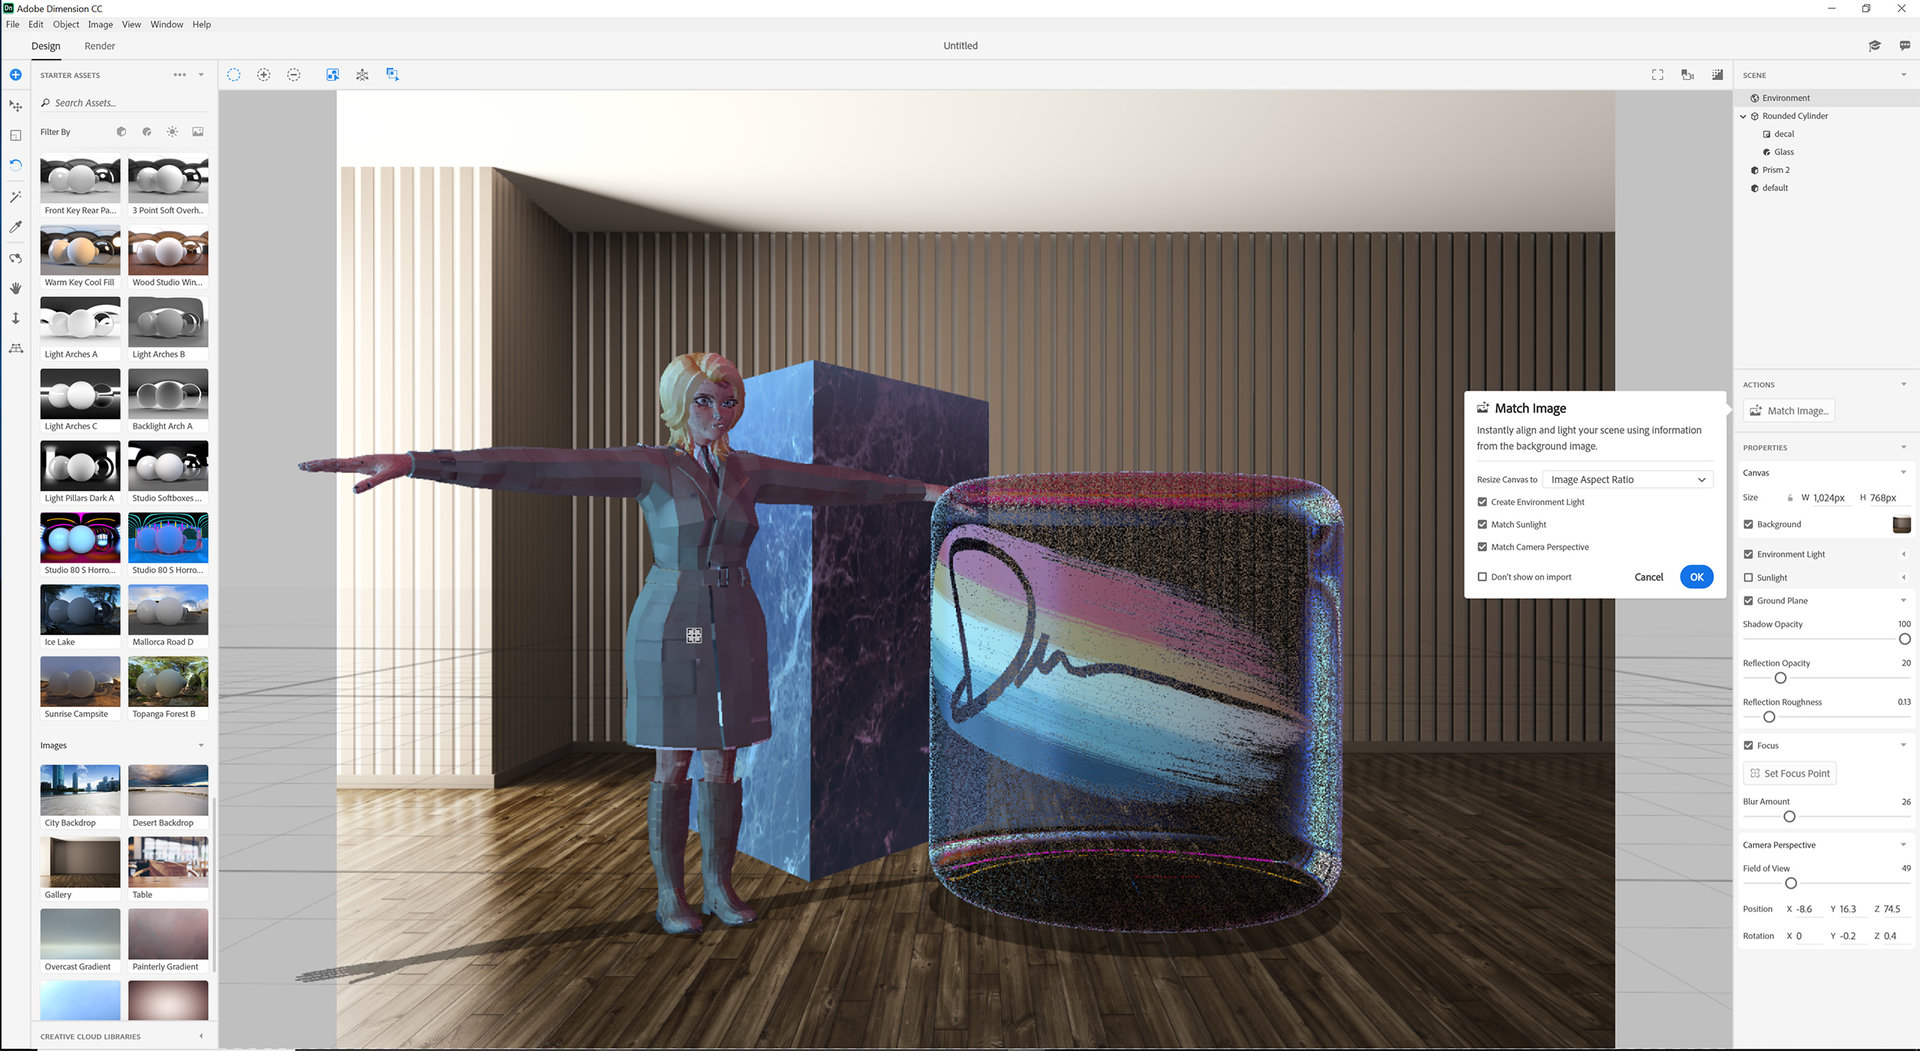
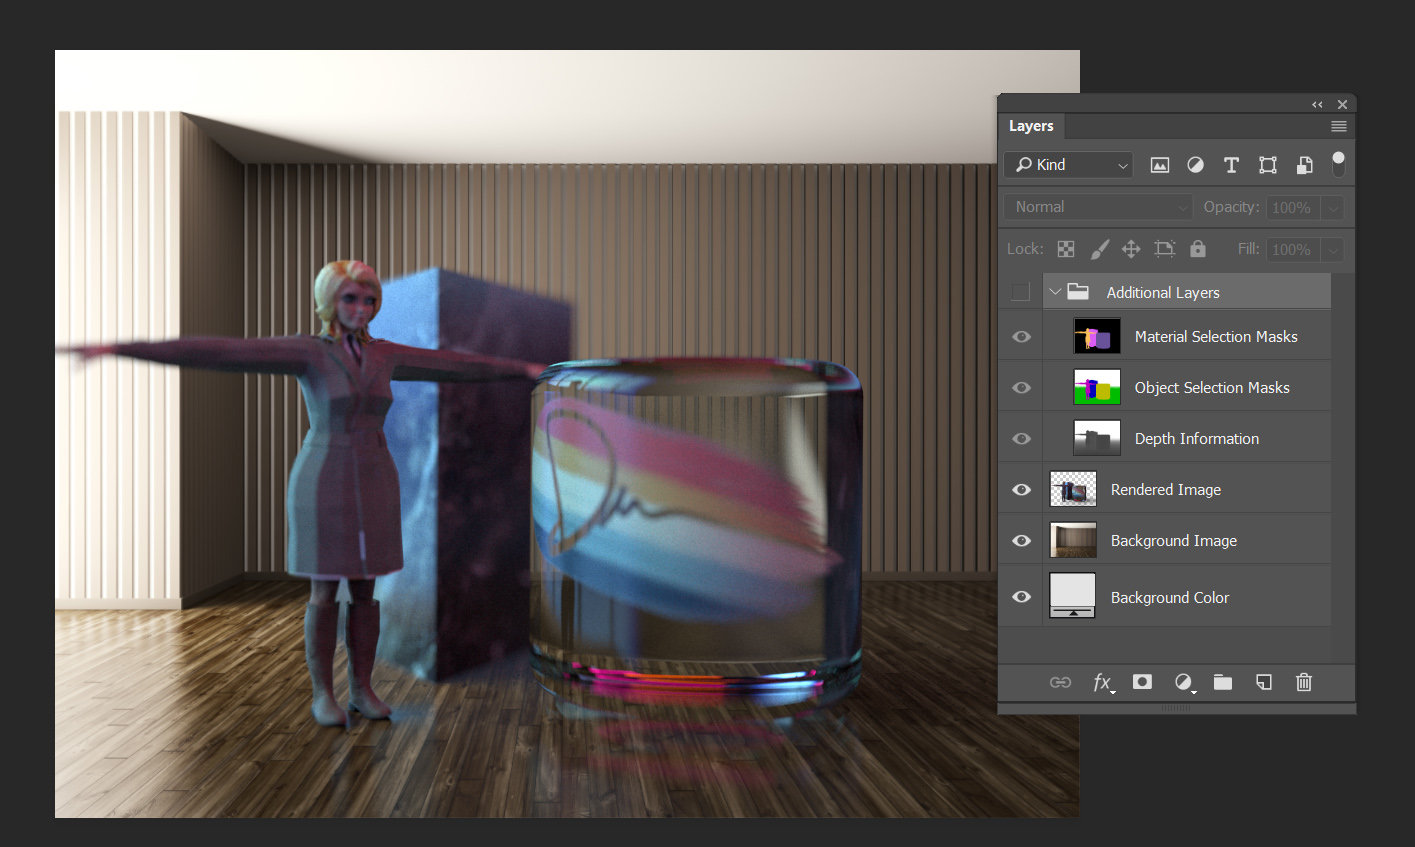
Dimension offers a neat feature called 'match image' for automatic placement of your scene to the background that you select parameters (lens, XYZ placement, even lighting) and will make a great reflective floor... but as you can see- it did NOT take the background into consideration for the depth-of-field. I suppose in Pshop I could use the depth layer to imitate the blur by eye...but...
-
This just came acrosst my radars: https://www.adobe.com/products/dimension/features.html?mv=product&mv2=accc#! https://www.youtube.com/watch?v=ML0i68H-Xos https://www.adobe.com/products/dimension/features.html Adobe's foray into 3D rendering, still in beta- but highly functional with a great orientation interactive to get you up-and-running very swiftly- the beauty being that it is quite a simple program with no animation features... main use is for photorealistic still renders. It should be, however- compatible with A:M as a 3rd party still-renderer for anyone that wants to see what rendering with Vray looks and feels like...(via obj file format) I am doing a test scene-render now... one frame is going over 20 minutes, so not too swift but I imagine people wanting photoreal images would have all day for a render. ( I did turn-ON a lot of bells and whistles...) I can't seem to find any image size dialogue, so it looks like this early iteration is a one-size-fits-all for now...(1024 X 768) it claims it will give me photoshop layers so we'll see. (IMAGE FINISHED 21:57!)
-
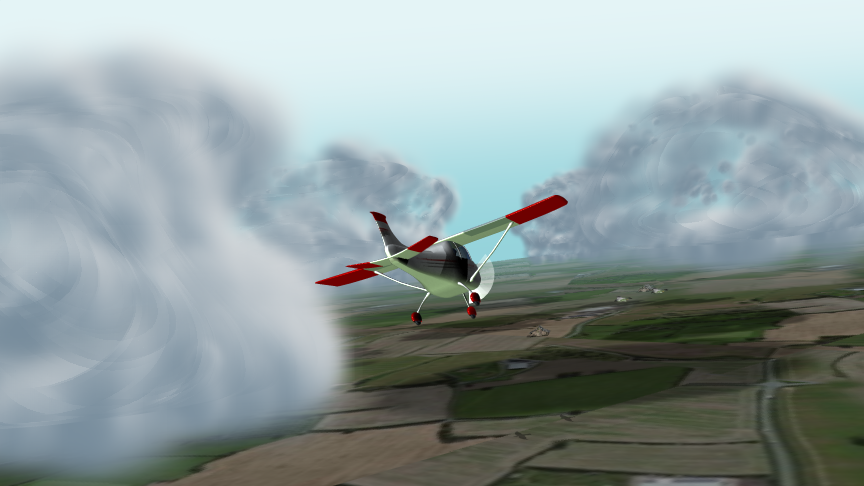
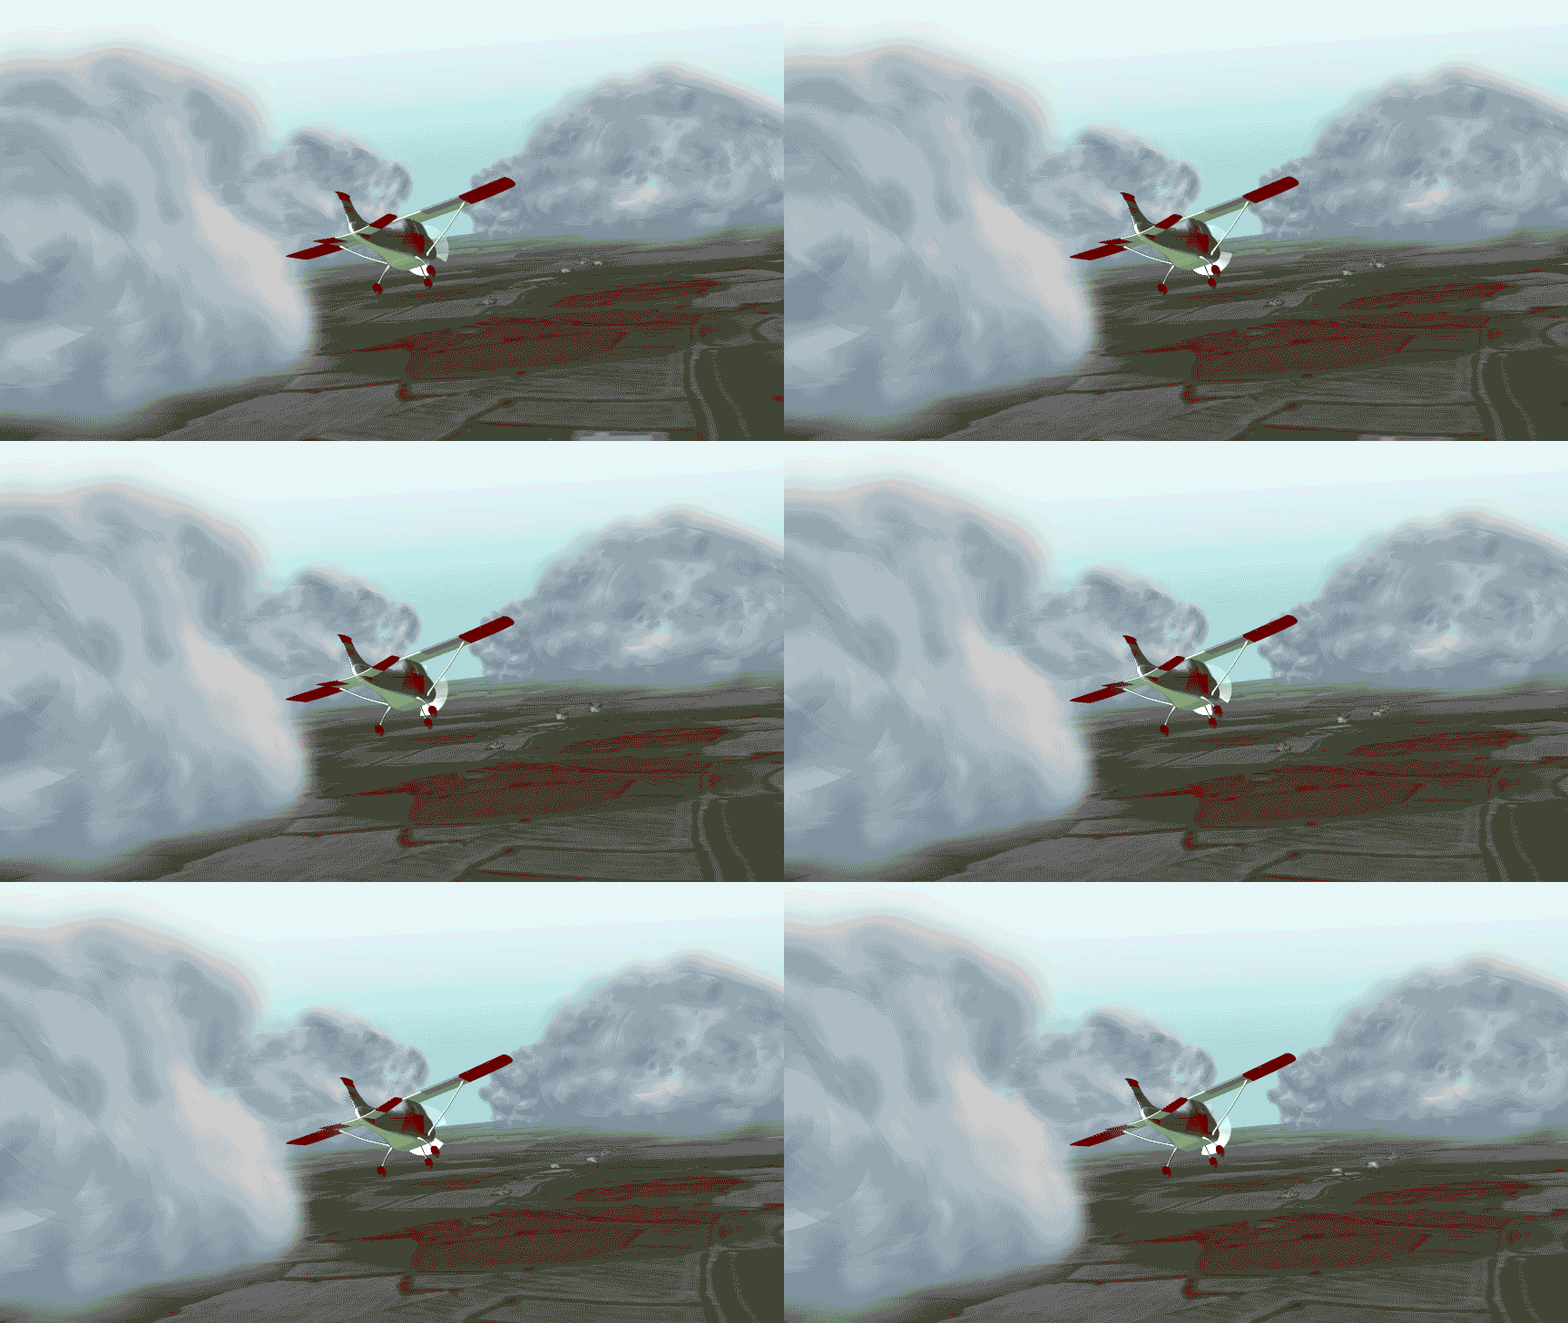
Well- I hit render on this animation and then went away for a week of vacation, came back to find it done... kinda cool! FLYTHRU.mp4
-
I have been thru this and feel your pain as the unwanted pose sliders pile-up and get in the way... but, I think there is an easier solution... and somewhere/sometime here on the forum it was pointed-out to me as I was going thru the same hoopla. All you need to do is, as you have illustrated above... click the unwanted pose(relationship folder) in the PWS model/relationships and delete, you will get the 'Delete Pose Relationship?' feedback... next, select the pose slider in the User Properties window for the model and delete, you will get the same 'Delete Pose?' feedback- say yes and you are done. The relationship AND the pose slider have been deleted from the model.
-
Wow! 'Pearls' of wisdom here. Wasn't this a 3rd party plug-in at one point? WeightMover or something? I seem to remember buying and trying it... What is the underlying rig you use here, quite flexible and the beauty being that the plug-in divides the lo-res into the high res SO smoothly- quite valuable! I need to watch again!
-

Trying to Understand Sub Surface Scattering
John Bigboote replied to markarjun's topic in Open Forum
Sorry guys- I was out on vacation last week. Here is my response to Mark on some Q's he asked: Hi Mark- SORRY for delay responding- was out on vacation. If it looks good in the model window then you are on the right track... you will need to make sure you have the SSS option activated for choreography camera/render. Try this: Go up to the top menu's (File, Edit, Project, View, TOOLS) Select Tools, Options (Cntrl-P) and then open the RENDERING tab... make sure 'advanced' is selected- then you can select where you will set your render options (kind of redundant, sure.) IF you select 'Use Settings From: This Dialogue', then you will want to root thru the settings to the left to make sure SSS is set to ON(10th option down) IF you select 'Use Settings From: The Camera', then you will need to hit OKAY and then open the render settings for your Chor's Camera and make sure SSS is activated there. I usually use the camera's settings, so I can change them quickly on the fly as I work. Another thing to remember when in the chor... to see effects such as SSS, you will want to use the preview render button to the far-left (hover-over it should say "Render Mode 'Q'") and not the quick render preview mode 2nd from Left(Hover-over says "Render Lock Mode "Shift Q"') Another thing to consider when using SSS is that the effect is highly reliant on certain lighting conditions, and that it prefers a strong backlight... also- experiment with the MP render and the other non MP as well) I remember when SSS was a new feature, I was playing with it in a multipass render and I noticed that for every pass the SSS had to recompute- which made it costly in a high pass animation render. I asked the Hash programmers if a recompute was really necessary for every new pass, it seemed rather redundant- and they responded 'your right!' NOT needed! and today SSS is not as render expensive, a little hit, not bad. I've noticed as well that sometimes if you have multiple SSS objects(or groups with different SSS settings) in the same scene they may not render correctly.... been meaning to report that. Hope this helps and you will have something cool to show. -
-
BUT- revisiting Rob's fantastic approach... THAT is the way!
-
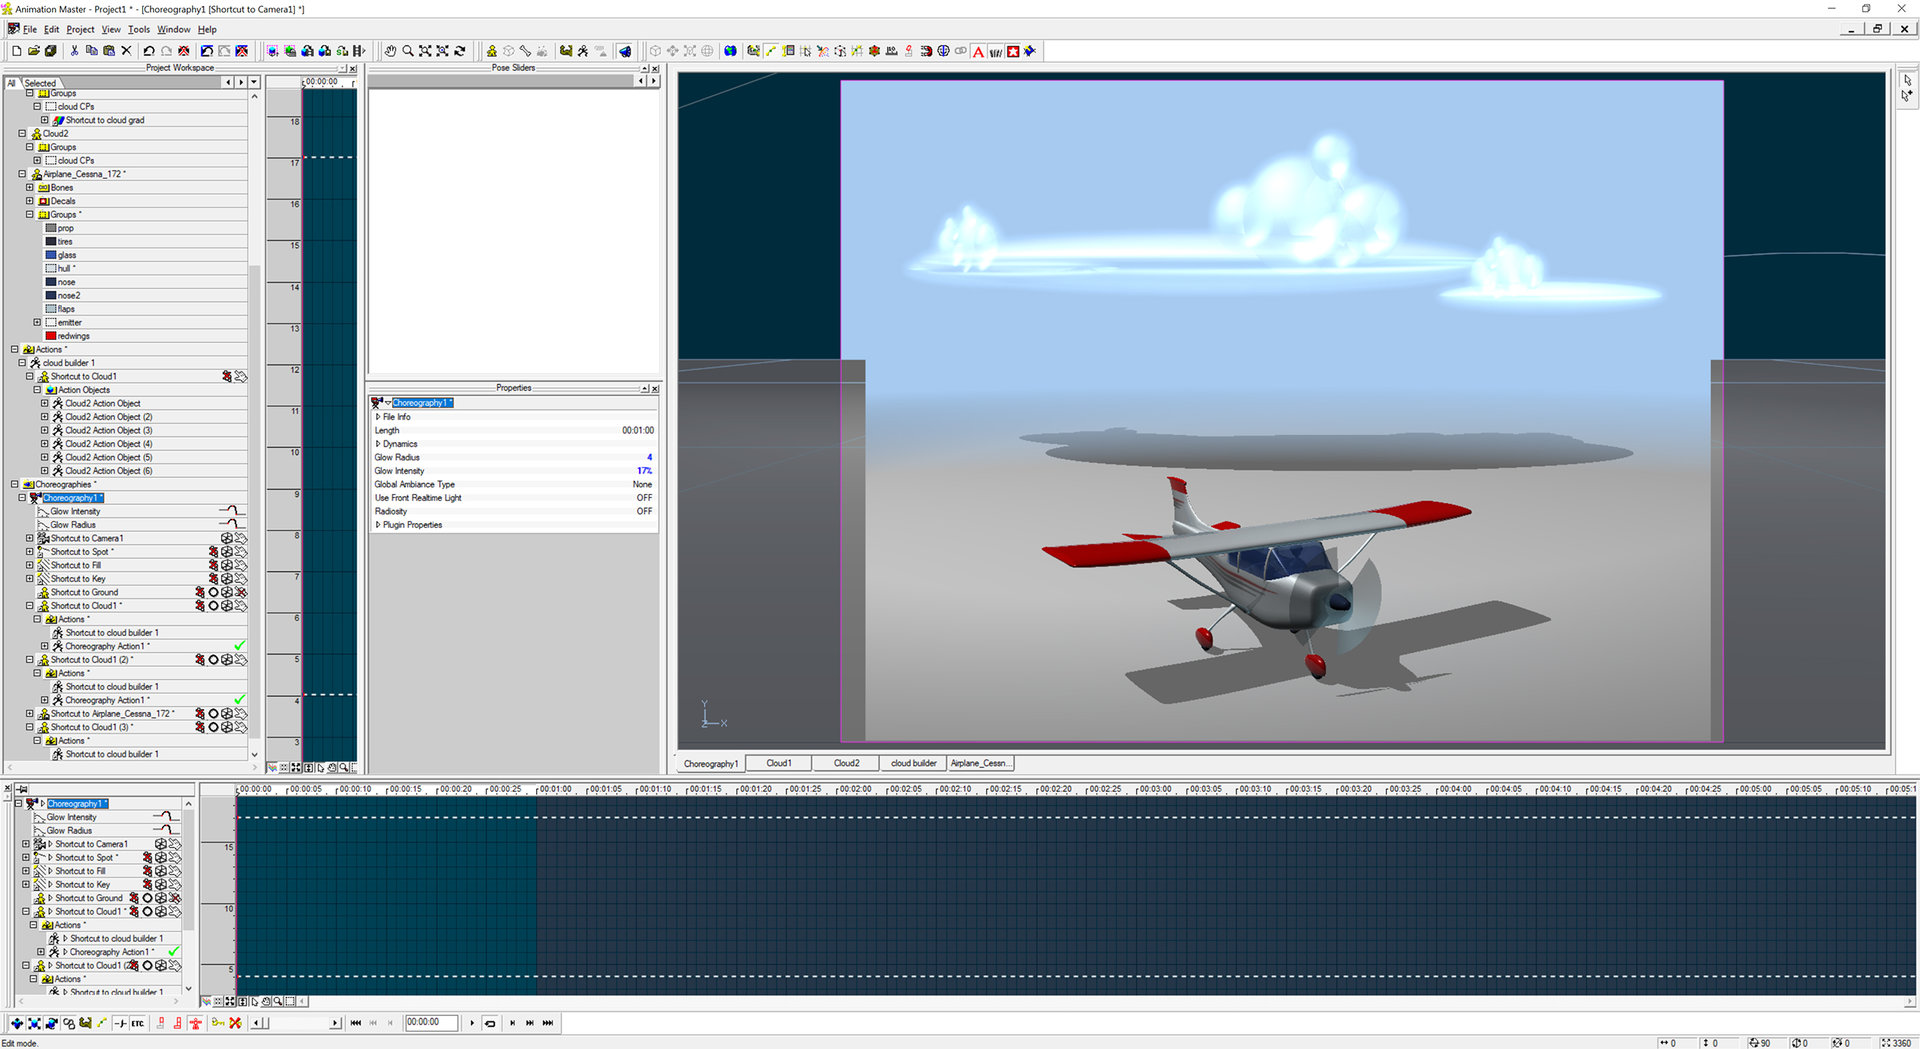
Here is a test utilizing glow on transparent spheres... I've been toying with new uses for glow... this has pastabilities but needs more testing.
-
Make sure 'cast shadows' are on in the light's properties, and maybe try setting them to raytraced shadows...
-

ADD Motion Capture in A:M -video tutorial
John Bigboote replied to John Bigboote's topic in A:M Tutorials & Demos
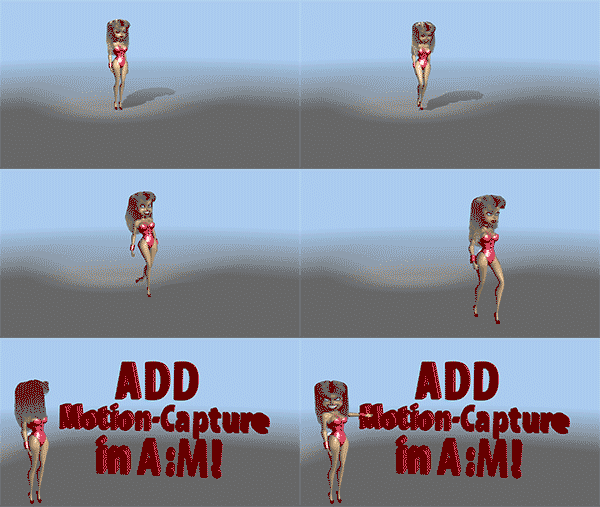
I used a lot of BVH motion-capture in these Jet's Pizza animations from 2015, to help add visual 'punch' to the campaign. (very, very low-budget!) ALSO an interesting side note... ALL the music and sound-effects for that campaign were culled from the Youtube free audio library. (link below) https://youtu.be/CS3UVitonDY Youtube Audio Library: https://www.youtube.com/audiolibrary/music -
I updated my Nvidea graphics card driver and noticed it includes a screen-capture utility! SO- I made a video showing my method of adding a BVH motion-capture file to a rigged(TSM2) A:M character. I apologize for poor video quality and you may need to pause here and there to see what I am doing- but it is all quite straightforward utilizing simple constraints (Translate To and Orient Like) There are many 'free bvh' files to be found on resources thru-out the web. Here is a folder of older files I DL'd about 20 years ago that was made free by Santa Monica Studios to get you started: https://www.dropbox.com/s/xc74lexfqc3ymnr/SantaMonicaStudios.zip?dl=0 30mb Here is Youtube link to the tutorial: https://youtu.be/9i9igNG6lPA Hit me with any Q's.
-
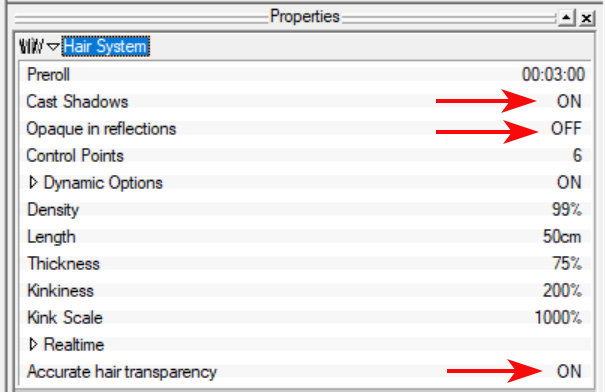
COOL! Great skin! Weird shadow glitch there! Never saw that before... here are the properties in the hair emitter you can try messing with:
-

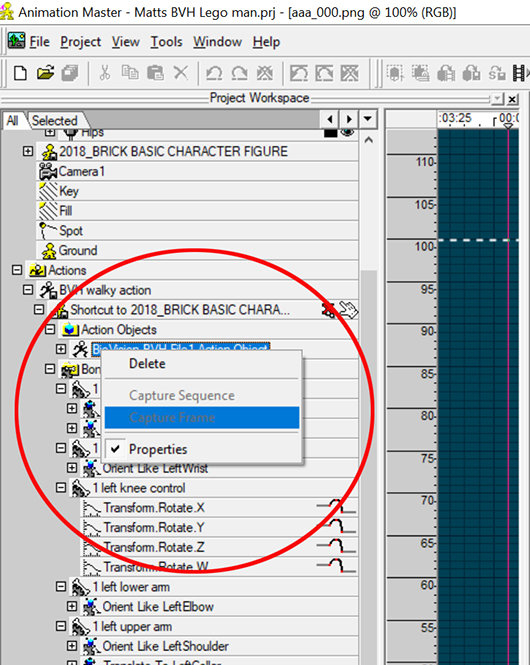
BVH Capture Sequence not working like it used to...
John Bigboote replied to John Bigboote's topic in Open Forum
Cool- thanks Will... sounds like a perfect solution but (there's always a butt!) in my experience none of the BVH's I have(and I have hundreds) start in a similar or a T-pose. On the bunch I was viewing yesterday, the 1st captured frame is some glitch-ball pose that needed be deleted. In current versions(19), the heading is 'Bones' instead of 'Channels' and the shortcut to the BVH is not listed... unless I am missing a step. -
Hair, I've noticed... gets a 'rework' every now and then- version to version, that is. It is all for the good, I think because it tends to act better and better in dynamic and collision-detection manners.
-
Great trick... cloth ay? Nice. What about taking to the next level with an emitter that would add some foam to the wake. SHUT UP, Matt!
-

BVH Capture Sequence not working like it used to...
John Bigboote replied to John Bigboote's topic in Open Forum
Maybe it is time I do a video capture. What is the best recording software that won't take-over my machine? -

BVH Capture Sequence not working like it used to...
John Bigboote replied to John Bigboote's topic in Open Forum
Well - I was just explaining to Kevin Detwiler... even tho the feature was pretty cool- it would not always work, and no fault of A:M's. BVH files come from many differing sources, some uses mocap suits with little glow-balls on them, some use mocap suits with armatures... some use kinect cameras and some folks regurgitrate BVH's from popular video games SDK's... no constant naming conventions, bone or scene orientations(XYZ) rotations, frame rates... etc. SO- it has always been a need to be able to rig a character quickly to a BVH skelton in A:M in order to use them. It was just nice to be able to switch-out a BVH from a like-session/creator without the rigging rig-a-mole every time. And I remember doing it in A:M- perhaps in 17??? -
Time was (in previous versions of A:M) when you were working with a BVH file in an action and you had it all setup with all your constraints, you could change-out the underlying BVH animation with an alternate BVH and not have to re-constrain everything. When I try to do that now in V19 and V18... the 'Capture Sequence' option is unavailable (greyed out) but I seem to remember being able to do this in older versions. To be clear- Capture Sequence DOES work initially when you bring in your BVH file... that is all fine. It is just when you want to alternate to another BVH file that the option goes away. This makes it so that every time you want to use a BVH action, you need to go thru the time-consumptive constraining process. Wondering if I am missing a step- or if the feature is broken and needs a bug report.


