KenH
-
Posts
13,816 -
Joined
-
Last visited
-
Days Won
1
Content Type
Profiles
Forums
Events
Everything posted by KenH
-
To understand this, I advise doing the giraffe exercise in the manual. But perhaps this problem could be highlighted abit more in it. It's quite easy to miss.
-
It can be done in different ways. I just used Photoshop. What book are you referring to? Is it the one in my Profile pic? The one on the desk is just the AM manual. I always keep it handy.
-
lol Pretty soppy But animation and visual wise it's very competent. I can see where all those questions were coming from now!
-
No tutorials right now. But it's the same method as you use to make a texture map(see Wills UV tutorial). The only difference is it's in black and white. Medium grey is no bumps, black "digs in" to the model and white raises it. Not that hard really.
-
You may be doing it right. Sometimes AM has a problem with refreshing the changes and showing it in the view. So, when you expect a change press spacebar or else try saving the project and re-opening it. Hopefully it should be sorted soon.
-
Heh. That's just plain weird....but good.
-
It's hard to tell, but on this side, you have a little bottom spline running from side to side. That should be deleted to allow the flow to go from top to bottom.
-
The black areas with porcelain are most probably flipped patches. Sometimes it's hard to see. I like to set the option to render only one side of patches. Also there is a way to unify the direction of patches in the "right click" menu. Finally, sometimes you have to save the project and re-open to see the black patches are gone. To your questions: 1. Not sure. Maybe the render to file option would fix this. 2. Are you sure you're rendering the right frame range? And there is a light right? 3. Could be Opengl/Directx related. Update any drivers and/or switch between the two. 4. Can't find the thread, but basically you turn on the "floating menu" then select a piece of the spline and press /(or is it ,) then in the floating menu you input 0 to the x fields. This is from memory, so it's probably flawed...
-
Looks about right. I assume the middle loop is the start of his lips..
-
Wow! Excellent start!
-
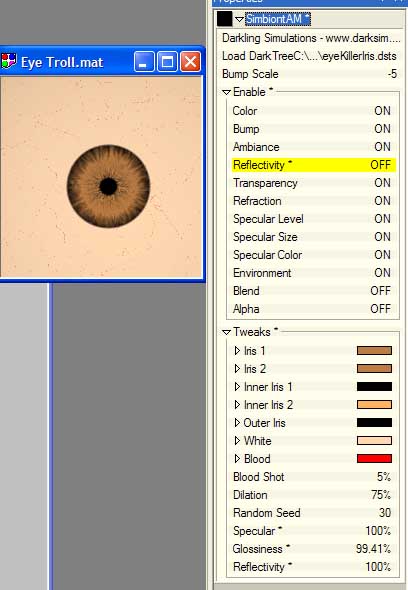
You can get it free here http://www.darksim.com/html/download_simbiont2.html Basically it's a load of cool materials.
-
Just an upload

-
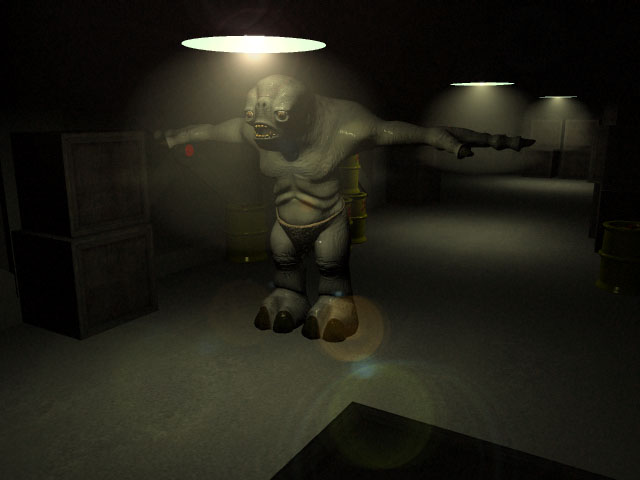
Looks great John! I know it's only a test, but if I might be so bold....IMO some of his movements should be more exaggereated ie when the words are falling. He doesn't seem scared enough. And more hand movement in front when the foot(?) is about to crush him.
-
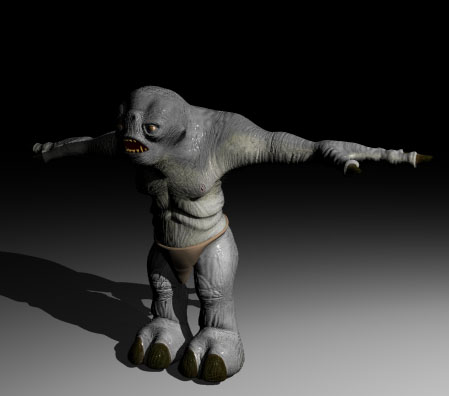
Yep he's too shiny. I still haven't set up PS on my new machine to fix it. AM was the first thing I installed! All the textures took about 2-3 days to do and I have a tiny Wacom. Fiddily but still easier than a mouse. I'm glad I've made you look at textures as there doesn't seem to be enough of it done with AM.(Not that others aren't doing great stuff with it already) I'm chomping at the bit to animate...where's TSM2!!
-
Just a quick prelude to movement
-
Big improvement! I have a pretty decent ear if you ever wanted to use it. But it would probably be alot of hassle to stitch if into the mesh now that it's all textured....Is it me or does the end of the nose look like it has a lump on it? I can see you have a few patches there, so maybe that's intended.
-
Ah...the gums are in there too! Talk about attention to detail!
-
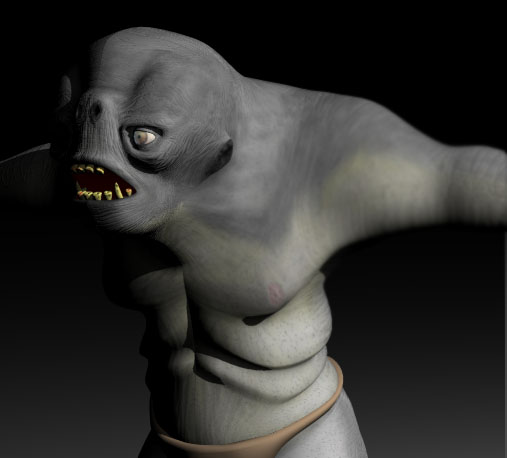
Man that's good! I hope you didn't shave your head for this project! If that's the inner mouth, it looks a little patch heavy to me. Especially as it's rarely seen in detail. Keep it up!
-
Thanks guys! I promise that next time I post here I'll have him moving. I'm waiting for TSM2 to arrive. Sharky I used photoshop for his texture and it was abit of a pain trying to get rid of seams in all the texture levels(colour/bump/spec). I can still see them if I look close, but then again I know where to look He'll be in a dark room when he's moving.
-
I recommend making a targa image for your alphas rather than using the "key colour" feature.
-
Thanks Rodney! I think this one is getting pretty close to the final look.
-
A bit further down the path....
-
Nicely done! Reminds me of the guy out of Futurama.
-
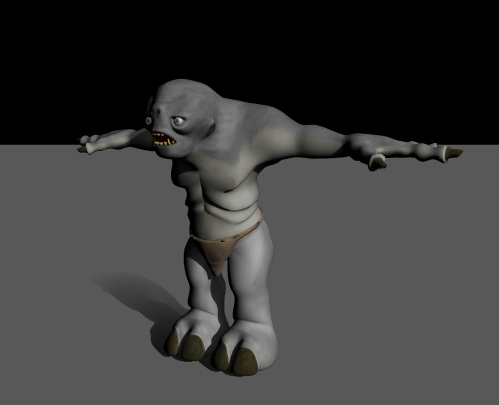
With Texture...
-
I was just fooling round with the ballman model and came up with this 500kb