Scottj3d
-
Posts
485 -
Joined
-
Last visited
Content Type
Profiles
Forums
Events
Everything posted by Scottj3d
-
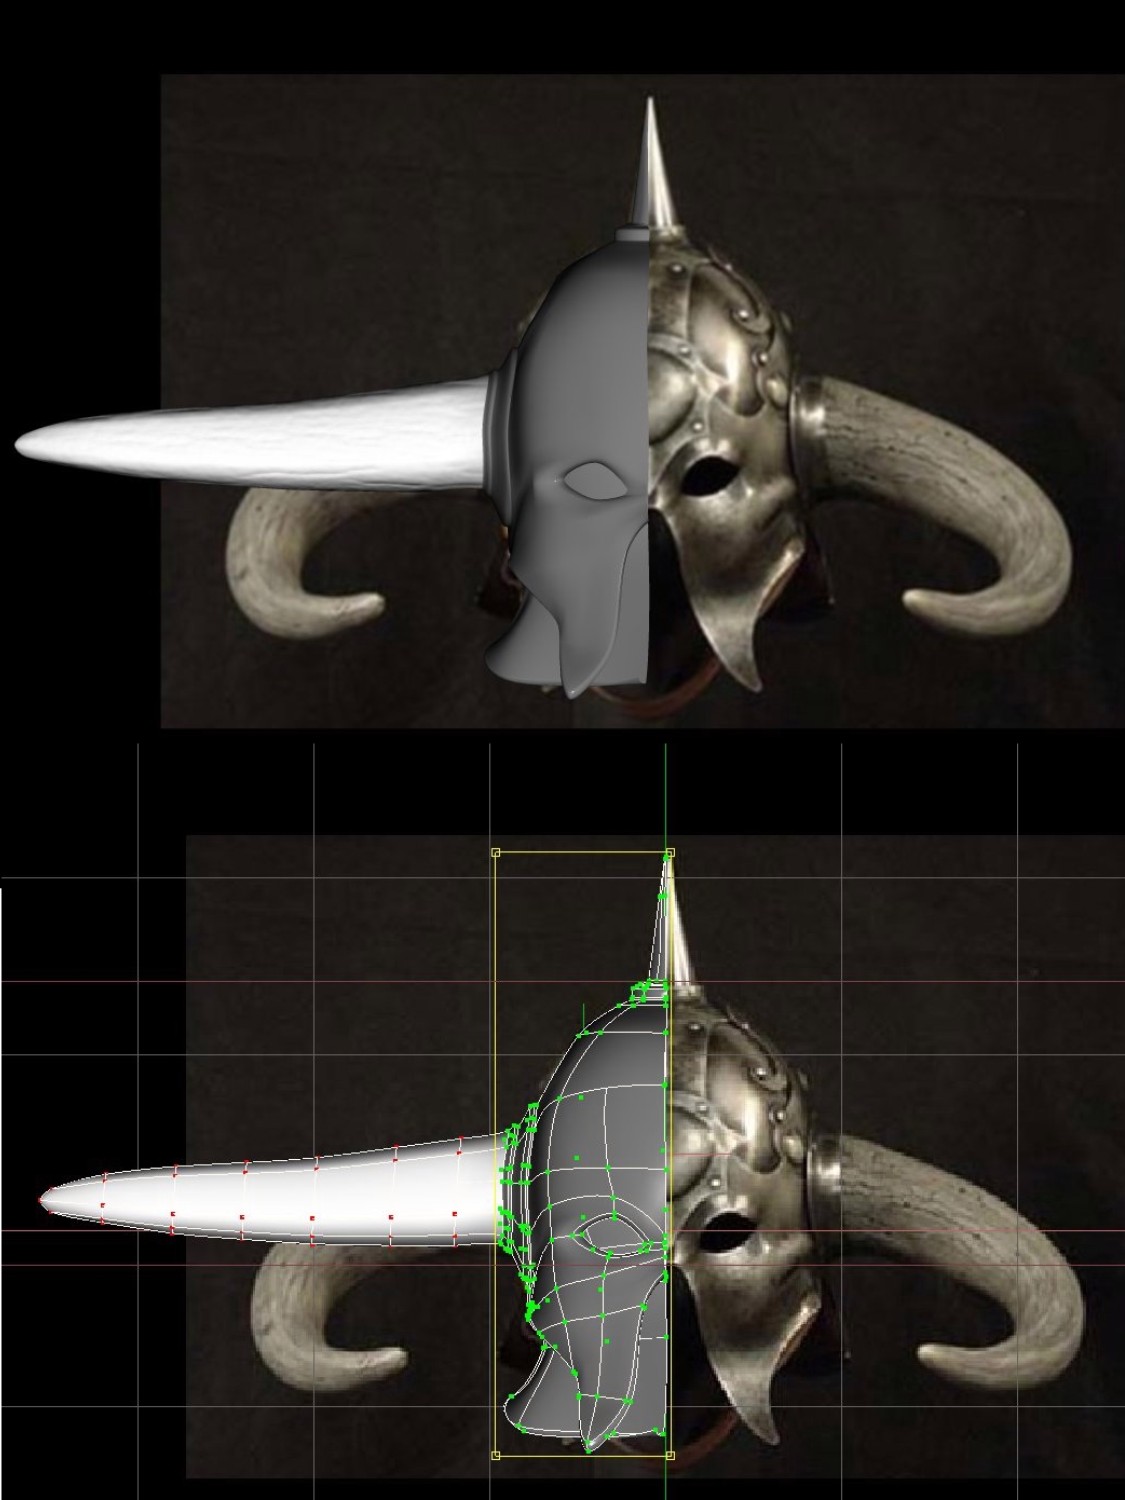
Here's my progress on the helmet so far. I haven't "bent" the horn yet as I am still working on the decals and it is far easier to place the decals before bending it. When I copy flip and attach it will do so with the decal intact on the other side.

-
Thanks Zev. I never thought to line it up with a real horse(too busy looking at jewelry LOL). I had thought something similar about the head being down but didn't think the legs were that far out. I'll have to try using your overlay as a roto(unless you want to post the pic you used:) ). Can I have 2 rotos in the same position and just alternate the one I see by making them visible as needed? That'll be easy enough to mod though. Thanks again!
-
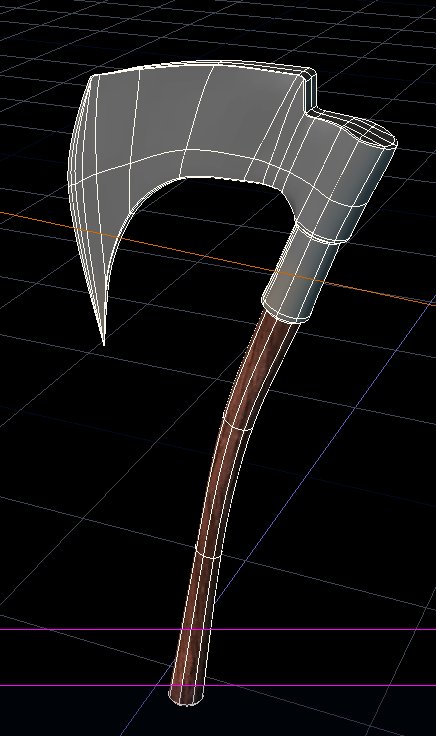
Heres the wires. I'll probably rework the splines at the sharp end. I'm just not comfortable with what I have. I was going for a sharpenned look. Prolly start the helmet next. Thanks guy's for the reference pics and links. My sister caught me looking in her jewelry box this morning hehe. She thought she discovered a new side of me until I showed her these earrings that look like they could be used from a photo to make the textured rings on the riders pants (armor rings I guess) in PSP. Funny how you start looking at things you wouldn't normally notice to add to your models.
-
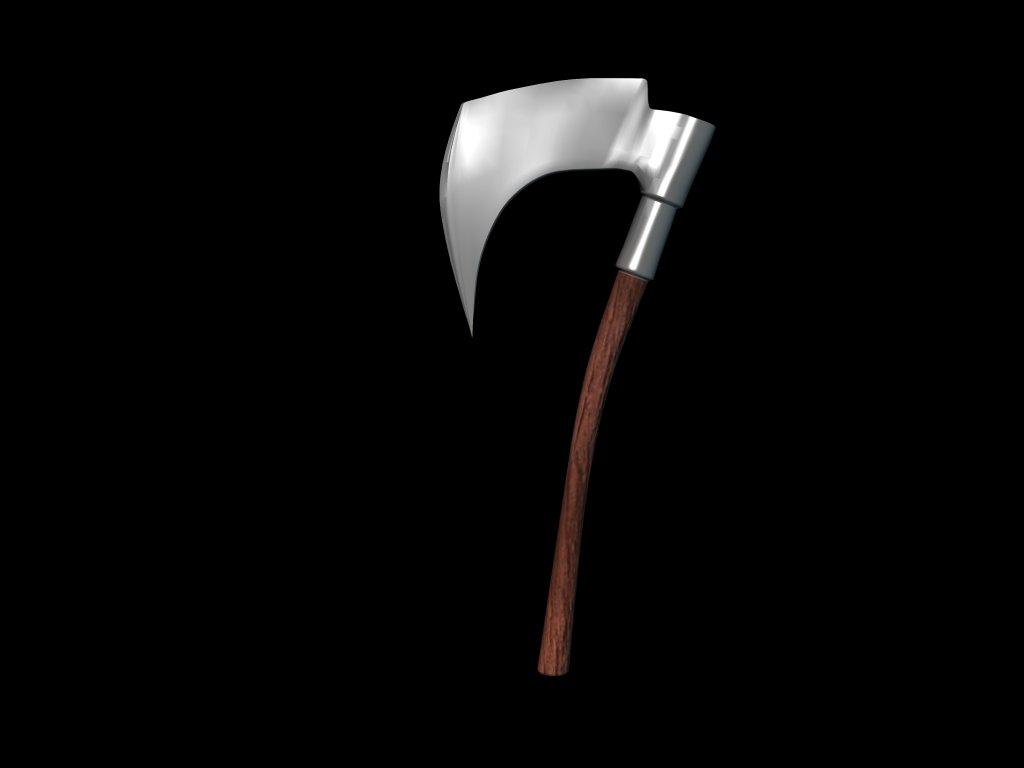
Well since I am going to add the rider, I decided to start with the axe. I just messed with the properties for the steel of the blade and still have some tweaking to do with those bevels etc. Whipped up (literally took minutes)a couple of quick decals for the handle and applied them and I wasn't too depressed about the results. I need to look into making grunge decals to wear the metal a bit. I'll do some searching but if any body has link's.... Here's the first render.
-
Looks good.. Kinda like an evil Yoda.
-
She looks really good so far. Higher rez would be nice to study closer.
-
Not a problem (wish I had had similar help) and not so mush help as guidance. I'm still excited about the
-
Thanks Ken! I was trying not to have to use hair for the body(was gonna use it for the mane and tail even though I modelled the tail) as I have lagg problems when I do(a lack of knowledge on the proper settings for seeing it while I model). Guess it's time to have at it again and get the hang of it.
-
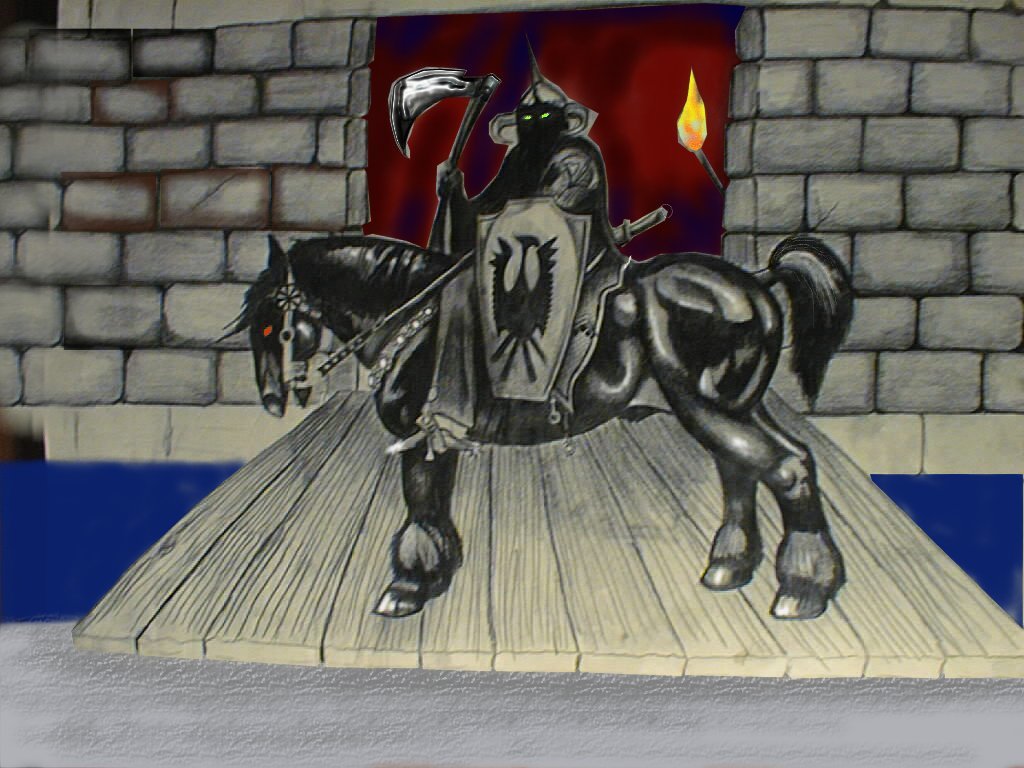
It's cool to see it in detail. Like I said I was working from a ticket stubb. nice to have a better reference! I didn't know the artist's name even though I looked at a book a friend of mine had with alot of his other work as well. I like his style! Hadn't planned to use the rider (I took the wings off of my seraphim and was gonna use him) but with that pic I may have to give it a try. Thank's!
-
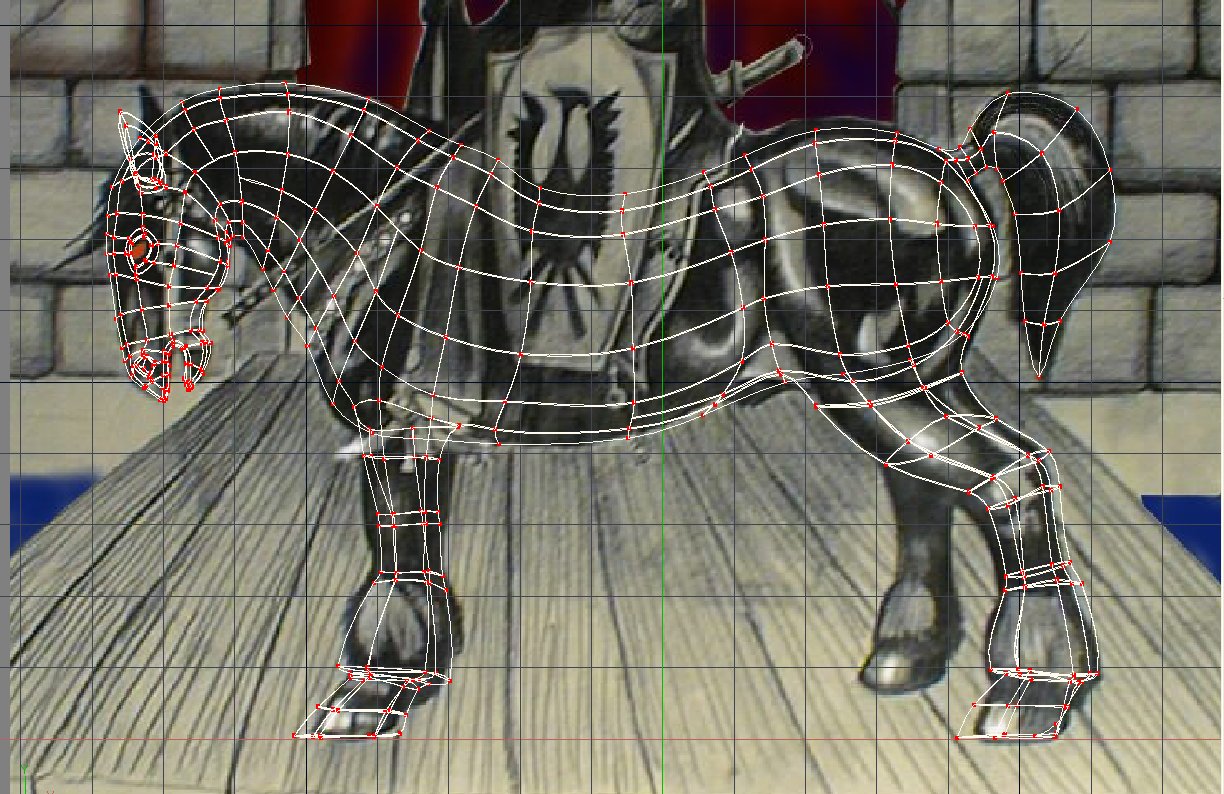
I'm using the painting as a roto. Here's the wires.
-
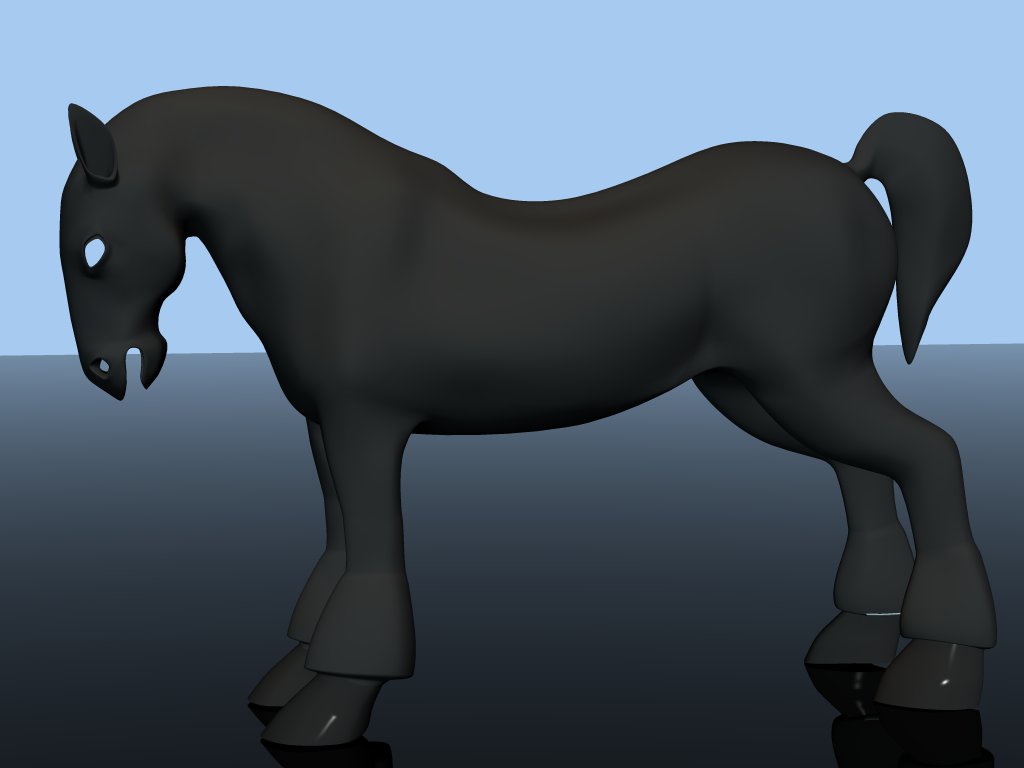
Here's the first render. Just a mesh of the body as yet.
-
I did this as a sketch from a Molly Hatchet ticket stubb my brother had about 20 years ago. Since I have been building my collection of models I figured I would give it a try. I would like any input, especially how one would create a velvety appearance for the fur. Here's the concept. The sketch was brought into the computer and I was "painting it in PSP (kinda doing that with all my old traditional art) but AM seems a better effort hence the model.
-
Glad you guy's like it. I'm bumping up the resolution on the decals and tweaking the jaw's a bit. I want to give him some battle scars. My original bump was too small and the scratches became dimples and the color is too pixellated at close range.I'll post it in a few days. Thanks!
-
You've got the movement down really good. I tend to be drawn to the legs, they move so well!
-
Here's the model in the last post. I burned the zip to disk and put it into my internet machine and it opens fine. You'll have to direct AM to the decal folder for a couple of the decals but they are all there. Hope everybody who want's it enjoy's it! Pointer2.zip
-
Heres the current state of the model. Tried adding some scratches with the bump but still need to work on that (the scratch below the nostril looks like a second nostril). There is some funniness with the decals as the fins are a different shade than the body. The body and fin map's are matched for color but in the render the look to be different. Might just be the lighting but I'll be refining it still more and post the updated version later.
-
As of 2:20 eastern time friday night. Still refining the bump and need to cover the fins but it will be done hopefully tomorrow.
-
I read this a while back and it hit me today... FrankenSpline!
-
Ya'll knew I had to try this!... I gotta quit goofin around:)
-
It takes time and practice, you can select groups and give them a color in the properties but from what I've seen of your space hardware you already know that. this is a much simpler shape so it's easier to do. I tried to lay out my splines so that I could use the diffuse color's(in this case with only a color and no specularity etc.) as my guide.When I do my screenshot of the flattened mesh in shaded wireframe view I'll know basically where to transition from dark to light. (I use Jim's technique from his vid tut's as I don't have the UV editor figured out yet even with the tut's I've studied) I haven't seen any vid's which would make it easier:( It's the stamping on a patch and replacing the low res image with the higher res one in the PWS that I don't get. But Jim's tut's are still a great way to decal and I'm comfortable using it so that's what I do.
-
Thanks Jason. Two years ago this mesh would most likely have been so dense it would have made a good net. One of the things I "try" to do as we all do is get the most shape from the least splines. It should look much better once I have it decalled.
-
Let me tweak it a bit more and get the decals on it and I'll post it this week-end. I'll leave the current rig in place (feel free to delete it) and get my groups cleaned up so that assigning cp's will be easier. I have it set up so you can hide the various part's. Mainly the body is seperate from the jaw's to allow for a cleaner view of them while assigning. I found that selecting the jaw's in modelling mode and hitting the H key then switching to bones mode eliminates the confusion as the upper and lower jaws on a real shark move independant of the body in a bite so they can take bigger chunks out of prey. The external mouth opening doesn't "clamp" down as much as the actual internal jaw's. I guess the best way to describe it would be like having a percentage constraint on a bone B to orient like it's parent bone A which is parallel to it =
-
And after crest whitening strips. This was a quickrender screen shot from the modelling window. The jaws will tuck up to the mouth opening better once I tweak them and the tooth patches in.
-
Rear angle. The ventral fins still need some shaping (tweak cp's)
-
Here's some chor render's. I'm starting to rig him now but anyone who uses it may want to upgrade or replace the rig as I am not an accomplished rigger. It is a basic rig say like an arm with the tail being the shoulder and the snout being the hand and the jaws being a couple of bones parented by the hand. no constraints or smartskin. Still gotta pop some eye's in it.