pixelplucker
-
Posts
1,792 -
Joined
-
Last visited
-
Days Won
16
Content Type
Profiles
Forums
Events
Everything posted by pixelplucker
-
How to convert files to STL format for 3-D Printer (v13)
pixelplucker replied to simpleyork's topic in Open Forum
Typically an issue with AM models is closing the surfaces, usually this is a big problem but as software advances it becomes less of an issue. Definitely upgrade to the newest if you can. AM has come a long way. The particular software I use that came with my 3d printer can red in obj files as well as stl and it has what so far is a superb repair tool which will close and correct faces. As a quick test I made 2 primitives from AM, a cube and sphere, usually spheres and lathe objects don't close or have caps. Usually cp's are just set close to make it look closed. The repair tool was able to fix this with a simple click on import. If anyone has a file that had issues I wouldn't mind running it through the software to see how much it can repair. Wasn't too long ago fixing faces was a major headache.
-
Thats pretty cool.
-
Little small to swat racoons, it's a holder but can't say much more without ndf. Printer is actually pretty quick. Edge smoothness is even nice at it's lowest setting of 100 micronn layers.
-
Should be running the final coin out this weekend. Rob if you want to test a product out I designed toss me an email. I have to dig up some non disclosure forms first since I want to get this gadget on the market. Like to see what you think.
-
Finally came in, set everything up without a hitch and wow what a nice machine! Lots to watch out for as with any high tech equipment, biggest issue is keeping the resin tray clean, keep material mixed and plan on a resin tray with each liter of resin to play it safe. Thought they sell the trays separate they are the most prone for print failures simply because of the wear and tear of how the machine operates. I did my first print of a coin, tossed it on edge because I didn't want to have to glue 2 parts together for a quickie proof. I printed it at med resolution 50 micron and the detail of the text all held perfectly. Far better than any Objet or Polyjet print I have had in the past. Edges of the details are so sharp I am amazed. Print time was 2 1/2 hours on a coin that was 1.75" in dia on edge + the 3/8" or so for the supports. Imported the stl without a hitch and the software is so easy and intuitive I think it's harder to run a laser printer with a duplex option or envelope feeder. There is a repair option on the import that can read in obj or stl. Curious how much it can repair. Have to test and see if I can auto close models from AM. I'll test that more as I scavenge for time. The plastic parts from the Form1 are pretty tough, I think for a quick prototype or master to make a mold from or decorative pieces it fits the bill. If your making gadgets and hard working parts a MakerBot is probably better. I'll keep you guys posted.
-
Model bone is the center of the object based on 0,0,0 in the model window. It is just a means of grabbing the object in the choreograph mode (f9). Most characters have base of feet at 0.0.0. This doesn't effect the balance of the character because the skeleton and balance rigs take care of that. For character models you should rig them either manually or use one of the stock skeletons or in the 32bit version of AM you can use TSM2 (The setup machine, which makes it easy to rig characters that are not bipeds or don't have an existing skeleton). When I first started I followed the tutorials from The Art of Animation Master. I picked up the books on it but I believe there are online versions here somewheres on the forums.
-
Resolved Curious problem in V17g?
pixelplucker replied to Simon Edmondson's topic in Animation:Master
Thanks Rodney. PC here. -
I have W8 on another system, really regret how it handles hardware on a desktop. It's ok on a laptop with touch screens if you like navigating with your elbow. W8 does boot up quick but other than that they nanny hide many of the system tools. I have it boot to the normal desktop view not the icon screen which has to be the worst thing out. My work machine still runs W7 pro and been on the same install since I first put it in which is hard to believe after all the trial and beta's I put it through (thank god for CC Cleaner). Will see when 9 is out, skeptical here but certainly won't put it on my work system.
-
Resolved Curious problem in V17g?
pixelplucker replied to Simon Edmondson's topic in Animation:Master
17g is out? Still using f here. -
Uh Oh, I like w7, skeptical about 9 till it comes out. Not a fan of 8 with it's lousy usb support. Puts devices to sleep even on a desktop and only way to get around that is to edit the device in the registry... Really how much energy will be saved in the world by disconnecting a device that has rechargeable batteries? Why make a desktop look like a smart phone? If I wanted to work on a smart phone I would @#$%!!! buy one... leave my desktop alone!
-
Would have to test but should be possible with an animated texture on a sprite.
-
Thats great.
-
I didn't know pva is water soluble, thats pretty cool. You should be able to print some really nice objects without the worry of overhangs.
-
Scaling can be tough also some programs when converting will flip an axis on you making things a little more interesting. I think the toughest to get an accurate size from is 3dCoat. I never could grasp their units. You have a trailing decimal of voxels per unit just to make something that is about that big. Many of the output houses use Magics (http://software.materialise.com/magics). There shouldn't be an issue if you can specify just one dimension when ordering and specify the unit of measure but I think they just let the underpaid drones roam around and output rather than actually force them to think. If you have z shrinkage you should be able to compensate for it. Most have that issue but I think the amount varies between processes. I believe the only one that wouldn't have that is the jewelry wax printers like SolidScape because they mill each layer after printing to smooth it out and get the precise layer height. When my toy comes in I'll run some tests and see if I can figure the amount it shrinks or if it is automatically adjusted in the software. I'm sure that can be an easy work around. Fuchur, with that dual head Makerbot, what kind of disovable support can you put through the nozzles? Are they plastic based or can you print a polymerized wax of some sorts? Wax would be nice because you could dunk your part in hot water to dissolve it out. One of the tricks to stress re-leaving plastic part is to dunk them in hot water and let them cool down. This relaxes the molecules making the part more durable. Should work with ABS, something to look into.
-
Thats a pretty cool site, looks like most are using the Maker Bots or similar fdm, only saw one in Somerville that has a Form1. Not sure if I really want to get into the output service work, bought the machine primarily for my own purposes but will output for a select few others like the peeps here. I book marked that site just in case I change my mind. One of my suppliers does output on 3d systems machines that they sell. I believe they sell and output on the same machine that Sculpteo has as well as the high end polyjet series. http://www.alphaimaging.com I know the people there and dealt with them for nearly 20 years. Curious what they would charge on the print you had done. They were pretty competitive on pricing in this area. Talk to Rudy Grua on the service email: rgrua@alphaimaging.com The prints I had sent to them came back flawless. Thanks
-
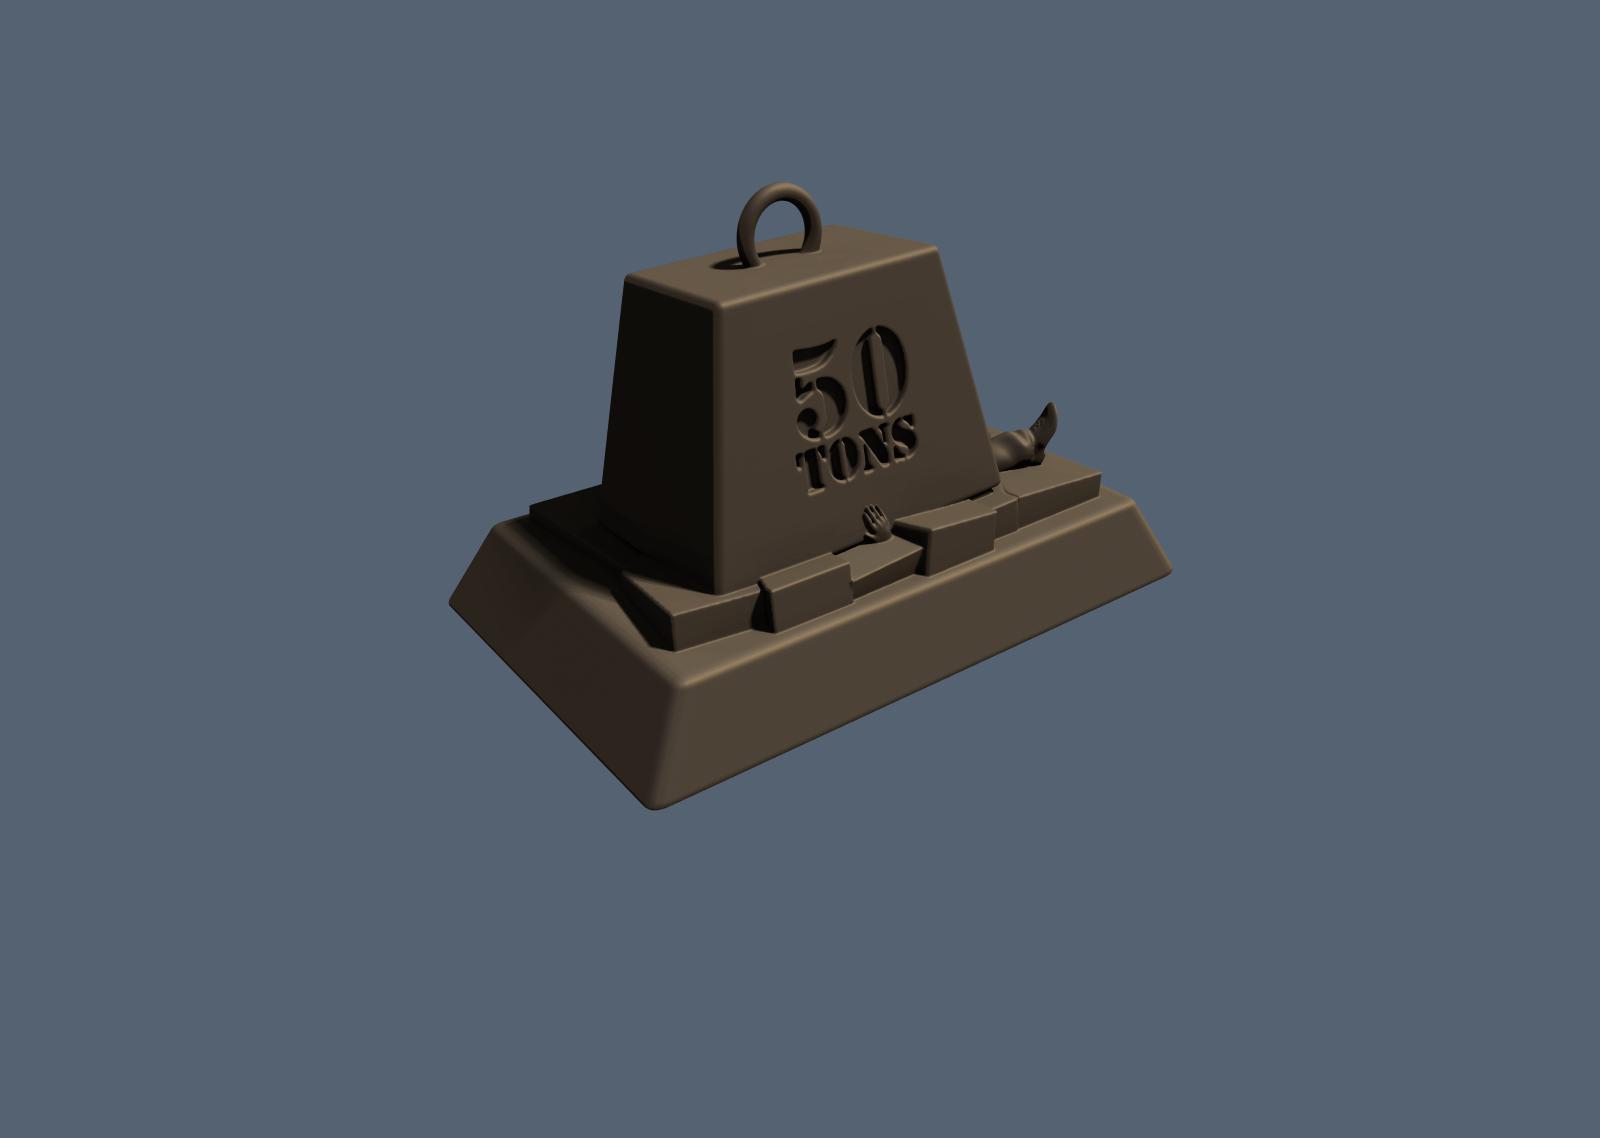
most of it was hollowed out except the fine details. I thought of actually casting it in bronze down the road so wall thickness was a consideration. If you print it in plastic you can easily update it to hold your tablet down...
-
I don't think you can adjust an infill on that type of process. Think you can only do that with FDM that use tool paths to build the object rather than just slices. That is a big advantage with fdm for making usable parts and save weight and material.
-
Here is the paper weight model I made a while back, it needs to be scaled since it's straight out of 3d coat. 50 ton paperweight.zip
-
Did you give it time? 20 minutes in some cases. Also, as always- make sure you have your normals facing right ways or that will make for some confusements to the bot... How many subdivisions did you set in the obj export dialogue... I've been using 16 I think. As I said p at the top... you go back and forth many many times between A:M and Sculpteo, so you need to change something up and try again. I did 16 subdivisions, checked normals. This is what I was going for....scene_test0.png and this is what sculpteo sees ...oops.jpg Might be an open shape. All geometry must be closed entities. 3rd party program that allows capping of holes should repair that.
-
I used to use Shapeways, I believe they job out the prints to different production studios and they then drop ship to you via Shapeways packaging. Downside to them is the quality of prints vary and you have to make sure your model is to scale and you pick the right scale when placing an order. Model really needs to be spot on. I was told that to control the orientation of the model in the case of a coin you would have to add a long post off to the side and if I remember right it had to be 30mm tall so they orient it flat. Otherwise they would print it any old way. Quality of the print really is dependent on the process and z resolution. XY resolution is usually finer and less relevant. Z is the layer thickness. Faceting in the preview is just the preview. the faces usually mush down and don't look as sharp on the final product. I'm sure the preview on Shapeways is the same in Meshlabs and other viewers. A really big key to savings is to hollow out the model no matter how painful that sounds. I had a model I wanted to be sintered in bronze. Was a paperweight of a guy getting squished in a sidewalk by a 50 ton weight. Was way too pricey for me to do. If I remember i'll post the stl here when I hop on my work computer.
-
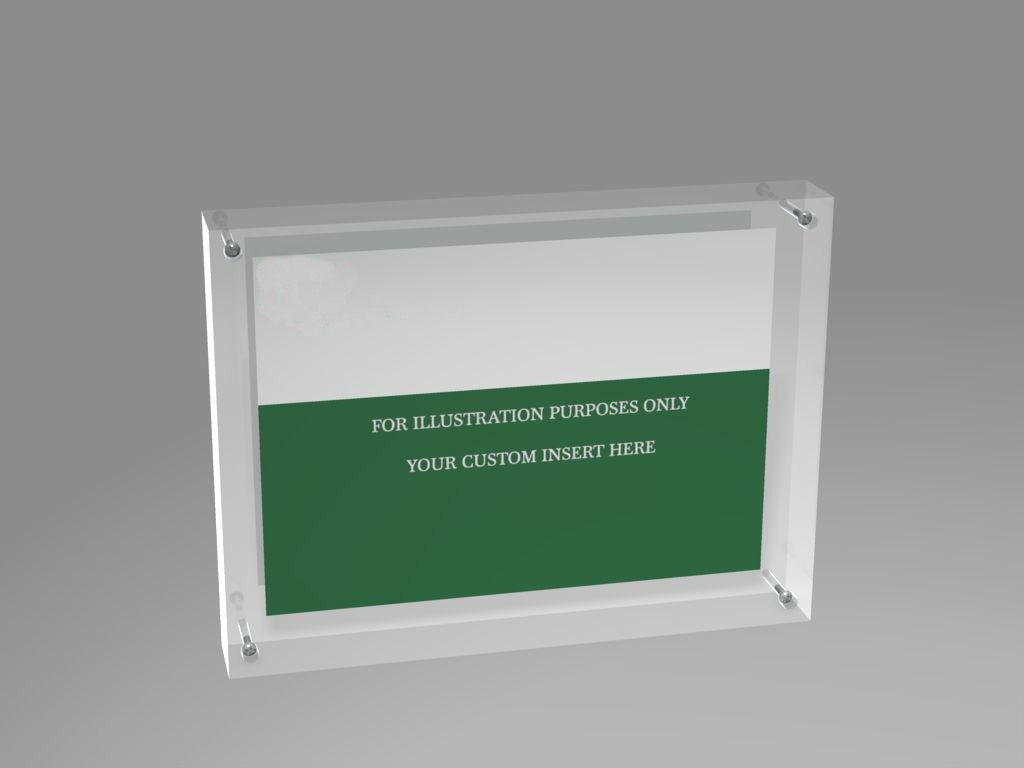
Did you try the Troer converter? I have seen some good results that others got using it. I couldn't and haven't spent time fiddling with it. For mechanical stuff that isn't animated in the sense of deformations or in need of bones etc. Importing an obj works really nice. I use MOI 3d quite a bit for cad modeling and I name my groups in there so when I export the model out I can quickly select the surface groups and change the material properties on them. Here is a quick sample I used for a product. The award, holes, and screws are done in MOI, the insert inside is done in AM for the decal. Note I use only triangles from MOI, no quads, no n-sided faces.
-
Doesn't the OBJ importer work fine as long as the model is all quads? Isn't it always an issue if there is an n-sided face in the obj? There were tests done before and I believe people found with sub-division models that used the doo sabin worked better than the more common catmul clark method. Not sure where that post was. For any mechanical models as obj files coming in to AM in the modeler I never had much success especially with complex geometry, for organic/character models, they seemed much better. I did try the Troer converter but have yet to get it to work without either a crash or spaghetti. Alternatively, if the model is sloppy in the first place it is probably better to use the snap to surface feature and just trace over the model in AM. This can be less work and give you a much more optimized model verses fiddle farting (technical term for correcting garbage) with an imported model.
-
Definitely best approach is to make sure the file is good from the original program, much much easier to fix there than in another program grudging through piles of polys. When I export files out I don't use n-sided or quads but rather just straight triangles. N-sided faces are always problematic and often booleans will have a long triangle across the openings. I'll have to check out Netfab, thanks.
-
Thanks, will be making the usual stuff, hat/lapel pins, belt buckles, challenge coins, emblems along with prototyping custom novelty products, gadgets and small sculptures. Been keeping an eye on this machine for a white because of the quality and price of it. Just held off because they had that tif going with 3d systems that seems to be resolved. Quality of the output is equal or better than the $250,000 polyjet machine I had been sending my files to.
-
Is the giant ipad Apples next iphone too? Thats exactly what we need, now people can not only talk in the left lane on the highway but they can doodle too! What fantastic idea!