MattWBradbury
-
Posts
1,410 -
Joined
-
Last visited
Content Type
Profiles
Forums
Events
Everything posted by MattWBradbury
-
It appears that he's made an entire animation with this character. Though I can't seem to find any links to the video.
-
When I tried the project, the Hair (or the older Shag Hair Shader) rendered at full ambiance. I know there's a newer way to do grass which involves the new Hair shader in V13 and V14, but I can't seem to find it right now. It's not Muhair though. The one I'm thinking can take a picture and use that as the hair model.
-
Call him Mega Watt.
-
So what other experience do you have? This is not the kind of modeling I would expect to see from someone who's just starting out in modeling.
-

Building a photorealistc face
MattWBradbury replied to Darkwing's topic in Work In Progress / Sweatbox
Here's a young female face.
-
Building a photorealistc face
MattWBradbury replied to Darkwing's topic in Work In Progress / Sweatbox
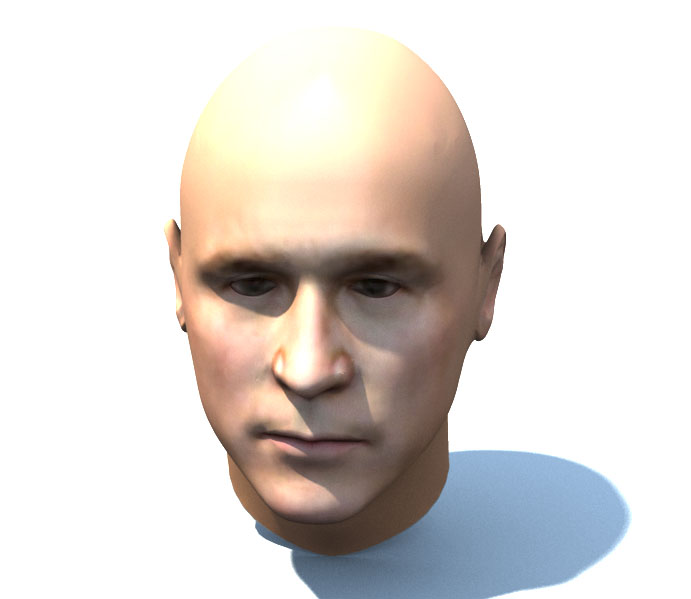
I already started this face when you asked, so I'll get a girl up real quick. This one is George Bush. And yeah, there are three different sizes as far as patch count goes: high, medium, and low.
-
Building a photorealistc face
MattWBradbury replied to Darkwing's topic in Work In Progress / Sweatbox
Here's a randomly generated face. Works pretty darn well.
-
Building a photorealistc face
MattWBradbury replied to Darkwing's topic in Work In Progress / Sweatbox
I didn't know there was an OBJ importer in the downloads section. What I like about the texture there is that you can take the tga and make it much larger to get a lot more resolution out of it. Did you have to flatten the face? Hey! That horribly deformed face looks familiar! It looks very similar to the first ones I made ----- Here's the head model: face.zip You'll have to do some tweaking with some of the splines, but for the most part it's usable.
-
Building a photorealistc face
MattWBradbury replied to Darkwing's topic in Work In Progress / Sweatbox
Making free models for someone demands efficiency in time. Had he asked how to make a face, a more technique approach would have been taken. That's why I said that the diagrams could be used as rotoscopes. Tracing and coping models is nothing that'll give you bragging rights, but it gets the job done when your in a time crunch. -
Building a photorealistc face
MattWBradbury replied to Darkwing's topic in Work In Progress / Sweatbox
The only applicable export is the 3ds form, which is in tri patches, which makes it extremely hard to see what you're looking at. -
Building a photorealistc face
MattWBradbury replied to Darkwing's topic in Work In Progress / Sweatbox
Actually, I didn't touch the model at all. All I did was position about 10 cursors to tell the program where things like the edges of the mouth, the center of the eyes, and nose where, and it takes about ten to fifteen minutes to run through a series of adjustments to get the best fit to the face. Those sliders in the picture is what it finally came up with after that time period. You could go through and make the face's shape or tone more masculine or feminine, adjust the race hierarchy, or even adjust the age, style, and the symmetry of the face. If you aren't entirely satisfied with the face, it is incredibly easy to just grab a part of the face and adjust it to the proper proportions. It works a lot like A:M's magnetic mode, but it automatically adjusts skin tones and form to get the most realistic appearance from your adjustments. The face is already rigged, and you can adjust the pose sliders; unfortunately, I have been unable to get any facegen models into A:M that aren't converted to tri polygons instead of keeping the quad continuity. All of the sliders and textures are exported with the model, but A:M has a hard time retexturing the new model which creates visible seams all over the face. The cool thing about this program is that you can create faces that don't even exist, and they will look realistic. One of the most influential uses of this program is for gaming, where game designers need hundreds or thousands of different faces. The popular video game Oblivion implemented this program into their engine, and they were able to create an entire games worth of faces extraordinarily fast, and no two faces looked alike. -
I made the dog Gir a while ago. Gir I posted the model on the thread, but i can't find it because searching for Gir doesn't return any results.
-
Building a photorealistc face
MattWBradbury replied to Darkwing's topic in Work In Progress / Sweatbox
I threw your images into FaceGen Modeller 3.1 and this is what it returned. Here are some othoginal views of the wire mesh. The program is great for producing rotoscopes of the face because it removes hair and other elements from photographs including perspective.
-
How to simulate an underwater scene...
MattWBradbury replied to Kelley's topic in Work In Progress / Sweatbox
Here's an underwater scene I did with the Calavera Cafe. Under Water I used fog, ambiant occlusion, and a volumetric effect that made the ocean darker as the depth increased. After those effects, you can add a volumetric light with a light gel in the background to add extra lighting effect. I think I added some particles to the mix as well. -
I just wish the LED light bulbs would come down in price. I agree that the light should have turned on at the end; it is a light. Though someone might think that the lights don't need to be plugged in inorder to work.
-
I would use a Newton constraint from the cloth to the medal where you wanted it, and then simulate newton physics with the cloth as a deflector. It would be really nice if we could simulate both newton physics and SimCloth at the same time. The physics dynamics should really be under one system. I'd love to see rope constraints added to A:M. It would make this problem fairly easy to solve.
-
Very good results. I tried getting results like these when I was working on TWO, but I never seemed to get it down. I did probably fifty tests to see what some good results would be. I'd write down the best ones, go to a different sequence, and they would be terrible. I really couldn't understand it. You wouldn't happen to have any techniques for creating cloth movement and applying it to a piece of geometry like a thick jacket and making it move realistically would you?
-
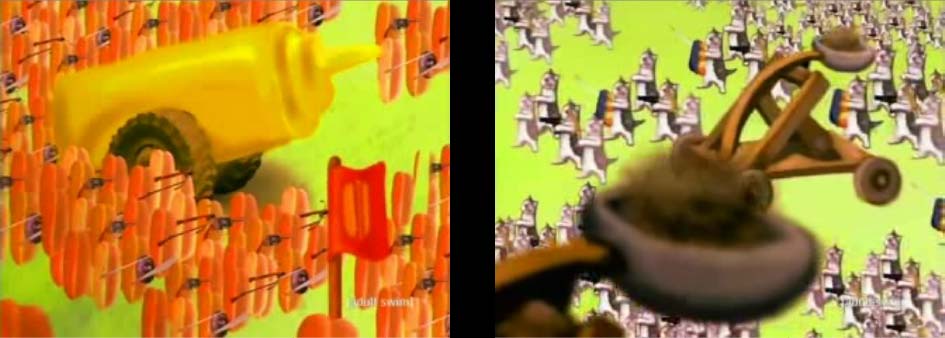
It wasn't quite as deadly as the Cat Bun Wars.
-
How did you get that blade to rotate so many times? Expressions? Hand animating? Decal?
-
For most people, form can only look humanly attractive to a certain degree. I think by adding the breasts on the backside, you would be severely decreasing that level of attractiveness. Though this depends entirely on the purpose of the model.
-
Decals come with the model. Make sure that when you load the model, you tell it where the textures are located. A textured called Face was spelled /Face, so you will need to choose the correct texture for that.
-
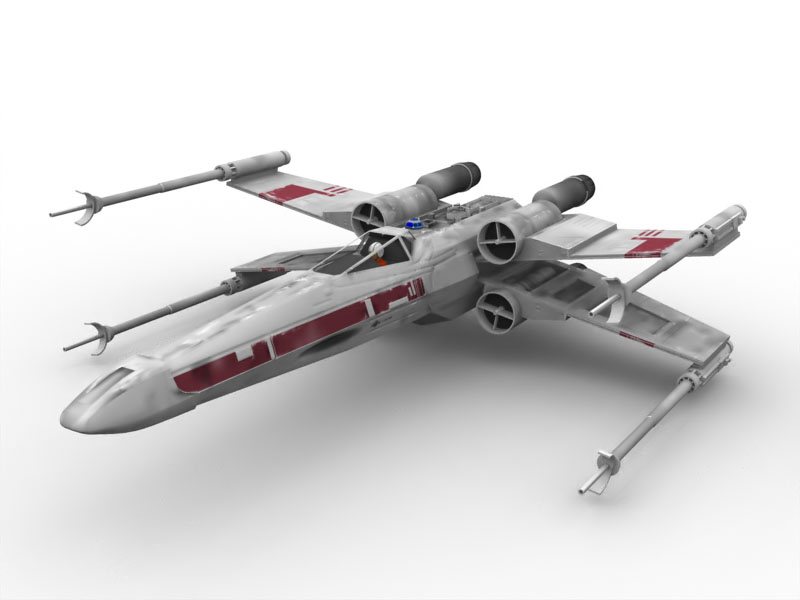
It's just the standard AO settings; nothing too complicated. Xwing_Chor.zip
-
What was your main inspiration for making this character? Some of the comentary from Futurama had the same disput over the bust of Leela. They decided that having one eye was alien enough and gave her a human bustline.
-
You should contact Rodney about getting that on the extra CD DVD. Though Star Wars has quite a few limitations as far as copywrite goes, so it might infringe on one of them, but it's always easier to apologize than to ask permission. I would suggest just adding some feet for it so it can land and what not.
-
Woah there buddy. You only need one question mark. The other three just make you look desperate. I don't believe paint.net will work seeing as how it's creating paint and not a decal. I'm sure you could use A:M's materials to create the decal, but I'm not at my workstation right now so I can't test any ideas.