Pengy
-
Posts
441 -
Joined
-
Last visited
Content Type
Profiles
Forums
Events
Everything posted by Pengy
-
He looks like a great character looking forward to watching the progression. Is there a short ,fat bumbling sidekick in his future?
-
Thanks Zaryin: The decal has an alpha channel and when I click on its properties I can't see a place to not set the trans like I usually do.
-
yes that's what I had in mind, tighter to the end of the last word. It helps to give punch to what has been said.
-
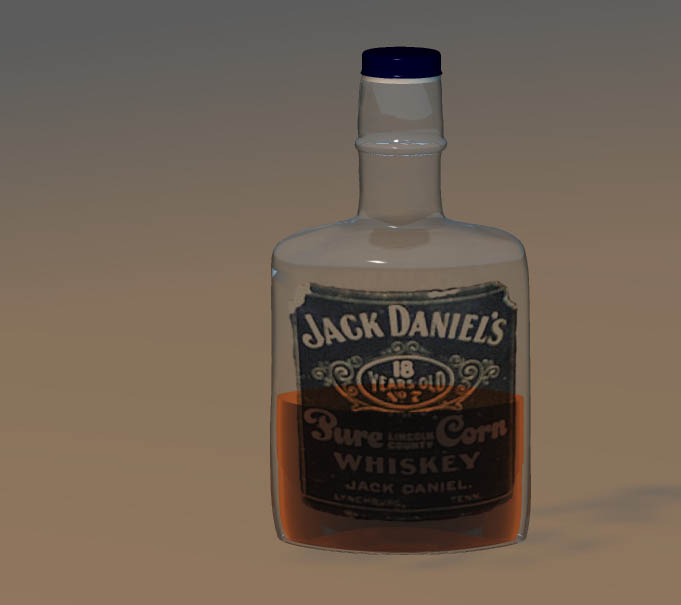
okay,after a couple days of in depth research into the subject of liquor Here's another render with the liquor material and label in place. I'm having a problem with the label. For some reason the white lettering is transparent. I apllied it to just the outer surface of the bottle, it's got an alpha channel out of ps.Anyone have any suggestions please

-
Imagine what the real astronauts must have felt like faking it in that studio in California j/k Excellent job
-
Excellent job! The emotions you've generated through his eyes and face is great. 1 thing I'd like to see is a little tighter close up on his face after "they drew their plans against us". And also I think I'd move the musical punch right after the word "us" The music you have works great and I wouldn't add anymore, it might detract from his monologue.
-
Man, Vern if the animatic is this good I cant wait for the real thing. Won't the Cereal Killers be jealous?
-
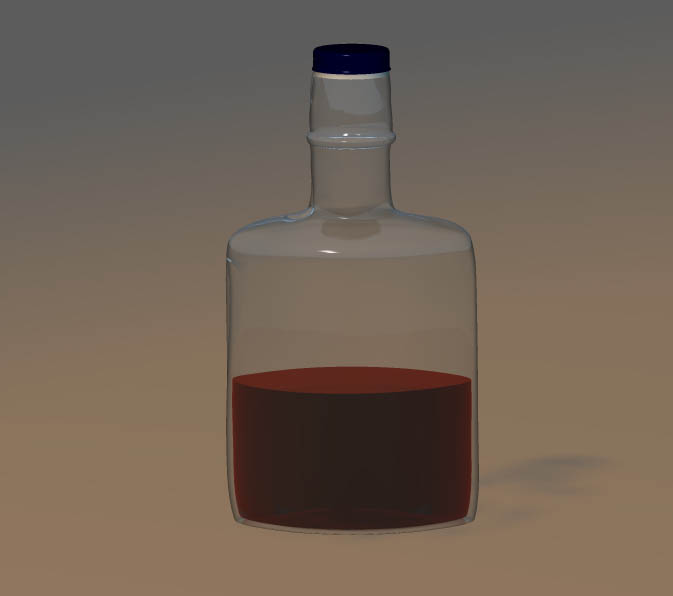
An update render,this 1 with just glass with whiskey material inside. Still have to work on whiskey but that should be fun research
-
no worries Bill I just thought maybe I was going loopy or something I do think the bottle is amber though. To me it looks empty, it (the pic) was from a collectors page. You can see examples of clear bottles here http://www.jdcollectorspage.com/regular4.html Would be easier to make it clear glass but I'm not sure. What is everyone's opinion?
-
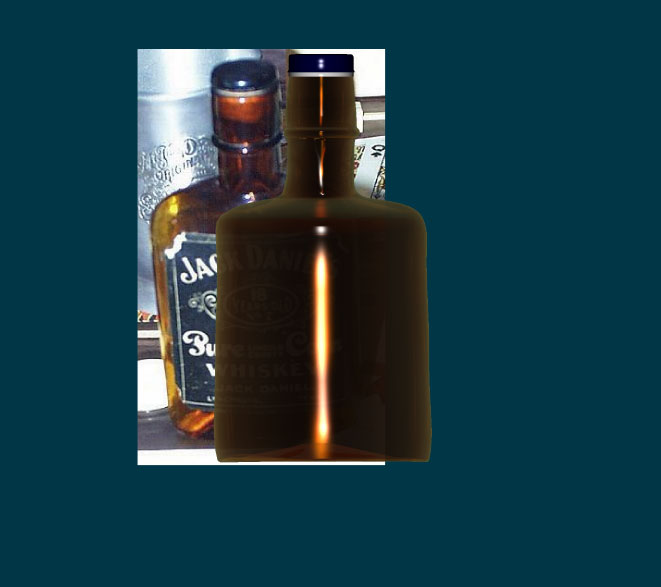
I think I'm getting closer. I followed Bill's instructions then changed the colours to 2 closer to colour of bottle. Then I jacked up the diffuse fall off and I think this did the trick still isn't quite right though..but it is transparent . Any help would be appreciated.
-
Thank you all very much..great advice so far,plz keep em coming. Another 1 I've thought of and has saved my bacon is to name groups as you progress through modeling. I found myself a few times moving something I had just modeled into place to check the size or orientation and then not being able to get back at it. When a group is named click on and that lovely bounding box appears and then no problem to move it again. And once you've got it set right then you can just delete the group in the project workspace (pws) and you're good to go.
-
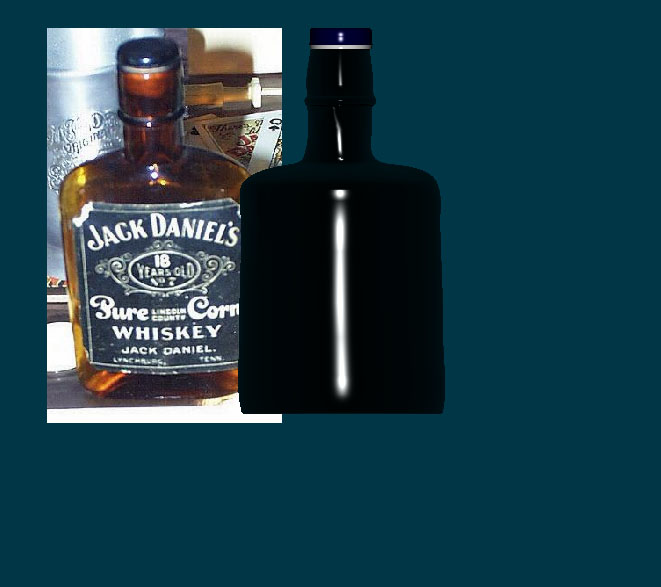
An update ..tweaked the biases and rounded the drip guard, also added the inside. I just extruded the down and shaped it hope this was the right thing to do. I think I followed Bill's advice accurately but must not have because now all I get is a black render. If I change the 1st attribute to white then I get what looks like glass, but when I try to add jd bottle colour it doesnt work again. Any advice?
-
Robcat, It's just the outer skin, I understand now this was just 1 in a series of mistakes I've made. Bill, Thank you very much for your in depth answer it will help me a great deal with not only this but future projects I'm sure. Lots of work ahead of me so back to it.
-
Hello all: This is another prop for my still. As you can see I've went astray some where on the gradient combiner and the glass material. This is my first stab at both, so please any help you could give would be greatly appreciated. I thought it was an interesting bottle and would like to do it justice.
-
Seems like there are a ton of new users lately, welcome to everyone. I thought since we've been seeing the same types of questions lately it would be good to have a place to put some common answers. I'd like to see all users post things here that they wish they knew when starting out. I know I'm still learning every day only having had A:M for a little over a year. So.... I'll start.... Because of the copyright protection Animation Master uses it is neccessary to have the cd in the drive to start the program. After it loads you can remove the cd and spline away.
-
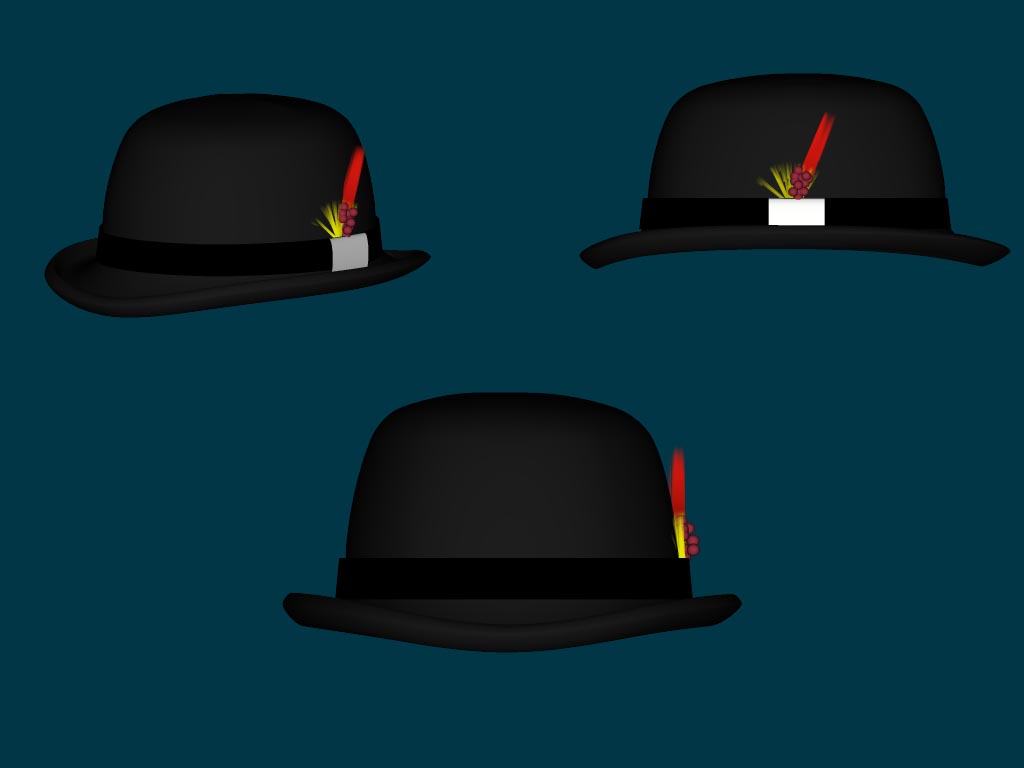
Here's another prop for my still. The colours are only temp. which leads me to a question. I'd like the derby black felt and was wondering what the best way was to accomplish this? Would a bump map work? Is there a felt material somewhere I could use?
-
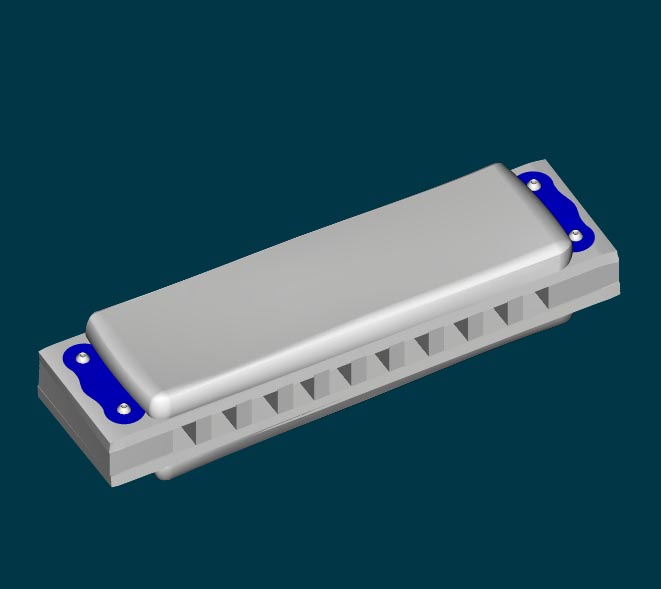
Here's the finished harmonica model minus a the lovely maps..still have to work on those which should be a real learning experience Where the weave disappears is modelled this way on purpose. It's supposed to be old and worn. The oval shape is the name plate. As always any critics are welcome.
-
Thank you for your replys. Sacman I think I'm going to take a stab at modeling the weave. I haven't worked much with bumps yet. Robcat I'll keep this in mind it's going to be in the still with a few other objects and probably not framed as tight as this. Thanks again
-
Hello all: decided to take a break from texturing my construction guy and work on a still i had an idea for. This is a harmonica for it, still have to figure out how to model the intricate weave top but thought I'd see what everyone thought. Any C&C welcome.
-
Amazing! I've seen this technique used in "other" apps and I think you've bettered the attempts I've viewed. I say what ever gets the job done and this definately gets it done with room to spare.
-
I forgot to mention I worked on the eyeballs as well and this leads me to a question. I was wondering how most people deal with the eyelids, do you use part of the geometry of the face?...Or duplicate the front half of the eyeball and use that? Thanks again
-
Here's an update to my construction guy. Followed Jim's excellent tutorials and applied the colour decal. I darkened the colour of the skin a bit to give him a little tan since he works outside. I went fairly easy on the bump map I want him to still be a little cartoony. Used a decal for the blue jeans and learned more about how they are put together than I really wanted to know I also updated him into 10.5r and applied the hair for the moustache. I found an excellent tutorial for doing this on the ARM, actually helped me understand how the hair works! Thank you all for your suggestions and I look forward to hearing more opinions.
-
Interesting to see that we all basically start out with the same frustrations. I don't know why it is as humans we always want to run before we can walk or play rock n roll before we pick up the guitar. But back to the point, I don't know if your background is in polygons or not but it appears to me that you are trying to model from a sculpting point of view. I relate to A:M more like sketching. 1 thing I took from David Rogers book, and I might be wrong, is when I spline a head I start with say the eyes then nose and mouth the attach them all and go from there. That's just my 2cents. We all get frustrated, many times I've wanted to pitch the computer but its just too heavy Also I think the advice of doing the tutorials in the book are an excellent one and will hopefully limit your aggrevation. Good luck
-
Cool concept. I think you really need to have something on him to denote dog cuz right now I don't see it. Maybe a collar or make the ear structure more dog like.
-
Get Down From There! - Animation Showdown Entry
Pengy replied to robcat2075's topic in Work In Progress / Sweatbox
Good job, I think you achieved a real sense of weight and balance, probably one of the harder things for people to get their head around. P.S. Very nice touch having the char gripe the block with his left foot I missed it the 1st couple times through.