JohnArtbox
-
Posts
1,303 -
Joined
-
Last visited
Content Type
Profiles
Forums
Events
Everything posted by JohnArtbox
-
Great little lady...I quite liked the strong jaw...in the context of a female warior. Somehow the barbiedoll warrior doesn't really work for me. Thanks for the skin settings, I've only started looking at the skin shader recently and a "good" setting makes an easy starting point.
-

Import options (What can you bring in to A:M?)
JohnArtbox replied to aforetaste's topic in New Users
Syntheyes exports to AM's native cho format, you just need to download the script from the Syntheyes' site. I'm not sure about the motion capture, it's on my list of things to try...eventually. -
Another option is to decal one key. Then copy and paste it 26+ times, then go into the decal list and update the decal to the appropriate letter. Unless ram is an issue I'd go with the one big decal and Vern's suggestion, it makes it much easier to update the decal at a later date.
-
Default Choreography for the Extra CD II
JohnArtbox replied to MMZ_TimeLord's topic in Work In Progress / Sweatbox
[attachmentid=14549] This is my default cho. It uses a couple of very large lights to similate an area light(the fill) and as a rim light. It also uses two z-bufferred shadows for speed. I find that it's a good setup for initial renders and tests, but I'll replace the fill light with an equivalent skycast light before final rendering(once I've worked out how many passes I can throw at it). It only really works in multipass...but then so do I The zip file contains a project file as the cho includes a curved ground. [attachmentid=14550] Default.zip
-
Robot Kiwi in a techno garden
JohnArtbox replied to JohnArtbox's topic in Work In Progress / Sweatbox
It's available for AM12 & 13 on the Mac If you go to this page you'll see that he's converted a lot of his plugins.Steffen's plugins -
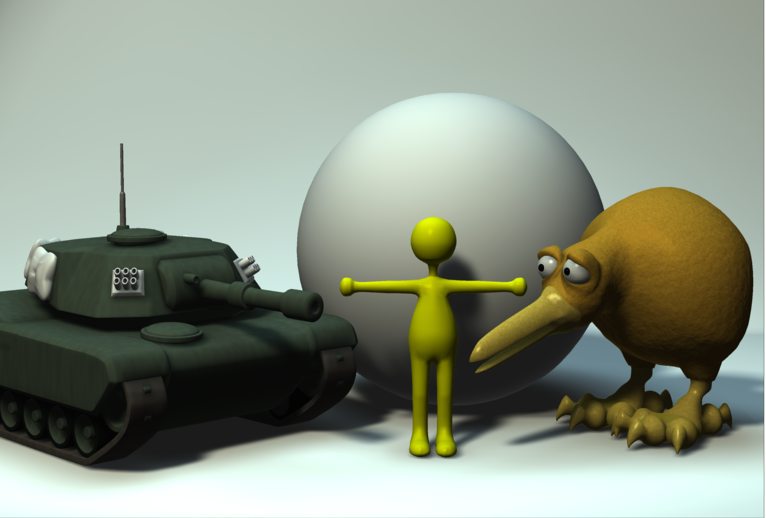
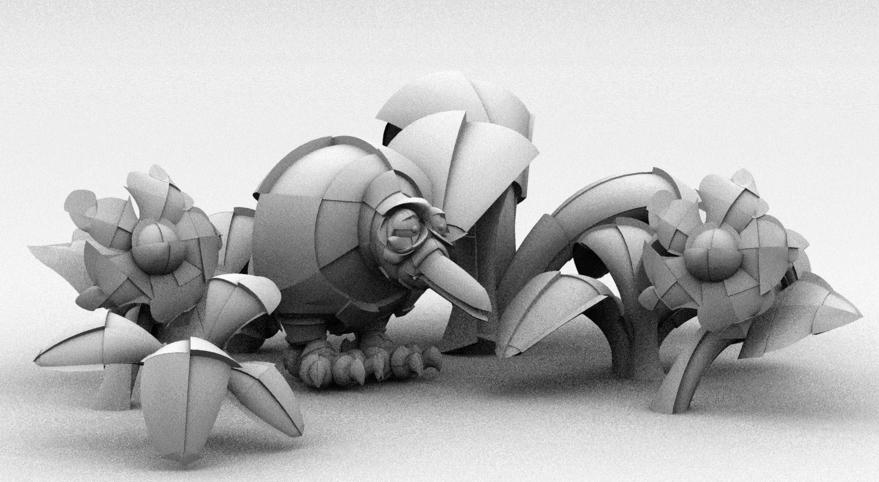
as I read through the newton physics and rebuild notes I had a thought. An hour and a couple of old models later I got this. Basically I took simple models and used the rebuild plugin to create panelled versions. I thought it was cool and potentially useful for high tech backgrounds, although it does waste a lot of patches. [attachmentid=14460]
-
Featured Artist of the Month....
JohnArtbox replied to DarkLimit's topic in Work In Progress / Sweatbox
Congrats Robert, lots of great ideas and art -
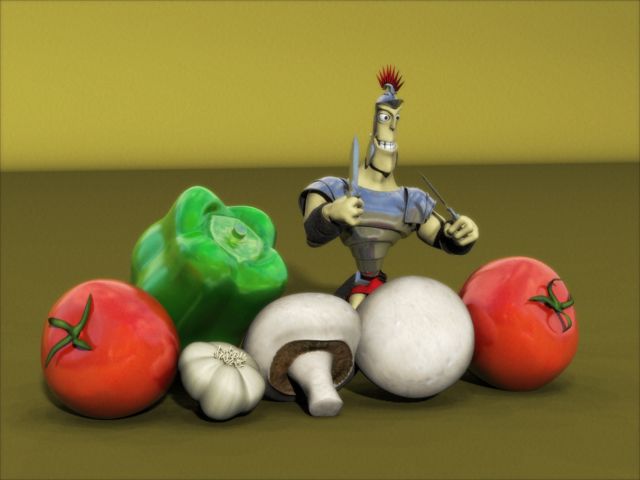
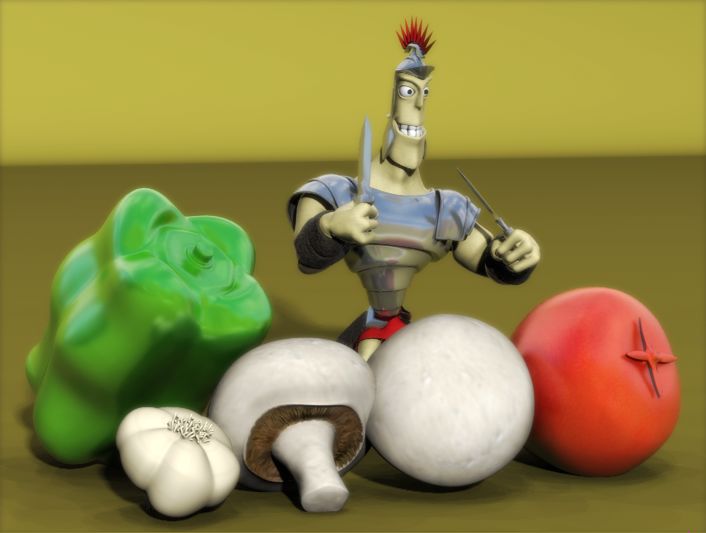
Thanks Guys....next stage. Mostly happy with the capsicum and mushroom, not so much with the tomato, and the garlic is only half textured. Three more models before animation. [attachmentid=13765] Ken: if TWO needs veggies you're welcome to them, let me know where to post them. Zaryin:Key and twin Skycast skydome sun lights with shadows.
-
Props...the mushroom is decalled, the tomato also, but the leaves need to be painted, while the garlic and capsicum have had UV's established but the decals aren't painted yet [attachmentid=13693]
-
Cylindrical projection uses a tiling of three to eliminate any discontinuities/issues at the seam. If you right click on the stamp and select edit you'll see how it wraps. Spherical projection uses 3x3 tiling. Does the mapping work if left on the 3 setting?
-
The difference is on the edges, and the fact that the displacement holds up better as you get closer and the angle changes
-
Rendertime comparison was bump 2:32 and displacement 4:24, with both files identical in all other ways. I get realtime displacement in every viewport except the camera one. It's still a bit early to consign bump maps to their grave, but I'll certainly use them less. Patrick: I'm just using the standard zbrush displacement workflow outlined in the ZBrush practical guide, if you have any specific questions feel free to email me, but these cover the workflow more thoroughly than anything I could throw together. Matt: I did a quick render with the image based lighting, but I need to work it out still. One new feature at a time . I figure the whole IBL lighting is being well explored in the radiousity forum, and since I was one of the nagging forces behind displacement, I thought I should champion it. [attachmentid=13522]
-
New displacement was added in AM 13 Alpha 4 last Friday. There are versions for the AM 2005 and AM 2006 subscriptions, but as Yves mentioned in another thread, it's an alpha. I built and decalled the dragon in 12 and only switched it into 13 at rendertime. I also kept a version of the am12 dragon as the file format has evolved and AM13 files are not backwards compatible.
-
colour and displacement only. Learning, learning, learning [attachmentid=13447]
-
another displacement dragon. Jeff: the am12 dragon faired reasonably well but there are noticeable 5 point patch and hook artifacts. MrJage: a few more to come [attachmentid=13427] I still seem to be getting a few seams on stamp borders but that could be my maps.
-
Next update. I love this new displacement. [attachmentid=13418] and this is what the displacement maps look like. There seems to be something unusual going on in the displacement on the dragons chest and belly where it doesn't seem to match the actual maps shown here [attachmentid=13419] Now that the object is decalled it should be fun to try different versions For comparison here's the AM12 version...much longer render times [attachmentid=13424]
-
Oz Map -- Another v13 Displacement Fun Thread
JohnArtbox replied to Zaryin's topic in Work In Progress / Sweatbox
blurring you displacement map will soften the hard edges and normally gives a much better result. in effect it bevels the hard shapes. Nice examples -
Started this dragon to test the new displacement. This was just a quick preliminary to check the effect. Still need to decal the rest of the model (arms and legs). [attachmentid=13386] and a wireframe so that you can gauge the effect. [attachmentid=13387]
-
Oz Map -- Another v13 Displacement Fun Thread
JohnArtbox replied to Zaryin's topic in Work In Progress / Sweatbox
Is this feature fun or what? Nice map Jeff. -
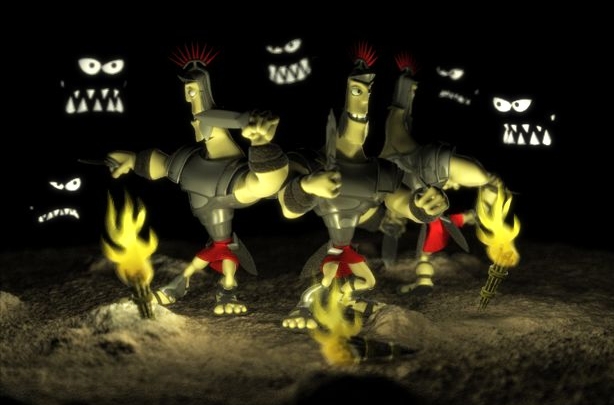
This is mycontest entry for the Heroes comp, but seeing as how anyone looking here already knows the character, and as it uses the new version 13 displacement for the ground(4 whole patches) I felt I could post it. [attachmentid=13277] PLJack...Kapsules is still slowly happening between commercial work....damn having to work for a living.
-
great model Stian Beautiful detail and wonderful proportions
-
great model..beautiful splinage, although the lighting is flat. Have you tried a radiousity render? It would bring the dimensions of the model out much better. Otherwise carefully placed bounce lights would help. Try lowering the suit specular and adding specular on the skin, then use the bloom post effect and slight film grain....just some suggestions
-
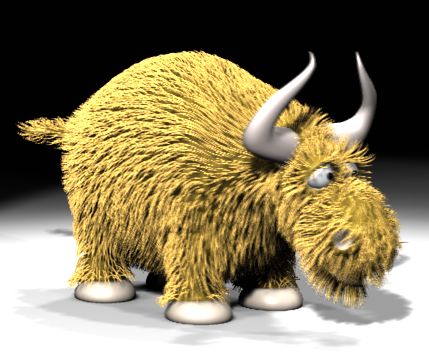
It's a hair emitter...I don't know of any other fur material?? Fur needs to be rendered with zbuffered shadows to render at any decent speed (9 pass render at VGA Res with 2 kleigs[one a spinning Skycast light which adds slightly to render time] = 2min20sec). [attachmentid=12941] With ray trace shadows rendertime would be llooonnngggg Bad composition because it's from a turntable animation with an offset centre.
-
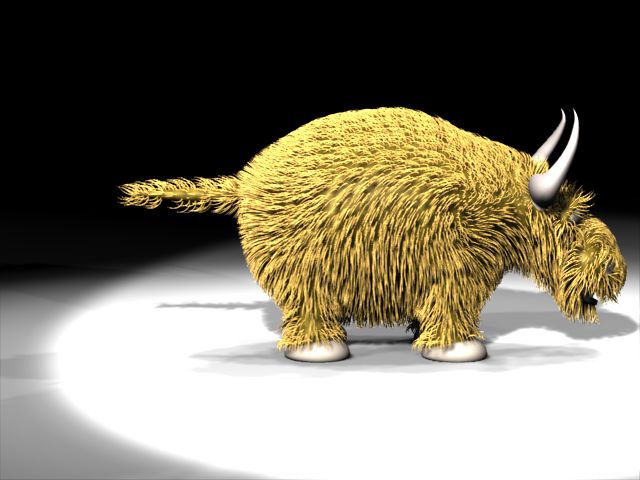
Task for the week....work out fur.... I've never used the new hair grooming features and hair dynamics, so I pulled out my Kow model and started. This is after an hour or so. I've gromed the direction, Now I need to adjust the length and the density. The render is a frame from a turntable animation with 25% motion blur(hence the slight fuzziness. The discovery of the day is that fur seems to render quite well even with low res zbuffer shadows and animation. This still is lit by 2 Kleig lights with 256res ZBuffer shadows. [attachmentid=12937]
-
Well Christmas is near and even though I'd like to spend another hour or two in composite to finish it...this is the end. Merry Christmas to one and all [attachmentid=12569]