pixelplucker
-
Posts
1,792 -
Joined
-
Last visited
-
Days Won
16
Content Type
Profiles
Forums
Events
Everything posted by pixelplucker
-
Michael.Jackson.Chicken.Bond
pixelplucker replied to mansonsoon's topic in Work In Progress / Sweatbox
looks really good, maybe get the tail to flop around a bit and lag behind the body moves so it doesnt look so rigid -
That came out really nice, maybe add a highlight to the legs? That shadow really does flatten the legs out.
-
Thanks, You can use that foot or modify it as you like. It was basically made of 5 lathe objects (4 toes and nails and the leg) all stitched together. A pig tail is when you extend a spline and leave a trailing cp. This allows you to connect the previous cp's and not have the ends create loops. When you create your splines it doesn't hurt to just click one more time to create your pigtail, it is easy enough to delete them later.

-
got a breather between jobs and whipped this up, not many pics on the web of penguin feet but maybe you can modify this one to suite your needs. I dwindled the top down to 4 cps so you can blend it easier. If you have more points to connect with you can just delete a couple of hooks and continue those. bird_foot.mdl
-
Much of the smoothness is when people are using certain materials that mask the artifacts from close splines, SSS and one of the ceramic mats will subdue the edges. Without the use of the materials it takes hours to tweak cp's and bias handles to really smooth things out. Most of my models I use 4 segment lathe when possible but it does make stitching together a bit tougher. Do some sketches of your body parts then you can draw over them where you want the splines, this may help sort it out. Character modeling is tough in any program and especially difficult in Nurbs and Splines where you need to create patches of detail and put them seamlessly together. One big tip, use lots of pigtails. It is easy to connect to pigtails together then delete the middle cp rather than attempting to connect directly and risk a tangled spline. Deleting the extra cp also seems to let the neighboring cp's relax to compensate and this seems to help a bit in smoothing. Unlike polygon verticies, cps' have 6 directions of influence.
-
you had a hole in the front, some missing splines so i tossed in some virtual bondo and patched it up for ya. I think if your rendering some close up stills then do some bevels. If it's zooming around it should look good as is. 304_a.mdl
-
The crisp edges do look good on that object. How close are you going to render it and if its zooming around on a terrain you would never see the bevels.
-
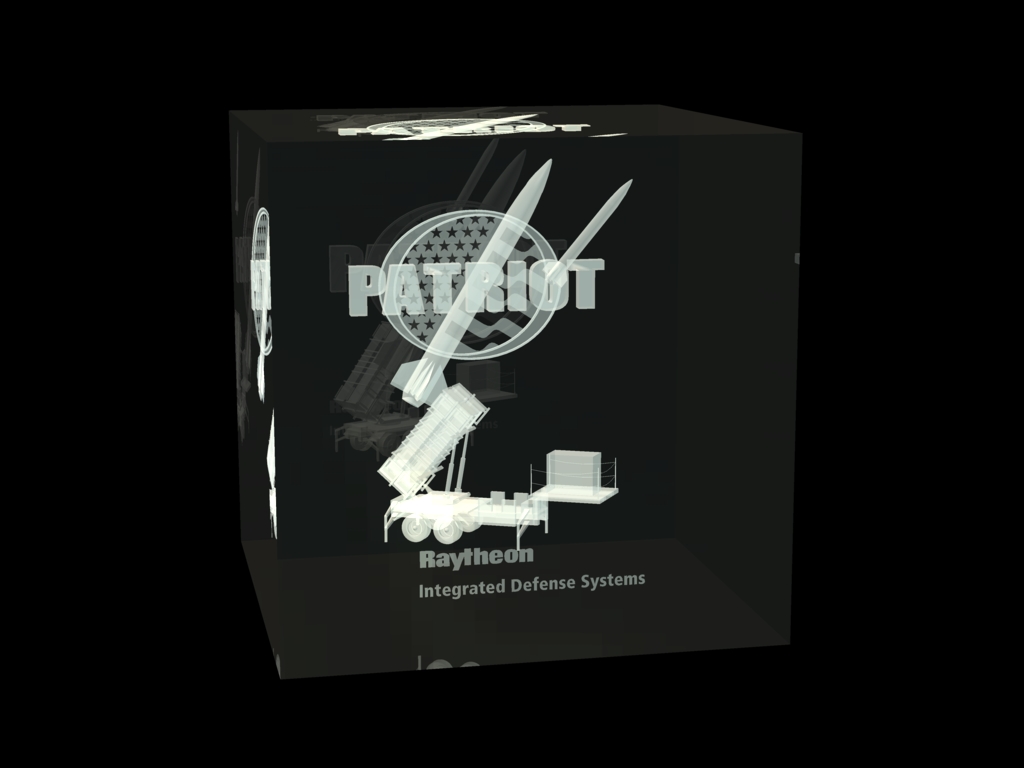
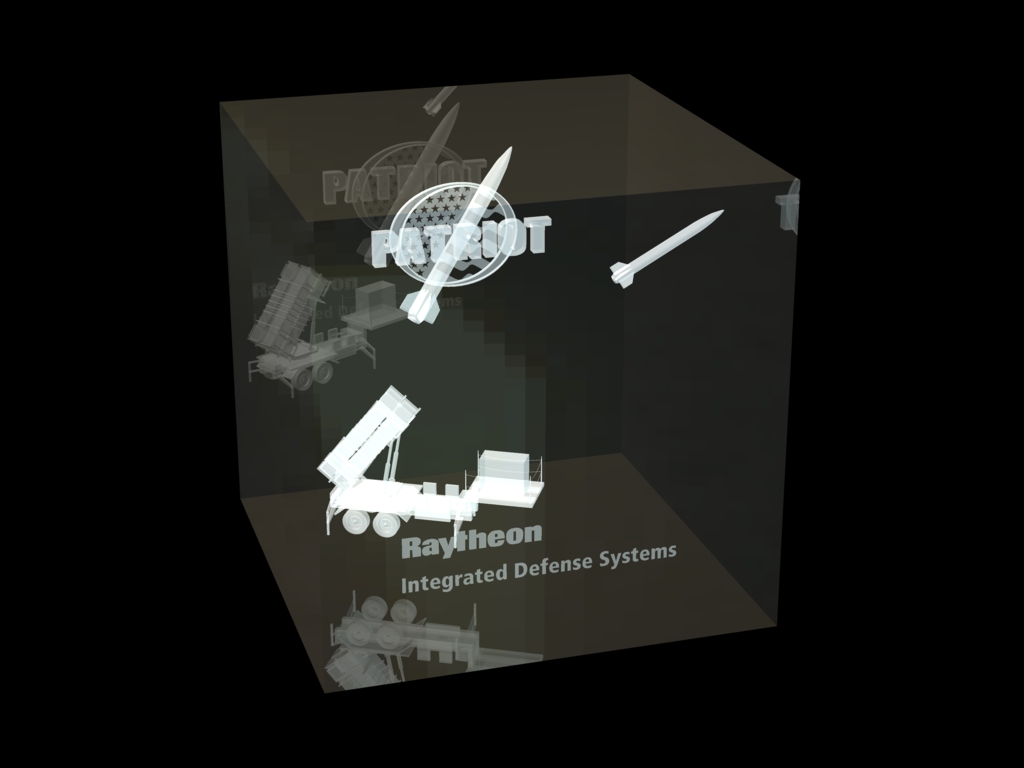
rough draft for a crystal etch
pixelplucker replied to pixelplucker's topic in Work In Progress / Sweatbox
Good eye! I used one of the stock glass mats that came with AM and didn't check the refraction. Here is the revised sample.
-
Bit of an odd project but doing some layouts for a crystal that is cut internally with a yag laser, basically 3d etching inside glass. Will have to translate the objects out to something they can use, most likely stl but atleast that is the easy part.
-
2001 - A Space Odyssey - Modelling the Discovery
pixelplucker replied to Tralfaz's topic in Work In Progress / Sweatbox
That looks really good. Why not use displacement for the grooves? I had some models where displacement really paid off in render time when compared to high patch geometry. -
Getting there. What I found to be easier, not sure if it will work for you, is to model the complex parts such as a hand, food etc then stitch them together. In other words start with the tough parts and position them where they should go then connect them together to make the body. I sometimes get lost trying to start with a base body and attempt to make something from that and get the results I like. A good tutorial to follow is the make a face. I personally found that to me one of the most valuable of all the modeling tutorials. You will find that the flip copy attach will kill 5 point patches that are connected to the middle spline so don't put those in until your done. Also Hooks will get goofy if they share a patch that uses the center spline as well so do those last too.
-
Easiest way is with a cookie cut stamp. This would be a decal that has an alpha channel (black portions on the alpha become transparent).
-
Hehehe, looks great! Maybe you should make a boxing ring wwf ring and have him duke it out with Lush Rimbaugh
-
I had voted before when it was first posted because it is Funny. Most likely it does look at ip's
-
Looks really good. I made this sheet up (original is in quark with auto page numbering). It might help when doing complex scenes. I was doing quick still renders then placing the images in the document. If I get some time I'll make a ms word version storyboardHD.pdf
-
I voted a bunch but think it only counts 1, the view counter didn't change. I do think that My vote is worth more than others, hope they feel the same
-
How to use photoshop and AM t make a cool image
pixelplucker replied to Walter Baker's topic in Work In Progress / Sweatbox
That came out great! -
Looks really good, you may want to flatten the nose up near the eyes to create a brow. I love the features. Great work.
-
Sweet!
-
Awesome!
-
2001 - A Space Odyssey - Modelling the Discovery
pixelplucker replied to Tralfaz's topic in Work In Progress / Sweatbox
very cool! good job -
How to use photoshop and AM t make a cool image
pixelplucker replied to Walter Baker's topic in Work In Progress / Sweatbox
I would use the quickmask in photoshop, then use a semi soft brush to make the selection and save it to an alpha. Quickmask mode is at the bottom of the toolbar. Make sure your foreground and background colors are 0,0,0 and 255, 255, 255 (pure black and pure white). You can toggle between them with the x key and this will add or subtract your selection. Paintshop Pro and Gimp have some nice masking tools that use edge detection but in this case where the fence is so blurry your probably better off doing it by hand. -
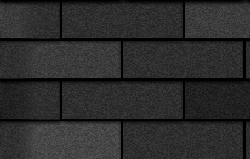
heres some bitmaps you can use for textures. name the faces you want to apply them on then you can simply drag the image on it and set the repeat count
-
That solves the frame issues hehe.
-
Thanks, I tossed in the bones and weighted them so it seems pretty smooth, I posted the final files in the Contributors Cue. Thanks!