-
Posts
821 -
Joined
-
Last visited
-
Days Won
2
Content Type
Profiles
Forums
Events
Everything posted by thefreshestever
-

rubberguy episode02
thefreshestever replied to thefreshestever's topic in Work In Progress / Sweatbox
thanks ken... -

rubberguy episode02
thefreshestever replied to thefreshestever's topic in Work In Progress / Sweatbox
i forgot to say: he´s male (no boobs, man.... ) also his name is rubberguy, not rubbergirl and yes, i´m going to post it on youtube... -

rubberguy episode02
thefreshestever replied to thefreshestever's topic in Work In Progress / Sweatbox
thanks ken... you´re right about the bevel-thing, i guess sometimes i´m just a bit lazy when it comes to details, i´m going to redo that... and yeah, the elbows are snappig, i-k arms is turned on, i´ll try to fix the snapping, kinda difficult sometimes, any advice? and thanks for the overlap-tip on the fingers, i didn´t know that, i´m a animation-newbie, just reading some books about that kind of stuff at the moment... i´ll try something out with the brows, but i won´t render the existing episodes (and episode 3 is half way rendered too) again because of that (patience isn´t one of my strengths ) and the shadows are bothering me too, maybe you´ve got a tip here... about the lighting: i´m using a sunlight with 100% intensity casting shadows (100% darkness, raytraced, 1 ray) to get the white renders, grounds diffuse fall-off set to 0%, filling with a klieg and a sunlight... how would you do it? -

rubberguy episode02
thefreshestever replied to thefreshestever's topic in Work In Progress / Sweatbox
here´s another version that won´t take so long to load, it should also stream this time... (i hope so...) lesson02_ready_low02.mov -
here´s another episode of rubberguy, the third one will follow in a few days... hope you´ll like it....have fun! lesson02_ready_low.mov
-
make sure you search under objects and not in the shortcut of the light in the choreography..
-
nice... the motion blur looks fine... i think you should squash the ball a little less, looks too much for me.
-
the squetchrig allows that too... you have to find the bone called "right_finger_thumb_1_IKFK"... just rotate that bone until you´re happy with the thumb-rotation...
-
that looks great!
-

Walking and Waving, then Continue Walking
thefreshestever replied to Dale_The_Bold's topic in New Users
there´s an easy way to do this... just make a action for the waving, then you can blend the two actions in the chor together... your character will smoothly raise his hand during the walk, waving, and then the arm will go back to the walkcycle arm-position.... there´s even a video-tutorial on that, don´t know exactly where, but if you search the forum for walk and wave i´m pretty sure you gonna find it... good luck... -
it´s hard to say what you did wrong when one can´t see what you did.. maybe you could upload your project, then i´m sure someone can help.... but one simple question: why do you need bones to squetch and squash a sphere???
-
...and you´ll want to set a value for transparency in the the surface properties for both parts of the material, and maybe a defraction value of 2, this could look good... as i said, just play around...
-
set the ambiance for the white to 100, and for the black parts i would choose no ambiance and a blue color instead of black if you go for the animated combiner material... you have to improvise with the values when you animate the material on your model, though it´s not a plain grid and is probably not so big.... don´t be afraid to play around, the more you play the more you´ll learn...
-
with "create a mesh" i meant just model it the usual way... i would draw a simple spline-ring and extrude is a few times.... why don´t you get along with the water-tutorial? the steps are well explained and documented so it´s pretty easy to follow... come on, you can do that, you learn fast, you´re still young, that souldn´t be a problem for you.... but again, maybe you can only do the first steps of the tut (create the animated combiner material) and apply this to your model, i think this could work very well...
-
i would model it the normal way, make a simple mesh that´s good to animate... then i would create a animated watermaterial for use as a displacement map... search the forum for "babbage patch water tutorial" and you ill find a link to the page where it´s explained how to do that. but maybe you get along only with an animated cominer material, that would be less tricky, but not that good looking als an animated displacement-map.... but i think you should try the transparent animated combiner-material first, maybe it´s good enough for what you want to achieve...
-
you have to avoid non-continuous splines, this are the places where you get creases that can´t be fixed with just movin the cps in the right place. also try to avoid 3-point patches, you can make a whole face with only one 3-point patch (per side)... try to use this 3-point-patch on a flat area that won´t be animated, maybe the side of the head or something like that. i´m missing some 5-point patches in your model, you´ll want to make some of them around the eyes, mouth, later the ears etc... also try to make your model as smooth as possible from the very beginning, otherwise you will get mad moving all your cps in the right place and adjusting bias handles... did you do the baby-face exercise in the TAOAM? i recommend that, it will help you a lot. here´s a link to a thread with an almost 100% perfect face-mesh, try to do your splineage more or less like this, it helped me a lot... http://www.hash.com/forums/index.php?showt...&hl=african
-
when you select a bone and then create a new one it´s automaticly a child of it... don´t be afraid to experiment, you don´t have to if you backup your work...
-
i downloaded the file and played around with it a bit... you get a bit better result if you select lower values for the stiffness-parameters,maybe a bit more air-drag... but the thing that bothered me (and i couldn´t figure out how to solve that problem) was that the curtain always looked a bit too stiff at the bottom, the bow is in the wrong direction, the tips at the bottom would have to have a delay, the top has to move first and then the tips... maybe you can ad a second non-clothed-hand-animated area in the middle of the curtain to get that delay... but then you can animate all by hand i guess...
-
you can also click the "show more than drivers"-button in the shortcut of your model in the choreographies pws and then select the material and animate the amount of emission over time... so you can fade the particle-emission in and out...
-
good cloth tutorial, this should cover everything you need to know: http://www.hash.com/forums/index.php?showtopic=26015
-
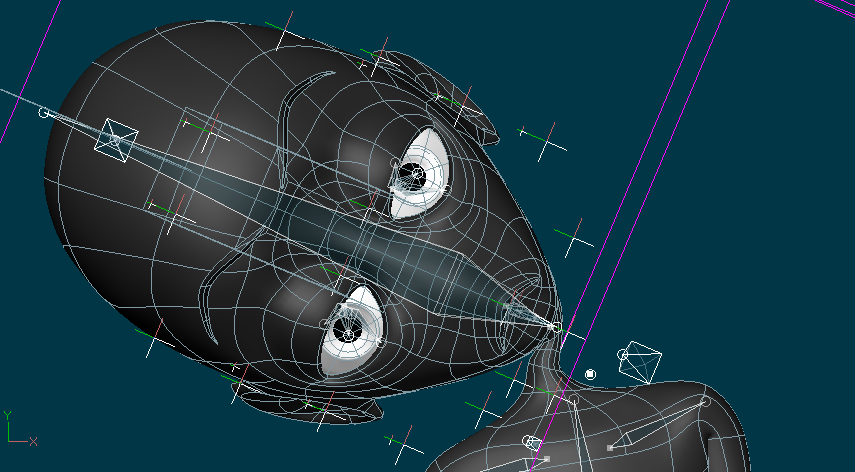
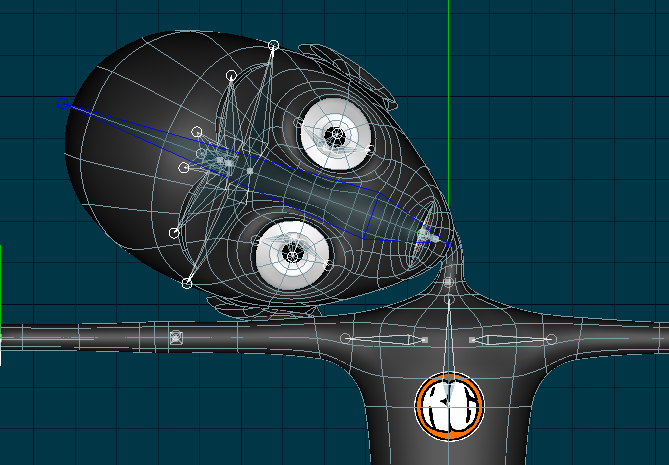
silly me... i tried to fix my neck issue before and tried moving one of the head bones so it would bend right... but i always moved the wrong one so i tried smartskin... i think the only bone i didn´t try to move was the head_manual_control... now it works fine, thanks david... ONE TIME I WILL UNDESTAND WHAT ALL THE THOUSAND BONES IN THIS RIG DO!!!!! WORD!
-
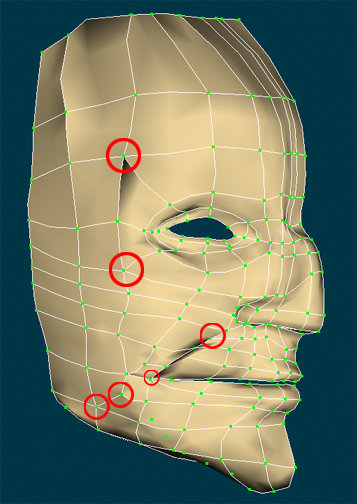
i made a smartskin for the head_manual_control bone for smooth neck movement, but somehow it doesn´t seem to have any affect when i animate... screenshots attached... did i do the smartskin for the wrong bone? should i rather do it for one of the head geometry bones? then the question would be front or back? thanks ahead for the help...
-

Buffalo kickin up dust test renders
thefreshestever replied to Kamikaze's topic in Work In Progress / Sweatbox
that dust looks awesome... looking forward to the final render... is the dust made with dust or a sprite emitter? -

Platypus House riverscape
thefreshestever replied to JohnArtbox's topic in Work In Progress / Sweatbox
thanks john... this really looks nice so far, i´m curious how it will look when it´s finished... fuchur: jep, decals for length, color and density... -

Platypus House riverscape
thefreshestever replied to JohnArtbox's topic in Work In Progress / Sweatbox
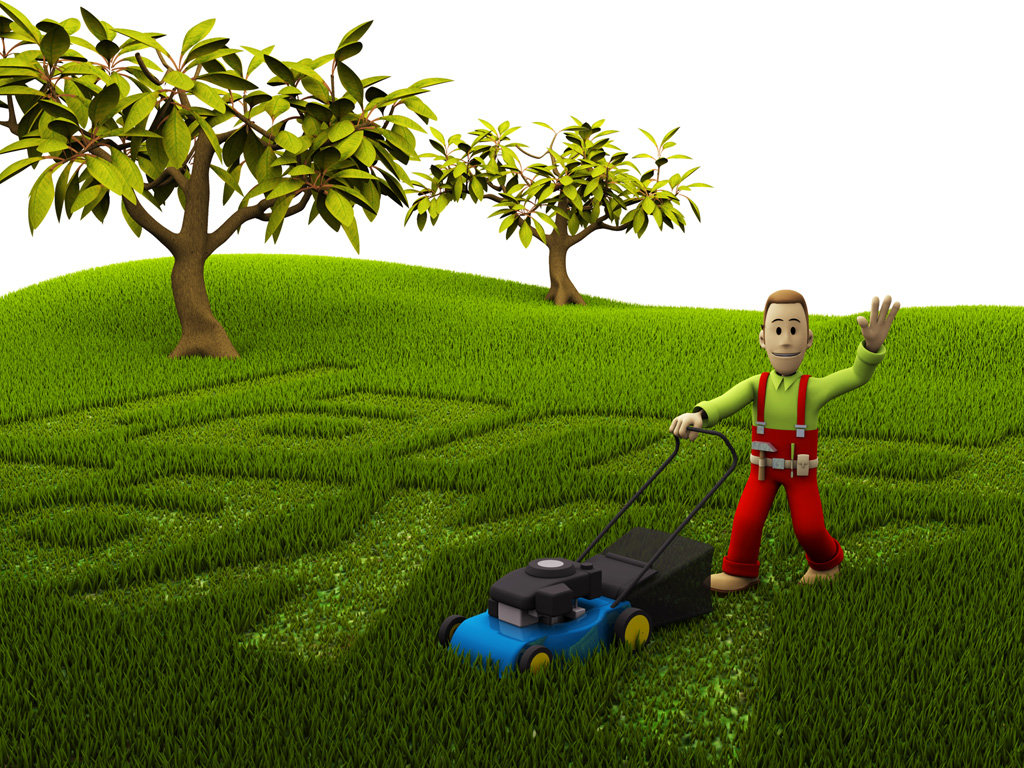
this looks nice so far...that tree is from you? it´s definetly the best tree on the cd, i used it on my latest 3d job, just finished it this weekend... should i feel guilty using it? if you wish i do i thought you might wanna see it, so here´s the image, the original rendered size was 2000x1500 px, took 20 hours.... ouch... thanks for that tree...


