entity
-
Posts
895 -
Joined
-
Last visited
Content Type
Profiles
Forums
Events
Everything posted by entity
-
No- I have been using a simulation that was exported from the chor as an action. The button and dynamic floppy cone were path constrained to the cape. The cape is penetrating the leg because I lost the action for the legs that go with the cape simulation action. If I had "baked" in the chor then the legs actions would have been exported with the simulation data. Anyway, the point was to see how you could attach objects onto cloth... read the whole thread because there is information on how to layer cloth on cloth, too. Lot's of good ideas going on here.
-
AM-v13 and v14 have "new" simcloth. It's in the manuals. I believe AM also has "old" simcloth in version 12... not sure about that, but this thread applies to any cloth in AM. Only thing is - simcloth is more simple than ever to use! You can use 5 point patches without too many problems but hooks are a no-no. Anyway, I have new examples with dynamic constraint applied to a cone attached to the cloth. I tried a flat button having the button bone "aim at" another bone that is path constrained to another paralell spline to the button. It keeps the bone's angle changing with the cloth. I also did a final render. Sometimes when you see penetration, it's only penetrating because you are looking at a lower res version of the patches and actually there is no penetration, so it's best to look at a final render to see if it is true at the best resolution before you abondon it. (4 poly per patch or 16?) Most people have the default setting for patch "quick render" mode: 4 p per patch. I better get back to my cloth tut, now. Thanks guys! CapePathConstraint3dynwX2.mov Cloth_attached_parts12fr.mov
-
No... your button is staying with the spline... it's large enough to penetrate where the other splines are bending/wrinkling above it. You could get it to ease to another less active spot on the cloth or get it to average between two bones positions on the spline (button bone -"translate to" two "path constrained" bones?), to keep it out of the fold/curve. Interesting problem there. Maybe offsetting the button bone from the spline a little to keep it outside the cloth would be a quick way to fix. Mine uses a sphere so the connecting "side" of the sphere is against the cloth, not quite touching the cloth.
-
I did a test also, but I guess another example won't hurt. You have to set the ease to get the attached object to get to the place on that spline where you want it, but other than that... it stays with the cloth perfectly. Make sure the base of the bone associated with the object is at the place where you want the object to connect to the cloth. I guess to push this idea further... if you wanted to add an oblong object that bends with the cloth, you could have several bones constrained to different splines and eases on the splines so that the cps stay with the cloth's splines also. I'll try that later. CapePathConstraintX2.mov

-
That's a wonderful idea... and sounds like it would work. Maybe changing the orientation of the bone itself as an offset after the constraint is applied would be better than adding splines to the cloth. And is it possible to make a pose that could constrain the bones to the path/cloth spline?
-
Take solver resolution down to .01 and I see you finally reduced the friction down to 1... good choices. Cloth is not like bones where you can repeat settings precisely. EVERY simulation will vary with just slight changes to anything. There are NO MAGIC settings. We have to learn how to recognise what simcloth needs to keep away from the deflector... sometimes, that may require a longer dressing pose.
-
Vern, Don't feel bad... I have about 10 gigs of porn.... I go through porn like candy! Well, back to work... Geez! My hand is tired!
-
Nice work. WOW. The movement/acting is very alive. What are you planning to do with this in the future?
-

DSP (Dark Skull Productions): More tests to show
entity replied to entity's topic in Work In Progress / Sweatbox
The hair is just hair... no MuHair shader- nothing wrong with MuHair, I'm just too lazy to change those settings. Mostly everything has been done at 9 passes, using a 9 pass skylight. Usually, I use also, 2 spotlights/ 1 sun/ 2 bulbs. Yeah... the seam in the wrinkles was a forgotten fix I had planed to do... never got around to it. I will fix that... it's a shame, because it's such an easy thing to fix! With cloth I did lots of sims and adjusted the model's arms (There is a simcloth "Tech Talk" out there, by Bob C. and it is a must see!)... every time there is a glitch you must change something to bring the model back into acceptable ranges and sim from that point. It's tricky, but it takes practice. I saved the simulation from the chor to an action- (right click on Choreography Action->Export as Action) That only saves the sim/cp position/pose slider data, but not the other actions you dropped in on the model... you must remember what frame the chor is using for each dropped action- that is if you use several actions that blend/or stop/or start at different points. Yes... the phonemes are kinda flat in the corners! But it does look weird because of that fact. There are certain points where the mouth should PULL more... so a slider for that purpose is a perfect idea. I will try it. You can see the reference I used- I didn't use the video to lipsync... just the audio, because I didn't want to be a slave to reality... after all, this is the "virtual" realm we are creating. I don't want to photo or hyper realism, I want to create a stylized realism. Do you know what I mean? I just want to represent life- not mimick it. LIP SYNC ORIG. Reference(Mp4-989kb) Thanks! -
You know... that's great work! Very creative. Another idea might be having the words "EmeraldStorm" drop out of a cloud that moves into the frame and as the words settle into place, the lightening bolt could zip/flash/boom between the words like it split them.... then the clouds fade away and the lightening settles down. Rodney, you opened up a lot of possibilities there!
-
Wow! Exciting, intense scene! Keep it up! I looked in on some of your blog and things are really looking progressive. Once you get this scene completed, I doubt it will take you long to finish the rest. The begining is the hard part.
-
DSP (Dark Skull Productions): More tests to show
entity replied to entity's topic in Work In Progress / Sweatbox
Straight out of AM into TGAs into Quicktime... poorman's pipeline! the sentinel alcove has multiple volumetric lights so the render is the original size of the render (30-40 min per frame). WOW... never expected that we are creating the 'Star Wars- Attack of the Splines'! We did the hard stuff first. Now we are just filling in the details and it is becoming more fun... we've had to say "okay... time to move on" a couple of times. Vern and Don Davis have been encouraging us too! JohnH created the ship and all of the props and sets so far, the Assassin's gun was textured by Don Davis, John H. and I. Thanks so much. JOHN? Are you out there?? -
DSP (Dark Skull Productions): More tests to show
entity replied to entity's topic in Work In Progress / Sweatbox
Sorry Ken! John Hubickey (Hubukai) and I are putting together a series of small episodes that have cliff-hangers. We are going to broadcast online via DarkSkullProductions.com. We are near the first episodes previs-animatics now. The logo just got rendered and we posted it here: http://www.hash.com/forums/index.php?showtopic=28016 : and the old post for the begining of the work is: http://www.hash.com/forums/index.php?s...mp;#entry208058 -
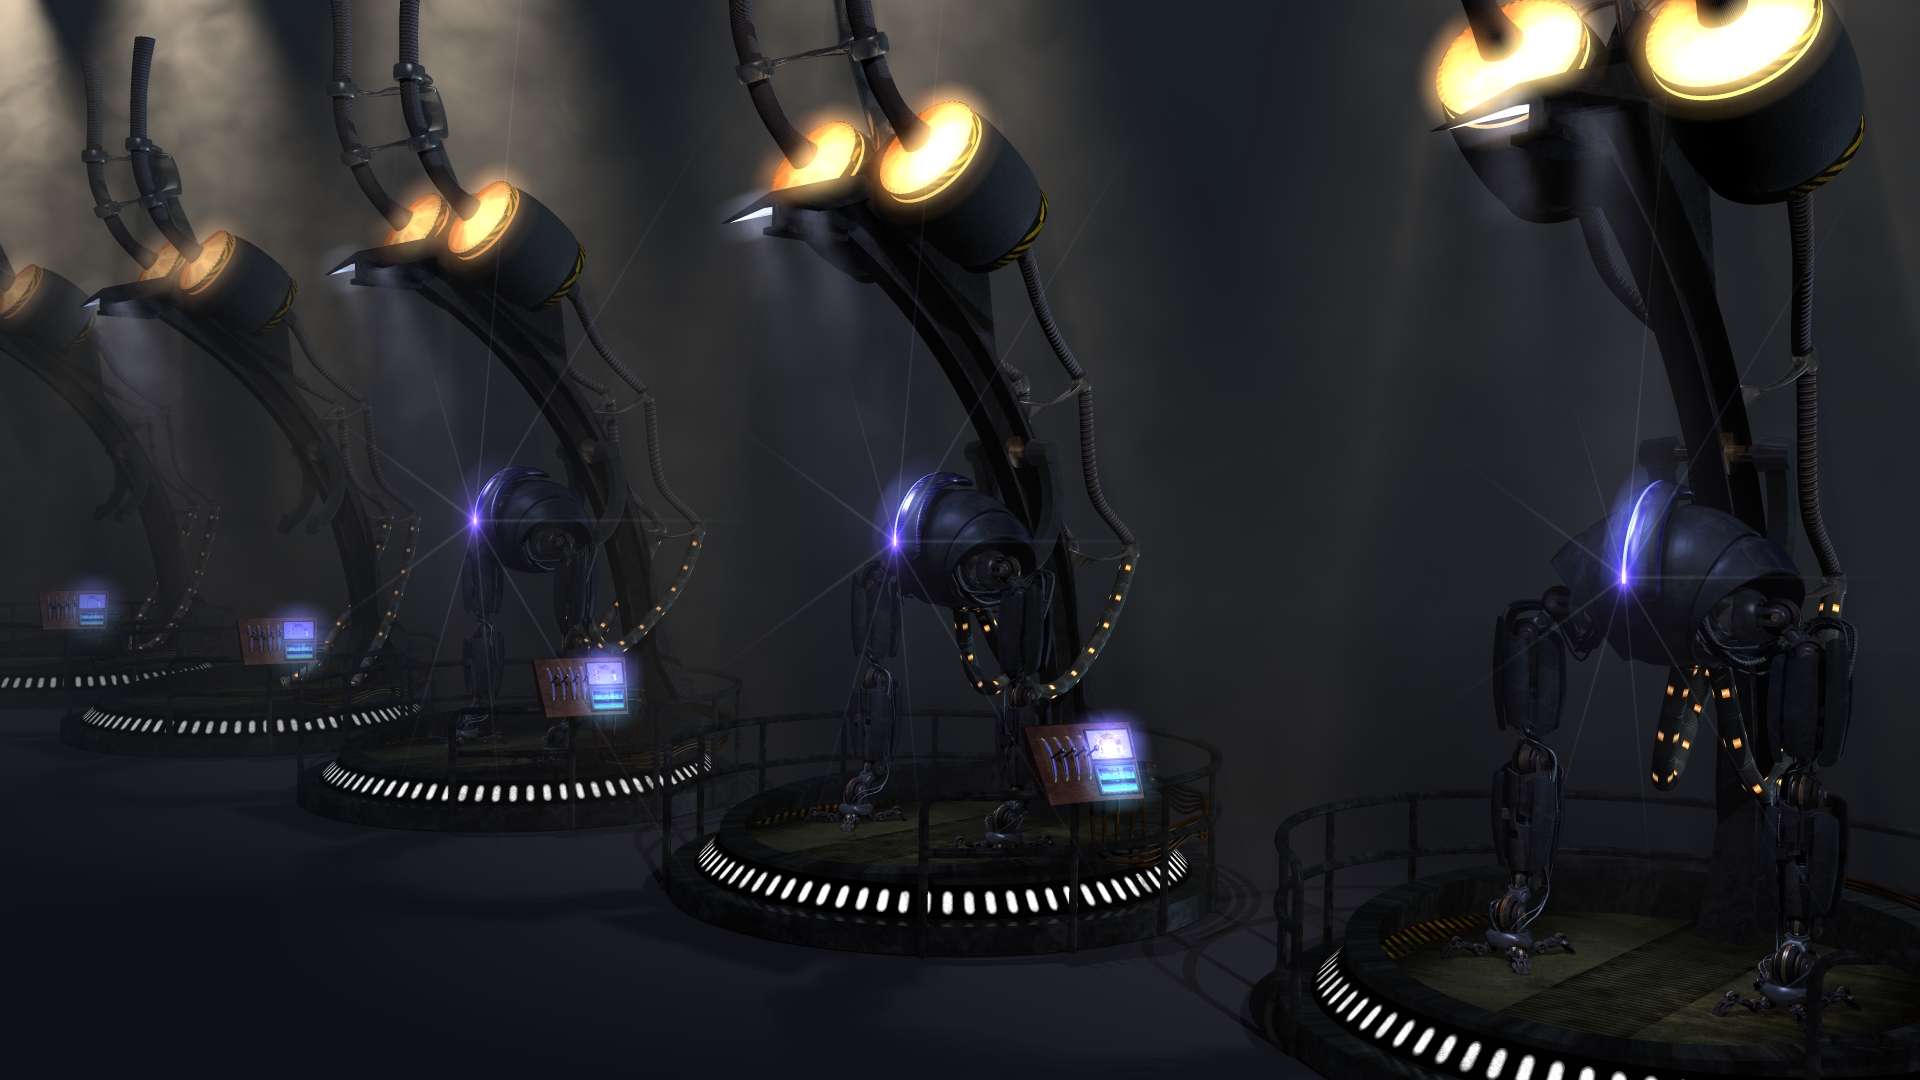
Hello, We have been busy and I didn't want to post too many WIPs, but I have a few more for you. These clips are just tests to see how the models hold up for animation/rendering. Of course we are rendering everything in HD720, but a few things have to be rendered smaller for testing- (especially those containing multiple volumetric lights). Comments are welcome. Keep in mind that the purpose of these clips are to show the models in lighting. There is one lipsync in there that is incomplete, because I didn't really want to go into simulating the cloth(It's all about the face/the arms are STIFF). Thankyou! Click on the pic! More updated images of characters: Etharion Assassin Rom Pitt Thanks!
-
The fidgeting shows the skull's condition... it obviously has been through "HELL". We tried it with the wings slowing and stopping, but it dies visually... the intent is that it still looks like it's living at the end, so I must keep them babies movin. Hair with dynamics? Good idea! Only problem is that I don't want it to fly... I want it to be "other worldly" so I made it NOT birdlike. Trying to suggest wings are living by moving them, but it's not a bird- it's a skull. Rodney, you got it! It's moving like a spider in some ways also. It adds to the creepyness. I want it to be unexpected movements... it keeps it alive, but contrasts what it looks like it should be doing. The shimmering is slightly distracting to me... I have been looking at this thing so long I may be overlooking that, maybe I could do something different there with the texture of the skull, but softening might take away from the detail in the wings and I don't want to do that. Unfortunately, we have to decide if we want to spend more time on this or let it be... as we have so much more to do. Your comments have been very constructive and everything is being considered. Thanks!
-
Mechadelphia : p r o t o t y p e
entity replied to Mechadelphia's topic in Work In Progress / Sweatbox
YOU ARE THE MAN!!!!! Beautiful work... and you are nailing it technically also... I appreciate the cheat free work! I learned some rigging from you at the MAAM meeting... your work= "W.O.W." (Worked Out Wonderfully!) -
Here are links to the full res and reduced res versions of the logo intro animation... The Text and Fonts selected for the intro are temporary and we are deciding what the final font will be, but we are excited with the outcome of the winged skull. Hubukai (John Hubickey) rendered this monster out at full res (3 full days of rendering) and created the video files and is hosting the files! Without him there would be no Dark Skull Productions! (I suggest *right click>"save as"*) FULL RES (HD720) DSPintro (18.8MB) Quicktime (H264codec) FULL RES (HD720) DSPintro (6.71MB) Windows Media(WMV) Comments are welcome, but I doubt we are going to change much. Lots more to get done on other things. To see the old post for this project:: http://www.hash.com/forums/index.php?a...&pid=208058 More updated images of characters: Etharion Assassin Rom Pitt Thanks!
-
Can I come too?... I promis to be good this time.
-
I agree! It is actually a better thought out cube... it is a step forward from TNG cubes. It looks good. Now leave it alone and move on!
-
You look like a member of the "Beatles" with with Don's hair, with John's hair you look like and ex-headbanger, and with my hair.... you look Cuban. Vern... don't you have a character to build and some tutorials to edit or something?
-
I translated what he said into A:M rigging, because often I look at work from people using other software as well and look at their tutrials to see if those steps would work in A:M also. 90% of the time A:M is capable of doing what other software does, but sometimes it's harder and sometimes it's easier. As far as the U-tube vids--- I think I get the idea now, Vern. You can stop flapping your arms now. John/Don... why don't you guys post some of that video from the meeting. I don't mind. Pictures are fine too. I think the community would like to see how geeky we really are. Guys, I recently finished a lipsync of the main character from a line in Battlestar Galactica using Lee Adama's voice. I'll post here, in case some of you can't or didn't get it. I will post in WIP at the end of this week, and send out invitations to view the post through emails and PMs. RomLIP2_NTSC_H264_2_.mov
-
You might want to add some piping that has a larger gage in there and some junction ports (boxes) on the surface to break up the monotomy of all those pipes that are so equal in size. That might also give it a little more depth on the surface. The actual cube used for the series seemed (IMO) to have panels on the outside as well. Don't get me wrong... the cube you made is enough to give us the impression of what the cube is made of, but there are really hard core fans that will tell you exactly what it looks like. My best wishes to all you guys because everything you have created so far fits the look of ST so far, and the construction of most of these ships is quite beautiful.
-
Don is the greatest host... Vern's presentation was heavily technical, but when you talk about rigging, what do you expect? In all, the meeting was fantastic... everything was perfect! Thanks Don for getting me home alive. If I had taken that bus I would have pissed myself... as soon as I got into my apartment the beer kicked in again and "GUSH"- I just made it! I am really inspired now, guys... thankyou! The onlything we didn't cover at the meeting was the music of our production. I have a sample of something I submitted.... it is not the sound we are going for, but it is interesting. John H... do you like this one? It is the theme for one of the planets. It's loud... so please turn your sound down a little before listening. PlanetTwilFnl.mp3
-
I'll be there guys... DarkSkullProductions will be able to show some new stuff. Vern has transformed into the artist he always should have been... I wanna see the new Vern in action! Don isn't this our third year or fourth? When is the actual anniversary date for MAAM?
-
Hi, After hybernating for several weeks work has begun again. Having overshot our proposed deadline we've decided not to promise a finish date. Life can get complicated and problems arise when least expected. We do have sample images of updates to the characters. Animations will come soon. We will have an animated story board as the sets are completed for the first episode (to be released from our website : http://www.darkskullproductions.com .) and many tests as well. Thanks for all your support... ... and if there is anyone out there who would like to join us on this project, we still have plenty of work that needs to be done.