Eric2575
-
Posts
2,615 -
Joined
-
Last visited
Content Type
Profiles
Forums
Events
Everything posted by Eric2575
-
Here is a work around I just discovered: Copy the path and object and make a new model with them. Once they are out of the original model, Sweeper works as advertised. I can only conclude that somehow the original model is causing Sweeper to crash. Maybe it's an issue with how many patches there are in the model or how many rotoscopes.
-
My path seems to have no problems, but my sweep object is causing me fits. I remember there are some objects that sweeper does not like, but I cannot remember what exactly causes sweeper to crash AM? A simple four point patch sweeps fine, but an extruded box is crashing AM every time. I need to use sweeper to dublicate a simple box around an irregular path but so far I only get crashes, even when I delete the box and make a new one, it still crashes. Edit: Well, I narrowed the #001 exception down to the option of using regular steps. When I don't use regular steps, it duplicates fine along the path, otherwise it crashes the program. Is this a bug I should report? Is AM reports still debugging?
-
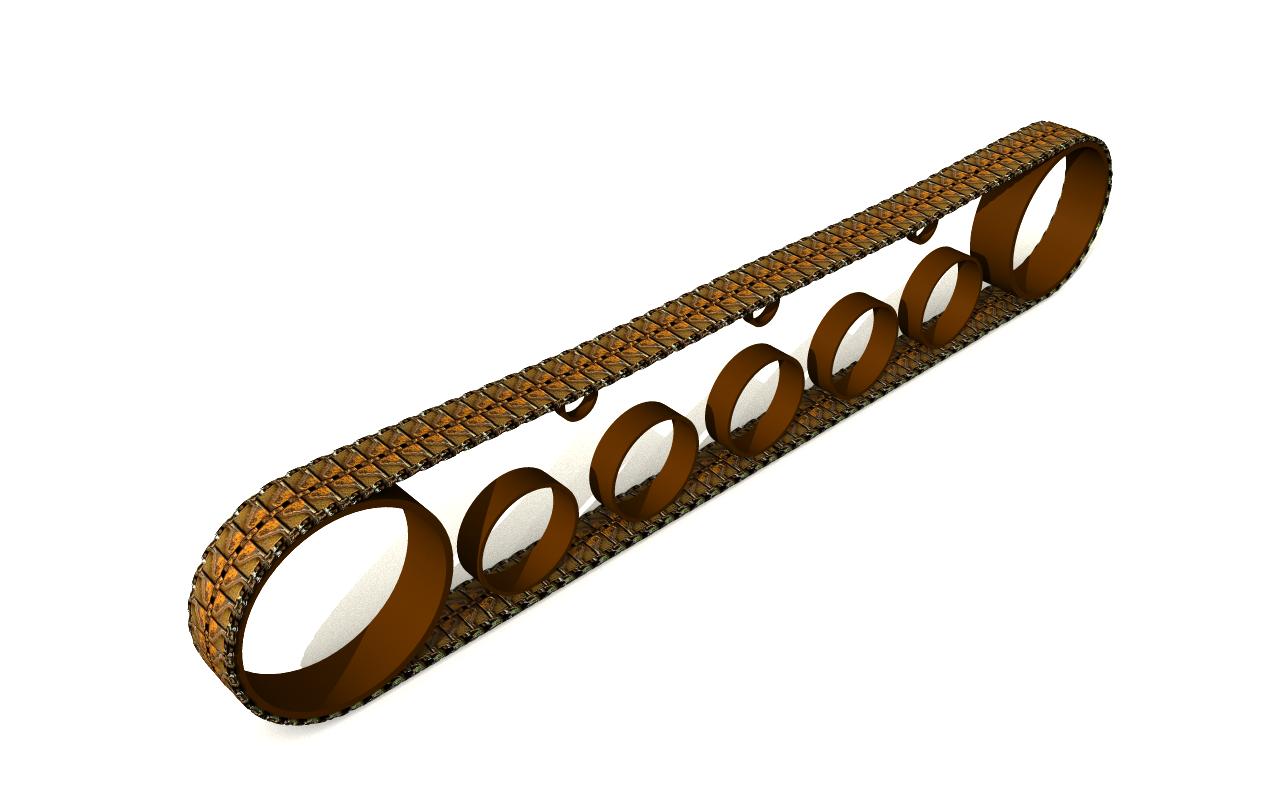
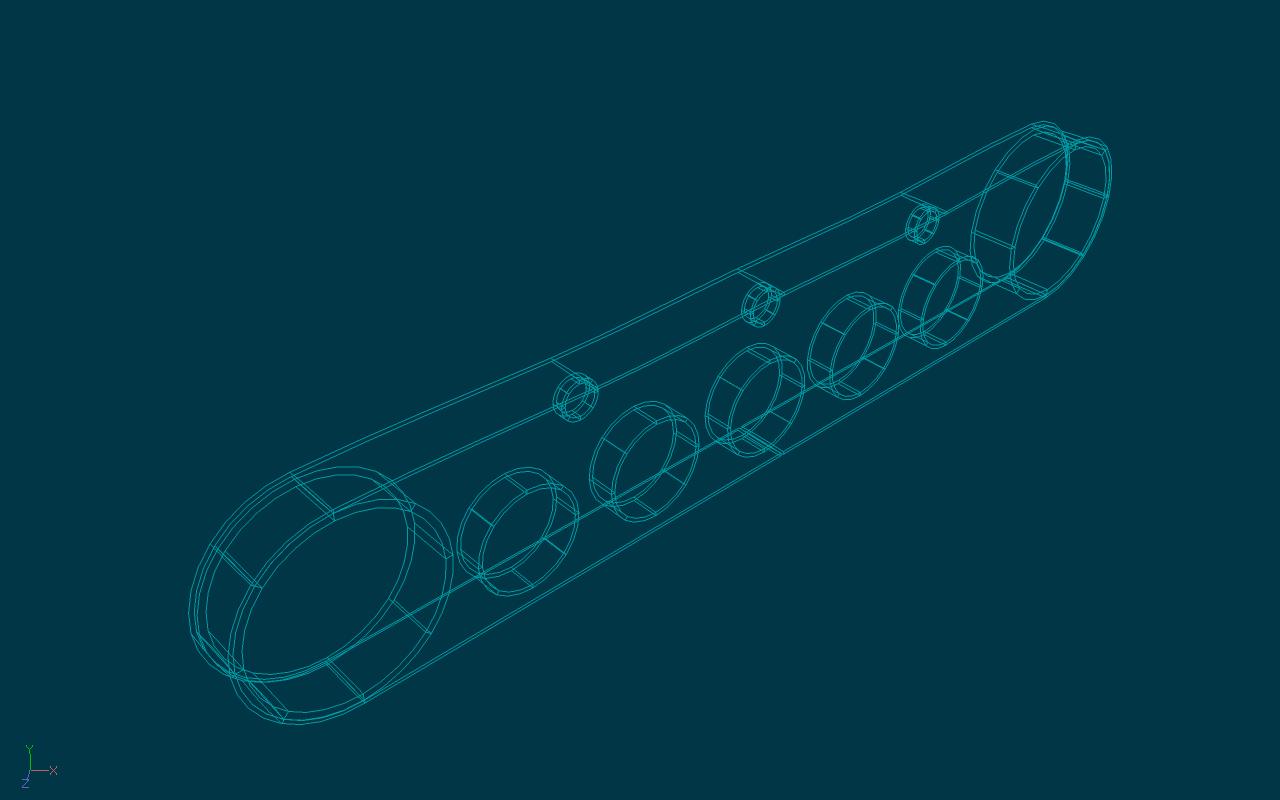
I need more information, but do you mean a tire tread, tank tread or something else? A decal is easy to manipulate on a flat surface. Go to the PWS Project Work Space and right click the decal stamp. A menu will open and give you the choice to "edit" the stamp. Click "edit" and a new window will open with the mesh that the decal is applied to and the decal. By selecting the mesh and moving it around, you can see the changes in the decal position in a second window. You must have the shaded option selected as well as the show decal option. Try it and have fun. The attached tank tread was made with the small tread picture - notice it is seamless in the x direction. The tread was applied to a flattened mesh in an on/off pose, then repeated along the x axis 42 x. The option to repeat a decal is again found in the PWS under the decal image. Select the actual image under the decal and select "Image" then "repeat" in the properties section.

-
Ethan: did you ever finish this short? If so, where can wee see it? I've been waiting a long time to see this. On a technical note, how did you get that nice transition of the water from the shore - pretty much clear water - to the deeper parts of the ocean - very dark blue? I've tried transparency, water color, density, etc, but nothing as pleasing as what you've got. Eric
-
Really Top Notch stuff you got going there. Very professional quality look and feel to it. What Studio did you say you work for? The guys you show this to may not know how much work goes into something like this, but all of us here really do know and appreciate that. Many koodos to you
-
Beautiful! I hope you will be as detail oriented with the engine as you have been with the chassis. I've modeled two engines and know they can be tricky, especially the manifold and the engine core. I modeled a 67 Vette with a pretty detailed engine, but am now thinking of resurrecting the model to refine it - all your fault
-
I haven't done the bouncing ball excercise, but have you tried removing the bone and adding a new one? Or maybe the model somehow got corrupted and you might make a new one? It's just a sphere, right?
-
Ok, I have a dilemma here. The frame and associated detail is too nice to be hid by the body sheetmetal. I guess what you'll have to do is make a display like they have at car shows with a mirrored bottom. How many patches do you have now?
-
Are you importing a model? The reason I am asking is your question about removing triangles. If you are modeling from scratch, why would you have a lot of triangles? Also, once you are more familiar with spline layout and the way cps and splines interact, you can get a pretty smooth mesh right from the get go. There is a material called porcelain that will help smooth a mesh just a bit, but it's better to have a well designed mesh to begin with. The porcelain material is on the "Extras" cd.
-
Unless you hit the infamous "Wipe Hard Drive Button", then all bets are off. . . . . . Just kidding, there is no "Wipe Hard Drive Button", just a "Wipe Hard Drive" toggle switch. . . . Ok, so maybe there is no toggle switch either, but.... . . . . So, did you get your project back??
-
Accurate Rotoscopes really make a model. No crits, just waiting for more goodness to follow. Ain't it great how much you learn from one model to the next?
-
Ok, at least one ripple with a trout jumping out?? How about just one ripple for a mosquito landing? Please, pretty please? Very well done in such a short time period. I can learn a lot from you
-
Don't worry about the title, we just want to see you model the Hot Rod
-
All right, I'm hooked.
-
Eerie and mystical feel about it. I wouldn't be surprised to see Hook's alligator jump out of the water. Nice
-
Allright John, six days to hammer this out. No pressure here
-
Yes, use particles. Do a search for "waterfall" and you will find a discussion on how to do it.
-
When I copy a branch and paste it to make a tree, all the properties of the copied hair are lost as well as any grooming. Is there a way to copy and still keep the copied properties of the hair?
-
It actually had something to do with the original hair material. After I deleted that one and made a new one, the problem disappeared.
-
I'm working on a still, not an animation. I double checked, and there is no change over time in this still. All I am trying to do is render a semi realistic pine branch in a scene. Since I want to smooth the whole scene out, I'm initially using a 9x pass. The problem is the pine branch. There is obviously something going on that is causing this, I'm just not seeing what I'm doing wrong. Compare this to a TWO scene with a pine tree that has no blurring, but I bet it does have multipass? There is no motion blur or focal length change in the camera setting. Edit: After playing around with the hair material and not getting anywhere, I deleted it and created a new one without this problem.
-
Here's acouple of things you might check: 1) Check the normals of your model and make sure they are all pointing out. 2) Make sure you have continuous splines, not splines that end and then continue with another spline 3) Rework the splines around the eyes just a bit, so you don't have those splines dead end in the middle of the mesh.
-
Wow, there goes my theory about an older version of AM. I'm running V.15 right now with none of the problems you describe. Are you using Vista, XP, or Tiger? What kind of video card? Be shure to get the latest drivers for your video card. If you're running Vista, then there's your problem. I actually tried to run Vista for a while and got so frustrated with it that I went back to XP.
-
What version of AM are you using, and which operating system? I'm in the middle of a long render right now, so I can't verify anything, but it seems like some issues, like the bias issue, might be from an old version of AM or a corrupt installation. Since I don't use the orthogonal camera much, I'll have to wait until my render finishes to try that out, but I do remember having some problems in earlier versions of AM when inputting values in the PWS. I believe the problems went away after doing a complete wipe of AM, manually clearing the registry, then rebooting and reinstalling. There were some instructions on the forum on how to do this, but it was a long time ago.
-
I've noticed you've pretty much posted the same car in the Stills Showcase quite a while ago? http://www.hash.com/stills/displayimage.ph...cat=0&pos=2 Is this the same car or a new one? I thought I saw it before.
-
What Chris said. Nice explanation.