mtpeak2
-
Posts
5,719 -
Joined
-
Last visited
-
Days Won
1
Content Type
Profiles
Forums
Events
Everything posted by mtpeak2
-
Sorry about the normals. I'll try to get the four fingered version up for you as soon as I can.
-
It appears you didn't scale the base bone as much as I did, causing the the translation of the white install bone to max out early. It also my have something to do with v14, I'll look. Also, once people start rigging their own models, I will adjust the poses for translation, rotation and scale to suit their needs.
-
Hide base bone install. Save project. ONTO STEP 2
-
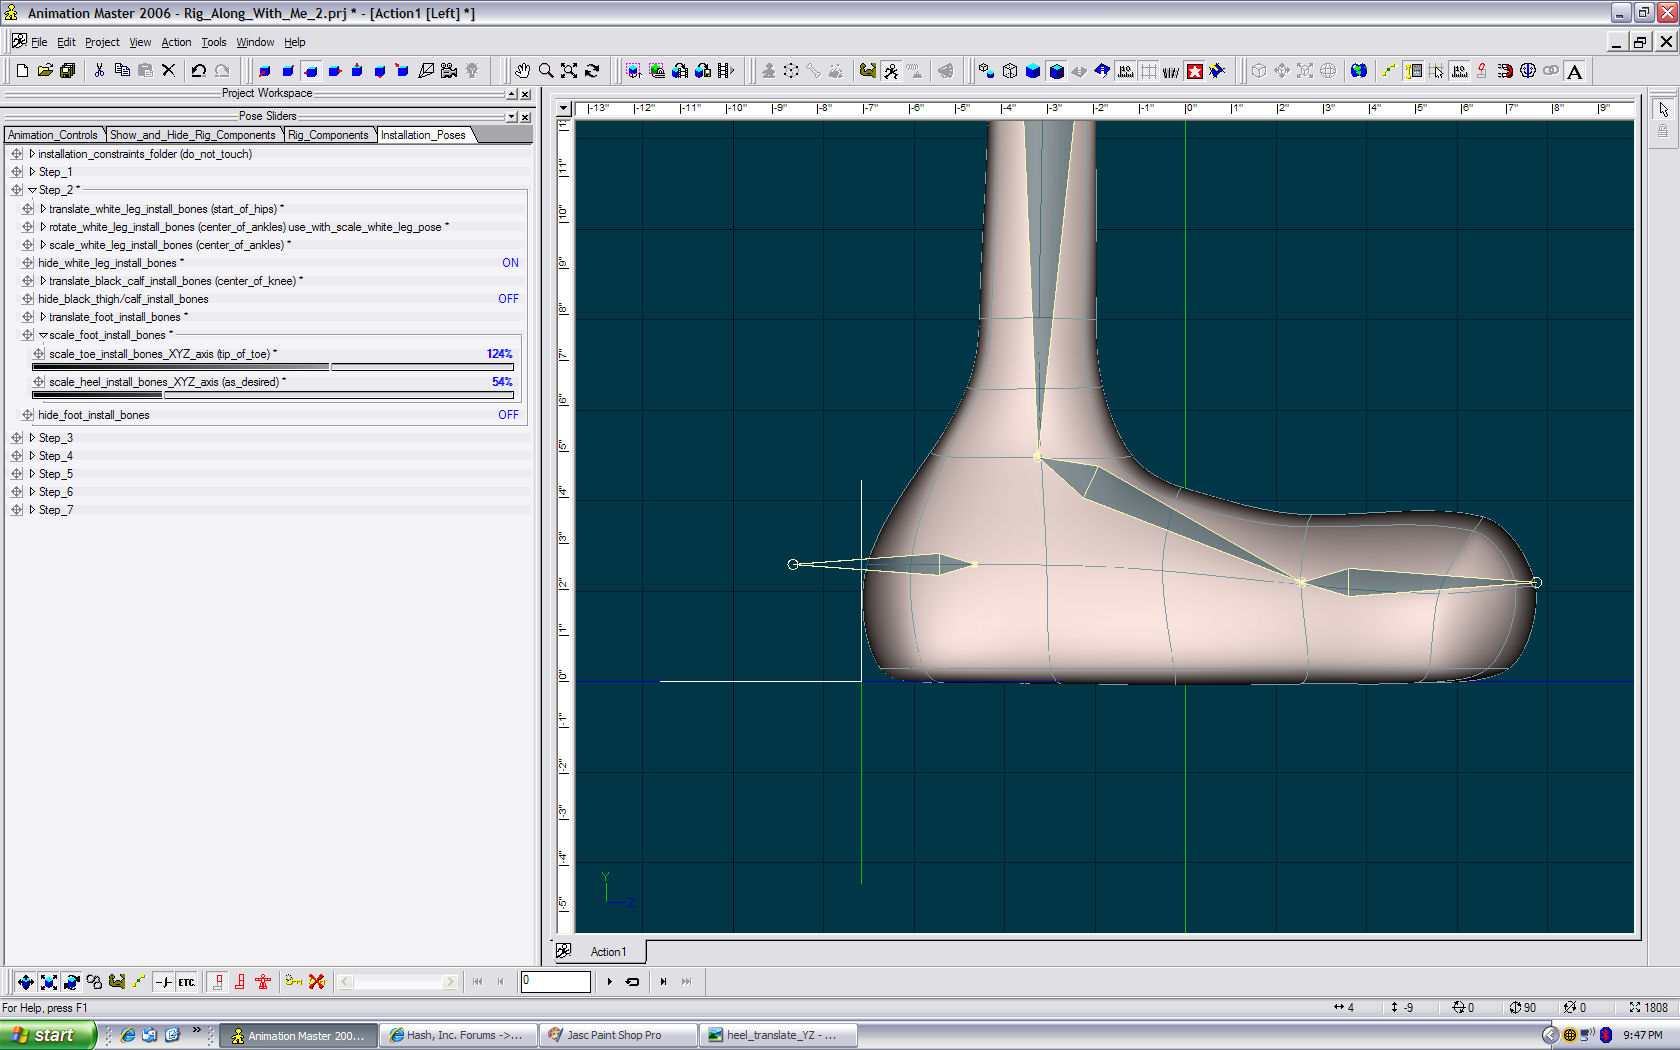
Hide foot install bones. Save project. ONTO STEP 3
-
Scale toe install bones to the tip of the toes. Scale heel as desired.

-
Translate heel install bones in the Y and Z axis to the middle of the heel. (side view)
-
Translate the toe install bones on the Y and Z axis to the base of the toes. (side view)
-
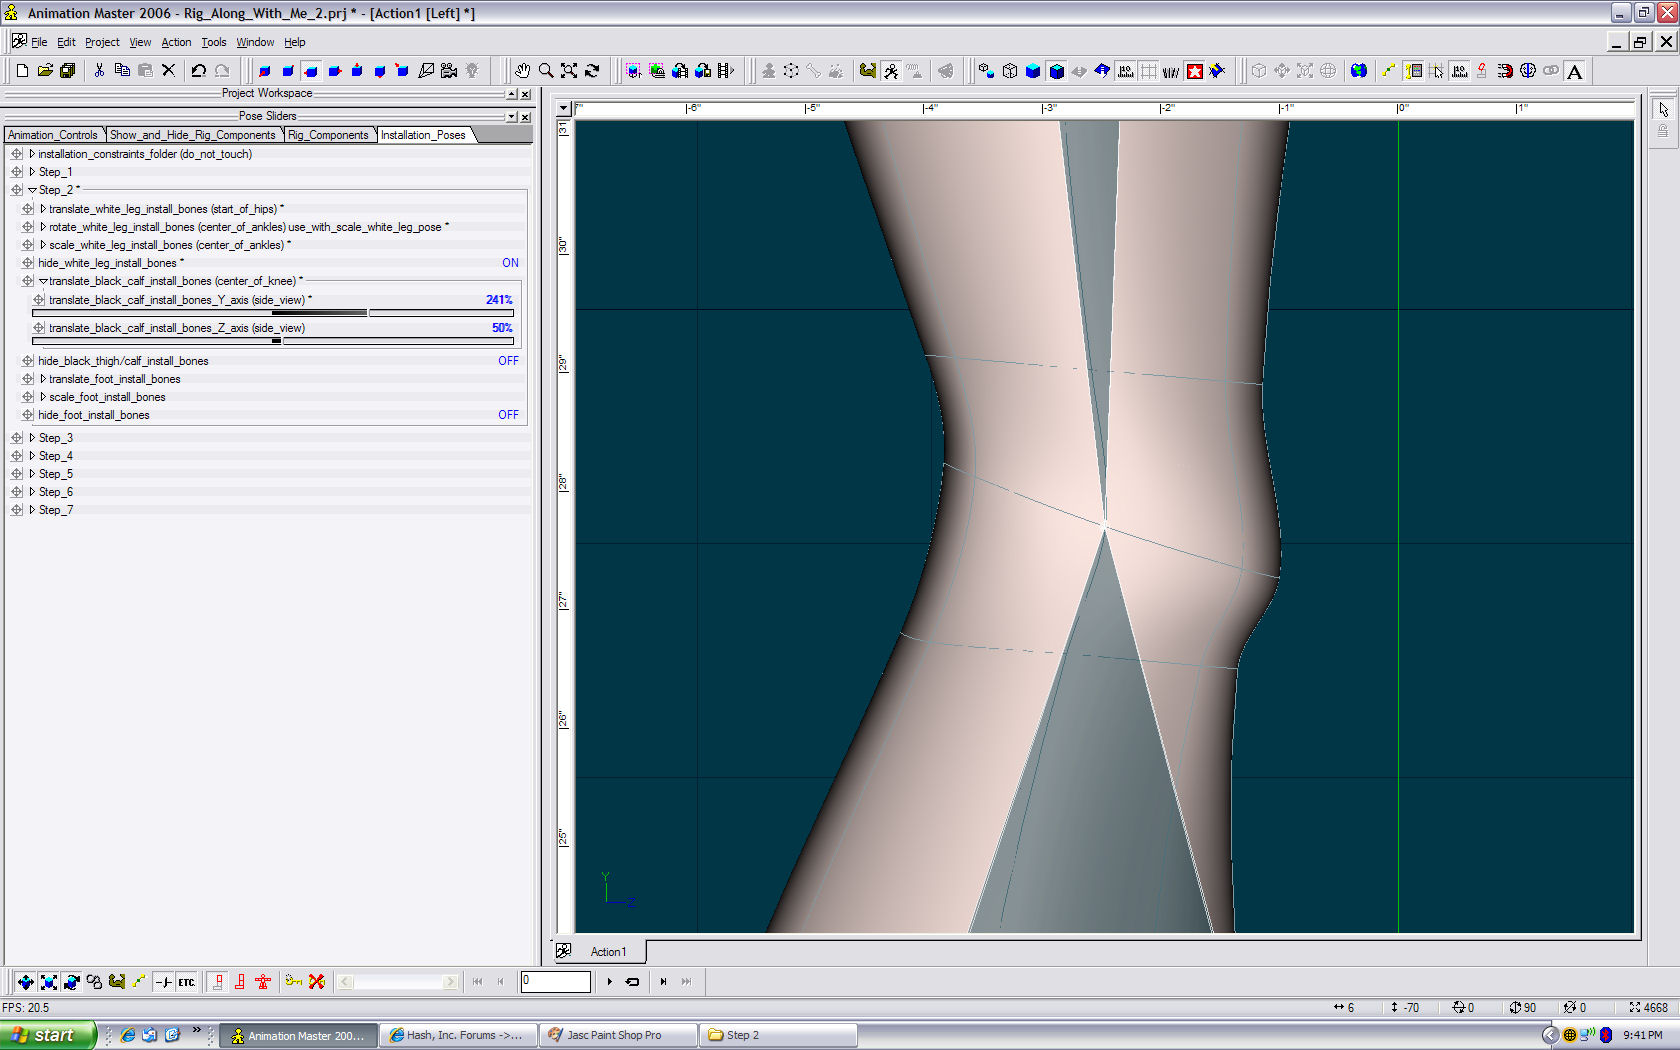
Translate black calf install bones in the Y and Z axis to the center of your knee joint. (side view) Hide black install bones.
-
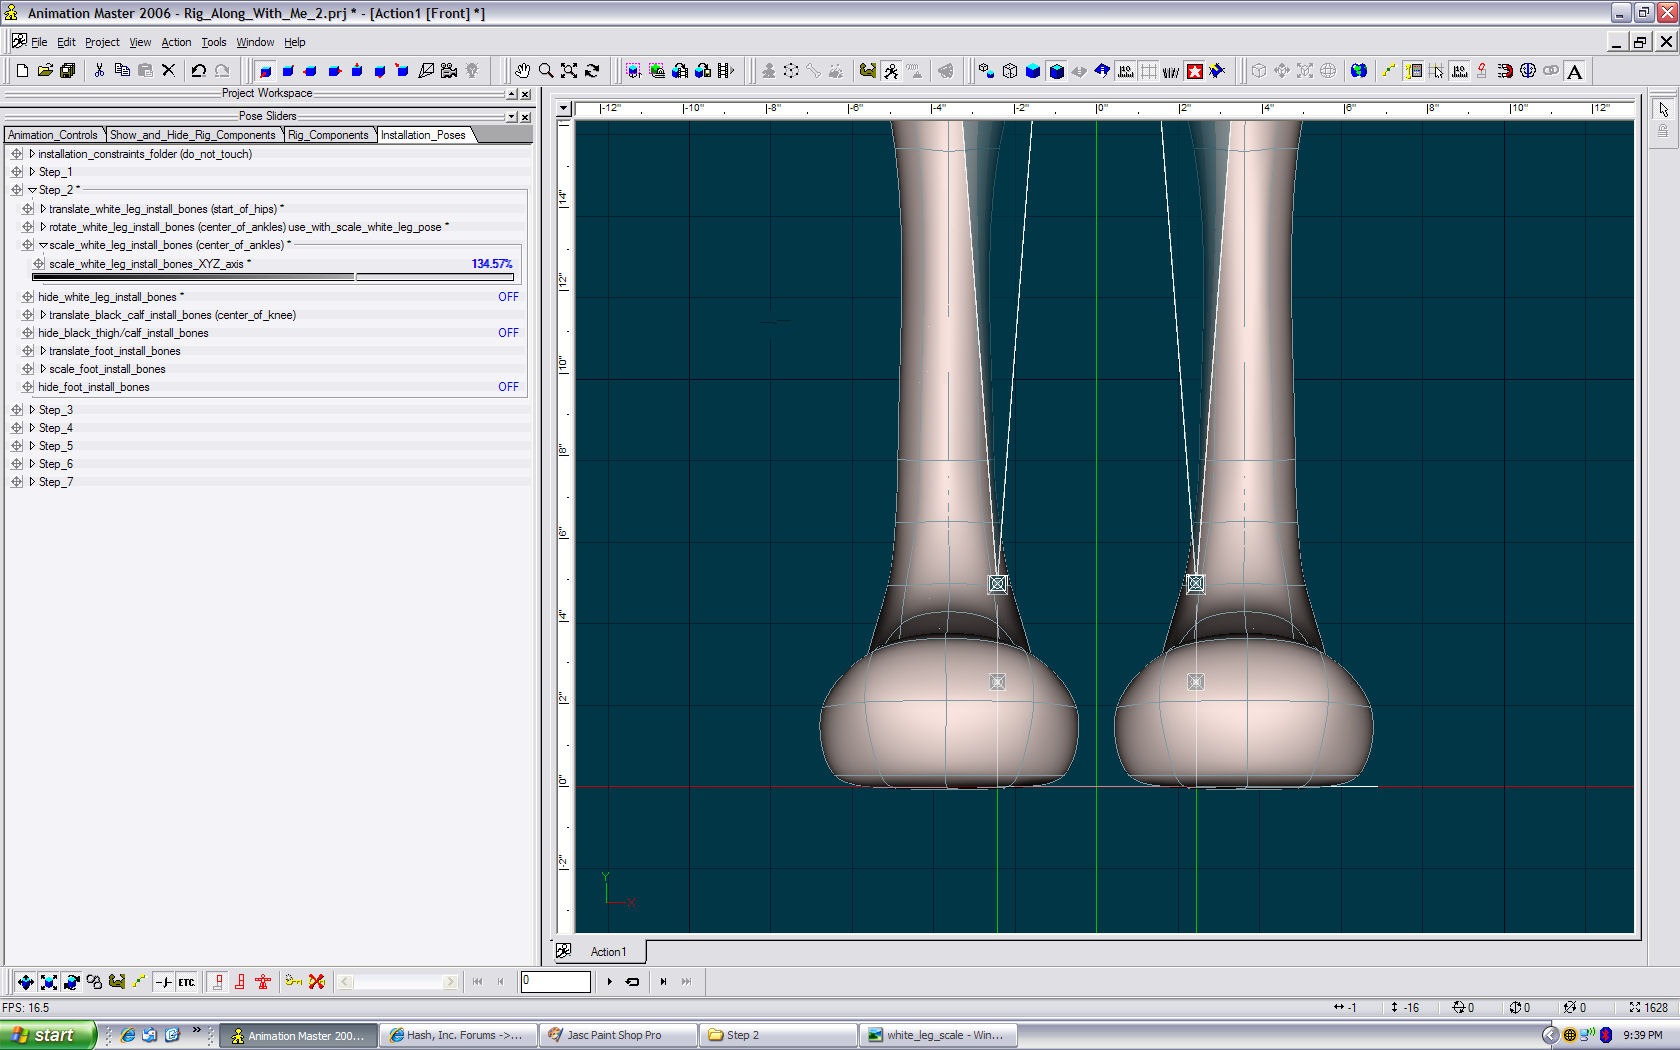
Scale white leg install bones to the ankle joint. (front, side) Adjust the Y rotation if needed. Hide white leg install bones.
-
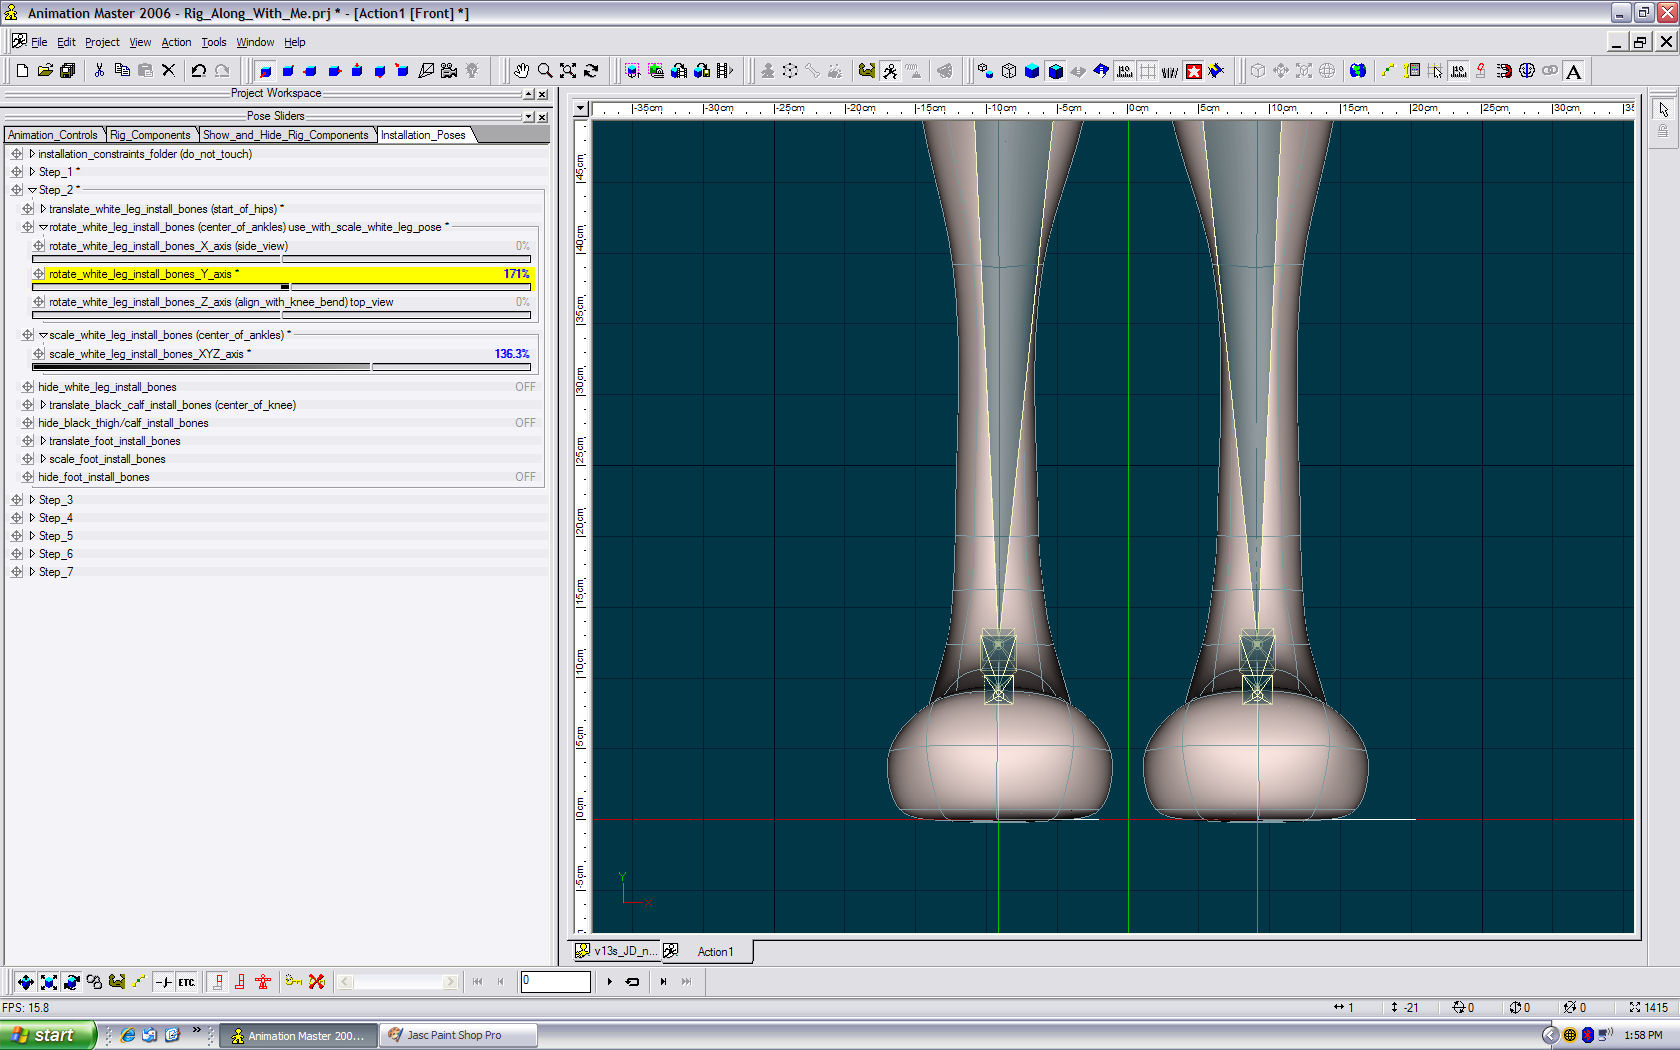
Rotate the white leg install in the Y axis. (front view). There was no need to rotate the white leg install bones on the X and Z axis. NOTE: I scaled the white leg install bones first to get them closer to scale. See next post.
-
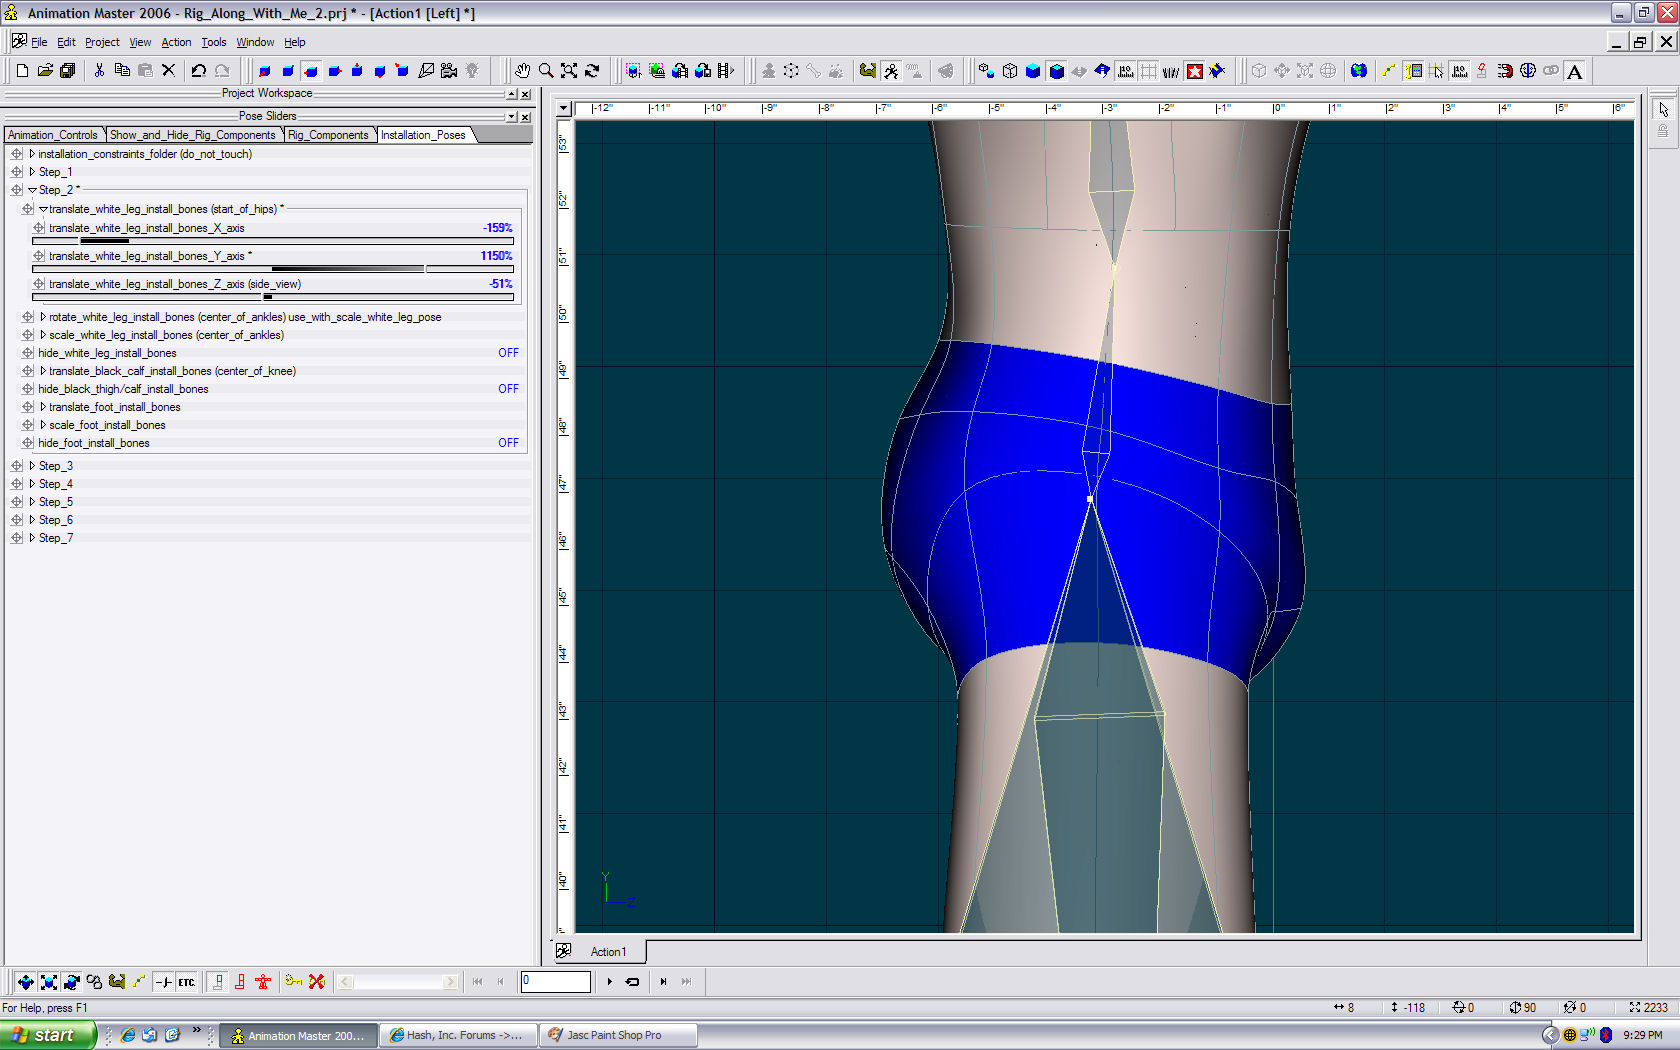
Translate the white leg install bones on the Z axis. (side view)
-
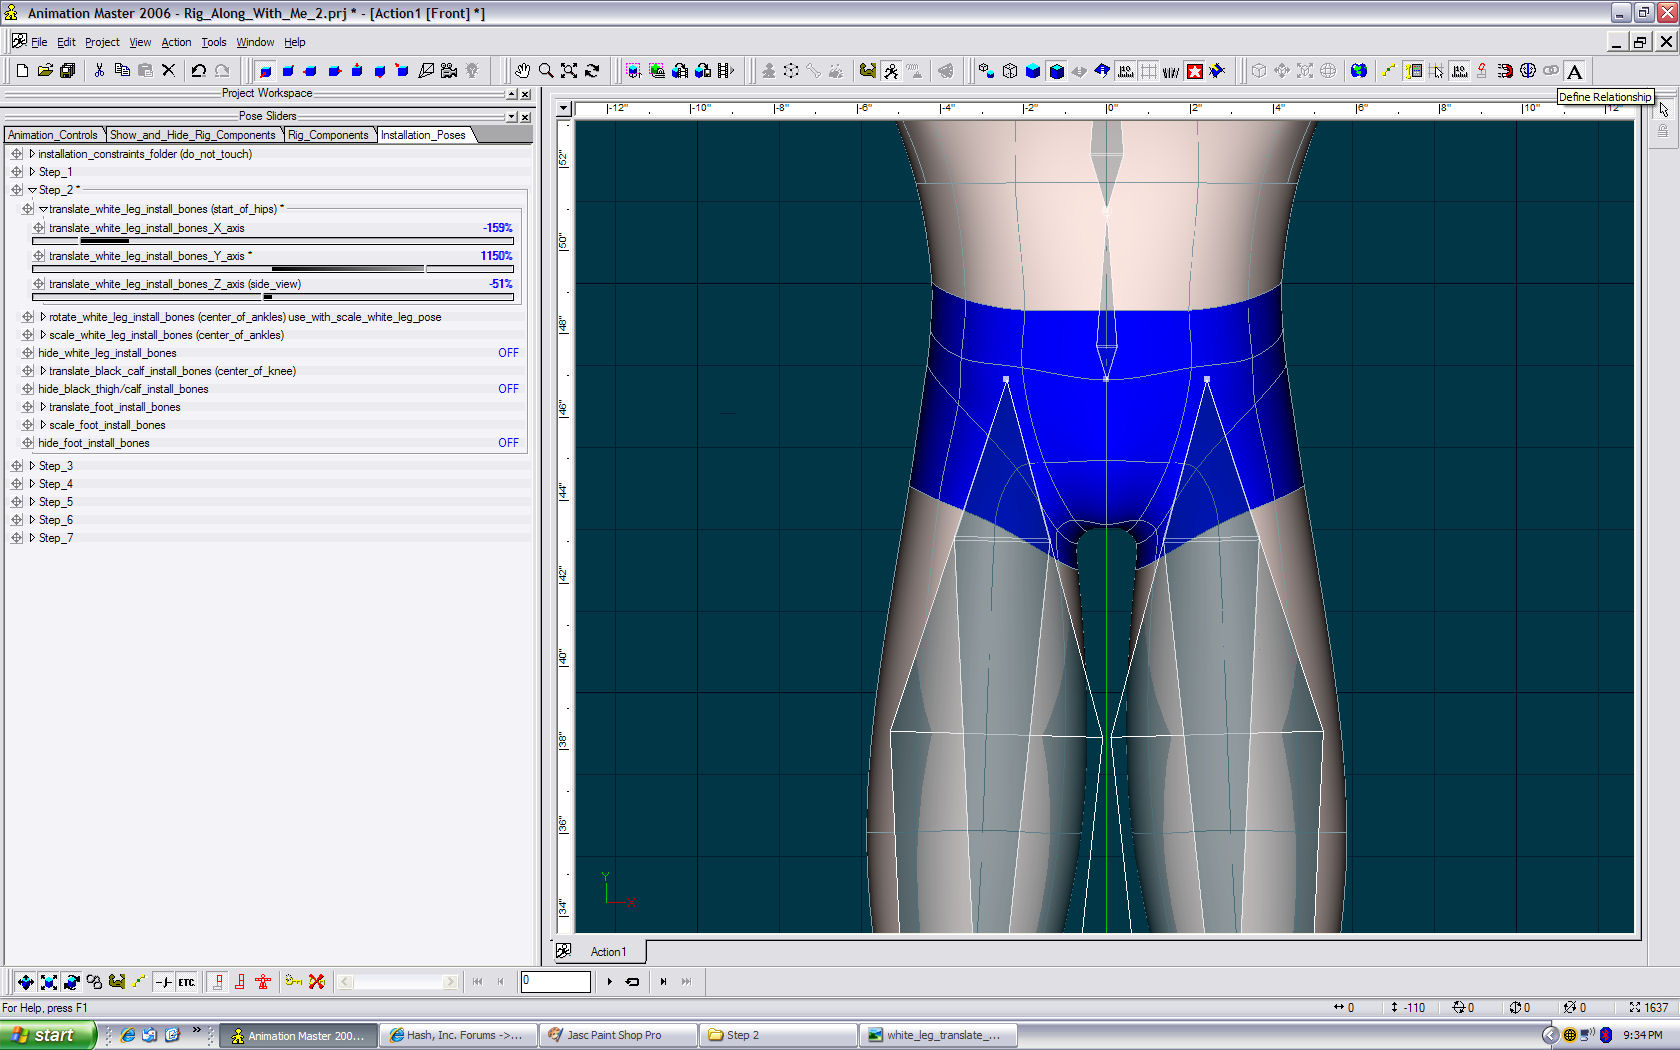
Translate the white leg install bones on the X axis and the Y axis. (front view)
-
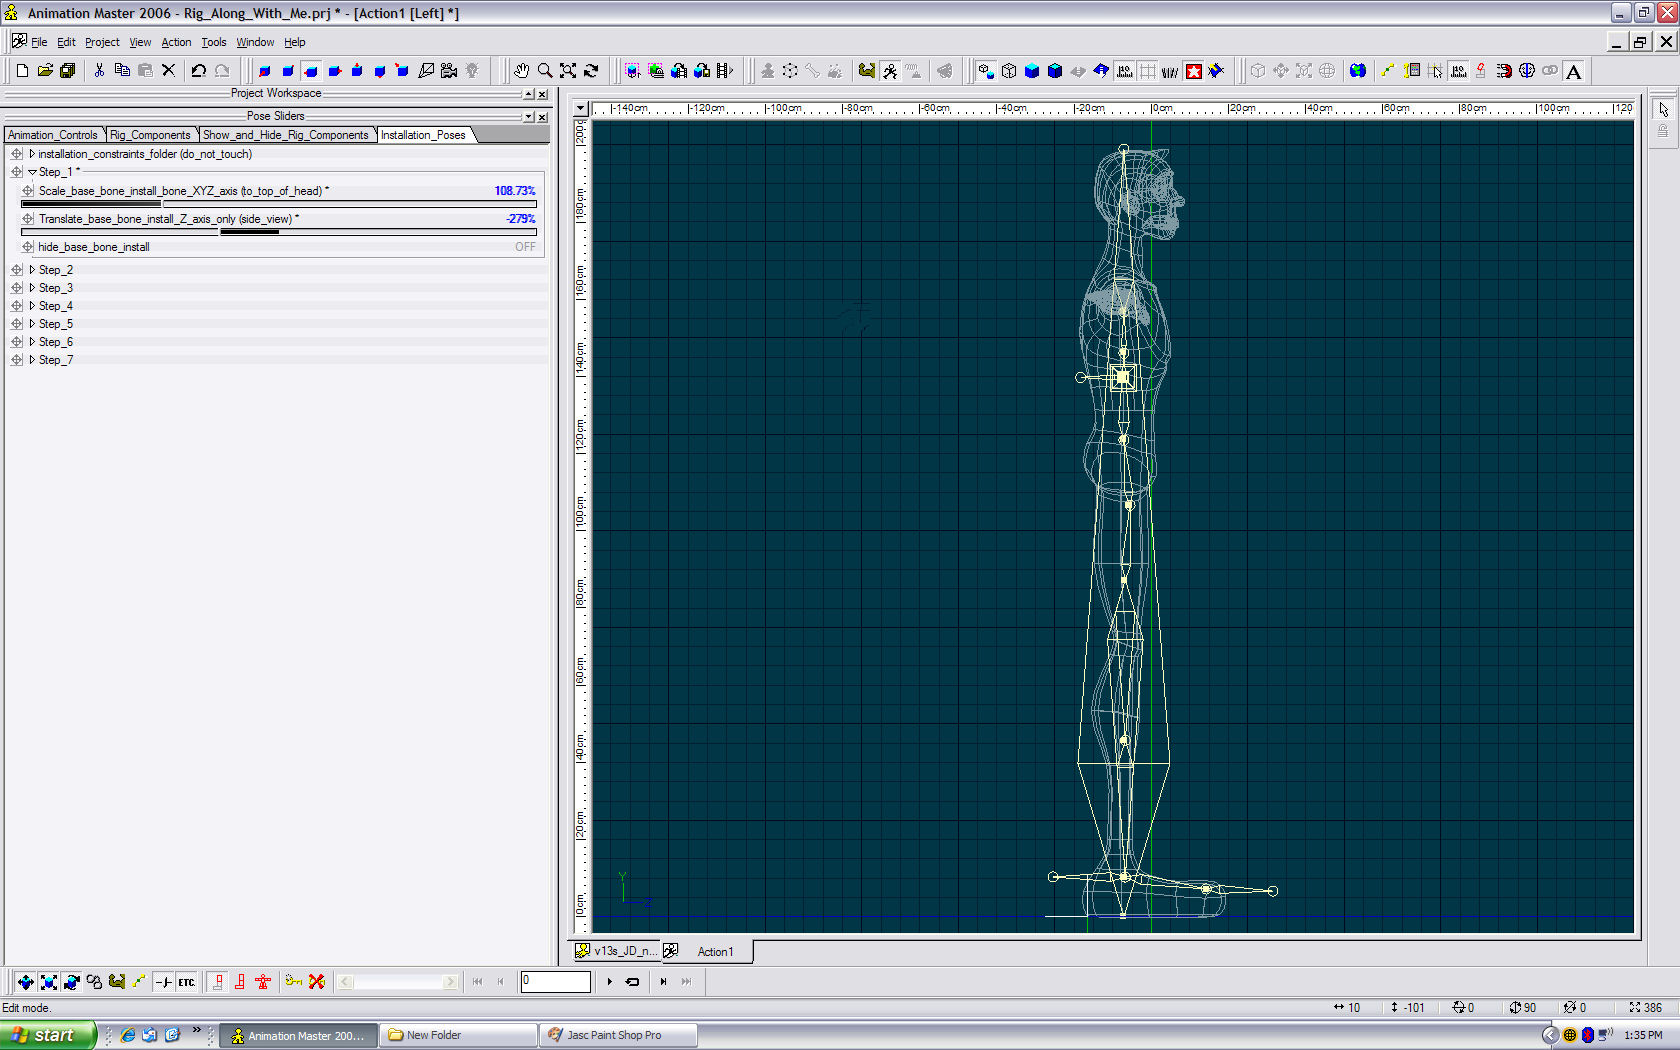
Translate the base bone installl in the Z axis. (side view)
-
Open project and go to action. Make sure your project work space (PWS) is opened wide enough to see the installation poses. Scale "base_bone_install" to top of the head.
-
Create a new action with "JD_install". Save project as "Rigging_JD". ONTO STEP 1
-
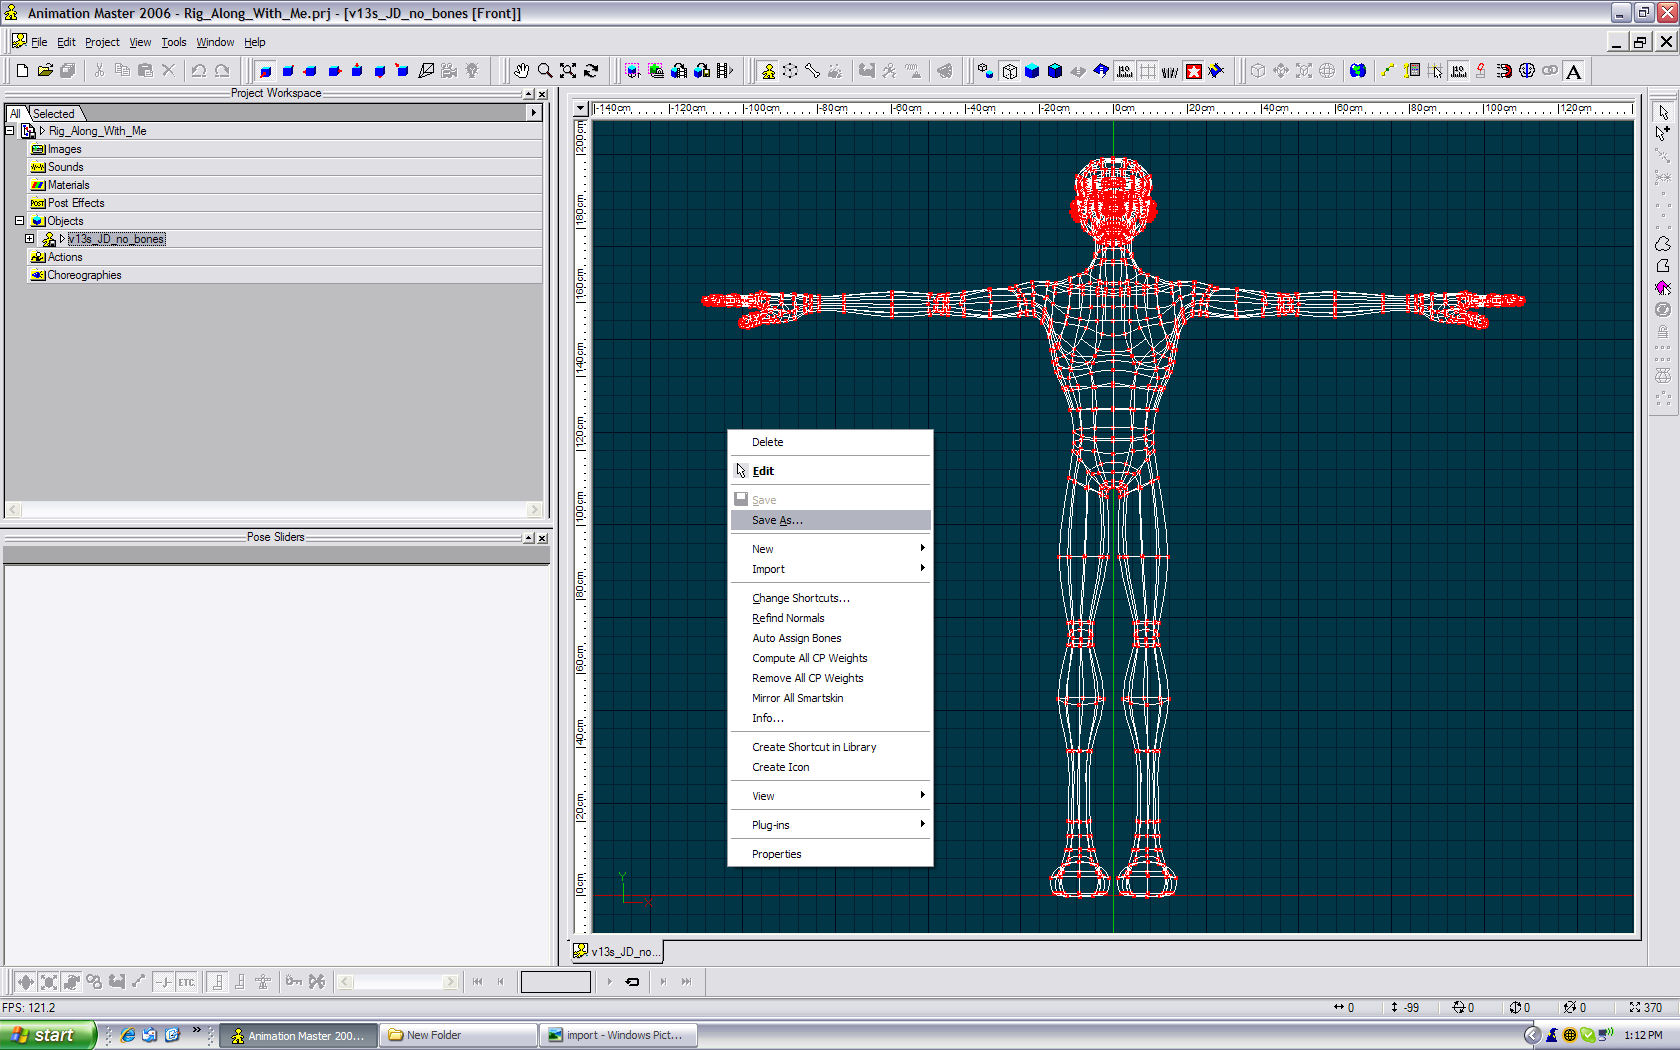
Right click in a blank space again and save model as "JD_ install".
-
Ok, open the "Rig_Along_With_Me" project. Right click in a blank space in the modeling window and import the "13s_Posable_Five_Finger_Squetch_Rig_05_02_2007_installation" rig.
-
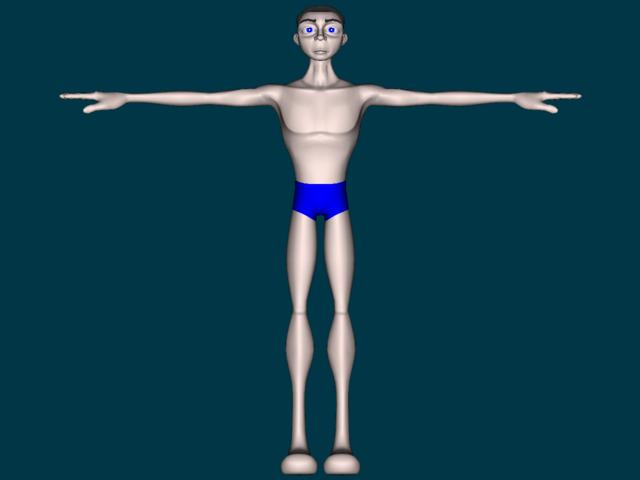
Hi everybody, thanks for joining in on this exercise. I'd like to start by thanking everyone involved in making this possible. David Simmons, Mark Strohbehn, the Hash team and everyone else who has contributed, Thanks. In the zip folder I will be posting, I provided a project file, an unboned model (JD), the five finger posable squetch installation rig, the "install rig" plug-in and David's text file for recompensating the rig. First thing you need to do is place the "install rig" plug-in in the hxt folder of the version of A:M you are using. (v13 or v14) You must, at least, use v13s or v14beta2 in order to use the posable rig. In each post, I will post an image with the final bone placement, with a short description. I'm not going into extreme details of the process or why I placed bones where I did (you can ask later). This is just to get you familiar with the posable rig and to give you a general idea of where to place the bones. Here is an image of our victim.......I mean JD. Rig_Along_With_Me_Final_Update.zip
-
Ok, we will be getting this started shortly. Sorry for the delays, but the wait is over. I do ask one thing, please do not post to the step threads til I'm finished posting. I will post an "Onto Next Step" post, then you can post to the thread. We will begin with a "Getting Started" thread. Thanks.
-
Hold the 'ctrl' key down while translating the root bone with the translate manipulator. This will move the geometry with the bones.
-
Sorry for the delay. David didn't quite get finished last night with the update, so we will have to wait another day. Believe me, the wait is well worth it. He may have it finished tonight, so another day won't hurt. We will get the ball rolling, eventually.
-
What color is your key light? And as you said, probably washing out the shadow, a bit. Try upping the intensity of your rim light or lowering the intensity of the key light.
-
What is the percentage of darkness set to for your shadows?
-
Yes, this is free to the community to use. You must have v13s or v14beta2 to use the posable version of the squetch installation rig. There is a version of the posable rig on page 5 of this thread. Tomorrow, hopefully, there will be an update to the rig in the "rig along with me" thread in the rigging forum.
-
It looks like the "Rig Along With Me" will be starting tomorrow. It will have a new update to the posable rig, hopefully. So be ready.