Search the Community
Showing results for 'project'.
-
Here is a version of the leaves project in v16 with Newton with rather different settings. It's not the desired result but at least the forces are acting on the objects. Simmed in v16 Blow_start_v15_just50SIMMED.prj leaves000.mov
-
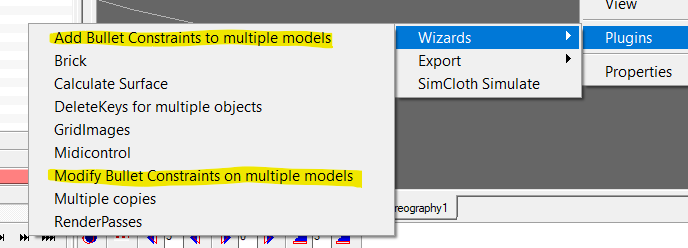
I found an old thread where someone using your name was previously asking about this... https://forums.hash.com/topic/45932-help-with-force-tutorial/ So apparently it is originally a v12 project? Bullet didn't exist in A:M back then. It appears to be one of Steffen's projects since the path in the zip has "am_projekte" and "newtonphysics" http://www.sgross.com/plugins/plugin6/samples.html Running v12 may not be possible anymore in Windows 10. When I try it with Newton in v15 I don't get much. In v19 there are Chor plugins to "Apply" and "Modify" Bullet constraints... They do function and I was able to get the Bullet objects to be moved by the forces but nothing like the graceful oscillation of the original Newton PRJ. You might do better with some experimentation. We may have to ask Steffen @yoda64 how it might be redone in Bullet.

-
The brown spotlight and one-patch Ground plane suggest this is a project that predates v19/Bullet and uses Newton. However when i load it into v18 I get the message that it was created in v19. Is the Blow_Start PRJ resaved in v19?
-
Once again the "Wizard of AM" comes to the rescue!! I found the simple scatter plugin but so far it has crashed on me a couple of times (so I must be doing something wrong). Two questions: 1) Do you know if there is any documentation for that plugin? 2)When the leaf project was posted there were two versions. One fully simulated and one without. I have attached the leaf blowing project without any simulations created. Do you know the procedure for creating that leaf simulation? I tried right clicking and everything related to simulations was ghosted. I tried selecting the leafs in the choreography but they were not pickable. Hmmmm. Many thanks! Tom Blow_start.prj
-
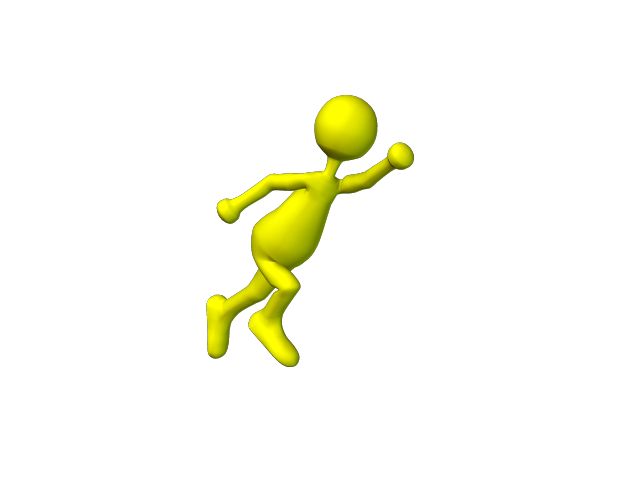
Hello- Was studying this older project that someone posted and enjoyed the leaf and force interaction. I tried deconstructing the Project but was unable to determine how the many leaves were placed in the Choreography. I'm assuming it wasn't done manually but can't figure out how it was done. Does anyone know? Many thanks for any insights. Tom LeafSwirl.mp4 LeafZip.zip
-
Here's a Shaded render version of the streaks project. A Final render has some transparency trouble I've sent in as a bug report.
-
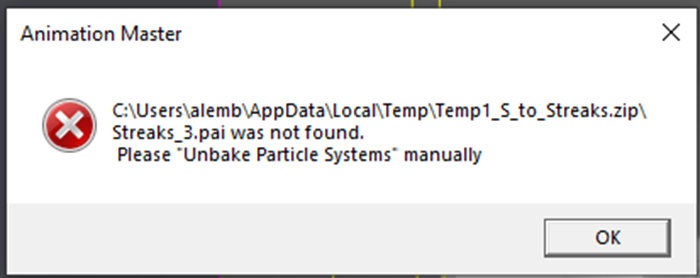
Rob- I unzipped the S_to_Streaks project and this (attached) error message popped up. I tried clicking through it but it just keeps cycling this message with different ".pai" files. And then starts at the beginning again. I don't think it will even give me the chance to un-bake the files. Do you have any suggestions? Thanks, Tom
-
Many thanks again to Rob for another invigorating tutorial! Can't wait to study the S to Streaks project and go over the recorded session. Animation Master is really an astounding program (when explained by an expert!)... ....and dollar for dollar is one of the best buys out there. Tom
-
That's good Dan, that informed our discussion today at LAT. Was that done with Newton or Bullet? Tom, here is the "S to streaks" project I showed. This ZIP contains the baking files for the particle systems, unzip it all into one folder. Baking makes it easier to scrub back and forth in the timeline. If you want to change anything and see the changes you need to Unbake the particles first. EDIT: See UNBaked version below.
-
You're welcome, Tom! You don't need to get me anything, I enjoy helping people solve their A:M problem and get their project back on track ! That is fun enough for me. And the only thing left on my wish list anyway was the diamond tiara!
-
should mention project has slightly different results as original project lost
-
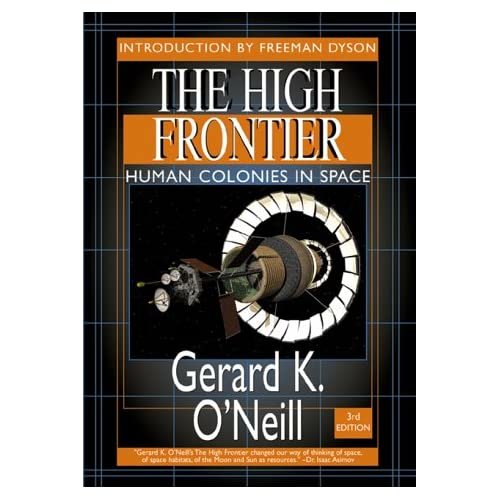
Many thanks for posting the project and bitmaps... Most generous! Definitely will play around with them. For any space buffs looking forward to the possible rocket launch today of the two astronauts (using a private company) here is a great book pointing to a possible future scenario. Tom
-

Render the model on a transparent background
robcat2075 replied to Userdelete's topic in A:M Rendering
The above project renders files like these. See if these have the transparent background you seek. TGA version... Thom021.tga PNG version...
-
Thanks for your efforts. I just recreated the problem in a new project included here. I can keyframe the emitter to change the Rate of Emission and that works, but keyframing the attribute won't actually change the surface properties. I think an easier workaround for my particular situation is to have two emitters, one gray and one pink, and cross-fade their rates of emission. I will check it out. Weird. This is the second time I found a bug doing stuff I didn't think was all the groundbreaking. The first was years ago when I was using the toon shader on models with hair. Thanks again, Alan streak.prj
-
The PRJ doesn't seem to have the model or a Chor in it. Project>Embed All and resave it. I will look at this at Live Answer Time today if you want to drop in.
-
Started using AM after many years away now that I have more time to devote to animation projects again. I've got this cauldron steaming very nicely and I want to change the color of the steam to pink (love potion) over time. I keyframed the shortcut to the streak emitter's attribute's diffuse color to change over a few frames and I get a lovely gradient of this on the timeline (see pic). Alas, the actual attribute's color remains stubbornly gray. I've tried reloading the project in case things needed to be started from scratch but no joy. I feel I must be missing some simple switch or something. Any help would be appreciated. Thanks, Alan
-
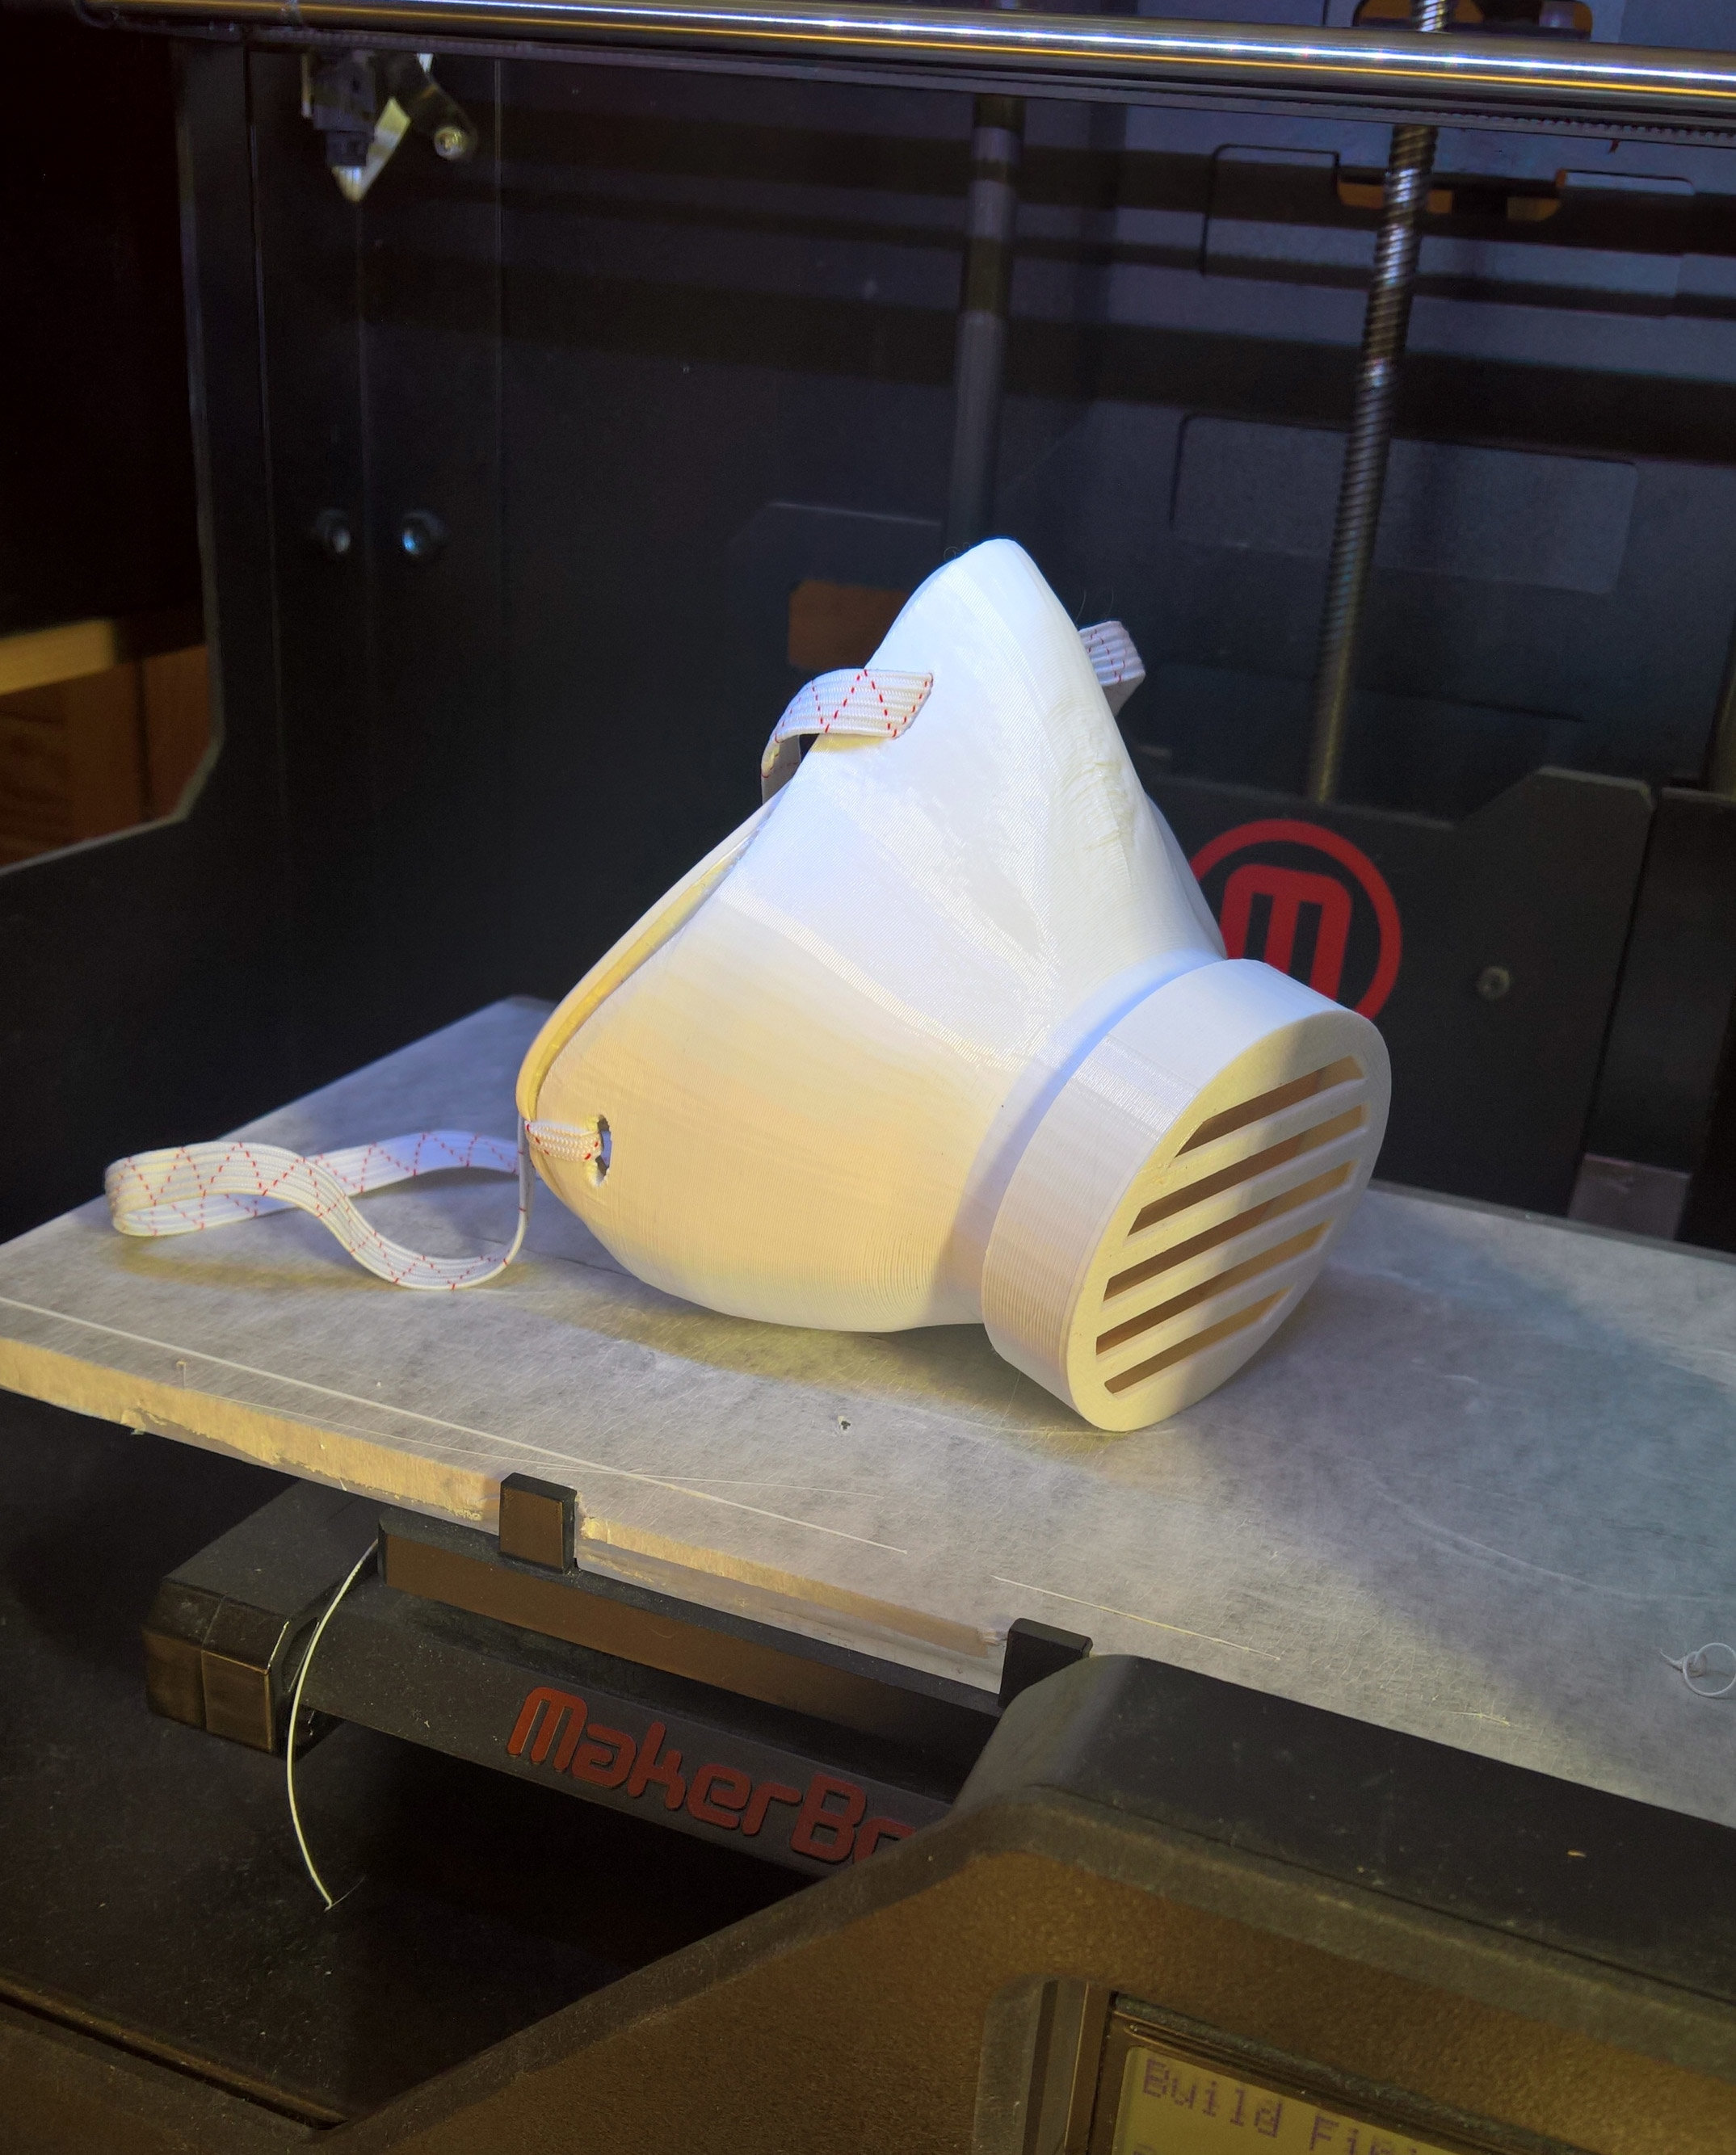
Hi everybody.. since we are in the situation we are in I wanted to share with you a project of mine which I created with my 3d printer and Animation:Master. It is about a breathing mask which is reusable and is easy to clean while being comfortable. If you want to read more about the whole story or want to print your own, have a look at my blog article about it: https://www.patchwork3d.de/blog-5-en/breathing-mask-from-the-3d-printer-1034 Best regards, stay healthy and hope you are fine *Fuchur*
-
Robert Thank you very much once again. It is as needed, except for the absence of volumetric lighting? At risk of sounding a bit pretentious, its the prelude to a 'Big Bang' sequence. Not the TV show but a sort of spoof on the moment of creation. The centre of the O is actually an egg. Its part of the Chicken and Egg project I've been working on. Is it the jpg format that is allowing it to work ? regards simon
-
In your project 02_emitter.prj you have the fire and smoke emitters as separate models from the rocket and you are keyframing them to follow the motion of the rocket. That is unnecessarily complicated. It is easier and better to make them part of the rocket model and then they will always follow it exactly. Here is a simple rocket that emits streaks. The streaks always follow the rocket as it turns and always emit straight out the back of it. Load this PRJ, watch it, and then tell me in what way it is not what you are trying to do. RocketStreaks01.prj
-
I try to put ResoluteWalk (action from Hash CD) to scotty.mdl and then re-Rig use "Skeleton_myFinger_full_ok2" (the same as 2001_Skeleton except Fingers Rig). Clip: ScottyResoluteWalk and the project. scotty_2a.prj Scotty_0000-0278.mp4
-
@ all: Thanks so much guys. You know what? This was my first 'only A:M' project in a while. In quite a while. Whenever I come back to A:M, it's an eye-opener again and again in the 'jungle' of CG programs and applications. This was really a fun project! Greetz, Elm.
-
Robert- Have studied the project and am amazed at the cleverness of how you assembled the pieces! Well done! The material and animation is presently applied to a flat model. Do you think that if the model were designed differently (like a circular shape) the clouds could be made to unfold as they do in the attached time lapse clip? Tom timelapse.mp4
-
Hi guys! I hope you're all doing well..... Can someone please post a complete (simple) smoke project (incl. all files embedded). I can't find one anywhere. That would be nice. Or can the extras dvd be downloaded somewhere? Greetings, Elm.
-
To make the mono version (in Audacity), I opened the drop-down list by the title of the rack and chose "Split Stereo to Mono" I selected one of the resulting two tracks and did CTRL-c to copy it I did CTRL-n to make a new Audacity project I did CTRL-v to paste into the new project I Exported a new WAV from that.
-
[Solution: shorten filename] Has anyone else ever had an error dropping in a wave file into a project? I have several PC's I work on and everything is great when importing an audio file, but on one machine I get "trouble opening mci device error: 304" on this Windows 10 machine. The wave file imports, but there is no audio playback. I so I assume it's that machine and look to make sure all drivers are current and can't replicate the problem in any other app other than A:M. I can import an MP3 and that has playback no problem. Unfortunately I am noticing sync problems and it does not display a waveform in the timeline. Probably because MP3 is not fully supported yet. These kind of problems are maddening. I can't find any info on a MCI error 304 to help troubleshoot this and I don't know what A:M is specifically doing when it loads the audio file and how is accesses libraries and such. Probably on my own here but I thought I would ask. Charles